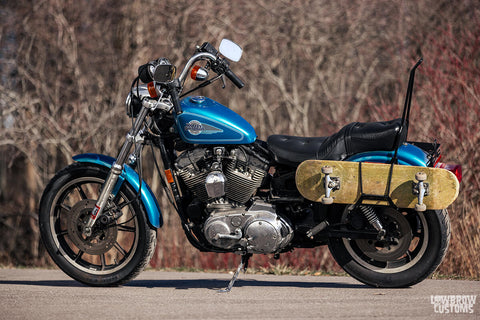
HEAVY-DUTY, USA-MADE SKID PLATES FOR SPORTSTERS
Introducing the incredibly cool Skid Plate for Harley-Davidson Sportsters from Lowbrow Customs. These skid plates are a fast and easy, bolt-on install on 1991-2003 and 2004-2022 Harley-Davidson Sportsters.
- Available in Black or Stainless Steel finishes
- Heavy duty, functional skid plates. Be Prepared For any Terrain!
- Quick and Easy Install
- Available for 1991-2003 & 2004-2022 Harley-Davidson Sportsters
- Made in the USA
WHY PUT A SKID PLATE ON A MOTORCYCLE?
Well, skid plates help protect the underside of your engine and chassis from mud, rocks, dirt, crud and whatever else the open road or even off-road may throw at it. Check out Saturday Sportster Season 1 or a great example of a custom Sportster Scrambler build video series.
The Lowbrow Customs skid plate is heavy-duty steel with TIG-welded seams. It is designed not only to look good, but to perform as well. That is why we say this is a functional skid plate... it is designed to be tough and protect your motorcycle on any adventure, on-road or off-road.
Our skid paltes are available in two different finishes, Black or Stainless Steel, and are made in Ohio, USA.
WATCH VIDEO: SKID PLATE INSTALL ON 1991-2003 SPORTSTERS
In this How-to video Todd walks you through how easy it really is to install one on these awesome skid plates on the Saturday Sportster (which is a 2003).
WATCH VIDEO: SKID PLATE INSTALL ON 2004-2022 SPORTSTERS
Watch as Tim Fiorucci of Fiorucci Fabrications show you step by step how easy it is to install our 2004-2022 skid plate on a 2007 Harley-Davidson Sportster.
STEP-BY-STEP INSTRUCTIONS: INSTALL SKID PLATE ON A 1991-2003 SPORTSTER
TOOLS NEEDED
- 5/32" allen socket
- 7/32" allen socket
- 9/16" wrench
- 7/16" wrench
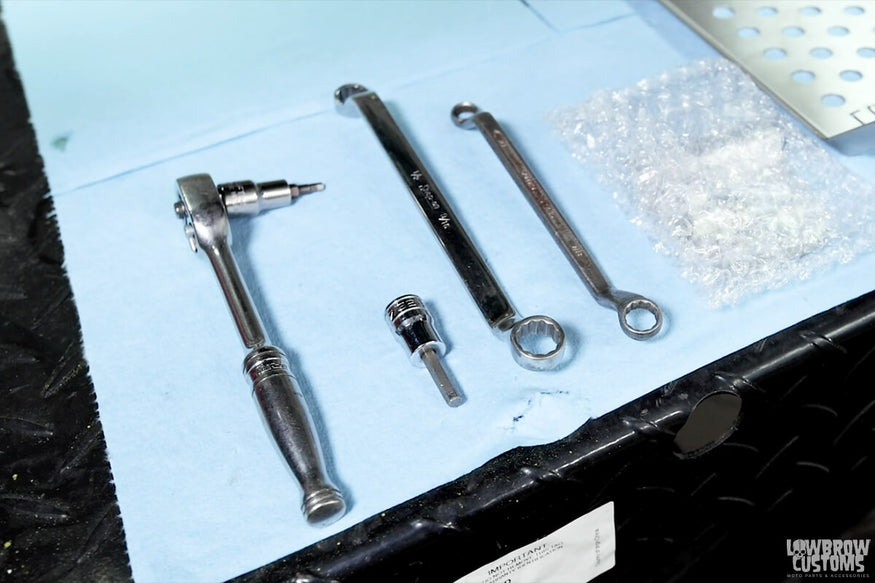 4 simple tools for this job.
STEP 1: ATTACH THE REAR MOUNTING TAB
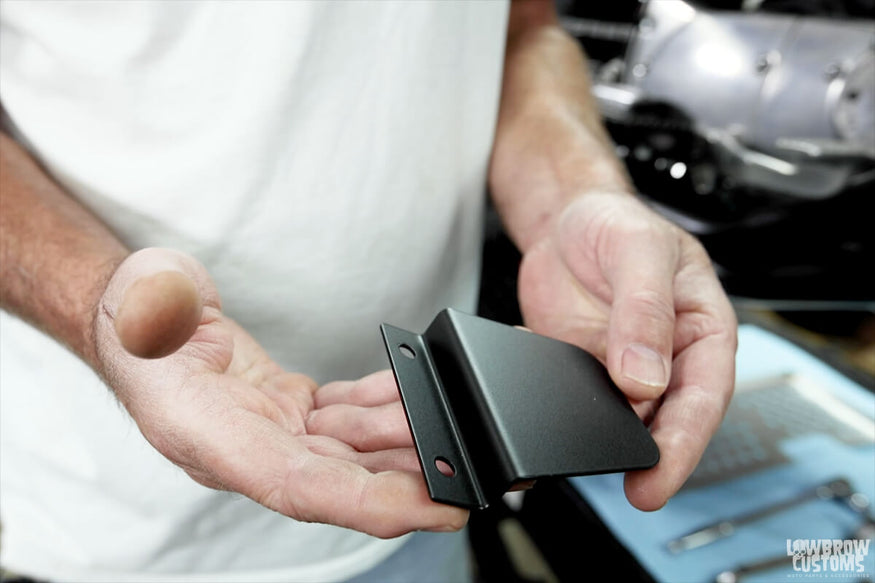 Rear mounting tab for the Sportster skid plate.
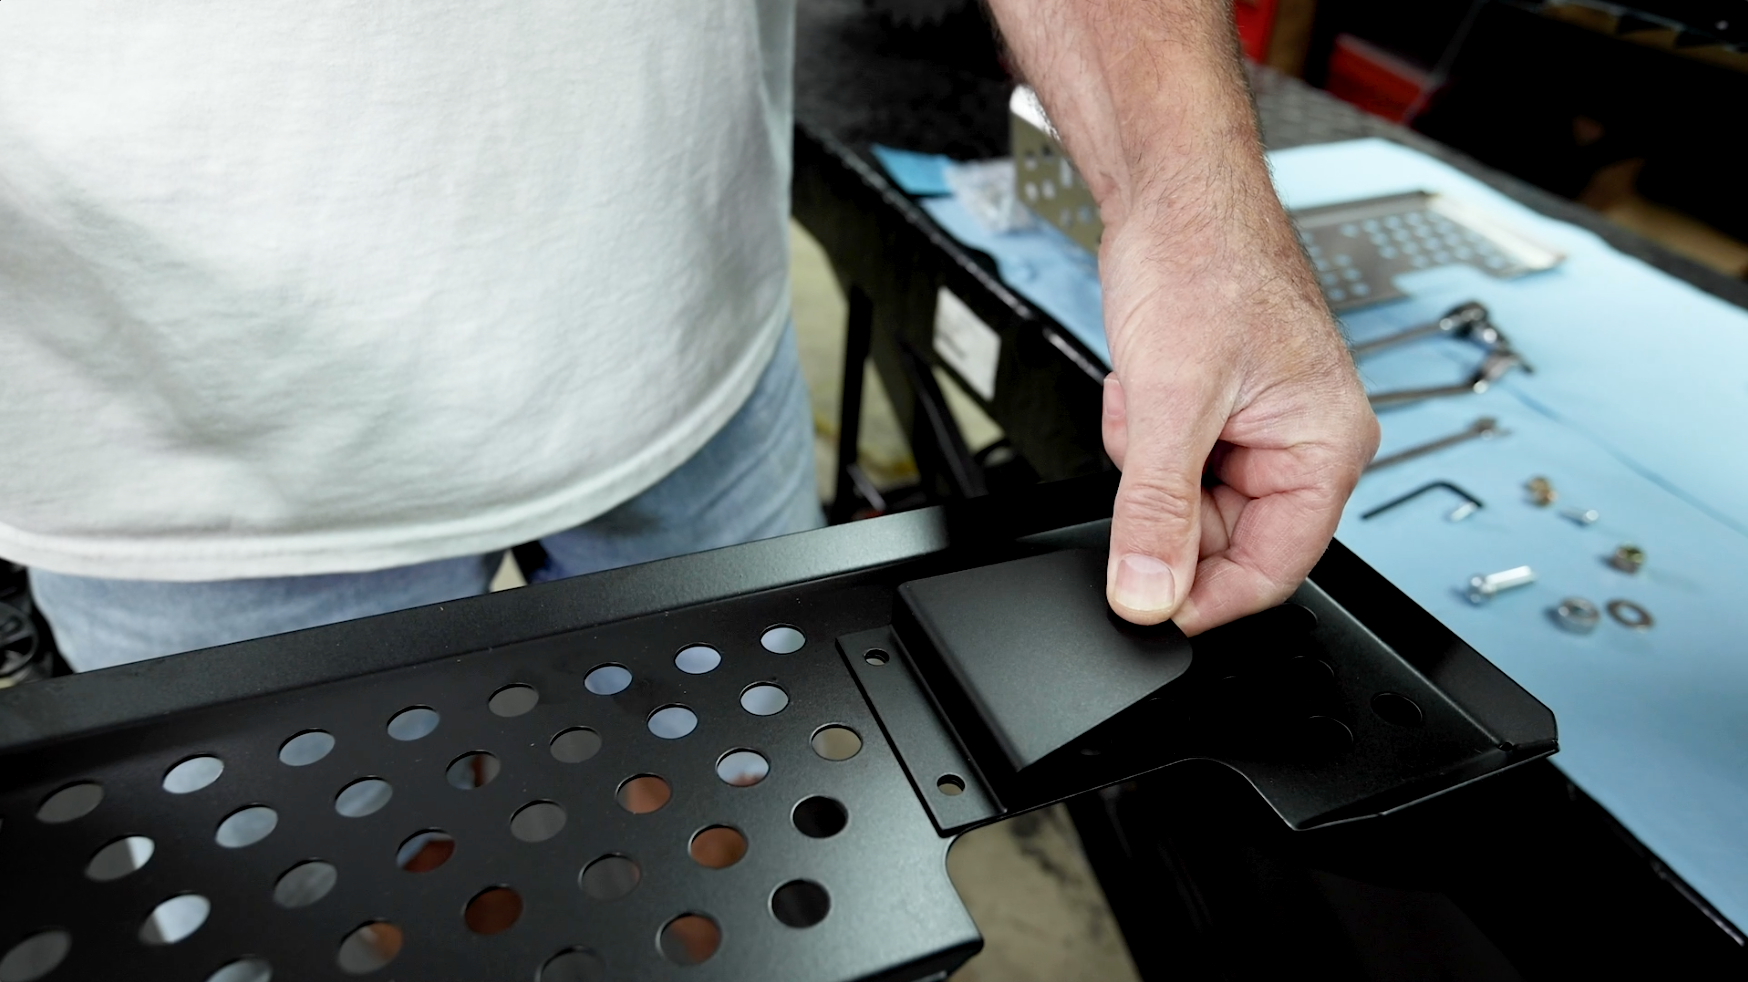 The tab gets installed here, facing toward the rear of the skid plate.
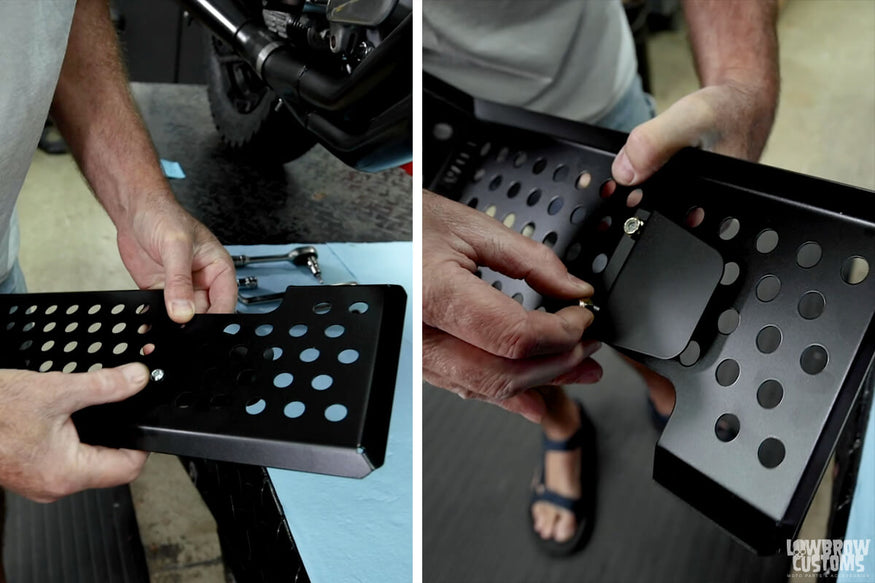 The button heads showing on the bottom of the bike, the nutshidden on the inside of the skid plate.
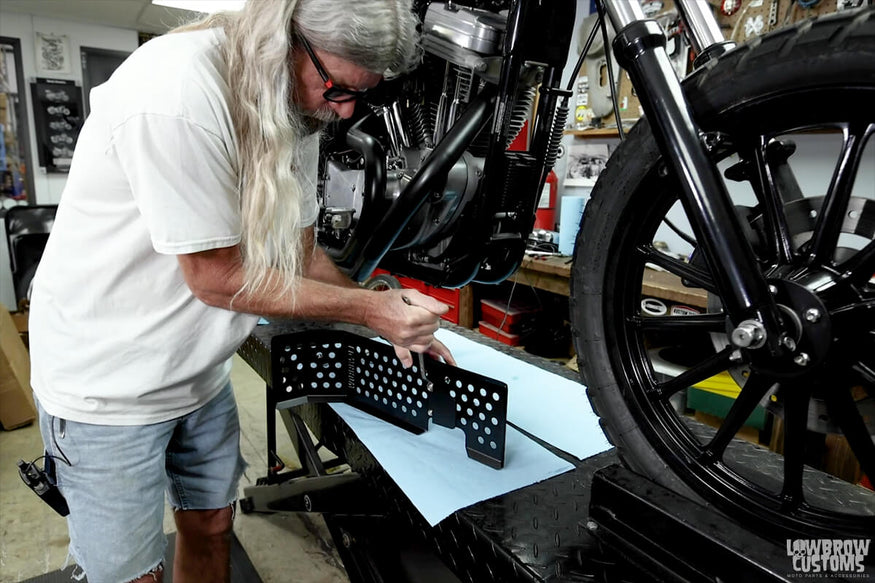 You can put the plate on its side to give you some good leverage when tightening the hardware.
STEP 2: SLIDE THE SKID PLATE INTO POSITION
Make sure the kickstand is down. Slide the skid plate tab into the second crossrail on the bottom of the motorcycle frame.
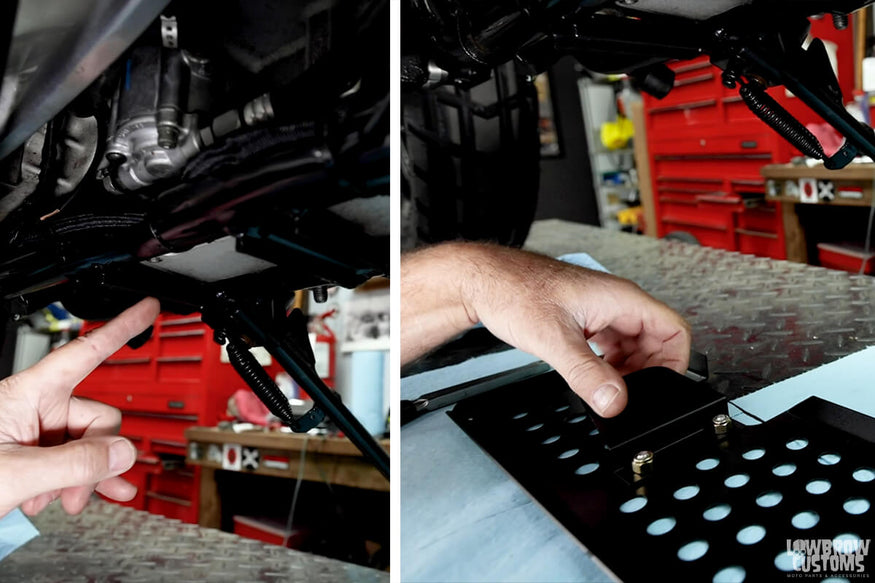 Note the second crossrail on the bottom of motorcycle frame, thats where the tab will slide into.
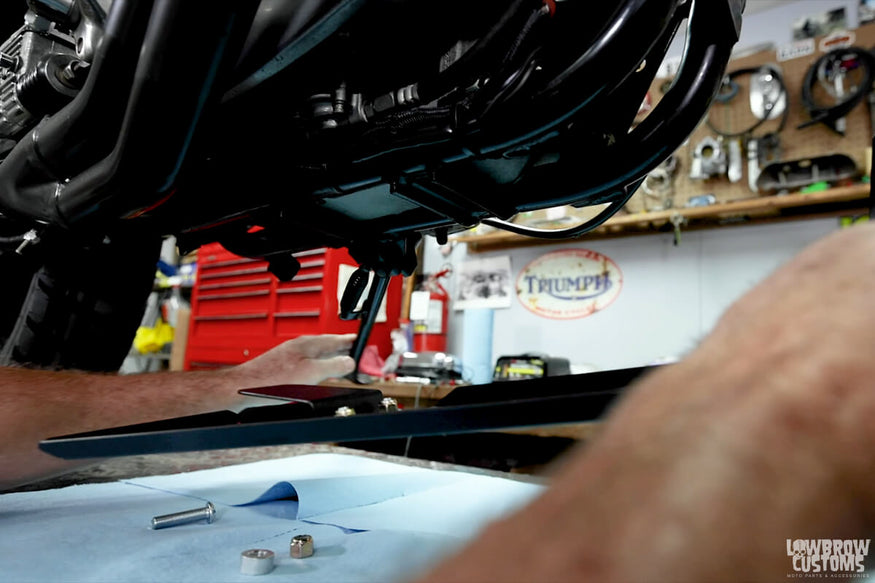 Again, make sure the kickstand is down.
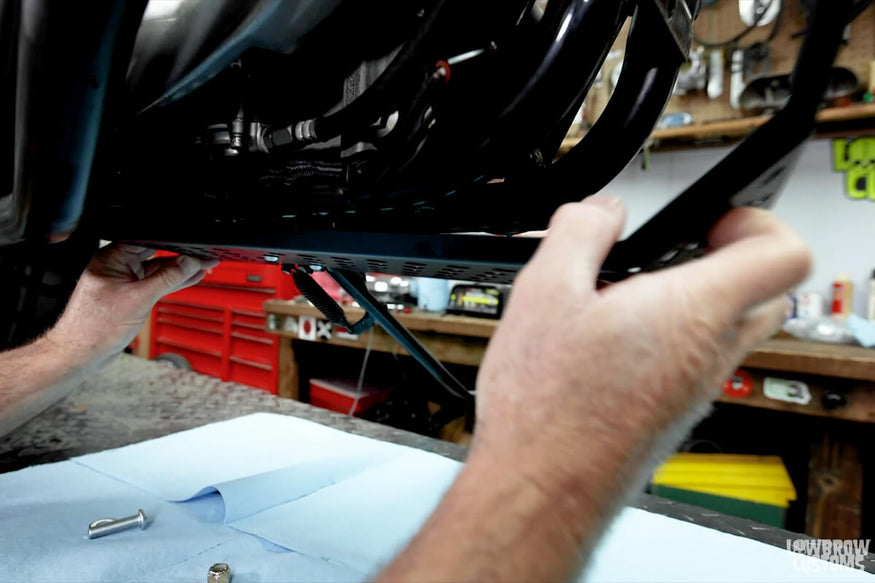 Slide the skid plate into place.
STEP 3: SECURE THE MOUNTING HARDWARE
Install the large bolt through the front hole of the skid plate. Put the spacer on the bolt behind the hole on the skid plate.
Insert the bolt through the large hole on the front member on the frame. Carefully put the washer and nut on the bolt and use a wrench to hold the night while you tighten the bolt.
 Place the spacer on the back and feed the bolt through the middle large hole on the skid plate, continuing on so the bolt goes through the hole on the front frame crossmember.
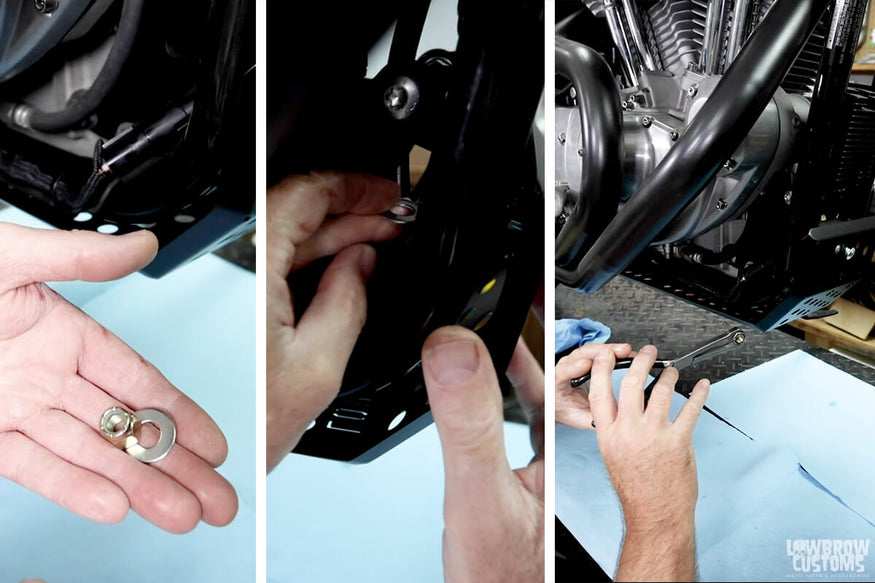 Take the washer and nut and put it on the bolt on the inside of the cross rail hole.
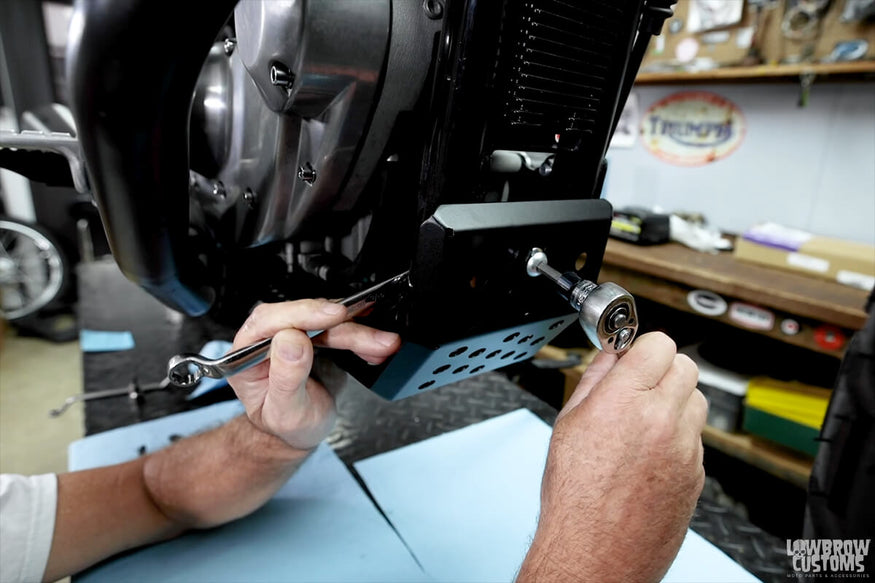 A bent wrench makes it a lot easier to hold the nut while cranking it down with your allen wrench socket. A standard straight, open-ended wrench will also work.
STEP 4: ALL FINISHED, GO FOR A RIDE!
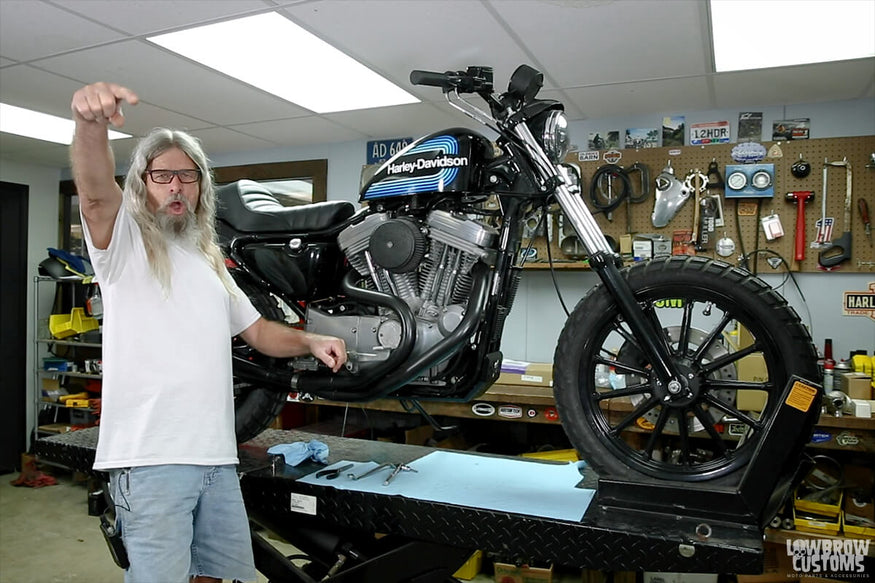 WOOOOOO!
PHOTOS OF THE 1991-2003 SPORTSTER SKID PLATE INSTALLED
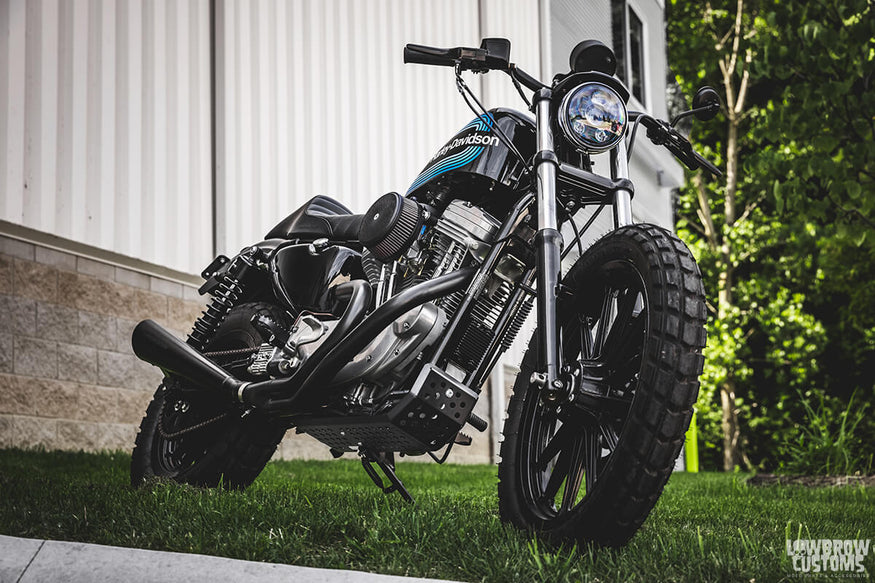 The Saturday Sportster look oh-so-good.
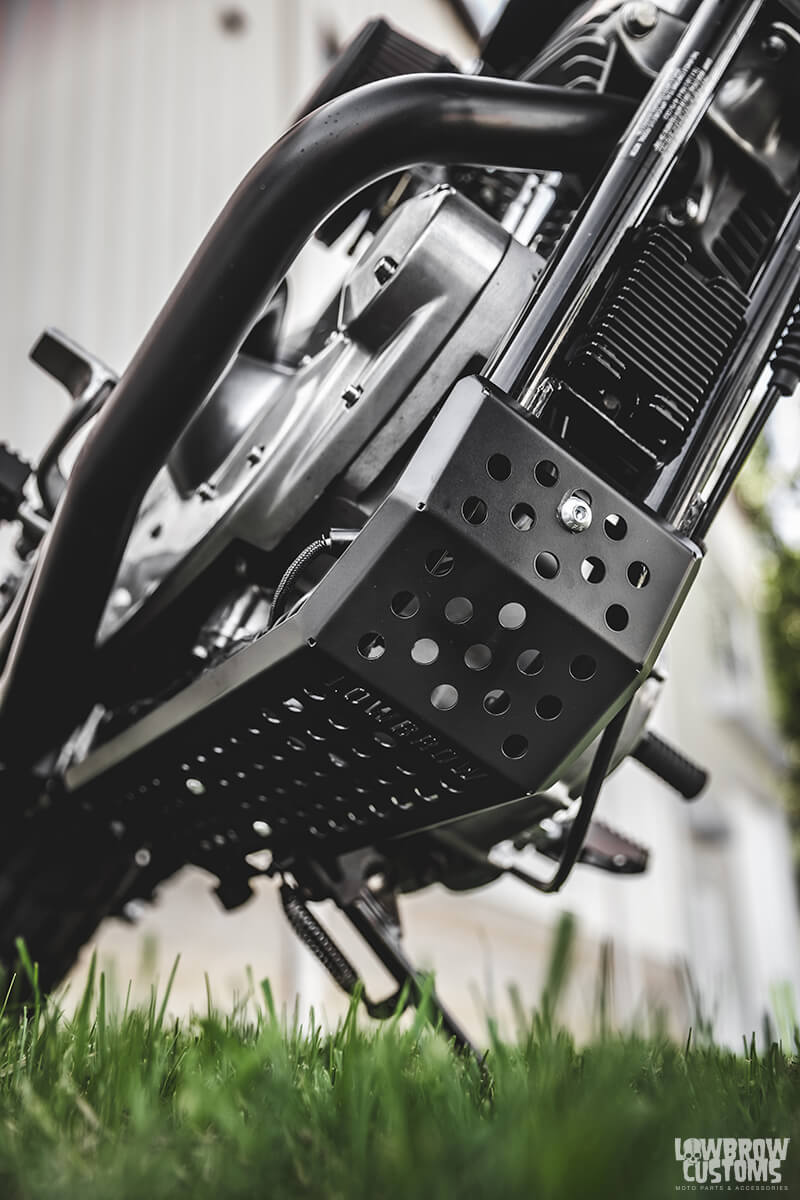 Represent hard with LOWBROW cut into the underside of the skid plate.
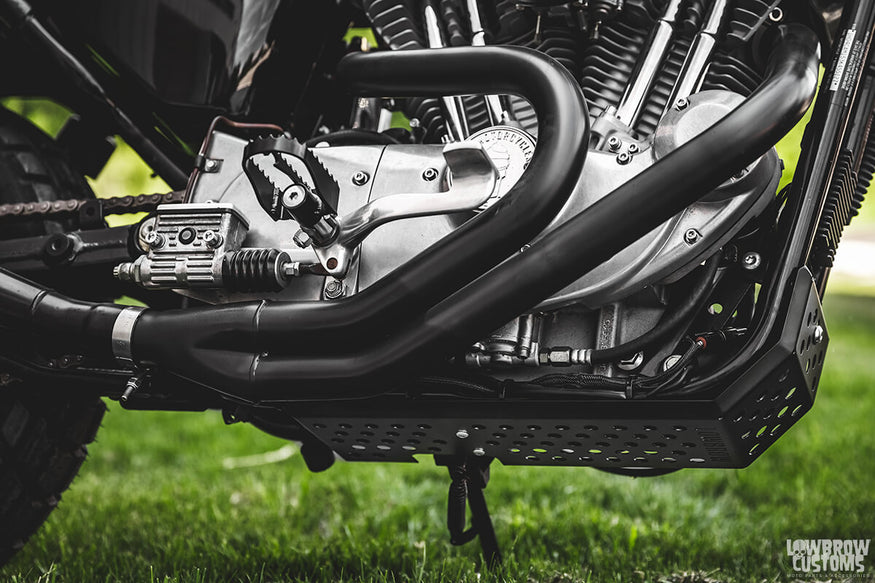 Sleek, rugged styling. Fits Harley Sportsters perfectly.
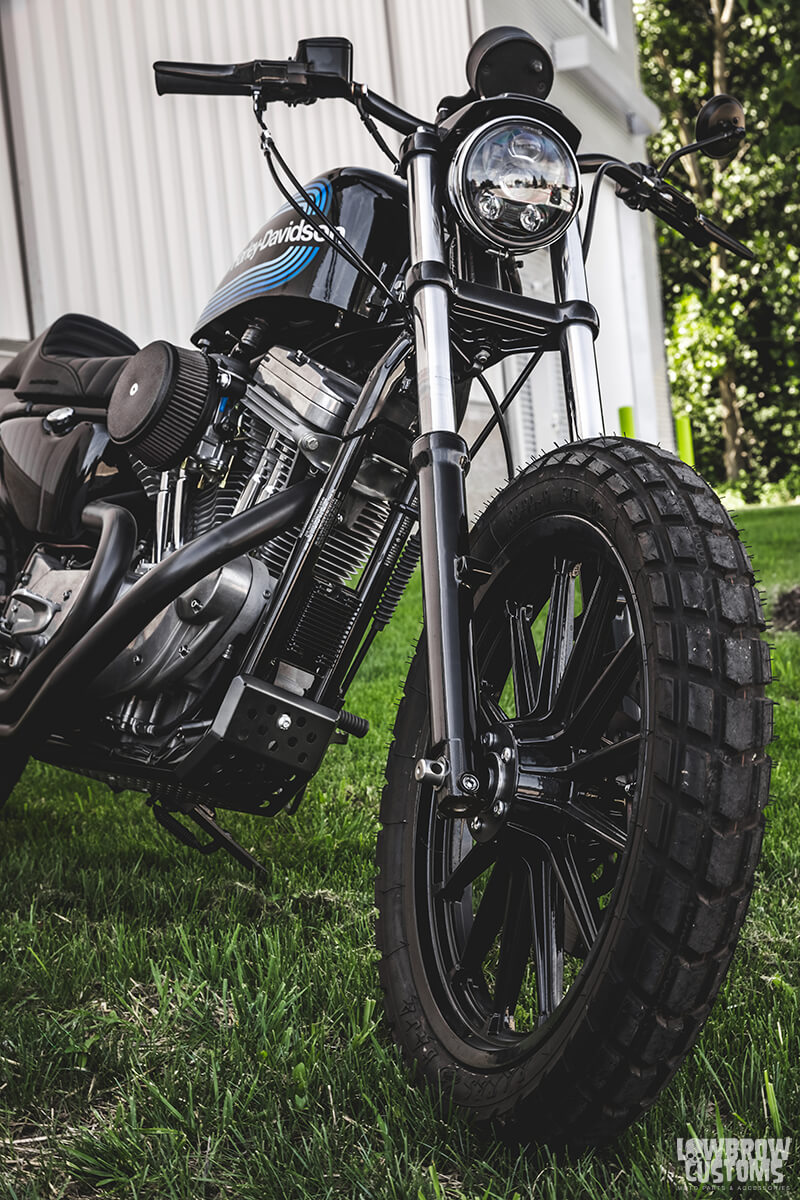 Skid plates are just the right look to set off your tracker build.
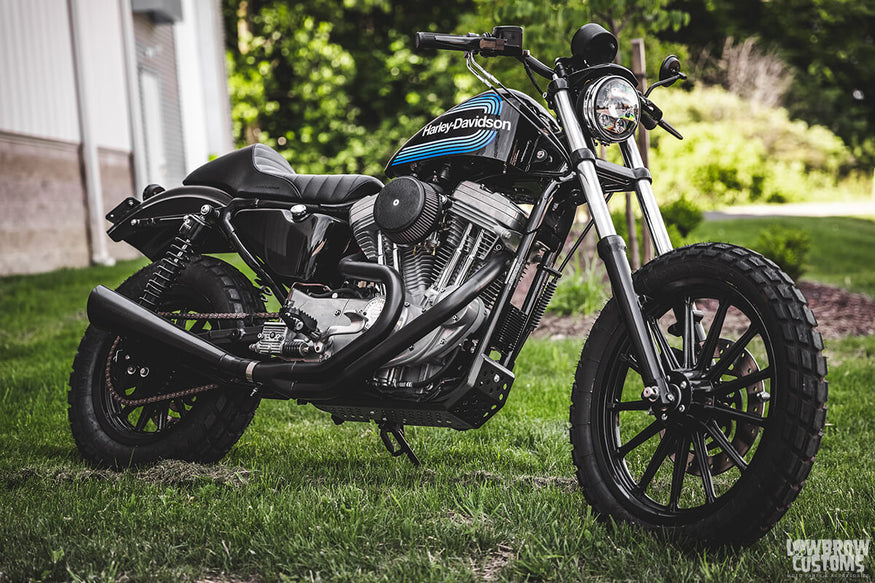 Let's go off-road, man!
STEP-BY-STEP INSTRUCTIONS: INSTALL SKID PLATE ON A 2004-2022 SPORTSTER
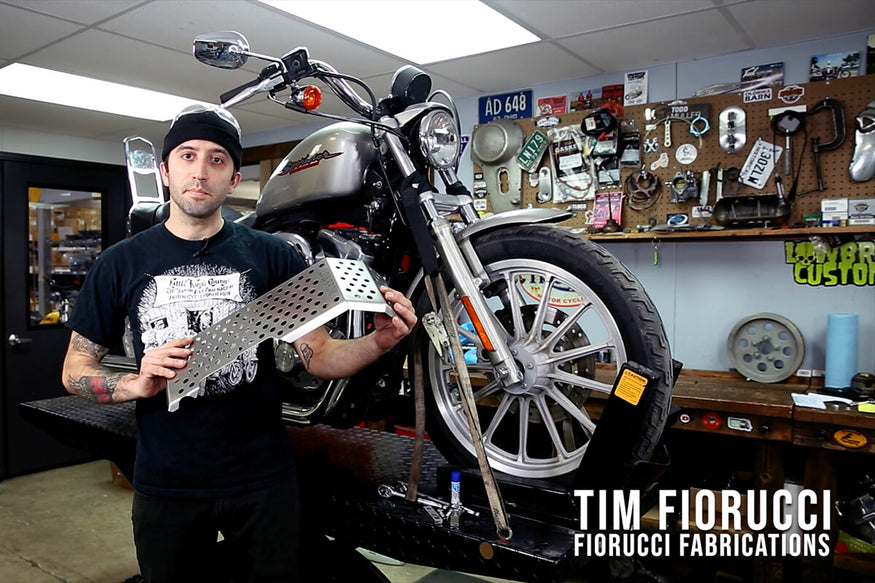 Tim showing off the beefy and incredibly well made skid plate.
STEP 1: SLIDE SKID PLATE INTO POSITION AND INSERT FRONT MOUNTING BOLTS
Take the spacer with larger holes that take the 3/8ths bolts. The spacer goes on the inside of the front part slotted holes of the skid plate. You will then insert the bolts with the lock washers in the front slotted holes.
Make sure to use blue loctite on the threads. This will then bolt directly to the two holes on the bottom front part of your frame.
NOTE: if you have ridden your bike a ton, you may have to tap those bolt holes out to get rid of any rust or debris. Putting a bolt in there first to make sure it goes in nicely is always good practice.
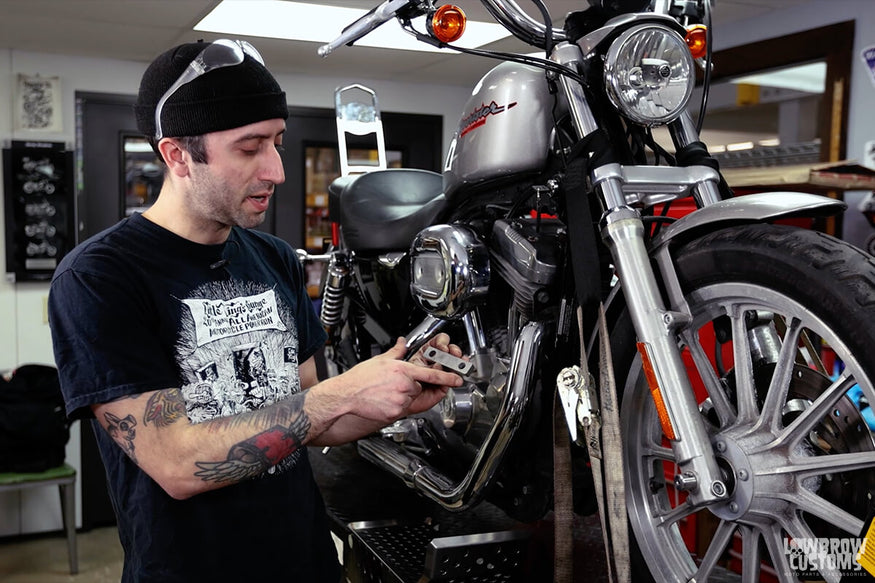 Start off with the larger spacer that takes the 3/8" bolts.
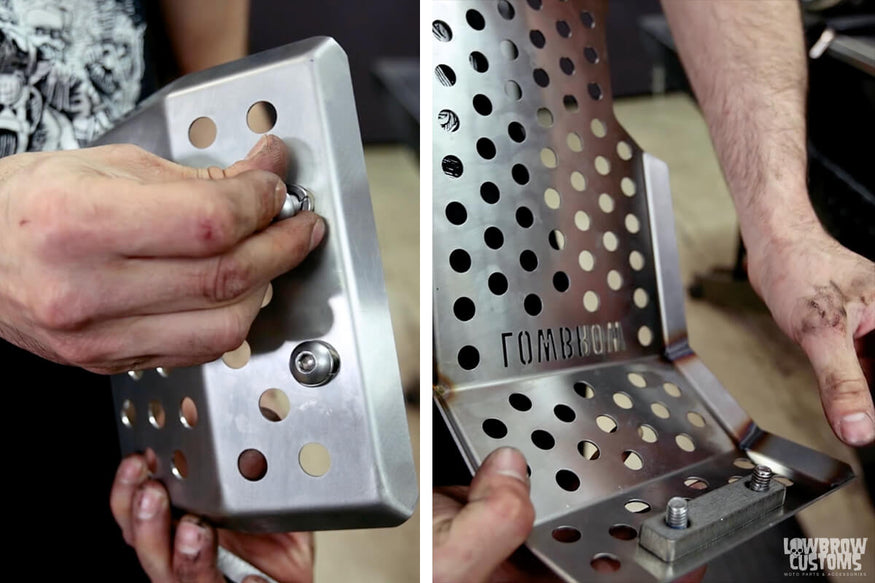 Bolts and lock washers feed through the slotted tabs on the outside of the plate. The spacer goes on the inside. *Remember to use blue loctite on the bolts.
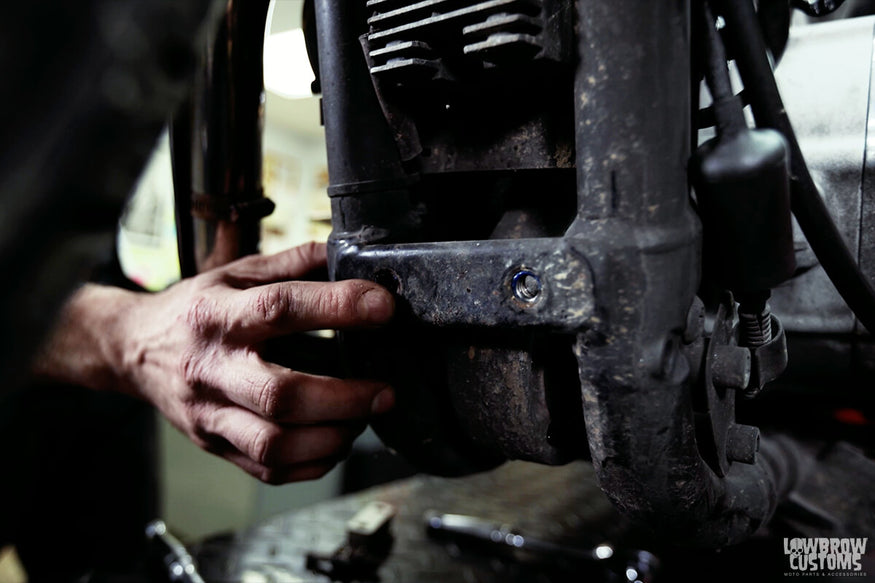 Here is the mounting location on the front of the frame where the two 3/8" bolts will go in.
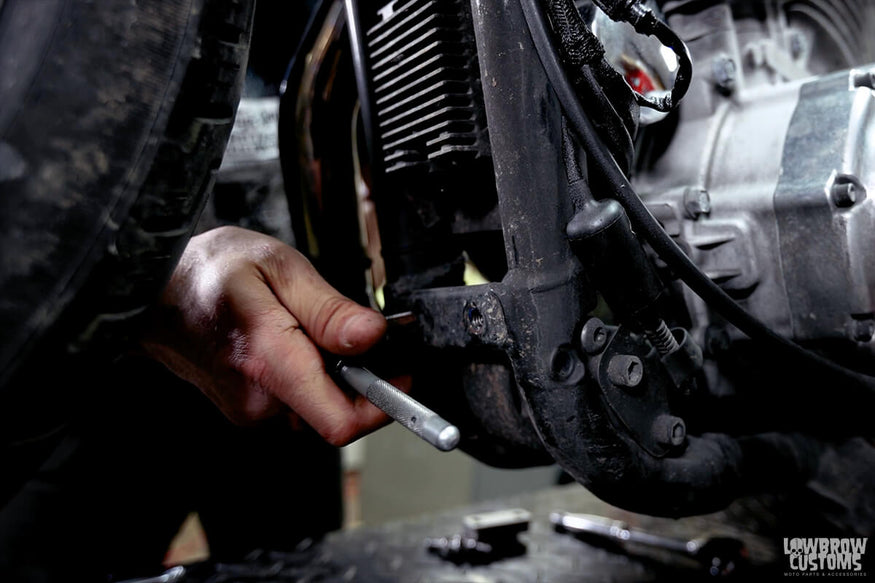 Tap out the holes if need be to get rid of any rust or debris.
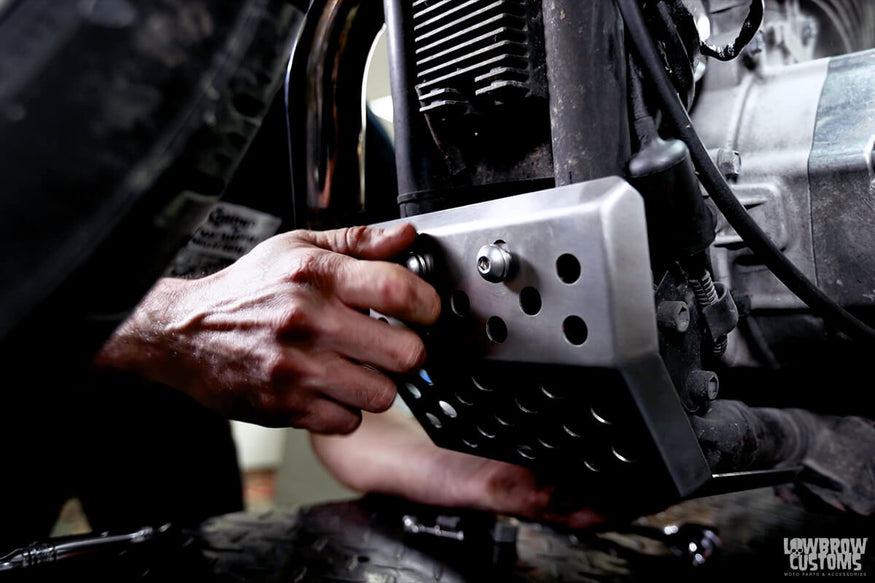 Insert bolts into the holes and hand tighten loosely.
STEP 2: LOCATE REAR SPACER AND INSERT HARDWARE
With the front loosely bolted in the motorcycle this will give enough room to mount it up in the rear. There is a double stacked spacer that will be installed first in between the c-channel on the frame and the skid plate.
Insert a bolt with a lock washer into the bottom of the skid plate through the double stacked washer and c-channel. Place the threaded spacer on the top of the c-channel of the bike and hand screw in the bolt.
This will line up the hole for the other bolt to go in easier. Hand tighten loosely, you will then tighten the front to set the location of the rear.
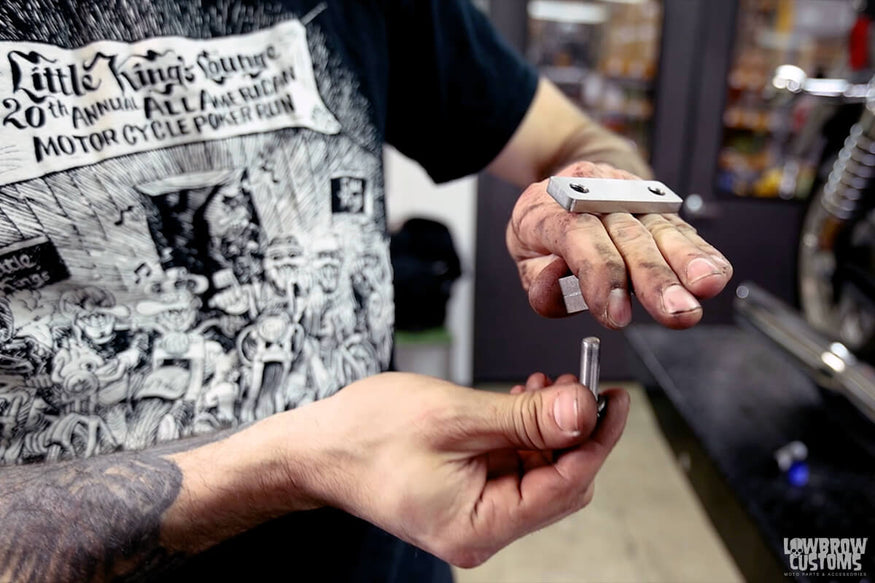 How the stack is gonna work. Tims hand is the c-channel
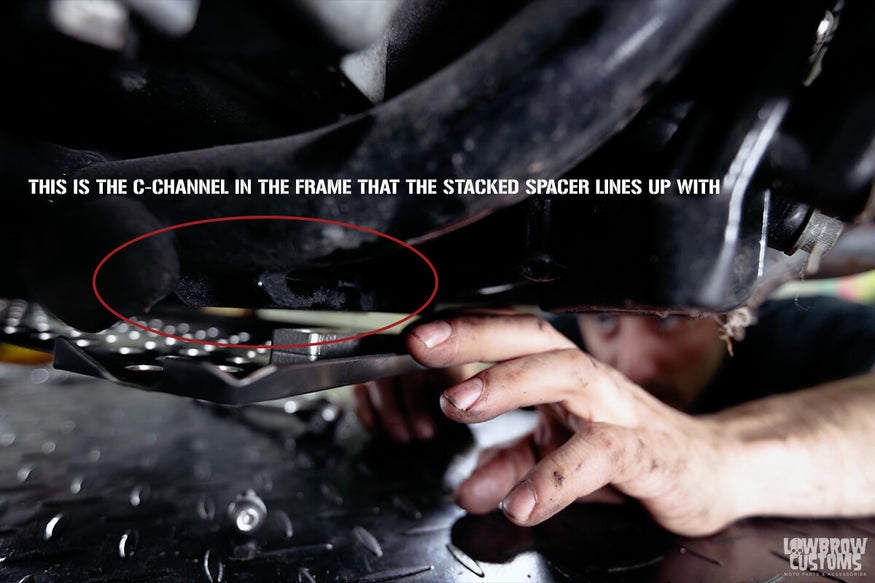 This is where the c-channel on the frame is located.
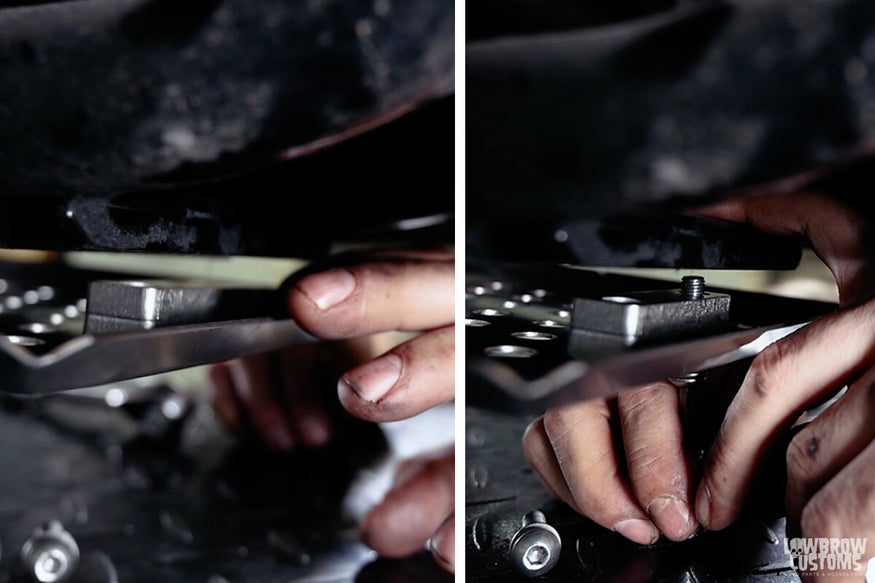 Place spacer in between the c-channel and the skid plate. Then put one of the bolts into the slotted hole and up through the c-channel.
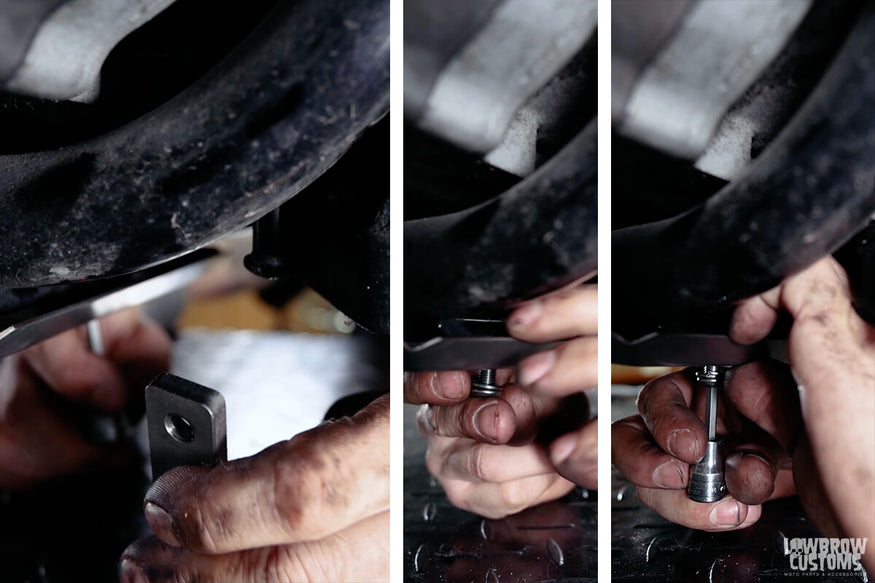 Take the threaded spacer and put it on top of the c-channel and screw in the bolt. Once the bolt is in the threaded portion of the spacer you will be able to insert the other bolt and lock washer easier. Hand tighten both.
STEP 3: TIGHTEN ALL THE HARDWARE
Torque down the front bolts and that will set the skid plate into place. Then go to the rear and torque the rear bolts. And that's it! You are skid plattin' now!
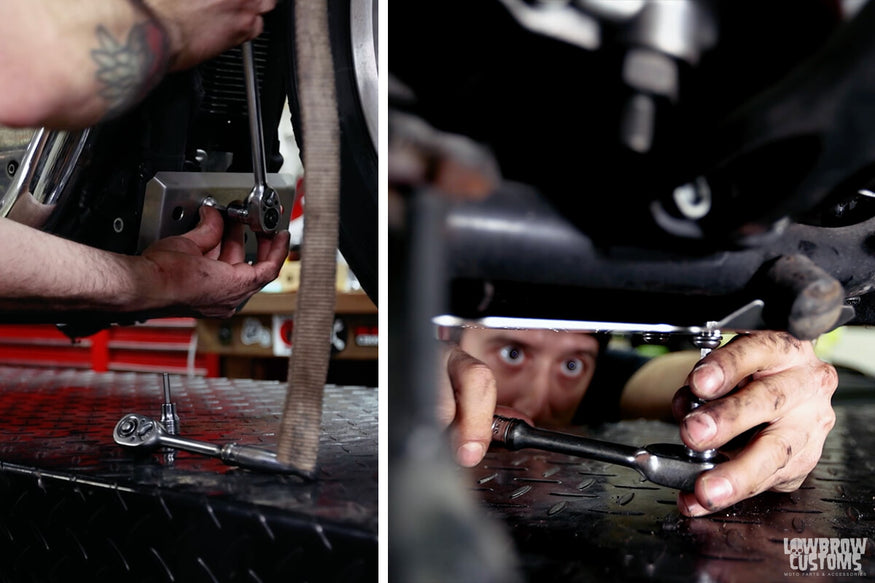 Torque front bolts then rear bolts.
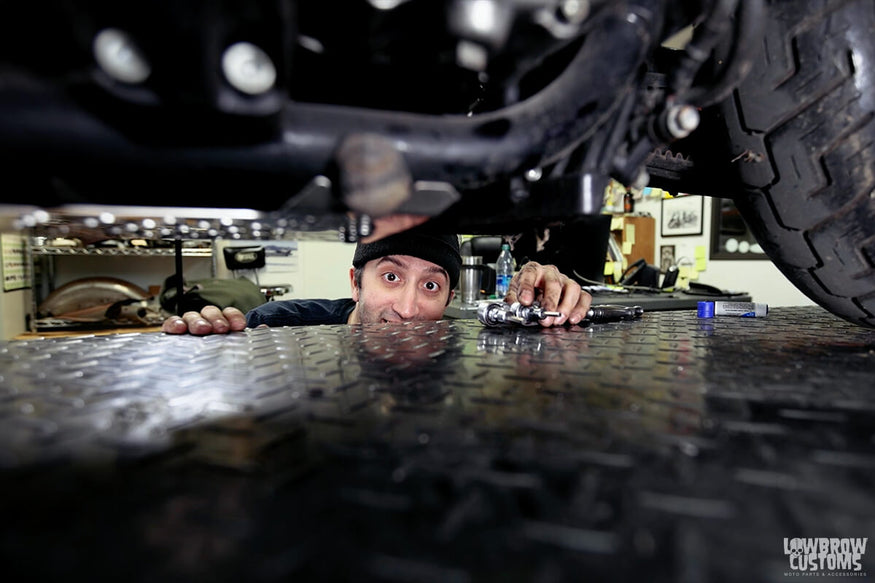 HEY HEY!
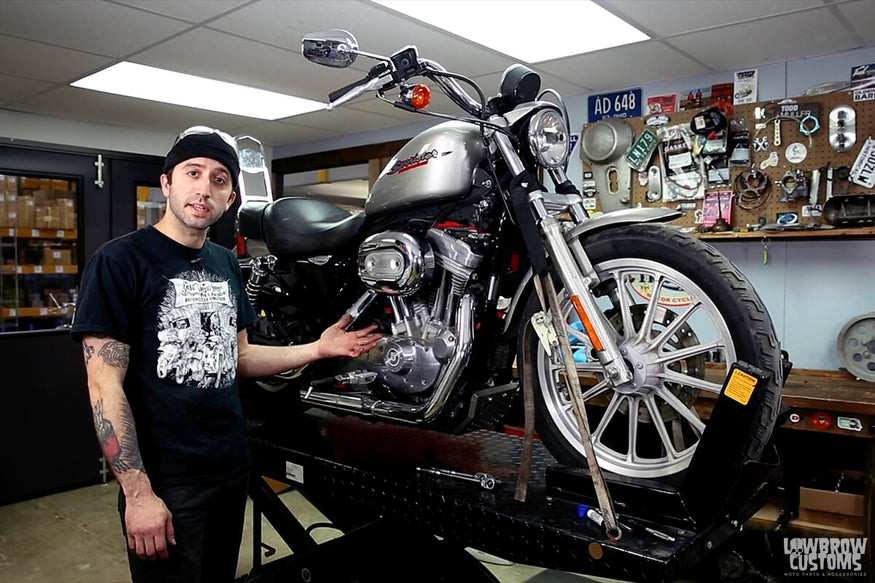 There ya go guys! It's that simple.
PHOTOS OF THE 2004-2022 SPORTSTER SKID PLATE INSTALLED
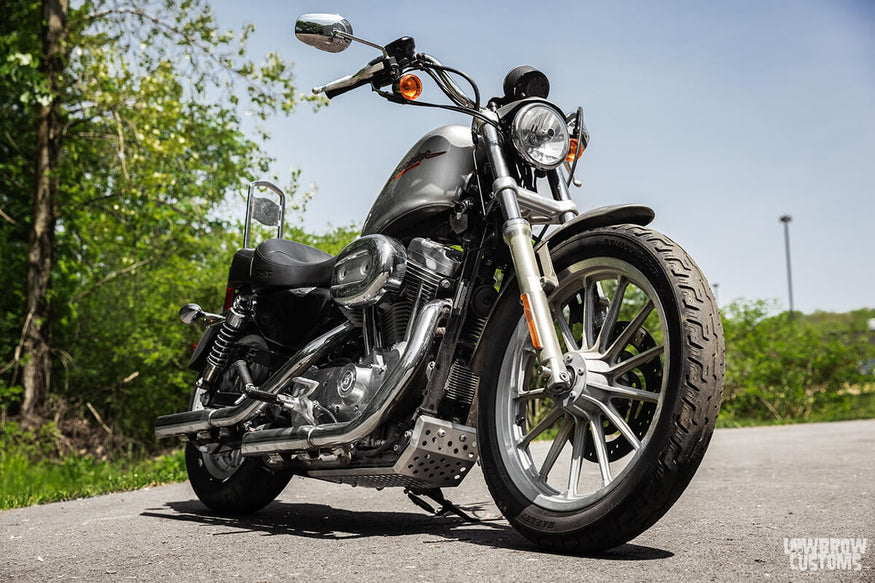 2007 Harley-Davidson Sportster
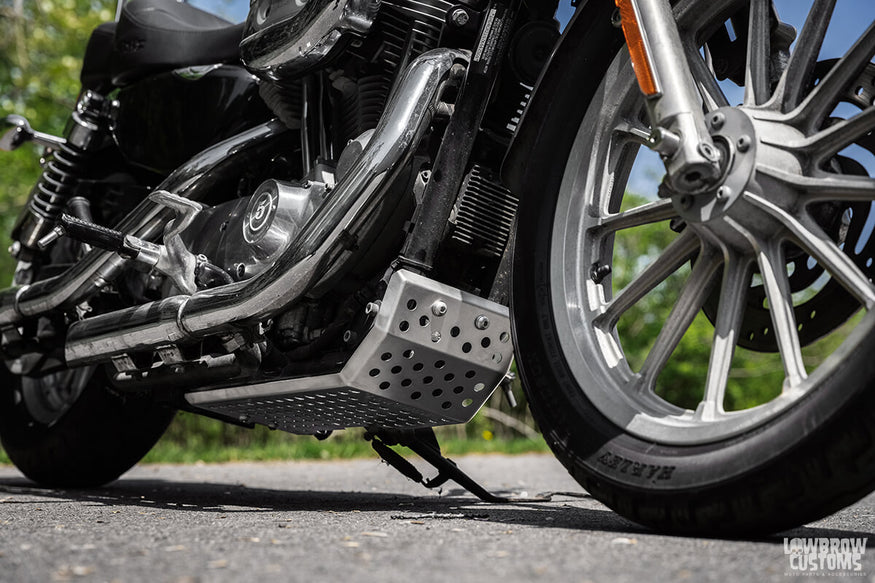 Crispy!
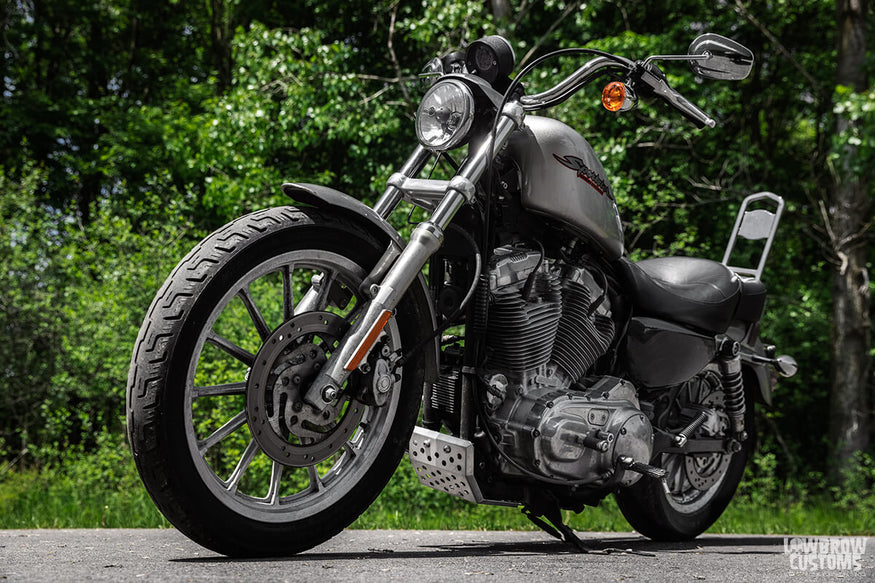 Even looks good on the B-side.
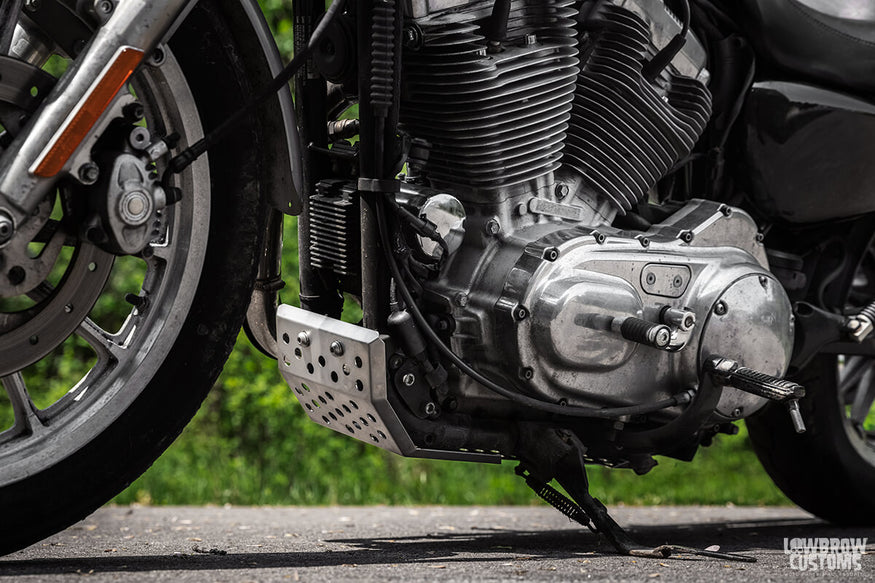 Hella nice!
Related Products


