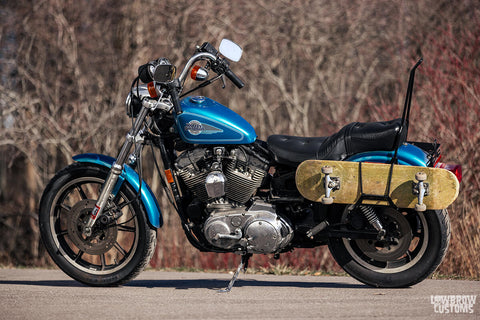
The true beauty of building a custom motorcycle is that it can be extremely fun, challenging, and really allow yourself to let out your creativity. There are lots of areas on a bike that you can create parts from scratch and completely make your own.
The sissy bar is great example of a part that can be created from scratch. The sissy bar is an amazing part that can allow you to show off your fabrication skills and express your creativity. The possibilities are endless to where you could really show off insane details and have an artsy piece adorning the rear of your motorcycle, or just keep it a tidy functional tool to carry your camping gear. It's all really up to you.
Lowbrow carries ready-to-go, bolt-on sissy bars and sissy bar kits, as well as all the sissy bar and fender strut fabricator parts you might need for a complete custom build such as the one we show you below!
WATCH VIDEO: IAN OLSEN'S SHOVELHEAD BUILD - PART 5: MAKING A CUSTOM SISSY BAR
Watch as Ian Olsen shows you first hand what creativity and fun looks like as he creates a custom sissy bar from scratch for his 1981 Harley-Davidson Shovelhead build. Fabricating a custom sissy bar can be done in so many different ways and Ian is just showing you his own way of doing it.
Watch along with him as he shows you his methods to his madness and maybe you will be able to use some of these cool techniques to build your own custom sissy bar.
PHOTO HOW-TO: MAKING A CUSTOM SISSY BAR IN FOUR STEPS
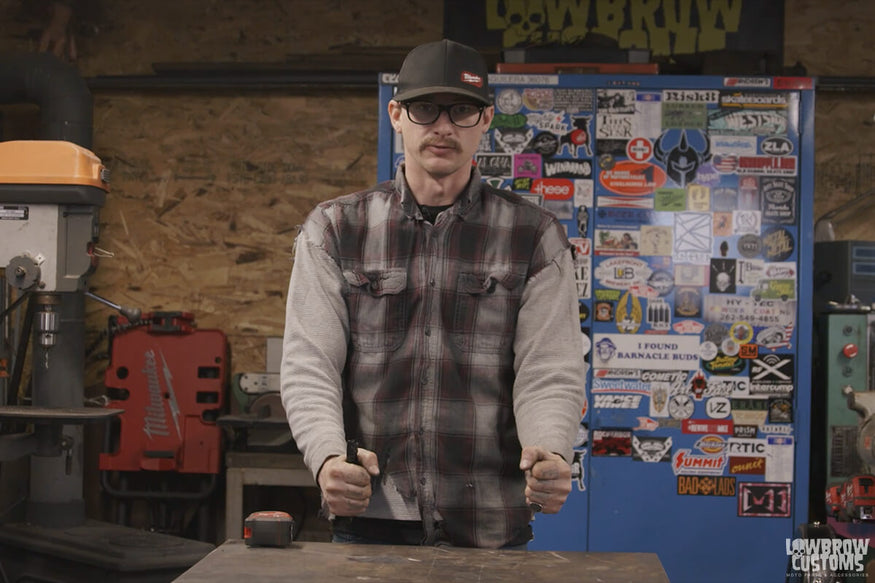 This is Ian, he's explaining how he's about to measure from axle plate to axle plate to determine how wide his new sissy bar is going to have to be.
STEP 1: MAKE A PLAN - DETERMINE THE SIZE & STYLE OF YOUR SISSY BAR
Determine the size sissy bar you want to make, do some hardcore measuring and write it down.
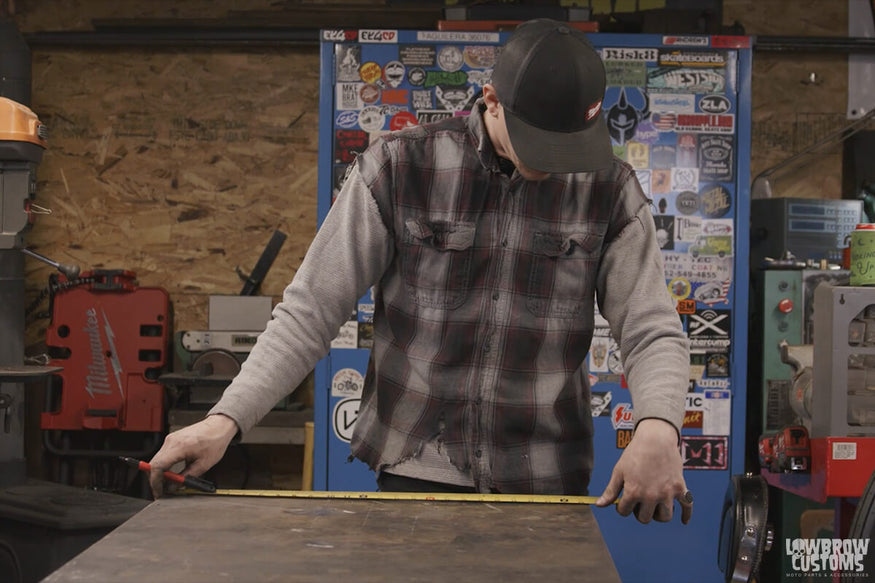 Using a metal table for a jig measure to determine center of the table, use a square and mark center of the table. You can then base your measurements of the center line.
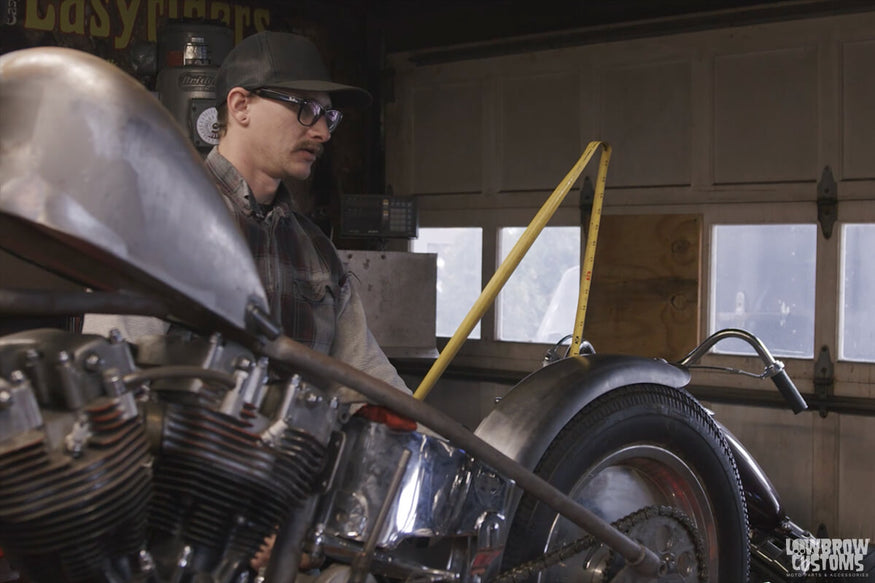 Determine the height you want your sissy bar to be. Ian went with 26 inches high from the mount location on top of his axle plates.
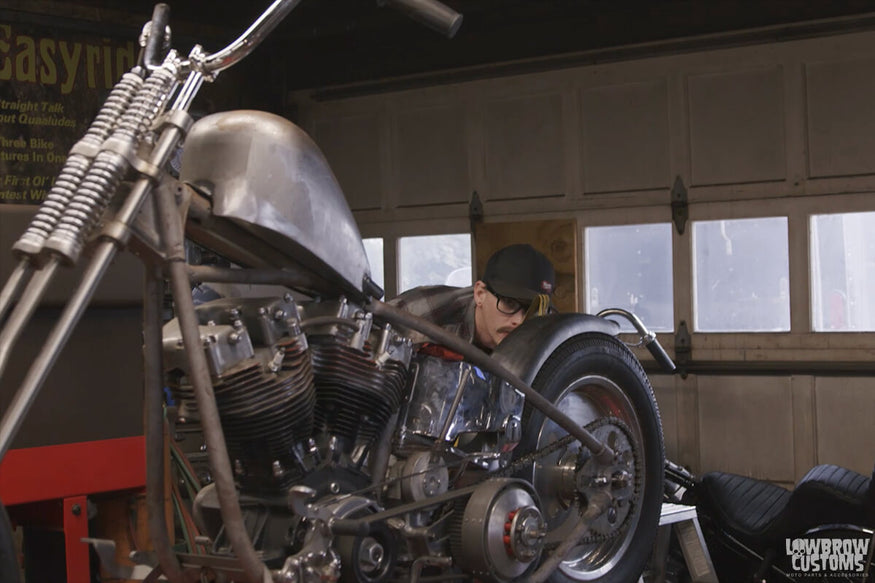 Determine height of where you want bends to be if you want to bring the sissy bar in closer by the fender.
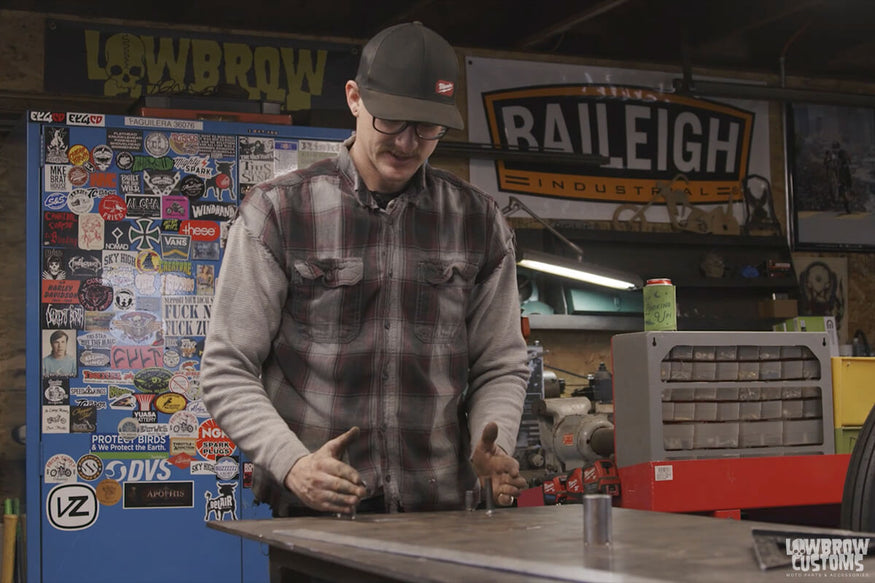 Draw your measurements out on the table and give your self a guide to where you want to tac round stock to make your bends.
STEP 2: MAKE A FIXTURE TO USE & START BENDING YOUR SISSY BAR
Determine how tight or round you want your bends to be by using different sizes of round stock and weld them on to you table at the different bend points on your drawn guide. Then can take your sissy bar material and start at the top making your first bend working your way to the bottom.
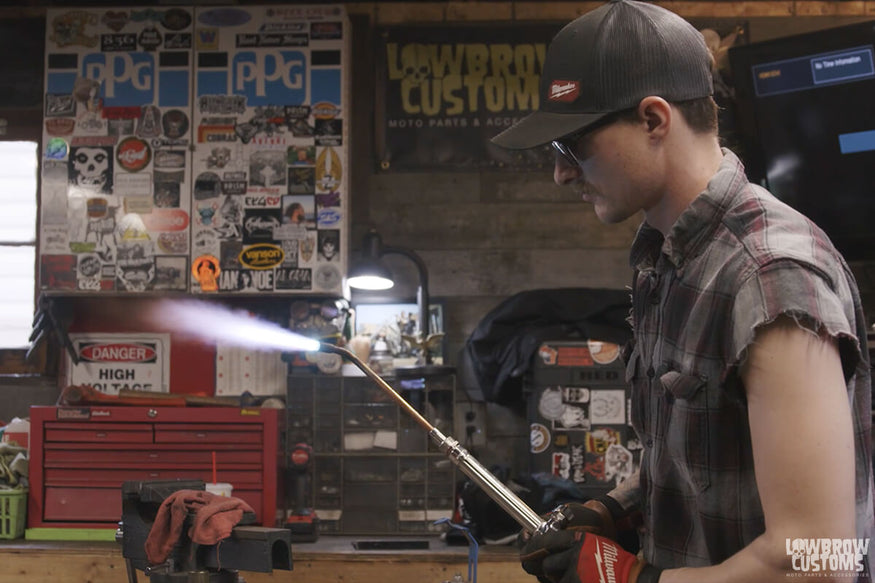 Fire up that oxy acetylene torch and get it to a nice blue color to heat up your rod for bending. (Please wear safety goggles and gloves!)
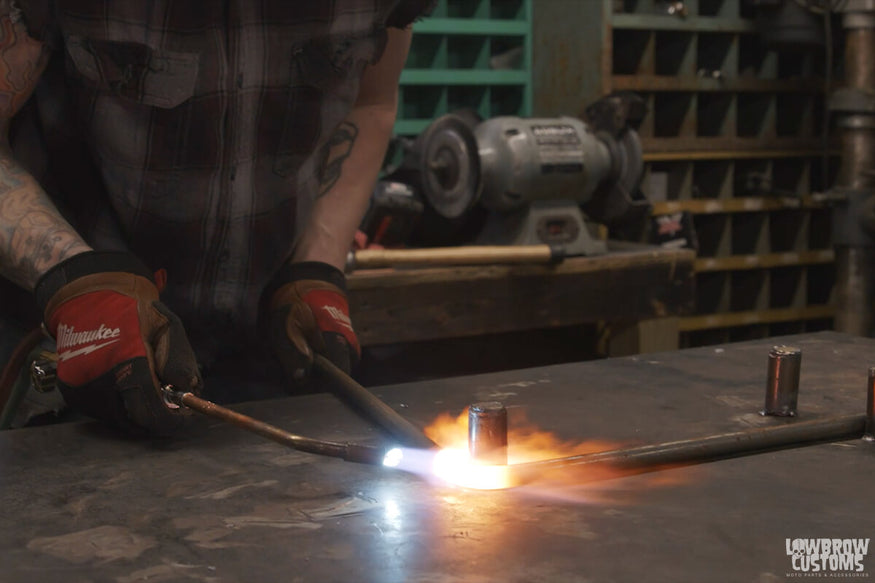 Get the rod a hot cherry red in the area where you are bending around the round stock welded to the table, slowly work it around until you get the bend you like.
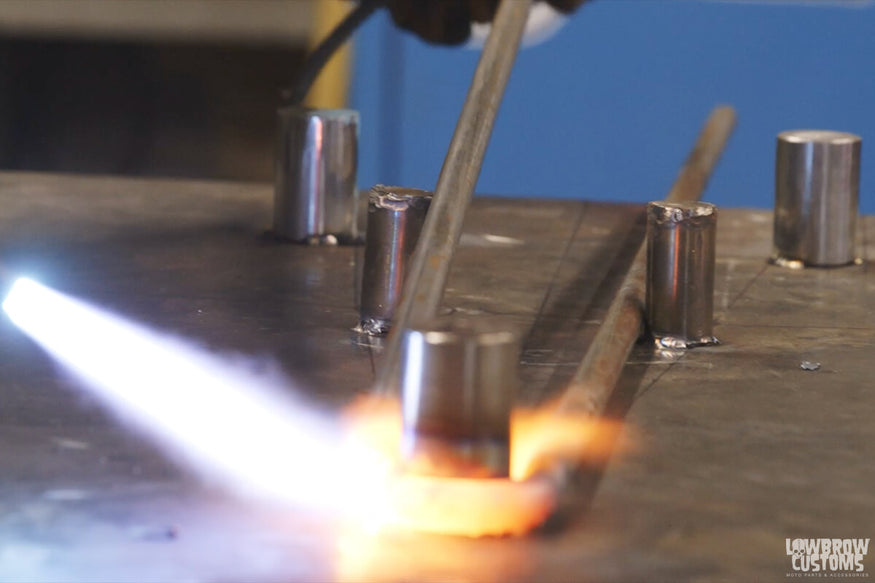 Note its ok to lift up and over your other round stocks on your jig table to get the bend the way you want.
Once you get your first bend complete start working on the next going top to bottom one side at a time, repeat steps on other sides and try to stay close to your guide as possible. As you get further down bending, you may want to clamp a heavy metal beam or square stock across the sissy bar and table to prevent warping as the entire sissy bar will start to get hotter. Also in this process you may need to add more round stocks to your guide depending on how complex you are making your bends.
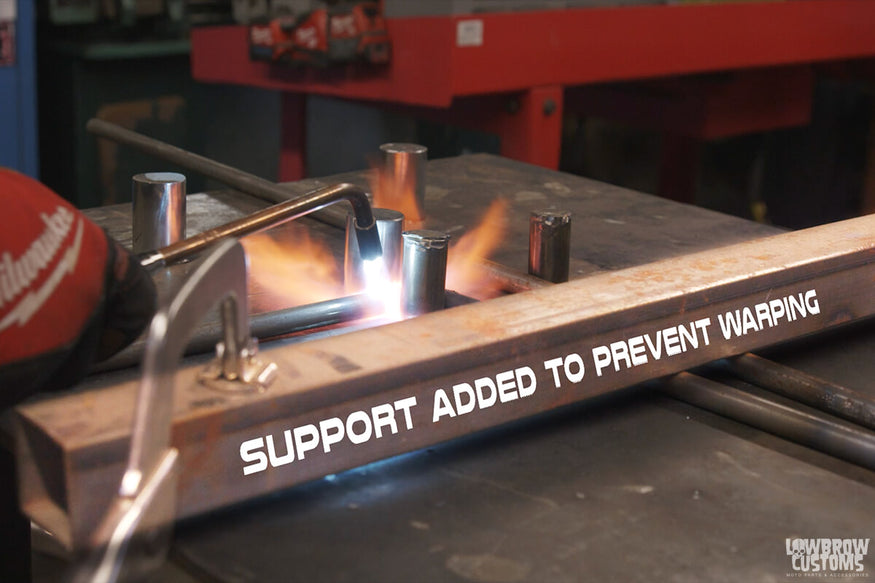 This prevents possible warping as you continue heating up the sissy bar to make more bends.
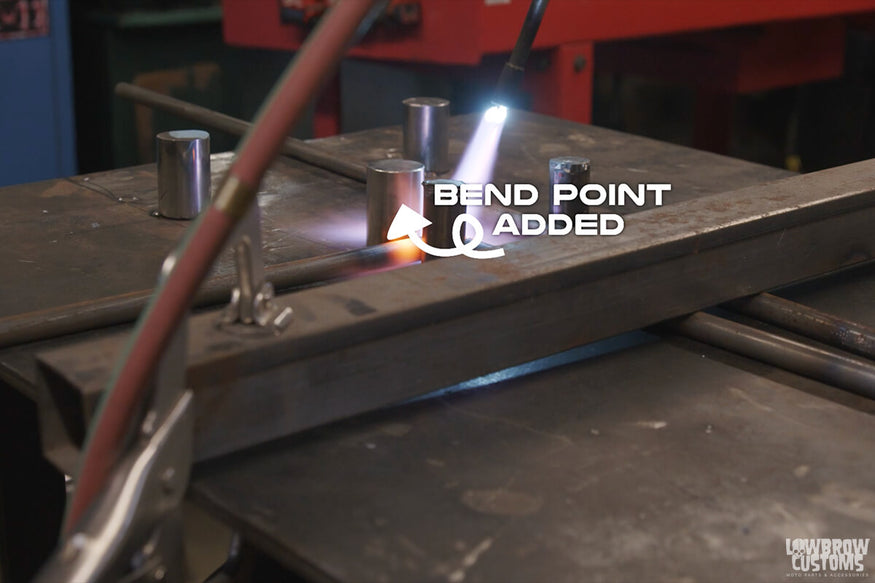 Adding another piece of round stock on the guide to make third bend based on the guide. This couldn't be there for the initial second bend because it was too close. You may have to add more round stock for bends as you work your way down depending on the complexity of your design.
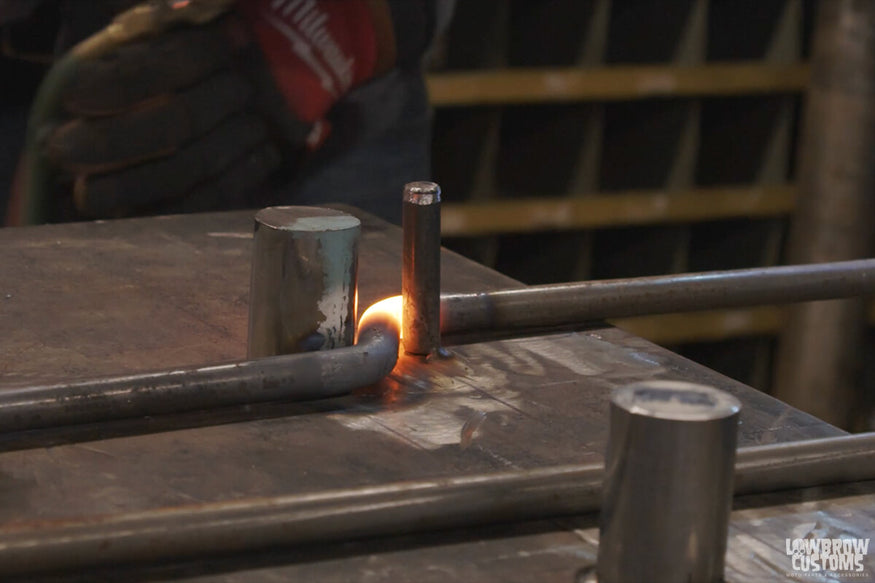 Here's a great pic of how welding another piece of round stock thats smaller to make a tighter bend.
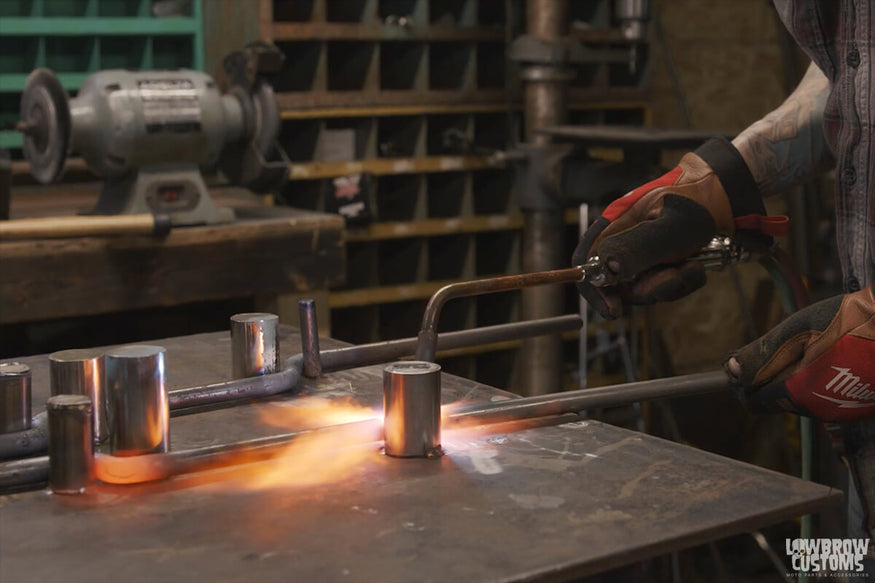 Matching the other side.
STEP 3: DETERMINE SISSY BAR MOUNTING STYLE
Using a cut off wheel cut the end of the sissy bars off at the end of the table. If you drew your guide right the end of the table to to the top of the sissy bar should be what you wanted your height to be. In Ian's case its 26".
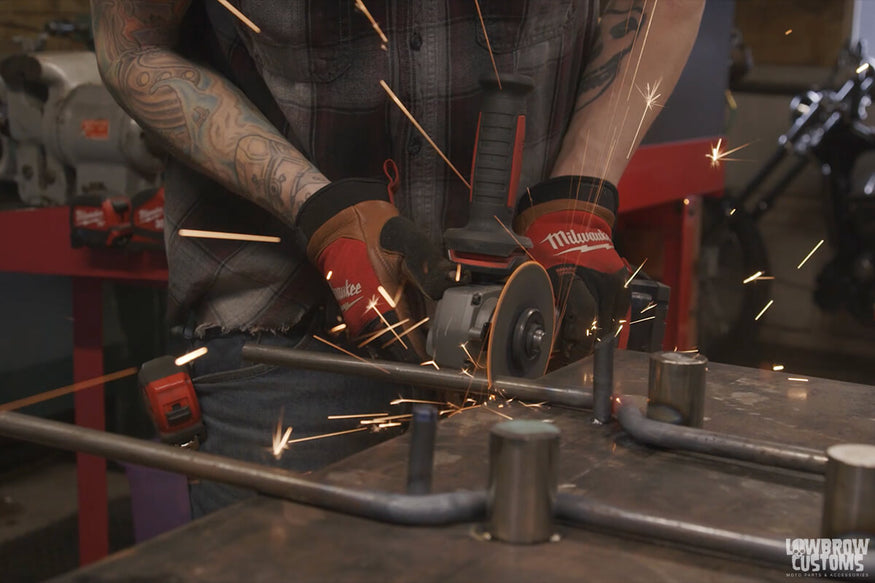 Cut cut cut baby!
This sucker is probably still pretty hot so use a pry bar to pry it off the jig and wearing gloves you can now take a look at your work and hold it up to the motorcycle.
 Using a pry bar to get the sissy bar off the jig.
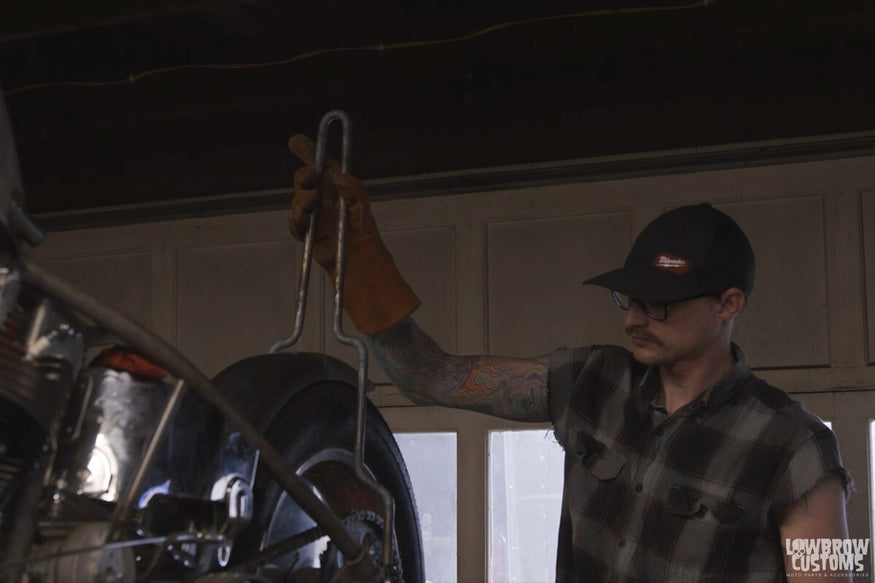 Ian taking a look at his newly custom made sissy bar.
Mount counterbore steel bungs to the axle plates and determine the angle you want your sissy bar to live. Tac the sissy bar to the bungs and then take off bike to finish weld bungs to sissy bar. (Sometimes sh*t doesn't come out the way you want it, so try try again if you don't like it. That's the beautiful thing about making custom parts, you can make it anyway you want it. Ian hated his first crack at this sissy bar so he made another one using same steps but different round stock to bend and shape the sissy bar a little differently. )
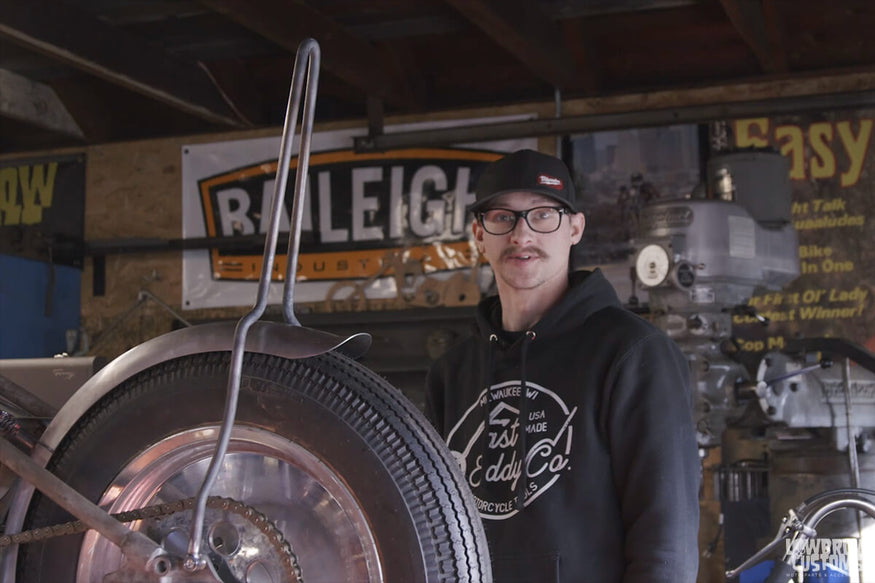 Ian happy with his new changes on the second sissy bar design. Similar in length and skinniness on the top, he changed the way the bends worked at the bottom and rounded them out more.
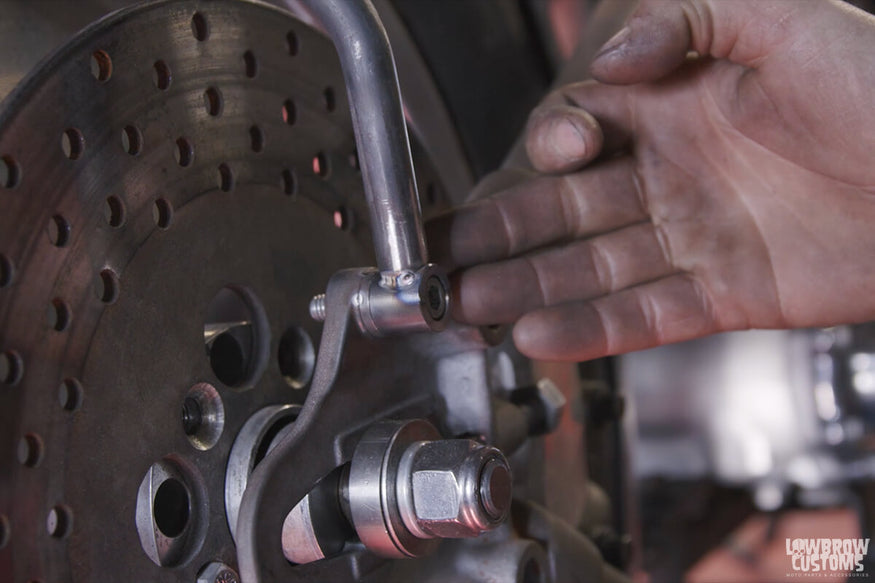 Counterbore bungs are excellent for this and look and give that real professional finish. With these you can also determine the angle of your sissy bar and tighten down to then mock up your mounting locations on your fender.
Determine where you want your mounting points to your fender will be. Ian is doing this later in the build when he mocks up his seat.
STEP 4: ACCESSORIES - SISSY BAR LICENSE PLATE MOUNTS & TAIL LIGHTS
Figure out what you want to do for a license plate mount and tail lights, if anything. Ian is fabricating a licenses plate bracket from scratch and welding directly onto the sissy bar. For tail lights he's using Prism Supply Mild Steel Weld On Ripple Taillights.
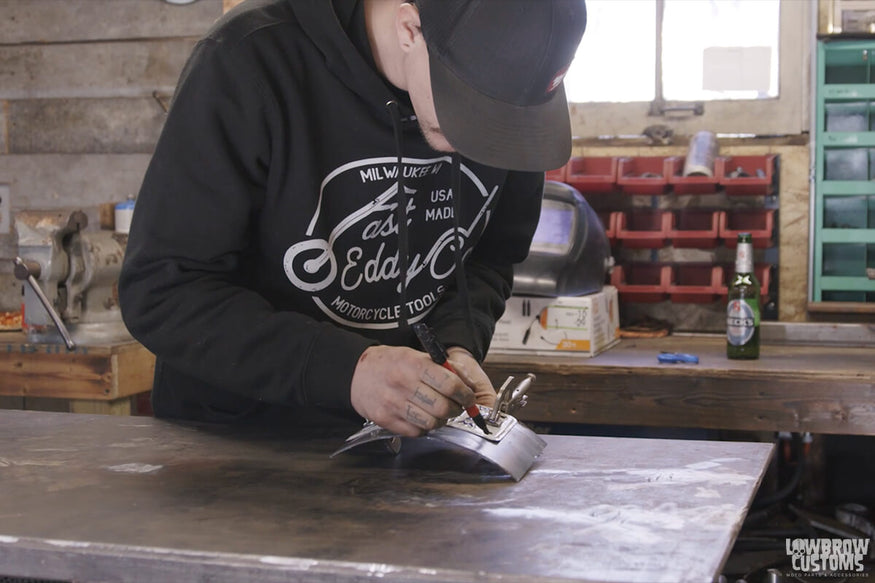 Arts and crafts time, using a license plate Ian traces it on a bent piece of metal he wants to use for the bracket.
 He then cuts it out and smooths out the edges.
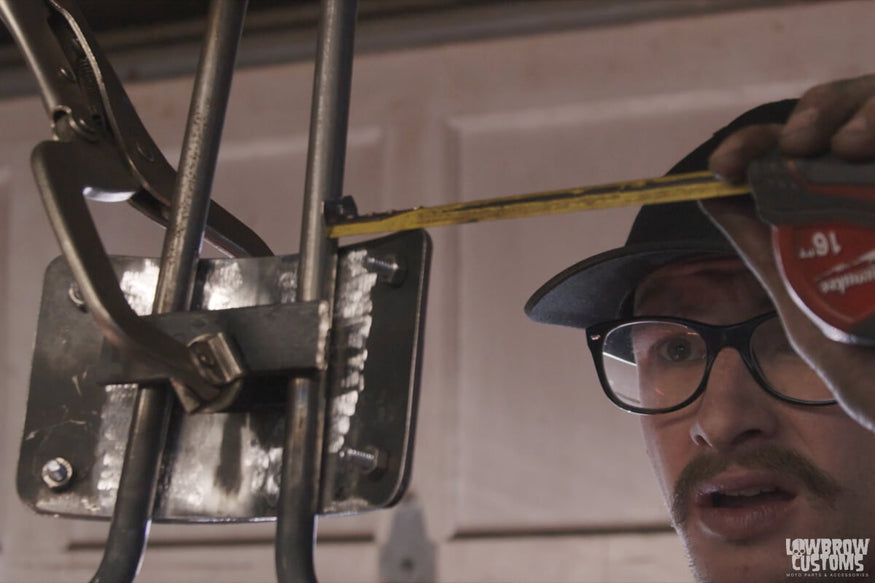 Measuring side to side me makes sure he's even on both sids before tacking the licenses plate bracket to the sissy bar.
 Tac it up!
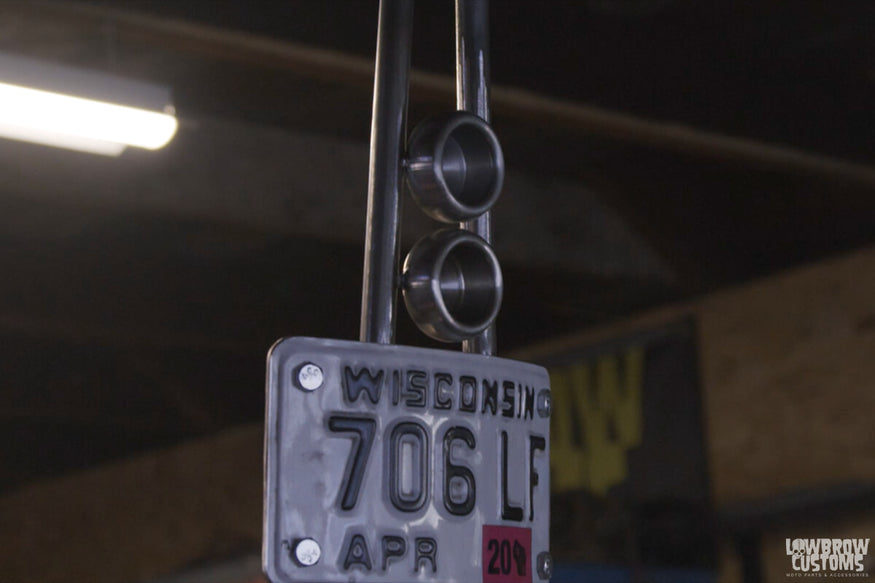 Check out those Prism Ripple Tail Lights!
Related Products


