TABLE OF CONTENTS
- MIKEY REVOLT'S LATEST SPORTSTER CHOPPER BUILD
- WHAT PARTS DID MIKEY USE TO BUILD THIS CUSTOM SPORTSTER?
- BUYING A USED HARLEY SPORTSTER TO START WITH
- DESIGNING THE SPORTSTER HARDTAIL FRAME (AND MANY OTHER PARTS TO GO WITH IT)
- FINISHING DETAILS, AND UNUSUAL INSPIRATION FOR THE PAINT JOB
- A CAREFUL FINAL ASSEMBLY WITH THE NEWLY PAINTED FRAME AND TINS
- IF YOU BREAK SOMETHING, DON'T WORRY
- THANKS TO ALL MY FRIENDS WHO HELPED WITH THIS BUILD
MIKEY REVOLT'S LATEST SPORTSTER CHOPPER BUILD
WHAT PARTS DID MIKEY USE TO BUILD THIS CUSTOM SPORTSTER?
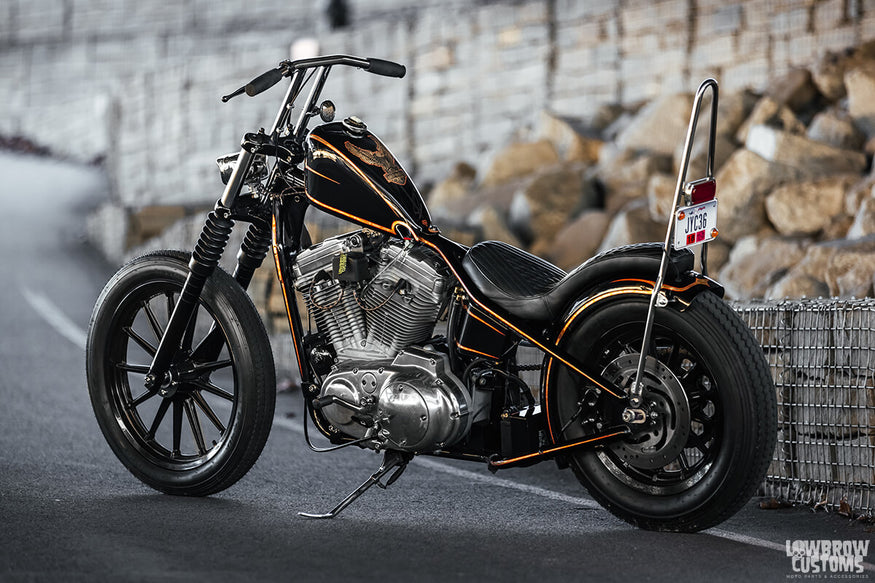
Dig Mikey's Sportster chopper, and want to know exactly how he built such a good-lookin' machine with a killer stance? Well, you made it to the EXACT right place :)
You can find all the parts Mikey used to build his 2000 Sportster chopper right here.
BUYING A USED HARLEY SPORTSTER TO START WITH
In May of 2018, Gorgeous Greg and I took a very short van ride down the street from the shop to a really nice couple's house here in Brunswick, OH. They had a listing on the ole' craigslist for a gently used fully stock 2000 Harley-Davidson Sportster XL for a cool $3,500.
The bike had just over 5k miles on it and seemed like a promising candidate for becoming my new chopper project. The motor was extremely clean, and it had lots of chrome bits on it that I could pull off and resell.
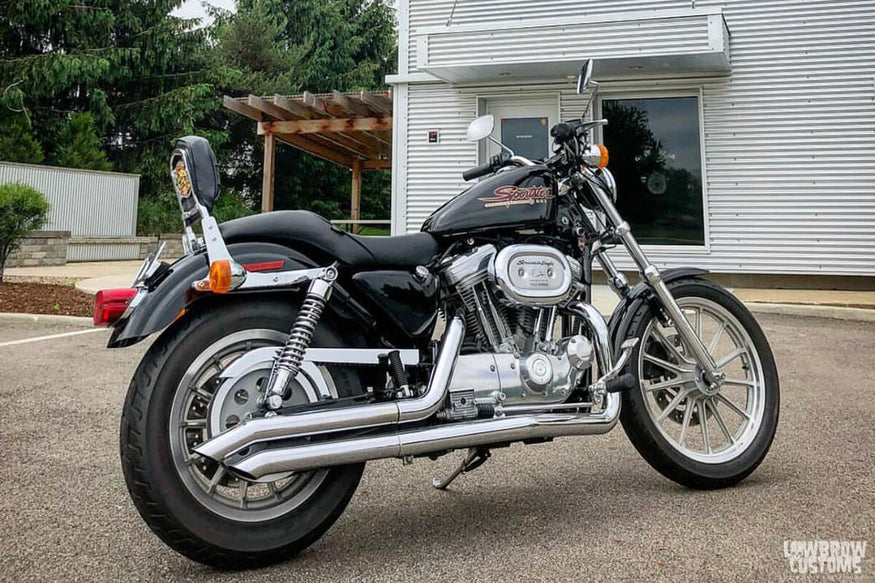 Before shot of the 2000 Harley-Davidson Sportster, freshly purchased and in front of the shop.
Using what I recently learned from Todd on what to look for when buying a used Harley Sportster, I brought my cash, my questions and my business face. When we arrived Greg and I did a thorough investigation of the bike.
The ad said it was an 883 but much to my surprise when looking at the jugs it had a 1200 stamp on it. I asked the gentleman selling the bike if it had been converted to 1200 and he said, "Yeah, my brother in-law is a mechanic. He did the conversion on it so it would be a bit faster for the wife, but she just likes to ride on the back of mine. Hence why we are trying to sell it."
Everything was super clean and in way better shape then the previous 2 bikes I had looked at that week. Next came the negotiation where I failed miserably but still got a fair deal in my opinion. $3500 is a fair price but its always nice to get a little more off of any deal, if you can. I offered $3200 and the guy wouldn't budge, he said "I'll just keep it, $3500 is the number."
In the end I shook his hand and gave him his full asking price. It was just too clean of a motorcycle not to pay what he was asking. Greg and I loaded the bike up and took it the shop.
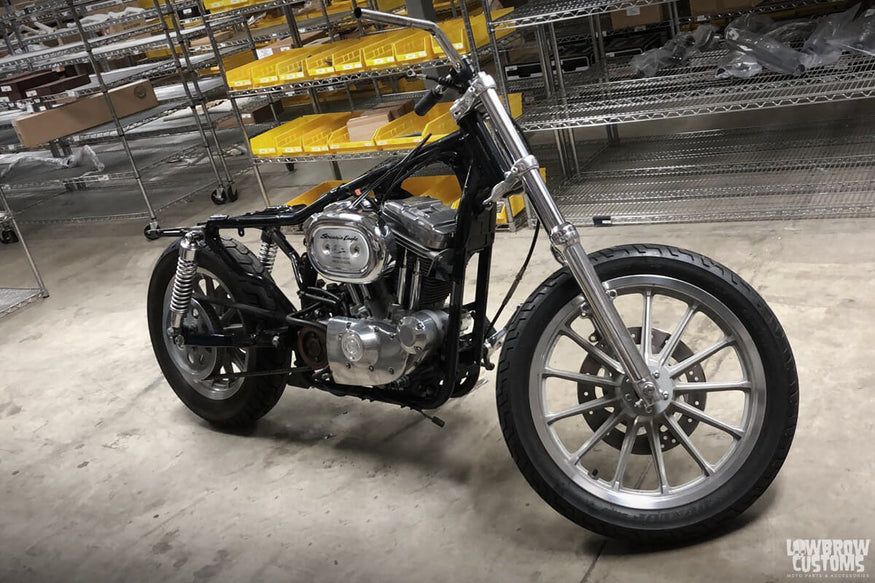 Stripping the bike down was a lot of fun for me and I learned a lot about where everything was located and how it goes together.
DESIGNING THE SPORTSTER HARDTAIL FRAME (AND MANY OTHER PARTS TO GO WITH IT)
The plan for the bike was to ride it stock for the summer and make sure it ran well, then strip it down and get the rolling chassis and motor over to The Gasbox for some extensive research and development. I think I rode it maybe a month and Jesse was getting eager to get his hands on it.
David Bird had retired around that time and there were no high quality hardtails being made on the market. Tyler and Jesse wanted to change that and needed the bike to develop Lowbrow's weld-on hardtail for 1986-2003 Harley Sportsters.
So, I stripped the bike down to the bones right after our Fuel Cleveland show that July and took it to The Gasbox. There, the bike became the guinea pig for the next 3 years making way for a slew of innovative parts, many oif which you can see on this motorcycle.
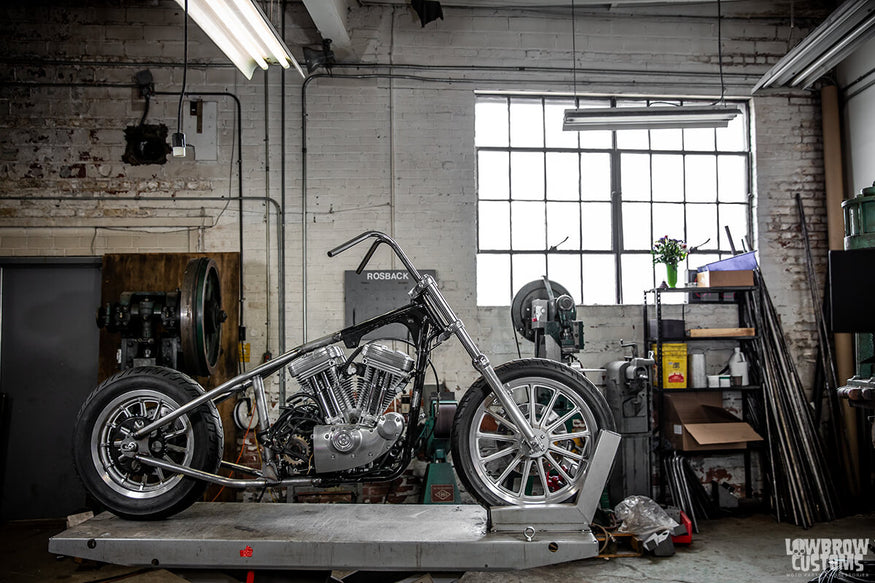 In April 2019 the first Lowbrow Customs hardtail was born.
As I was saying the R&D work took almost 3 years. First came the hardtails within the first year, then slowly The Gasbox developed more and more parts off of my bike. It was cool to see the developments being made every time I stopped into The Gasbox, but yet at the same time I realized the bike wasn't getting anywhere closer to being a finished chopper.
Life, work, projects, Fuel Cleveland shows, and the pandemic took a tole and I feared this project was never going to get done. Then one day in early 2021 Jesse called me up and said "Hey man, come get this thing, it's taking up space in the shop! The fab work is done, and now it's all on you now to finish the mock up, pull it a part, and do all the finishing details, paint, wire it etc."
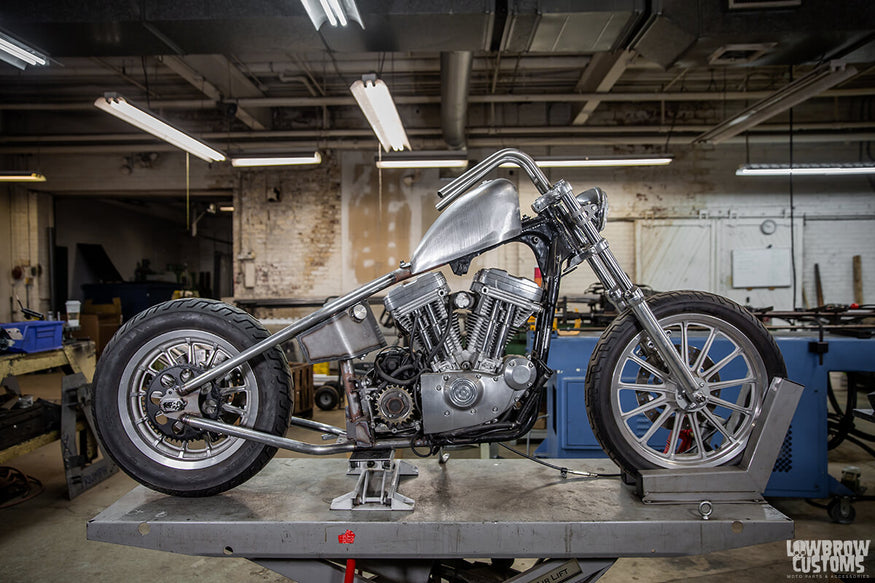 Lowbrow Customs first oil tank that fits perfectly with the hardtails.
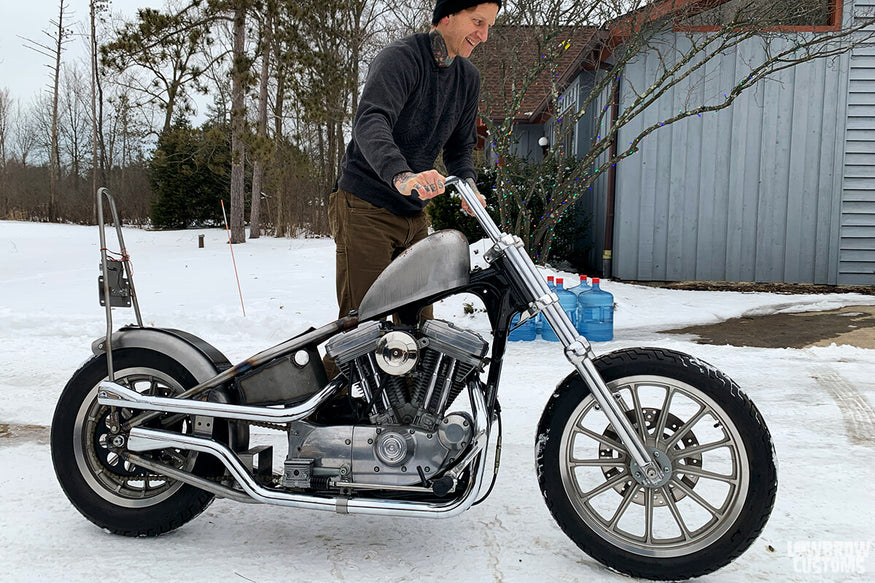 Feb. 2021 near the final mock up. At Tyler's house we filmed the 'I cut my bike in half, now what?' video
FINISHING DETAILS, AND UNUSUAL INSPIRATION FOR THE PAINT JOB
With the fabrication done it was time to figure out what I wanted to do for paint, the handlebars, the seat design, sissy bar, wheels, and all of the little odds and ends. In my opinion you can really make or break a bike with a few key things.
If the paint is bad, the bike is ruined, if the seat isn't done with taste, it can throw the bike off. If the tires and wheels aren't right, it can make the bike look ugly. So with all of that in mind I looked to some of my own photos of bikes I've taken in the wild, the good ole' internet, and some inner locked memories for so much needed inspiration.
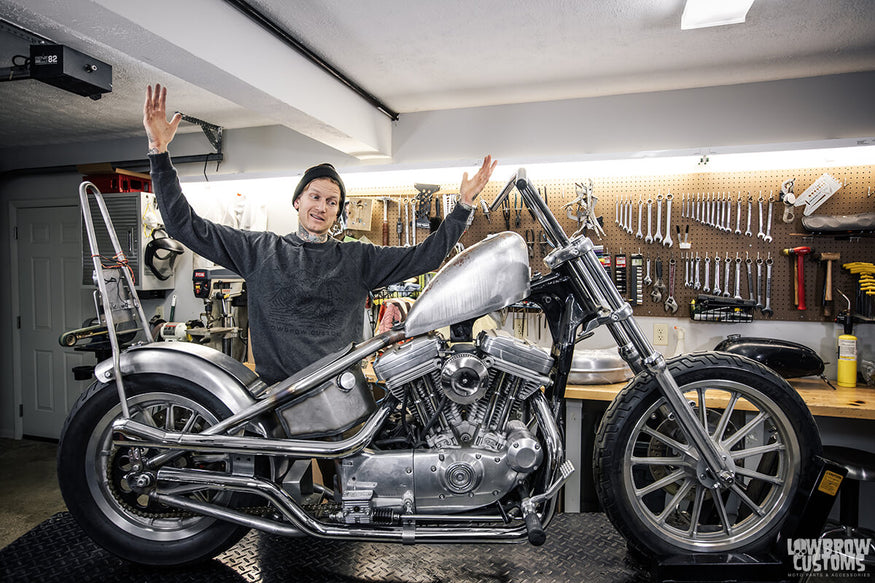 Tyler saying, "Now what"
For the paint, I wanted my friend Joe Koenigsmark to handle it. He's a master in old hot rod techniques and I knew he could lay down the ideas in my head. I remember the first time I saw Warren Heirs' gold leafed Knucklehead at Hoodbush back in 2013.
It had my attention the minute my eyes laid on it and I knew right there and then that one day I would build a black and gold leafed chopper. I also had this distant memory in my head of a time when I was really little. My step dad Carl would smuggle H-D cigarettes by the cartons from South Carolina to Ohio, he would drag me and my mom along from the extremely long car ride. We would see some of his family down there and then he would load up the car and make our way back north.
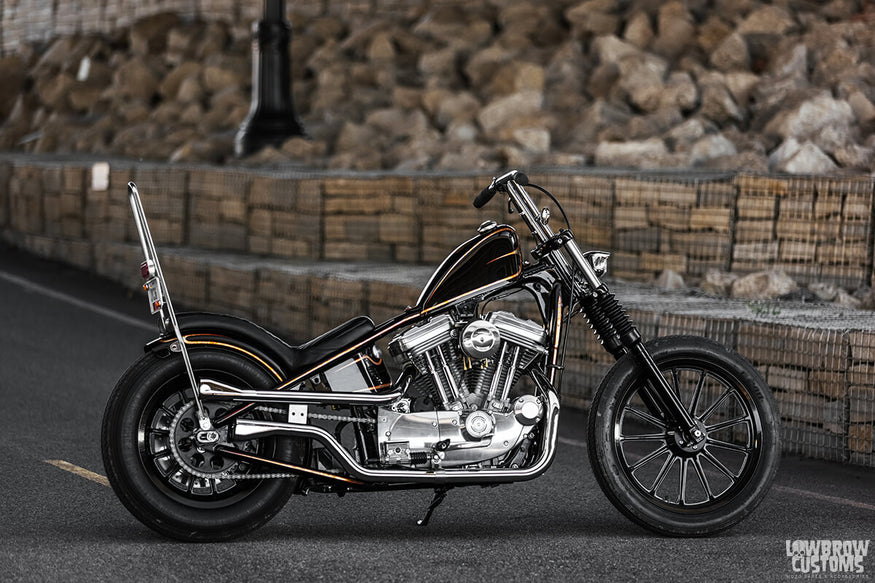 Joe's line work is incredible. I love the line that goes from the tip of the hardtail all the way up and through the tank continuously flowing, it's just beautiful.
When we got home he would sell those bad boys for triple. The guy would do anything to make a buck and help keep our family a float, for that aspect of him I will always be grateful for. Though this was highly illegal, he didn't give a shit and it just made me think he was such a bad ass.
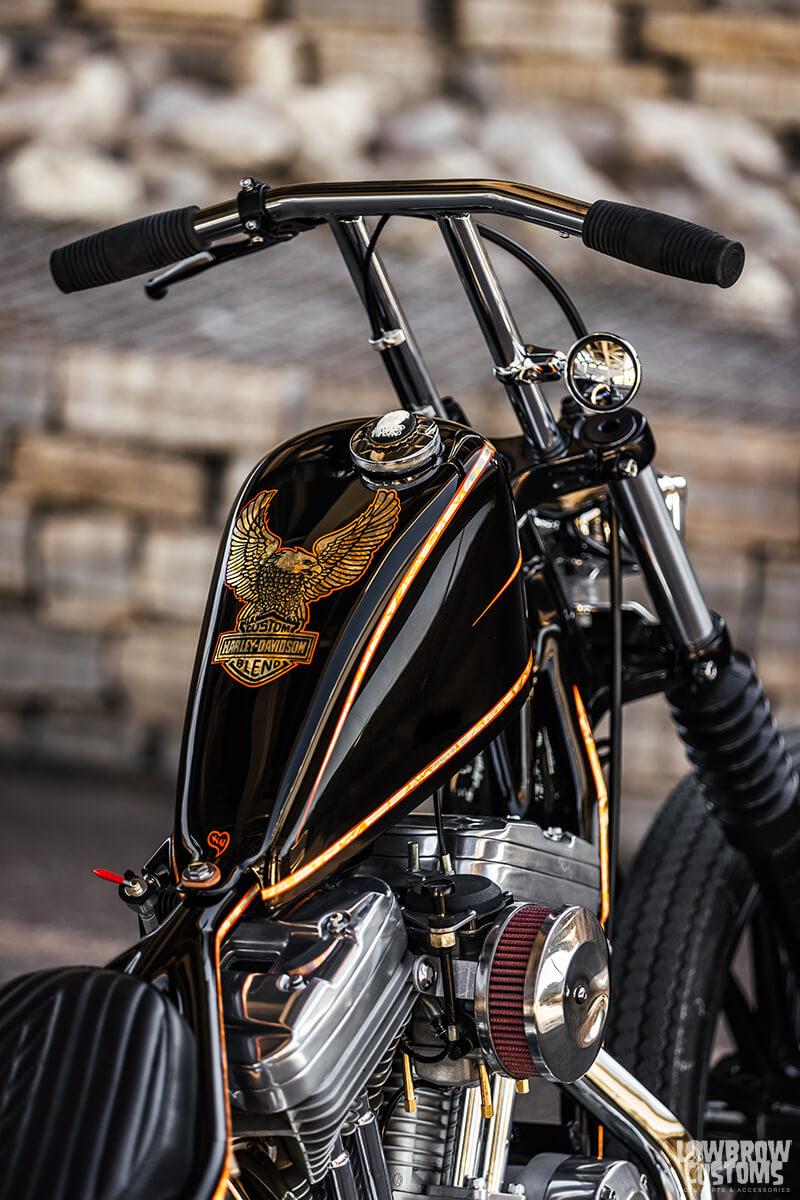
Well, it just so happened that those Harley cigarette packs he used to smuggle had a gold eagle emblem stamped on them. The lightbulb went off when I was thinking about the paint scheme of gold and black and I knew that had to be the design for the top of the tank.
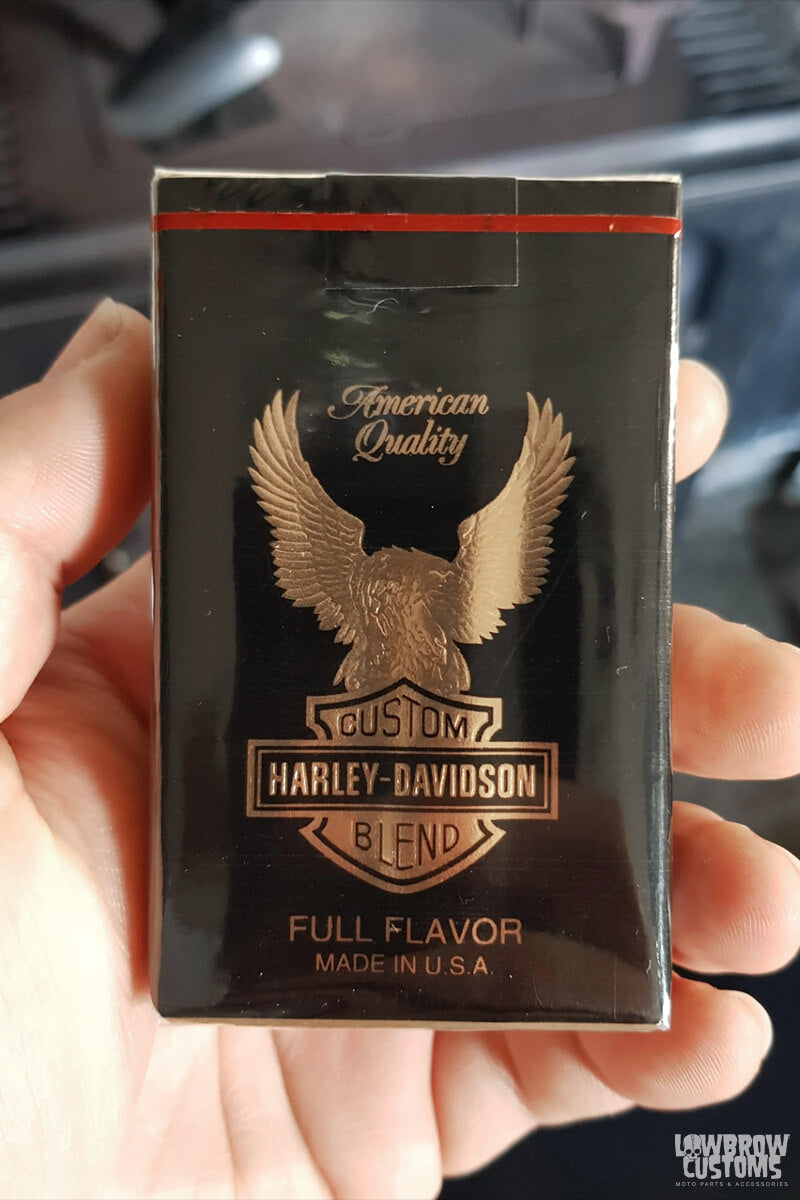 The old Harley-Davidson full flavor cigarette packs, what they used to look like. I remember them so vividly as a kid.
A gold leafed eagle, I even wanted to keep the funny bar and shield saying. "Harley-Davidson Custom Blend". My step dad Carl passed last year of stomach cancer at the young age of 52 and I figured this paint job could be a little tribute to him.
He loved motorcycles and but never could afford a Harley, so it felt fitting to do something and pay my respects in my own way on the tank of a Harley. Our relationship wasn't always the best, but there were some good times, and this was a memory I wanted to keep with me forever.
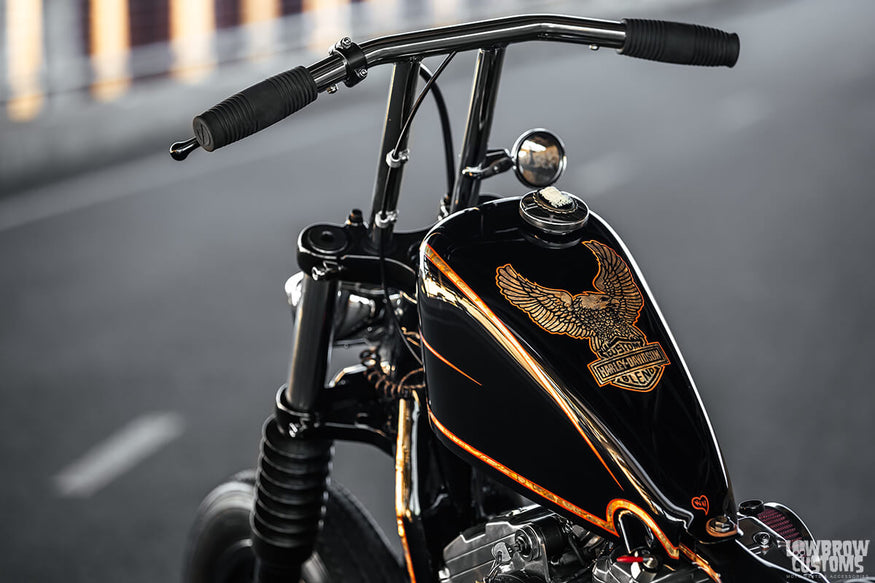 Custom Blend, Harley-Davidson bar and shield was laid in gold leaf by Joe Koenigsmark and then Chris MacMahan from Aerographix laid the hand painted outlines on the top to form the eagle.
The custom paint took about a year for Joe to complete, if you are doing the math we are at year 4 on this ever ongoing project. Wild to think but, when I got the paint back I couldn't have been happier. I mean just look at the gold leaf and hand painted orange pinstripes that tie it all together. It's just a thing of pure fucking beauty and it brings a smile to my face every time I look at it.
Joe also surprised me with a couple hidden gems. One was a hand painted orange flying dinger by my seat post hole. It's hidden under the custom motorcycle seat. A pretty funny inside joke between Joe and I. At Bonneville he's always drawling dingers on Kyle, Tyler, and other people's bikes and taking photos of them while he's drawling them is hilarious.
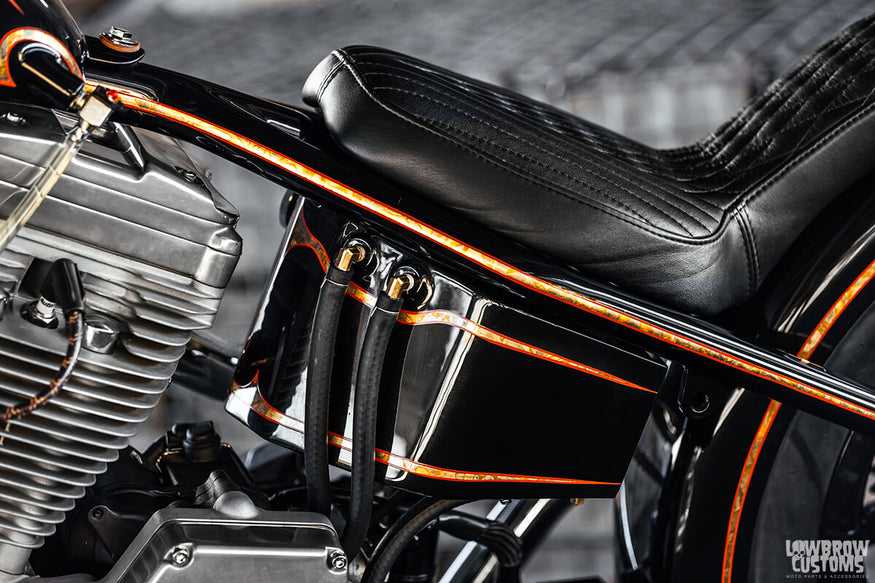 Lowbrow Customs Oil Tank for hardtail Sportsters sporting beautiful gold leaf detailing.
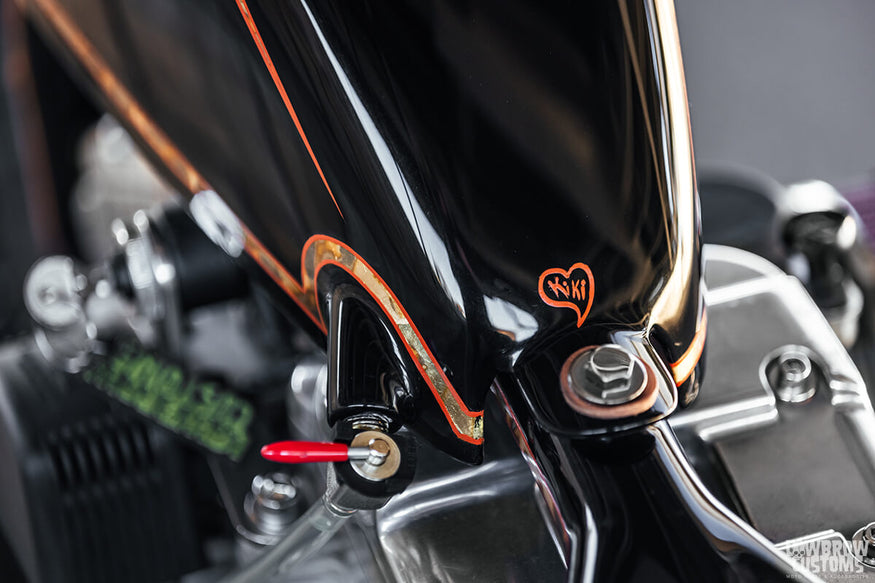
He also buried a tobacco brown metal flake deep into the black so when the sun hits it just right, the bike shimmers. Keeping true to the cigarette theme, I was beyond blown away by that intricate detail. The last surprise on the paint, Joe hand painted a small heart with my dog's nickname Kiki in it, near the bottom of my tank. She had passed just a couple days before I had planned to pick up the paint from Joe's Shop.
He said with a tear in his eye as he handed me the tank, "So she will always be riding with you." and then gave me a big hug. I'm not going to lie, I got pretty emotional, it was such a kind and thoughtful gesture. I'm truly grateful to have a friend like Joe in my life.
 Kioshi Mercedes aka Kiki, I miss her every day.
While the paint was going on I had to figure out another piece of the puzzle which was the front end. I knew I didn't want to run a front brake, well because choppers, duh. So, I ended up pulling my 39mm front end apart and sending my lowers off to my best friend Chris Drew in Buffalo. He shaved them down for me and did this killer 4 stripe design on the top of them. We just kept it simple.
I knew immediately when I saw them done they had to be powdercoated black. With that decision made, it would have been funny to keep the trees in their metal finish, so those were sent off to the powdercoater as well. Rubber boots always give off this tough guy look vibe on front ends, so I went with a pair of those too.
For the headlight, there was an old bates square boy from an old front end I bought off Tyler years ago that was just sitting in my garage waiting for this project. It was the perfect compliment to the front end once Fiorucci Fabrications made a one off mounting bracket for me.
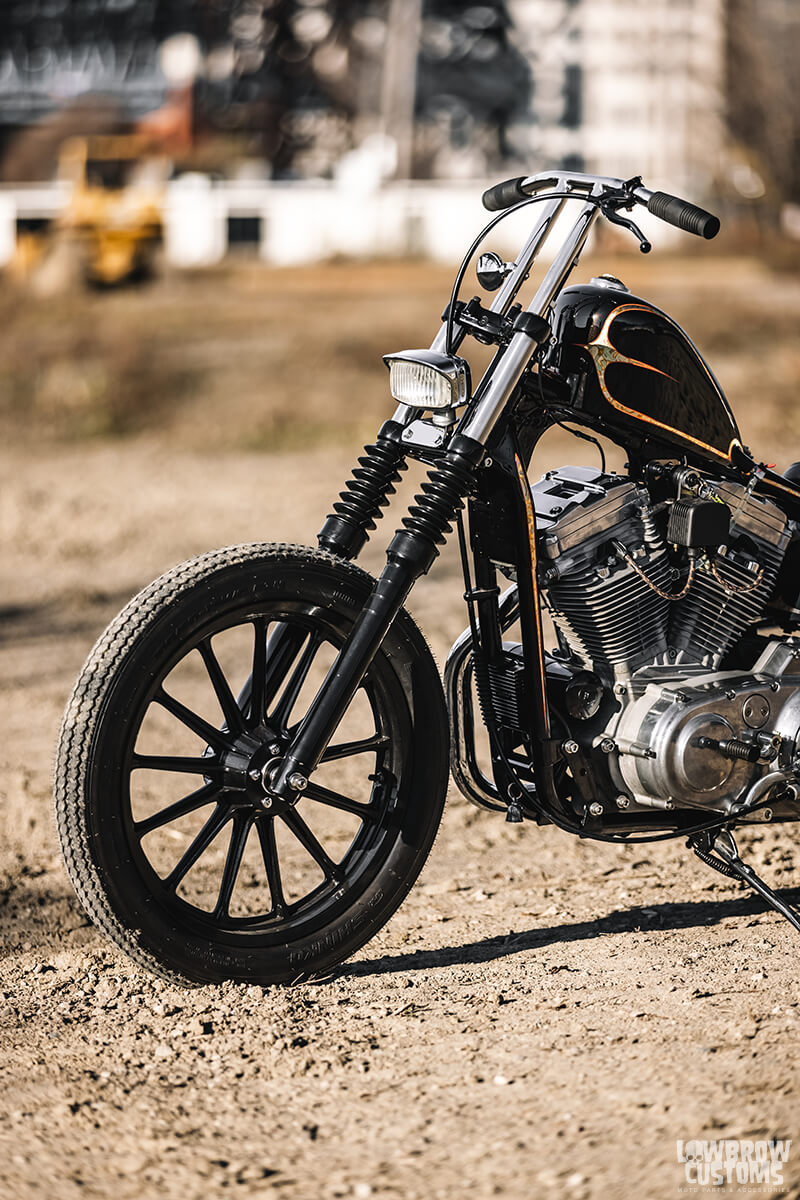 Front end has just the right amount of chrome and black mixed. 13 spoke mags look killer with no front brake.
For the wheels I kept picturing black to match the paint and give the lucky 13 spoke mags a subtle pop. Those got sent off to the powdercoater as well. The one thing I learned very quickly from this build was, make sure your tires are the ones you are going to run before the fabrication process starts. I'll never make that mistake again.
It was a bitch finding vintage style tires that would fit this build that were as close to stock tire size, since that's what I had on there during fab. I ended up going with some Shinko Classic 240's, 19" on the front and a 16" on the rear. They are a bit squared off but give off that vintage aggressive look that really makes the bike look right in my opinion.
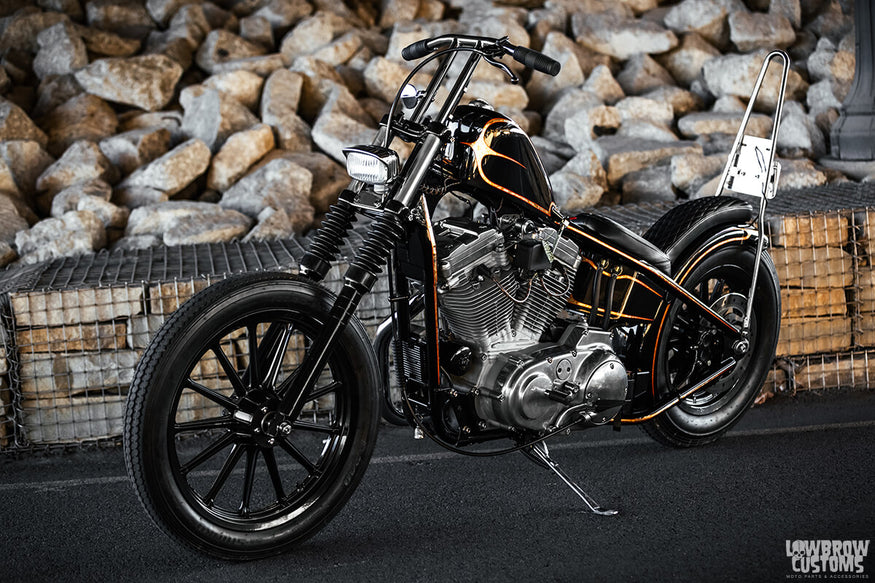 13 Spoke stock mag wheels. Shinko Classic 240's 19" front, 16" on the rear.
Ok, let's talk handlebars for a second. Initially I wanted to go with my gut and run Rabbit Ear handlebars. I've basically run those on every bike I've ever owned because they are comfy, but for this one something just said to me keep it tough. So after going back and forth, pulling bar after bar off the Lowbrow shelves to see which one spoke to me, our 10" T-bars took the win.
For the longest time, I had this idea in my head to run clean bars and a suicide shifter on my next bike, so the first plan of action was to run an internal throttle. Internal setups like these are a game-changer for anyone focused on upgrading their motorcycle throttle controls for a cleaner and more streamlined look. I worked with my close friend Tim Fiorucci, and we did a cool video showing us cutting down the set of T-bars and how to install a Kustom Tech internal throttle to use on this bike.
I still don't have a suicide shift for it though. I've been waiting on Pat from Led Sled to make me one of his killer mid control clutch set ups forever now. One day it'll go on here, but until then I ended up using a black Kustom Tech Clutch lever on the bars. With the internal throttle, it still gives a super clean look.
The Cole Foster signature grips are my all time favorite, so you know I had to run those. Tim also hooked me up with some Joker Machine throttle cable line re-locaters that I tapped and drilled into the back of the T-bars. A trick little part that really cleaned up the bars. Oh and the cherry on top of it all and still keeping the bars minimal was using a Pangea Speed 851 mirror. It's extremely small, keeps you legal, and it's actually functional.
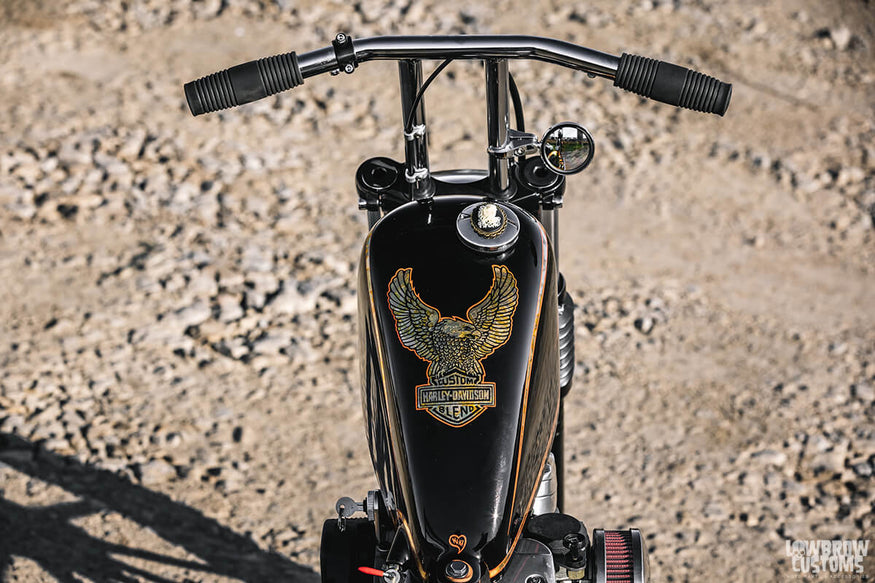 Lowbrow Customs 10" T-bars, Kustom Tech Internal throttle & clutch lever, Cole Foster grips, Joker machine throttle clamps, and Pangea Speed 851 Mirror.
As I was saying earlier another big component for me that makes or breaks a bike's style is the seat and sissy bar. Ginger McCabe of New Church Moto is the only one I go to and who I trust 100% will kill it every time. She's the seat master, hands down.
With Jesse at The Gasbox developing the perfect cobra style seat pan for this hardtail frame fender combo, it made life easy sending it off to Ginger. We came up with together a half diamond half "V" style pleated design and I couldn't have asked for a better seat. Its functional, cool looking and fits the paint paint and flow so well.
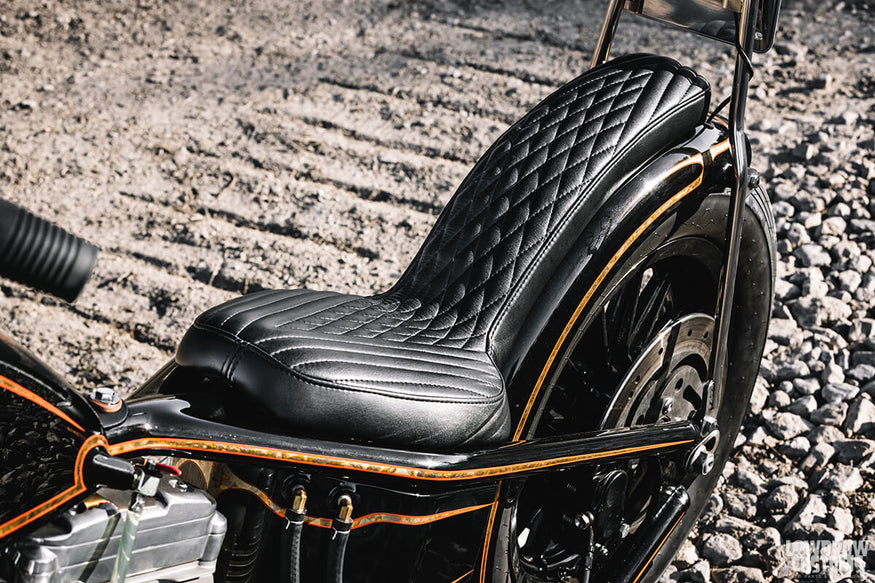 It's really comfy, seriously!
As for the sissy bar its like pulling teeth to convince Jesse a tall sissy bar is cool. I absolutely need one though for my camera gear and constant travel on my bikes. Eventually, Jesse gave in and made me a stainless, round top, 36" tall sissy that fits the bike just right, transforming my ride into a practical motorcycle with a sissy bar where form meets function.
To make it legal and a bit safer then some of my other bikes I've owned, we slapped the Prism Supply Co. Box chopper light and their license plate bracket right in the middle of the sissy bar too. Extremely good visibility for traffic behind to see when stopping.
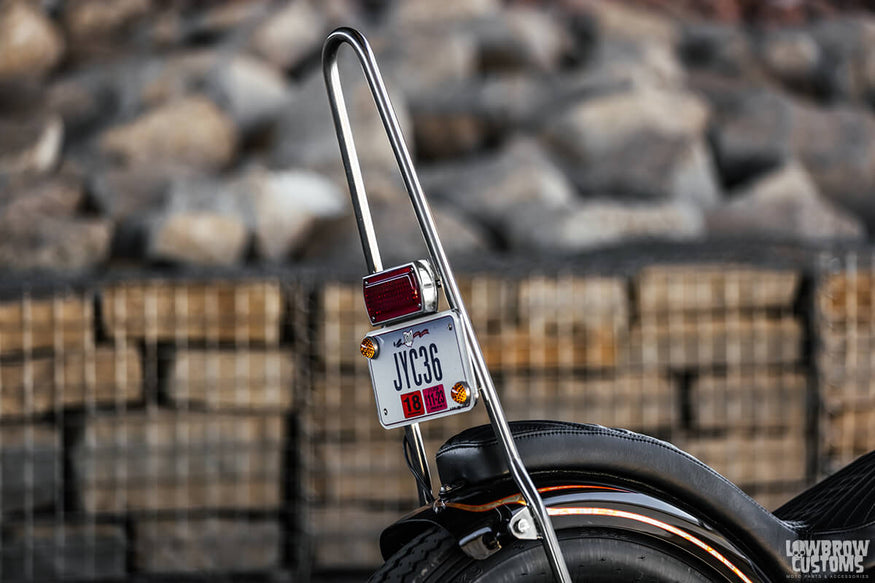 Custom stainless sissy bar by The Gasbox, Prism Supply Co Box chopper light and license plate bracket, and Red Fox orange reflectors.
A CAREFUL FINAL ASSEMBLY WITH THE NEWLY PAINTED FRAME AND TINS
Once I had everything back from the powdercoater and polisher/chromer I started the final assembly on a few blankets laid down on the ground in the middle of my garage floor. One of my good friends Joe Banks came over and helped me carefully put the motor into the frame.
After we secured the motor we put the, front end together, then we installed the wheels and the kickstand so it could move freely in the garage and be able to be parked when not working on it. Putting the motor in the frame is definitely a two man job, I'm not sure how most people do it by themselves with out scratching the hell out of their paint.
Pro tip, lay the motor on it's right side on the ground and lay the frame over the motor from the top, it makes it so much easier than trying to lift the motor in the frame upright and will save your paint. Use lots of blue masking tape as well.
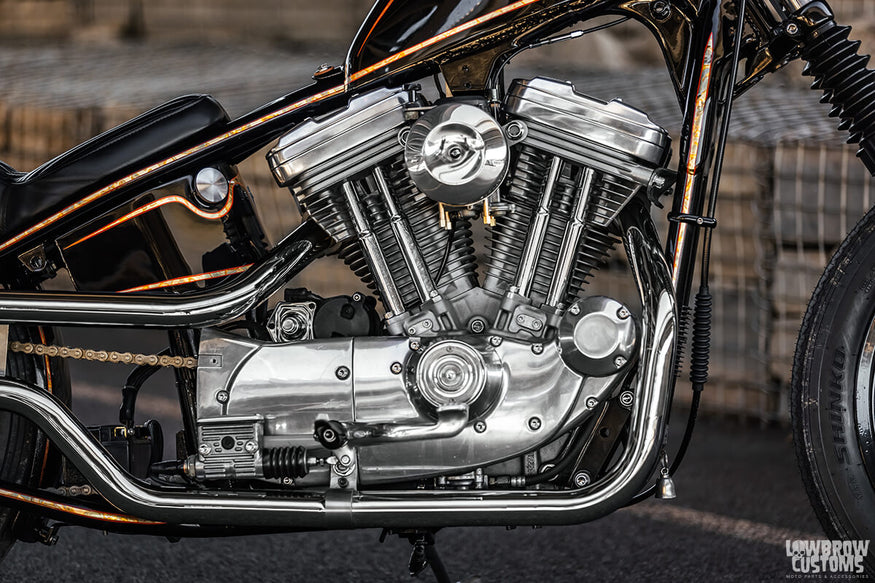 OoooooLala that motor is shiny!
After a couple small hiccups and some broken fittings here and there I ended up getting most of the bike together with in a couple weeks before this year's Glory Daze show but it led to one problem left. Wiring, which I'm not gonna lie, I've never done before.
I called on the help of my Lowbrow co-worker andfriend Clayton Donofrio who's a wiring wizard. With a full Saturday we were able to make a custom wiring harness from scratch and hide almost all of the wires internally through the back bone of the frame. It looks so clean and I couldn't be more grateful for his help and guidance on the project. I would have been totally lost with out his help.
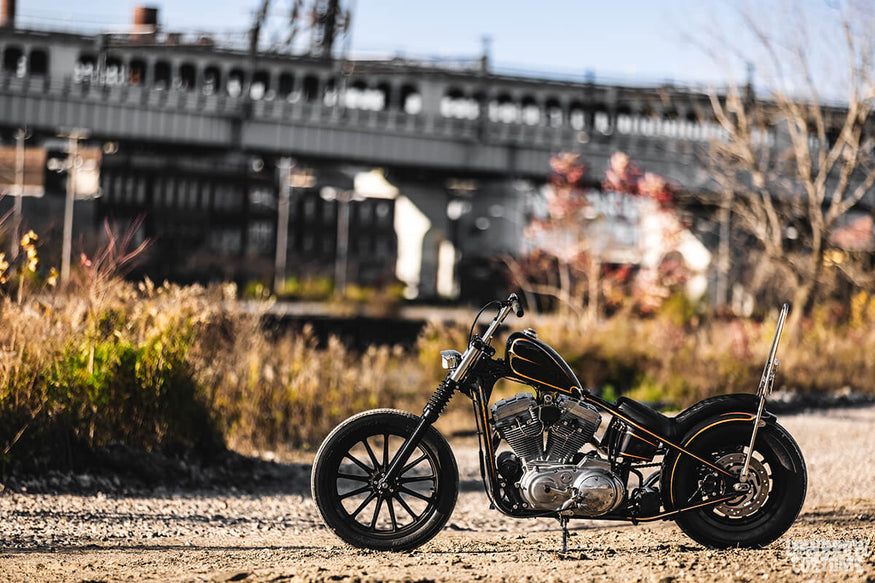
With the goal of firing it up and taking it to Glory Daze in Pittsburgh, I just made the deadline. The first time I fired it up, it ran on only one cylinder. Confused I looked at my wiring diagram and realized that my ignition was not the same as the diagram we had used to wire everything to and I must of had a wire crossed and or missing.
Luckily for me, Clayton left the elusive blue wire I needed right at the top of our custom made wire harness. After pulling the tank off, all we had to do was pull the wire a bit and the blue wire came out dancing out. We switched the colors needed shown on the correct diagram and it fired right up both cylinders.
I've never screamed a Todd type "WOOOO" so enthusiastically and loud until that day in my life. It was a huge feeling of accomplishment to get that bike running.
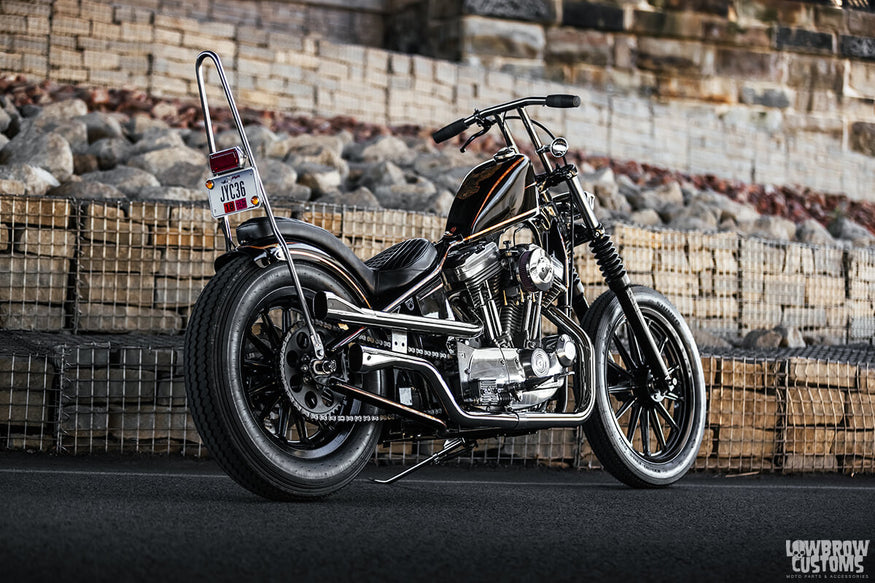 She's super clean.
IF YOU BREAK SOMETHING, DON'T WORRY
This bike was a huge learning curve for me and a major accomplishment in my book. It not only taught me patience and new mechanical skills I've never had before but I think most importantly, it gave me the confidence in myself that I can work on these machines.
If you break something, don't worry it can be fixed, nothing is truly fucked. I learned how to problem solve, find solutions, be resourceful and also know that it's ok to ask for help to friends from time to time. I could go on forever and ever about this bike and the cool shit that is on it but I'm just going to end it here by thanking everyone who was involved with helping me on this build.
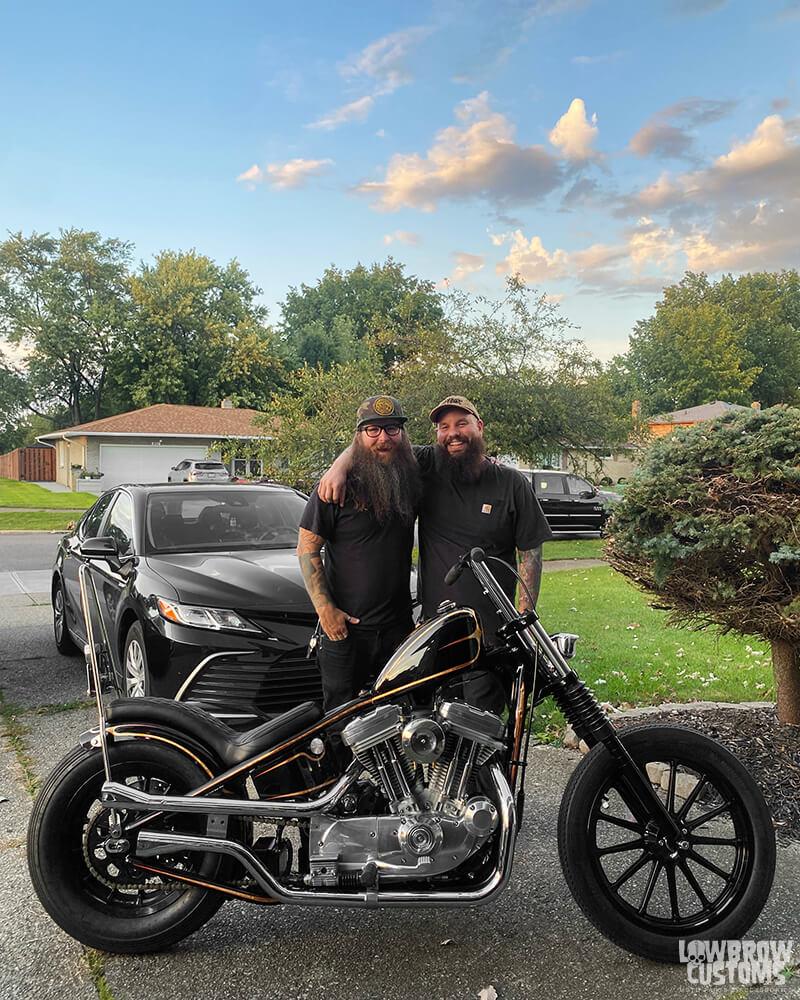 Clayton and me after firing it up and it running correctly for the first time!
THANKS TO ALL MY FRIENDS WHO HELPED WITH THIS BUILD
A huge thank you to Tyler Malinky for the support and the parts to make this bike a reality.
Big thank you to Jesse Basset at The Gasbox for all the hard work on developing so many great parts on this bike for me and the fabrication.
Thank you to Tim Fiorucci for all the expert advise, time wasted on the phone talking about this dumb thing, fab work, and finishing touches.
Thanks to Joe Koenigsmark for the extremely well thought out paint job, it's worth every penny.
Thanks to Ginger McCabe for the incredible comfy seat for my tush.
Huge thank you to Mark at Colony Machine for all the shiny fasteners one man could ever ask for to make this bike look shiny and new.
Thanks to Chris Drew for the precision shave of my lower legs.
Big Thanks to Joe Banks for the muscle, hanging out, the help, jokes, and moral support.
Thanks to Clayton Donofrio for all the wiring help and guidance.
Thanks to Dan Dellostritto for all his advice and help over the face-times.
And last but certainly not least big thanks to my soul mate and wife Kat Arnold for being my rock, keeping me calm and sane, motivating me to finish this thing, and believing in me always.
- Words and Photos by: Mikey Revolt
You can also check out more photos and coverage of this bike in an up coming issue of Choppers Magazine.
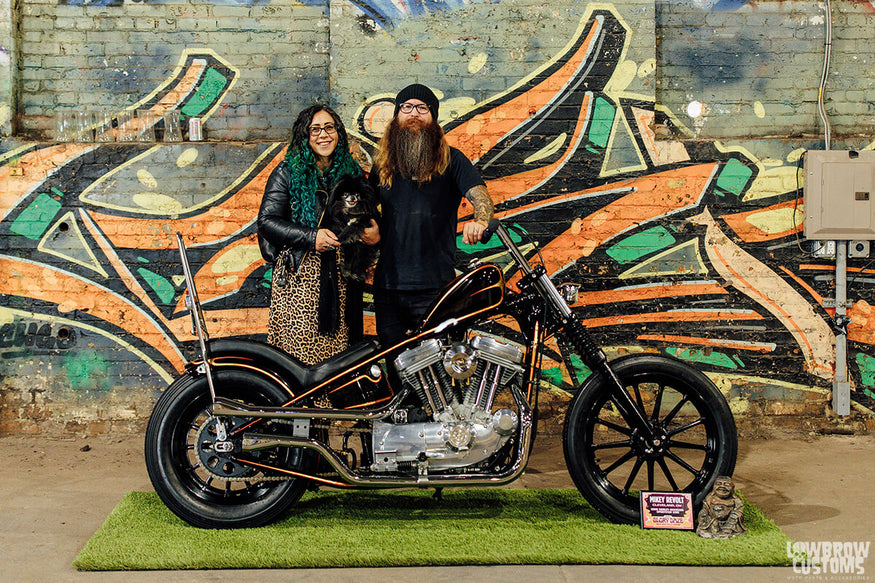 Kat, my Pomeranian Dante and me at Glory Daze. Photo by Alexa Diserio
TECH SHEET & MORE BUILD PHOTOS: MIKEY REVOLT'S SPORTSTER CHOPPER
General
Owner: Mikey Revolt
Year/Make/Model: 2000 Harley-Davidson XL
Fabrication: The Gasbox and Tim Fiorucci
Build Time: 4 and half years
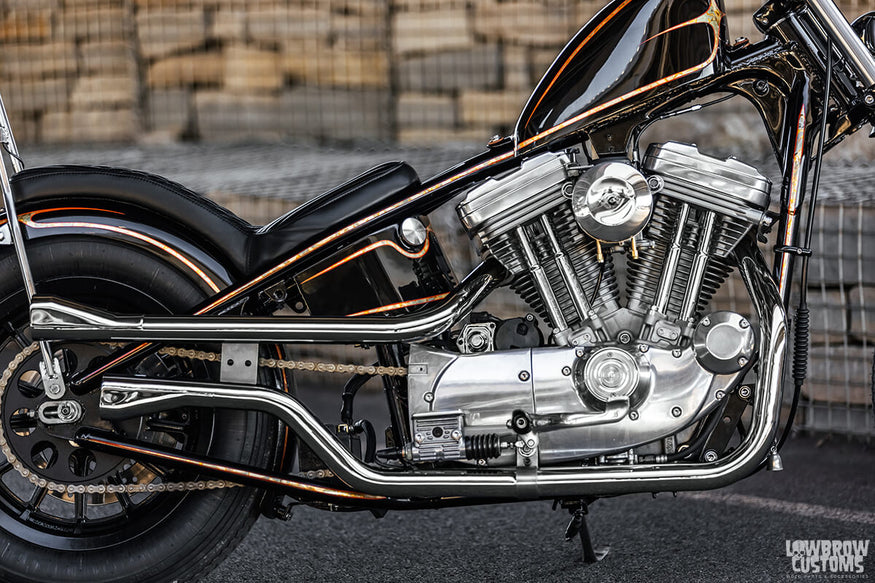 1200 conversion kit, Gasbox 007 Air cleaner, Gasbox custom exhaust.
Engine
Year/Type/Size: 2000/ 883 HD XL Motor with 1200 conversion kit
Carburetor: CV Carb
Exhaust: Modified custom set of Gasbox upswept shotgun pipes and WRTT ends
Air Cleaner: Gasbox 007 stainless air cleaner
 Frame is stock with a Lowbrow Customs Weld-on hardtail for 86-03 Harley-Davidson Sportsters
Frame
Year/Type: 2000 Stock with Lowbrow Customs Weld-on 86-03 Harley-Davidson Sportster Hardtail
Rake/Stretch: 0 Rake / 3" Stretch 1" Drop
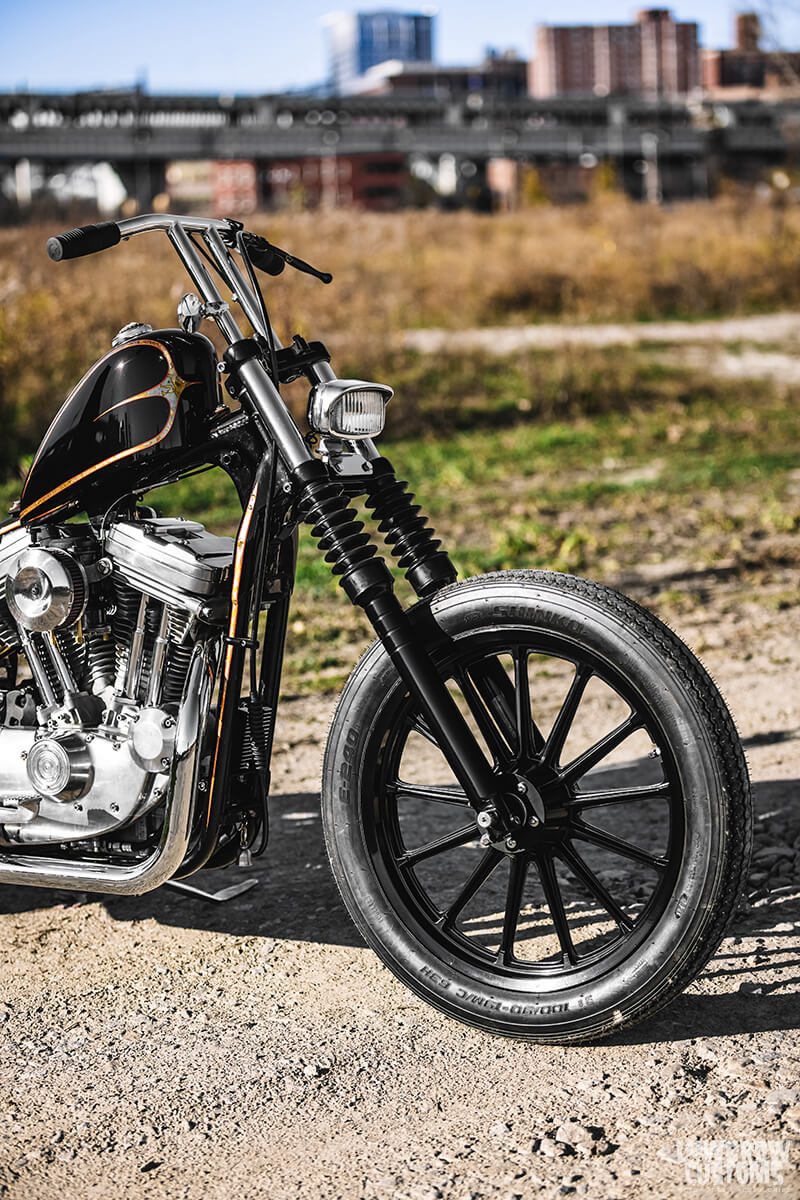 39mm, stock length, and cycle standard boots.
Front End
Type / Brand: Stock HD 39mm Showa
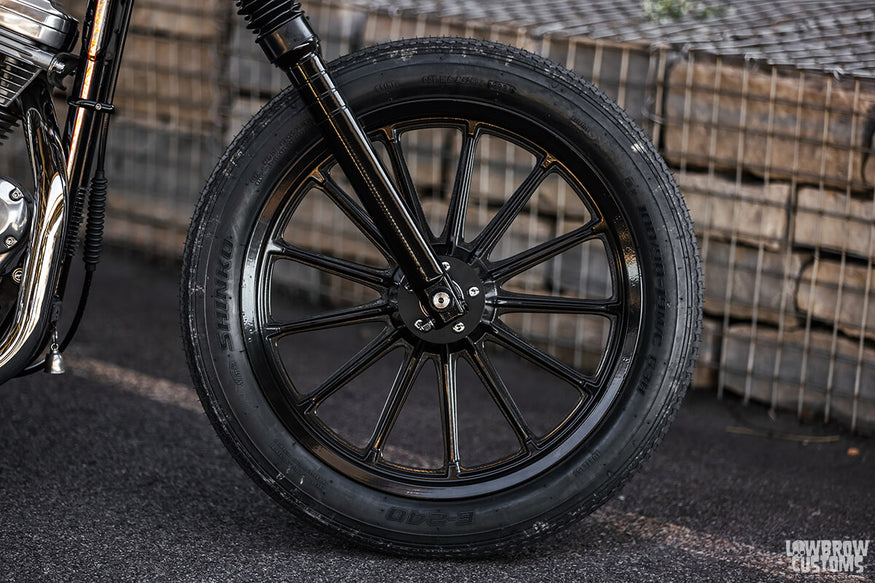 19" 13 Spoke Mag front wheel, Shinko Classic 240 - 19 tire.
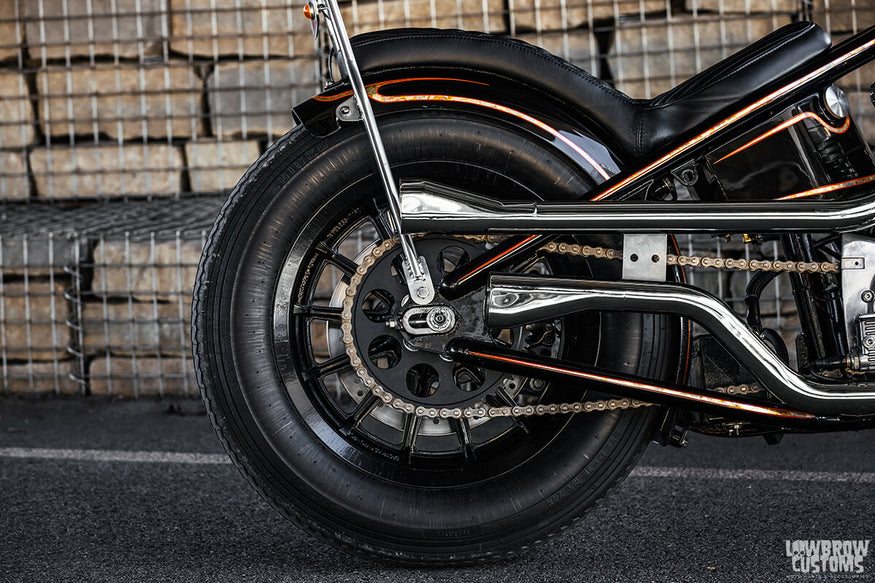 16" 13 spoke mag rear wheel, Shinko Classic 240 - 16" tire
Wheels
Front Size: 19" Stock 13 Spoke Mag - Tire: Shinko Classic 240
Rear Size: 16" Stock 13 Spoke Mag - Tire: Shinko Classic 240
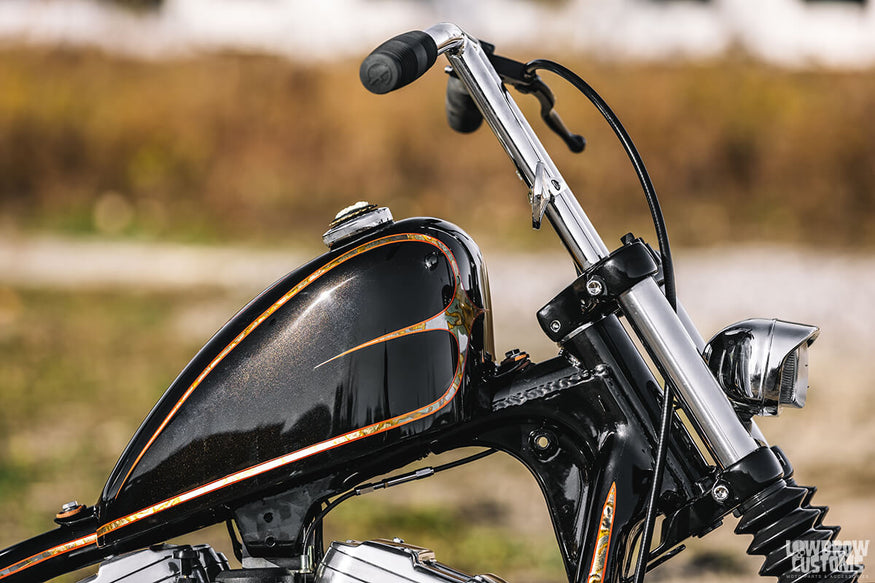 You can see the tobacco brown flake thats buried in the black in this shot.
Finish/Paint
Paint by: Angel Dust Cycle Paint - Joe Koenigsmark and Chris MacMahan from Aerographix
Plating/Polishing: Custom Chrome in Cleveland
Powdercoating: Ace Powdercoating
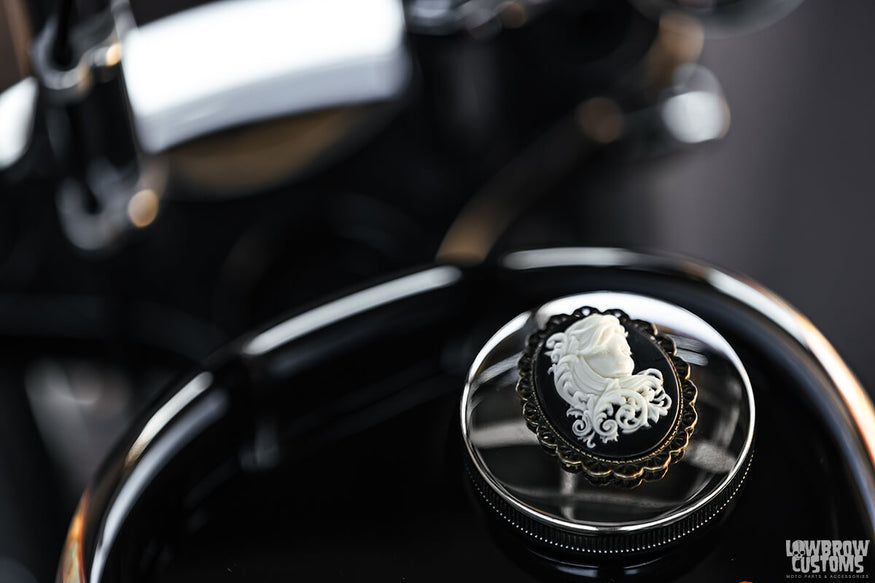 Cycle Standard gas cap with some customization. I found this broach in Tombstone, AZ at an antique store back in May of this year and cut the pin off with a Dremel. I then used good ole JB weld to secure it to the top of the cap.
Accessories
Front Fender: NOPE
Rear Fender: Gasbox 16" Rear fender
Gas Tank: Lowbrow Customs Frisco Mount Sportster Gas Tank - Narrow - 2.1 Gallon
Handlebars: Lowbrow Customs 10" T-Bars
Grips: Lowbrow Customs Cole Foster Signature Grips 1"
Mirrors: Pangea Speed Shop 851 Mirror
Hand Controls: Kustom Tech Internal Throttle, Kustom Tech Clutch Lever
Foot Controls: Speed Merchant Foot pegs, stock controls
Headlight: vintage bates
Taillight: Prism Supply Co. Box Chopper light
Turn Signals: My Arms
License Mount: Prism Supply Co
Seat: Custom New Church Moto by Ginger McCabe
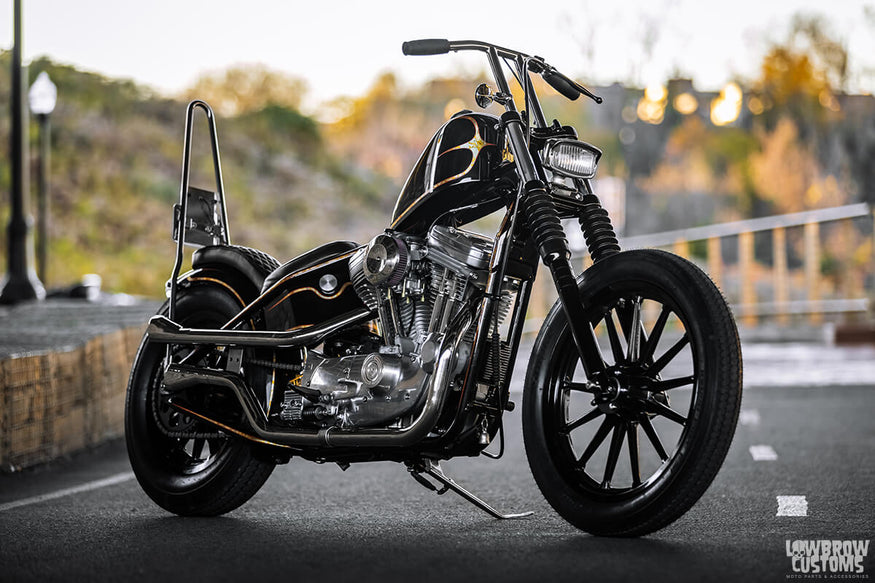 The darker shots were shot under the I-90 bridge down in Tremont area, always love it down there.
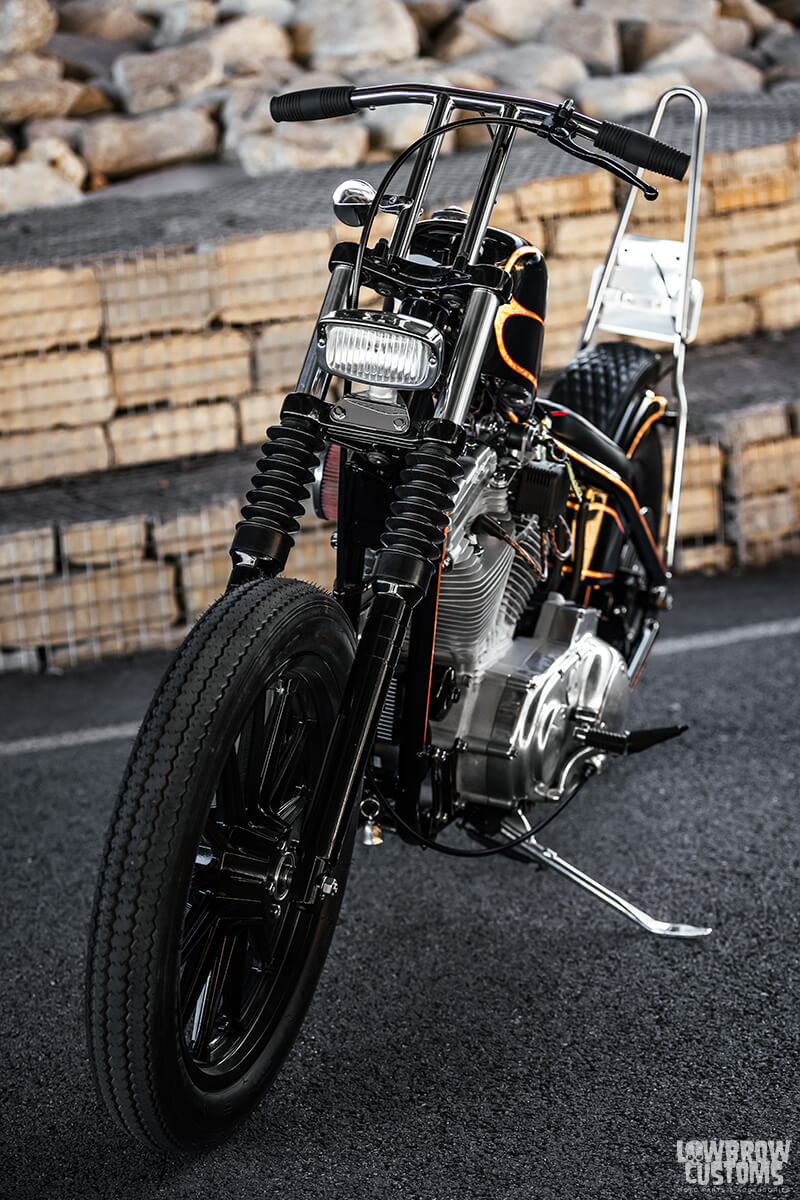 This bike is super skinny, mean, and aggressive on the road. Lane Splitter fo sho.
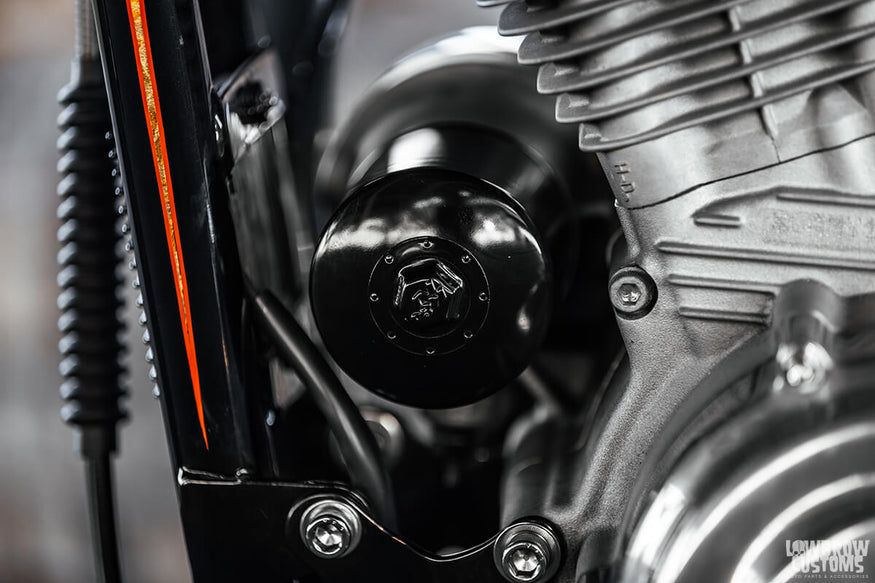 Big fan of the K&N oil filters with the ratchet end.
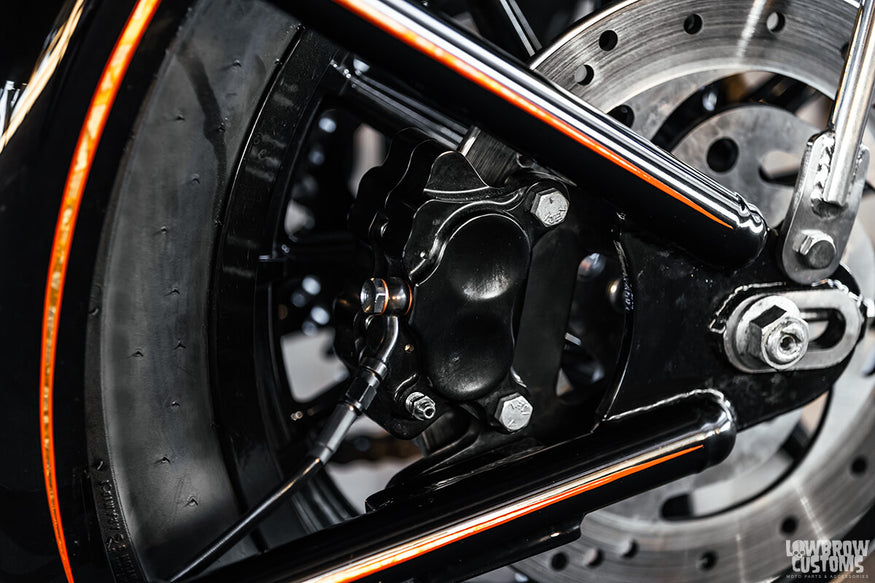 Lowbrow Customs Rear Caliper Bracket, Mid USA Caliper, and Goodridge Brake line / fittings.
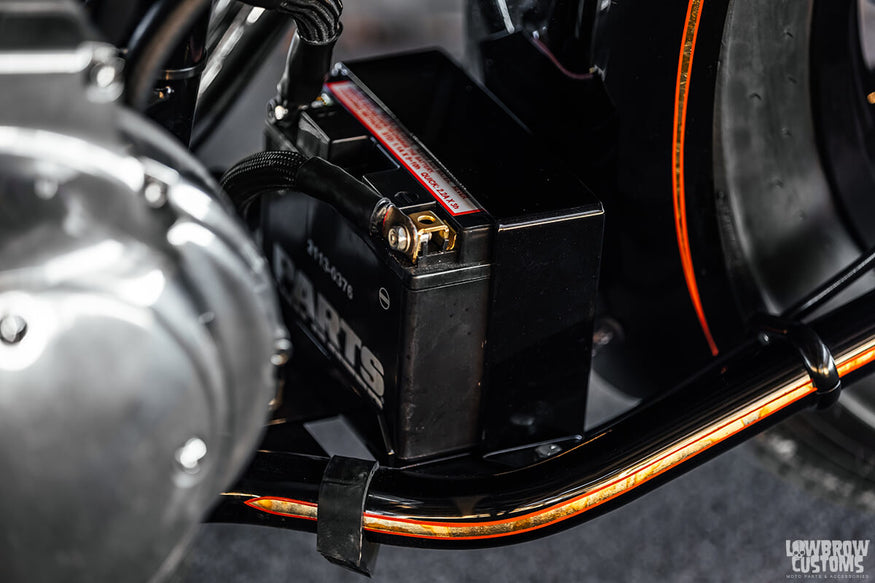 Lowbrow Customs Battery Box & Fender Mount with Gasbox Battery Box for YTZ Electric Start Batteries.
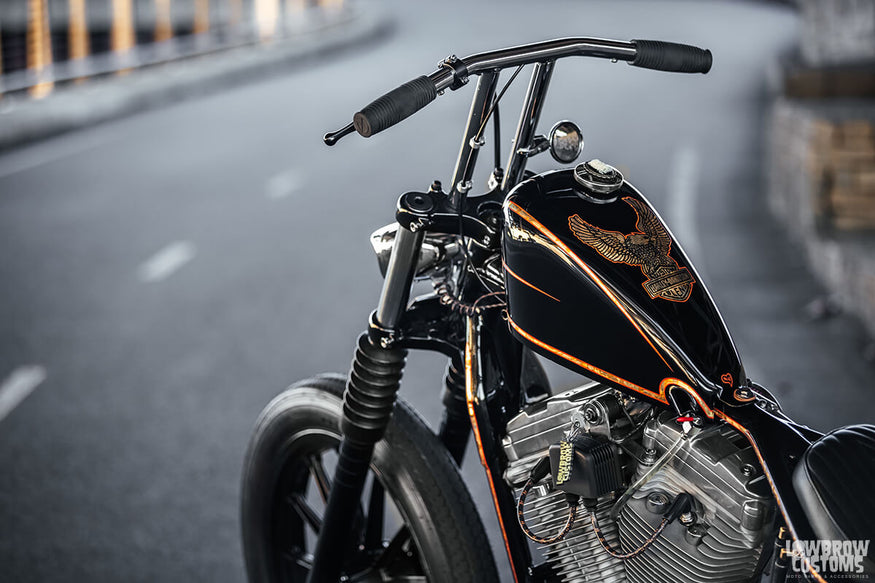 That view doh.
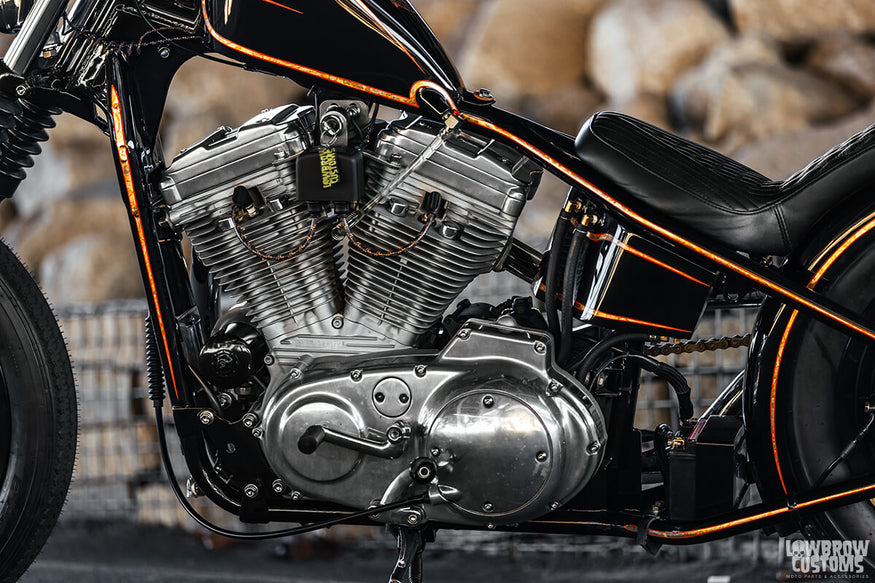 B-sides, I tried to keep the orange and black going with the wiring and spark plug wires.
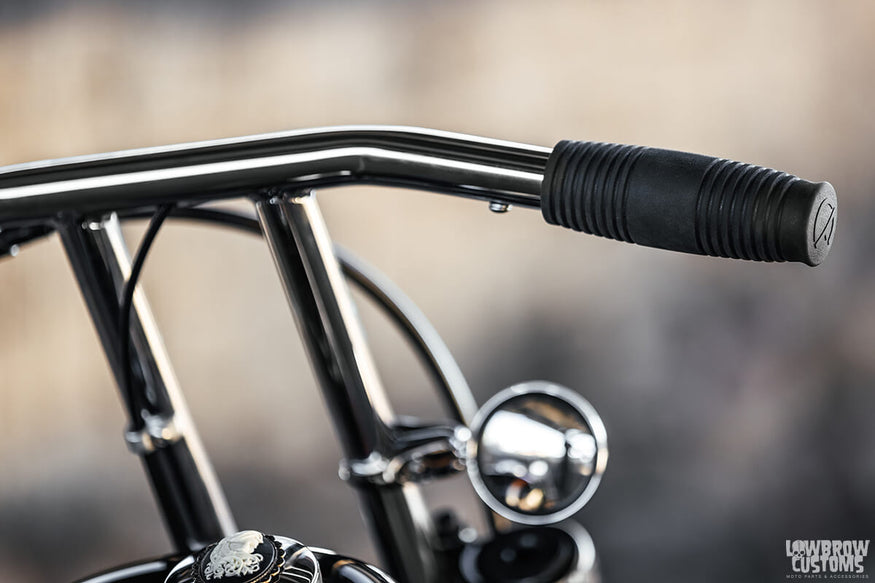 Cole Foster Grips on the Kustom Tech Internal Throttle.
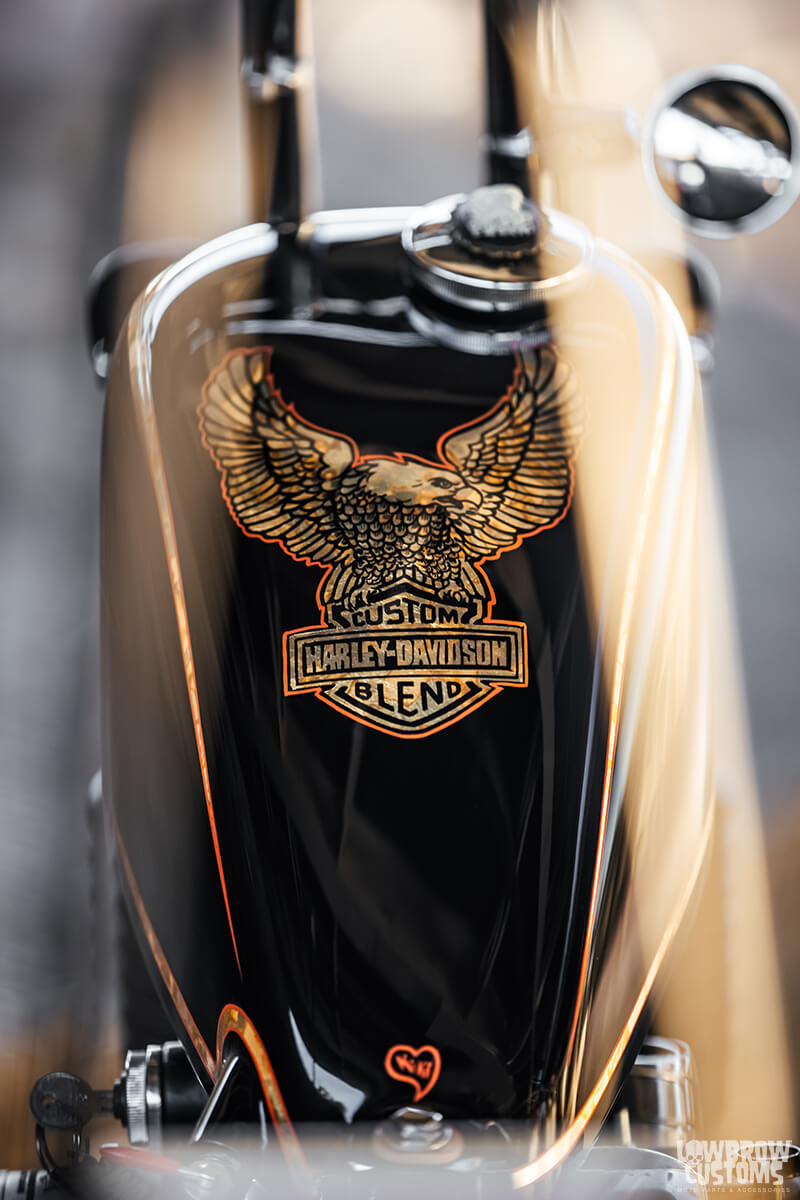 Custom Blend...
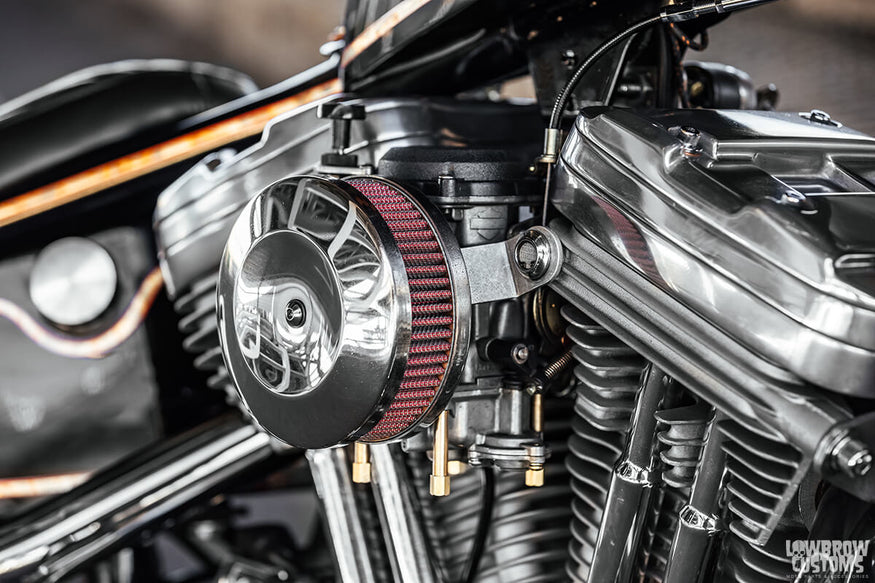 Gasbox 007 Air Cleaner, Lowbrow Custom Extended Float Bowl Screws and breather bolts.
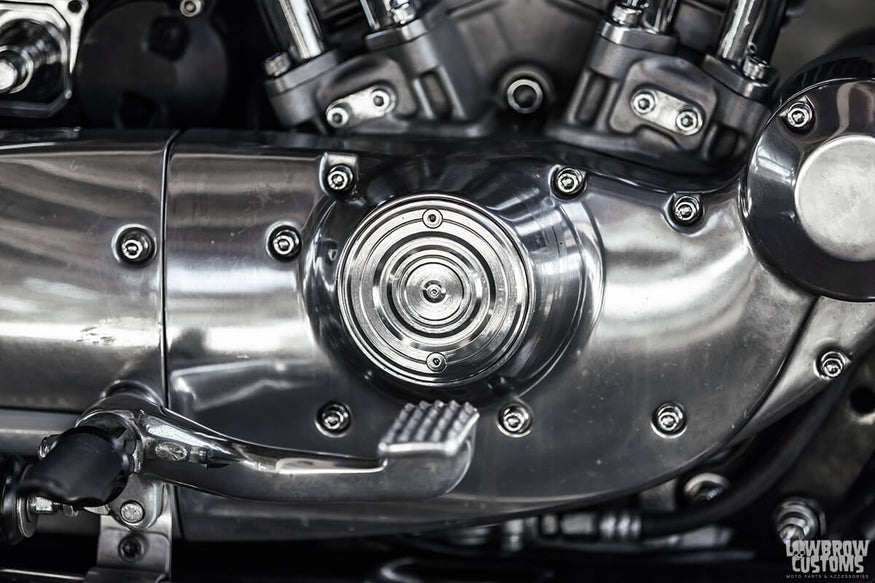 This points cover actually came with the bike when I bought it. Felt it should stay.
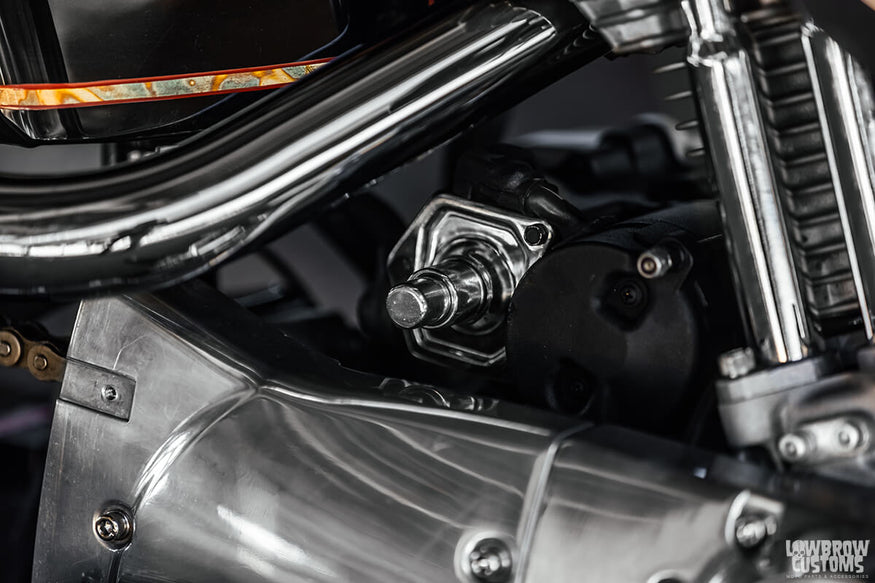 Incase the key switch faults, got a solenoid starter switch.
 Just a killer view.
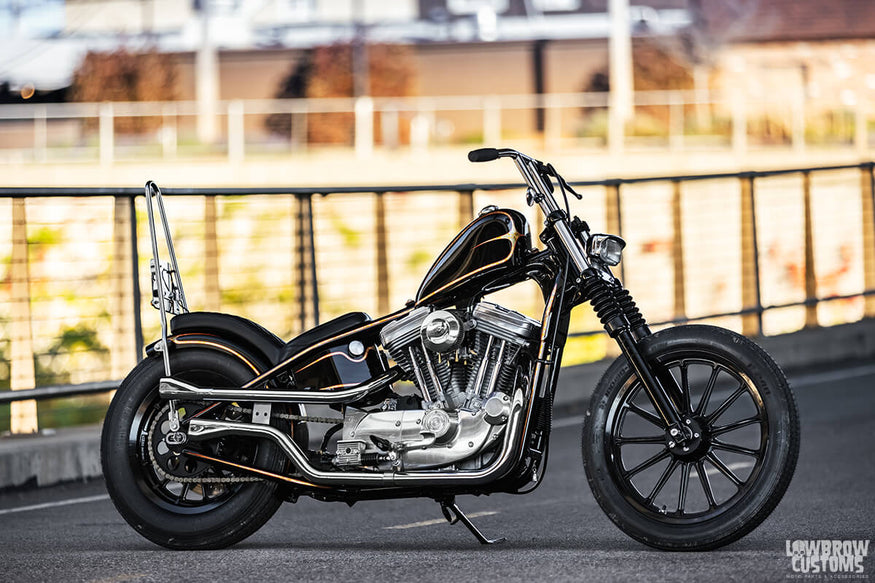 Choppers man, choppers
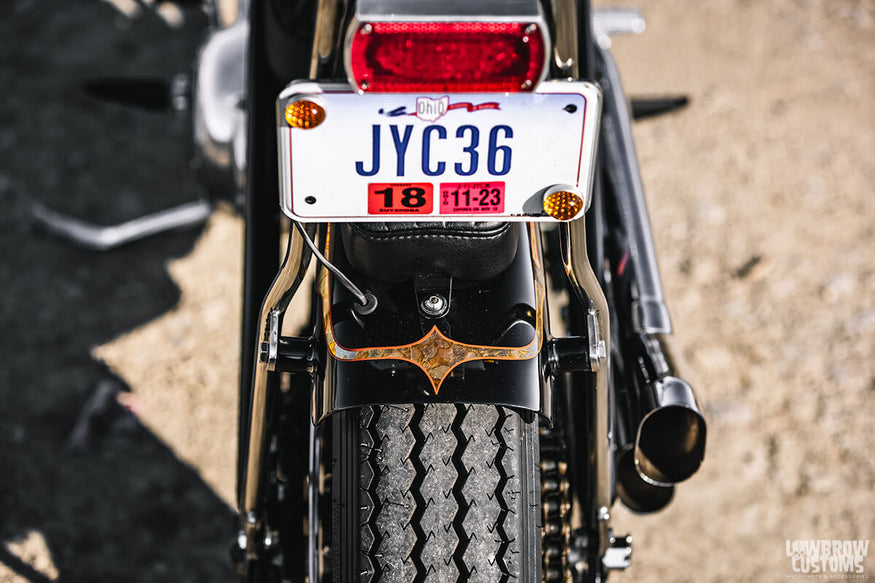 Some really cool details Joe Koenigsmark laid down on the rear fender.
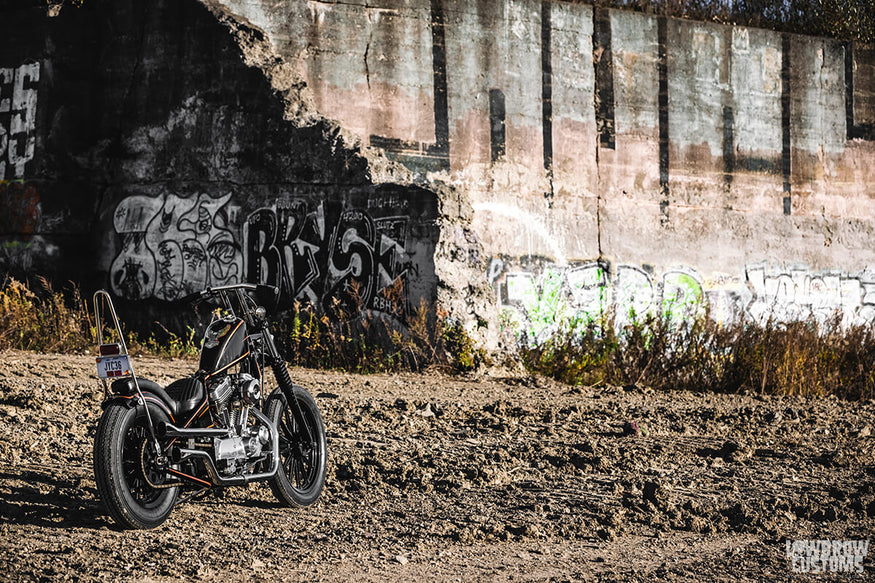 Cleveland has such beautiful views.
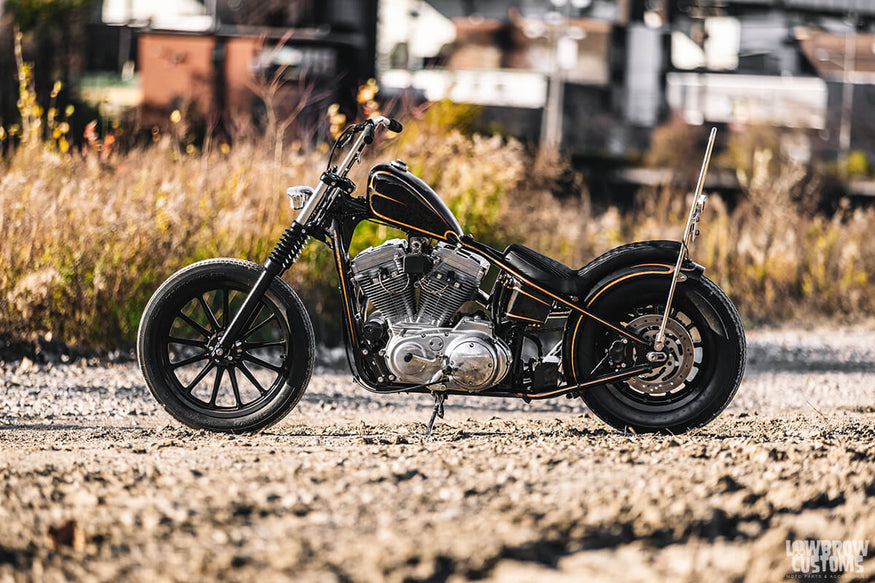 Crisp lines.
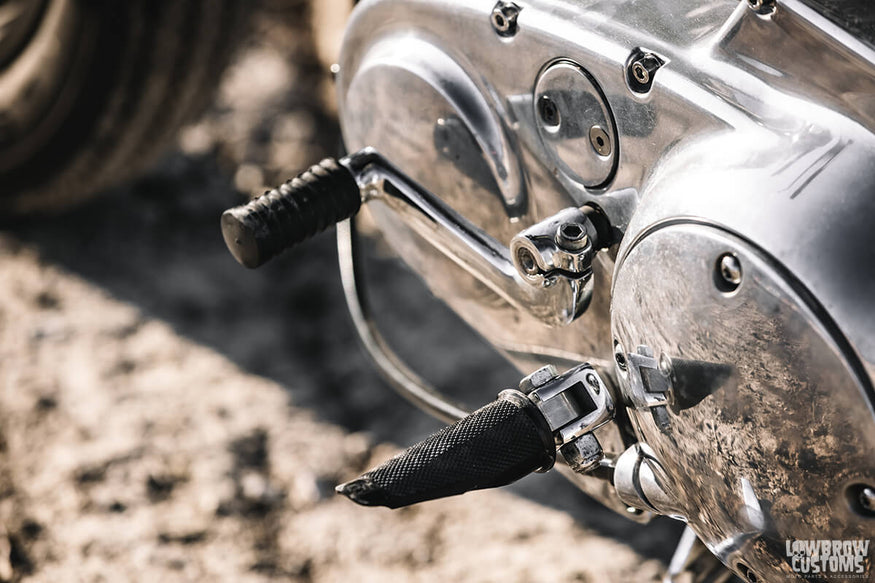 Speed Merchant pegs.
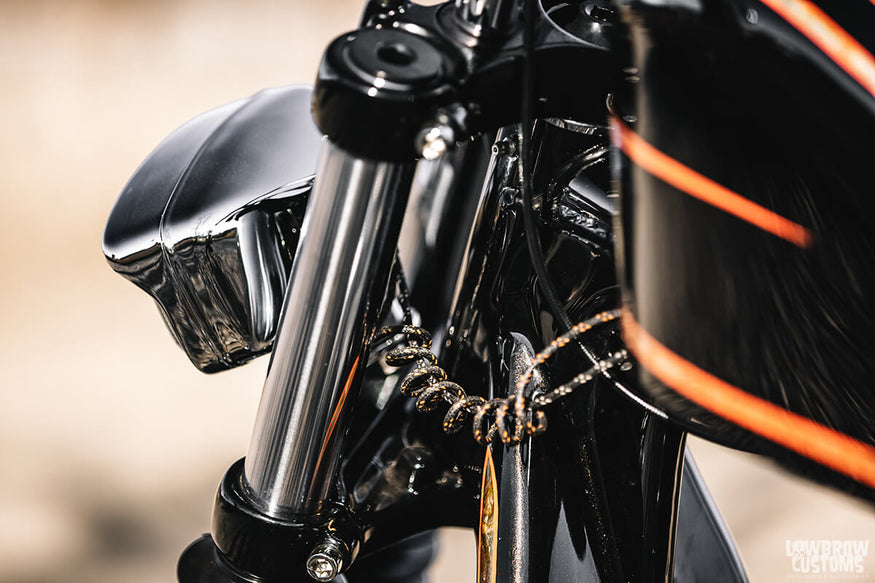 Thought this was pretty trick, little pig Q on the positive rapping around the negative wire for the headlight.
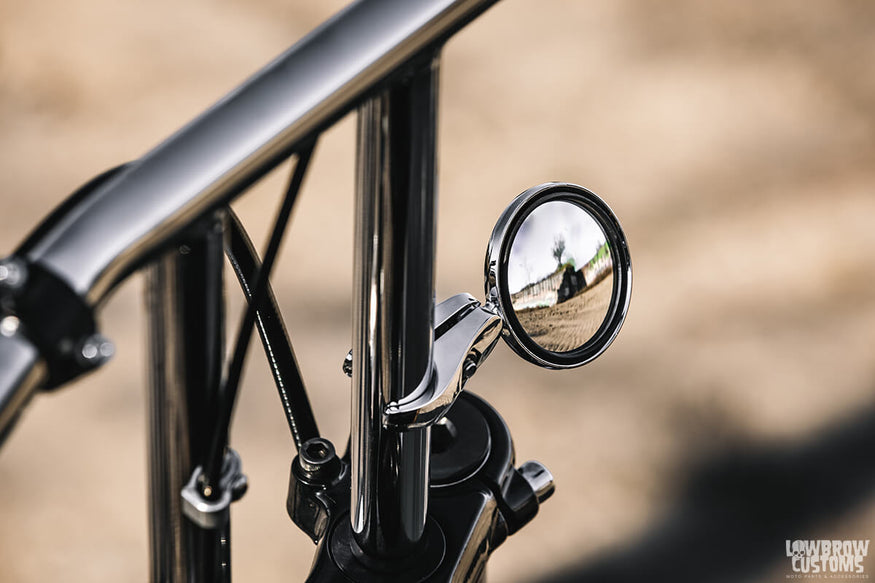 another angle of that Pangea Speed 851 Mirror
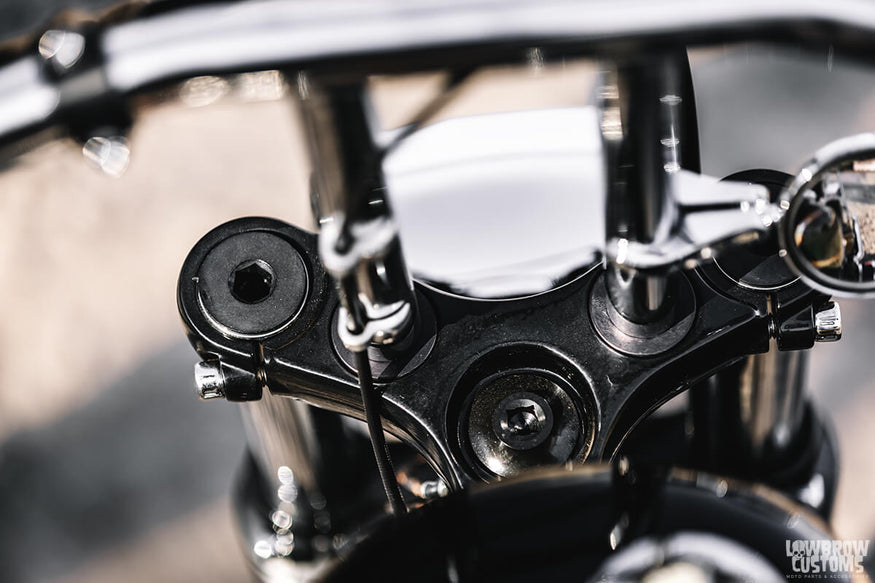 Lowbrow Customs 39mm low profile fork caps and Radius Steering Stem
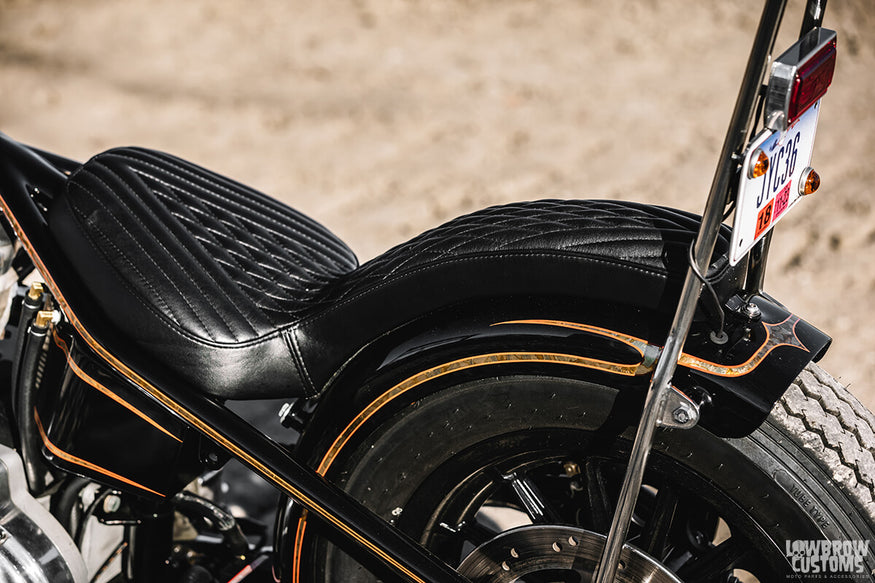 another view of the comfiest seat around.
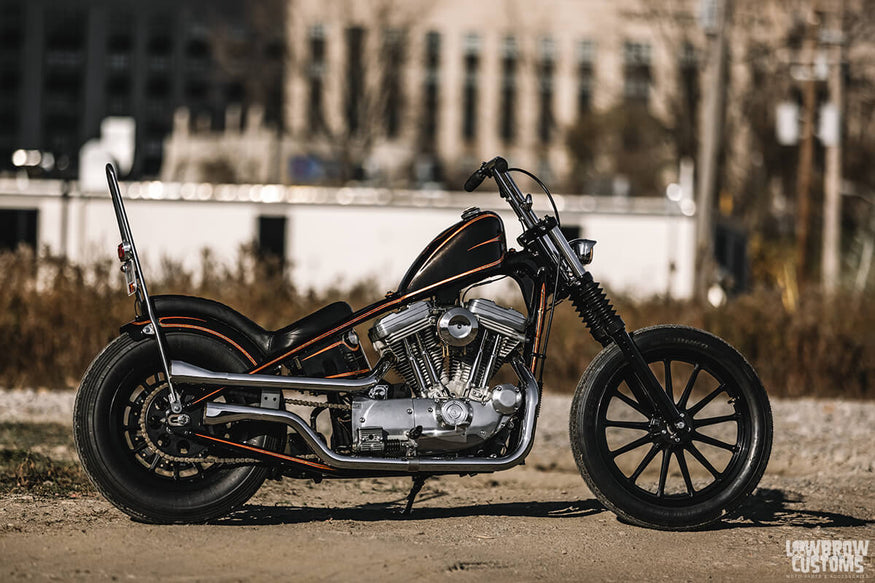 She's a ripper.
Related Products


