10.26.2015
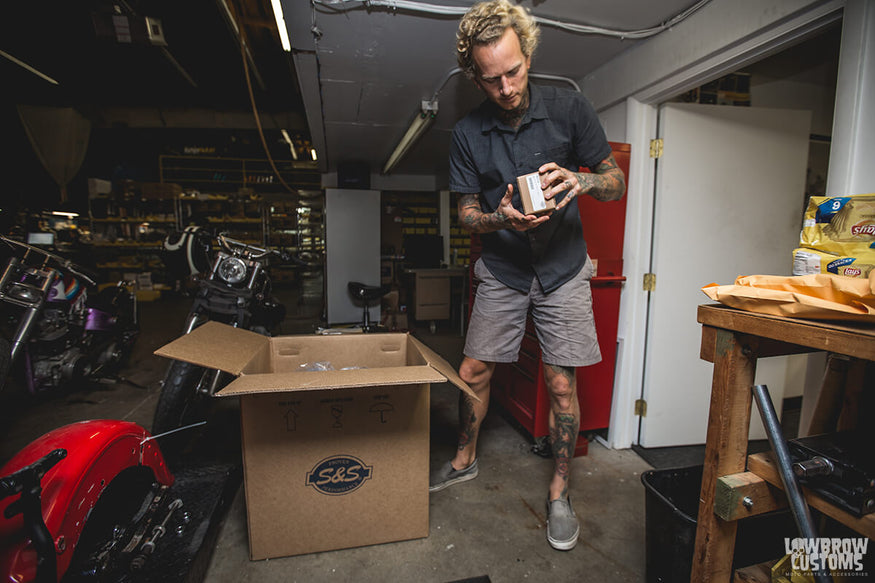
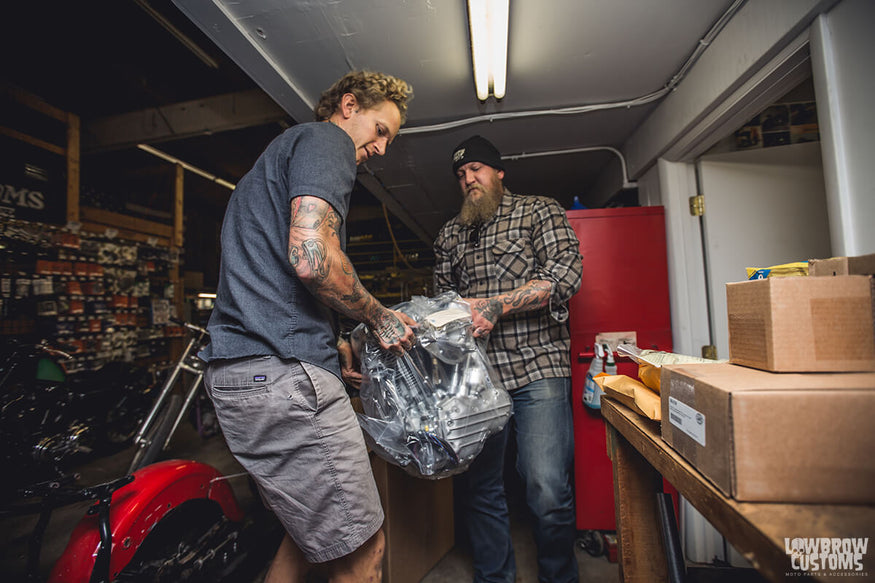
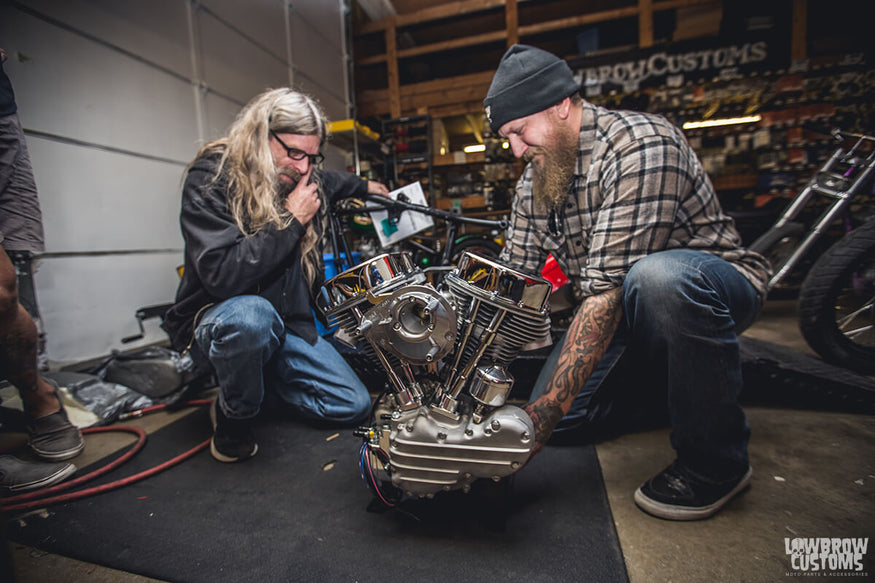
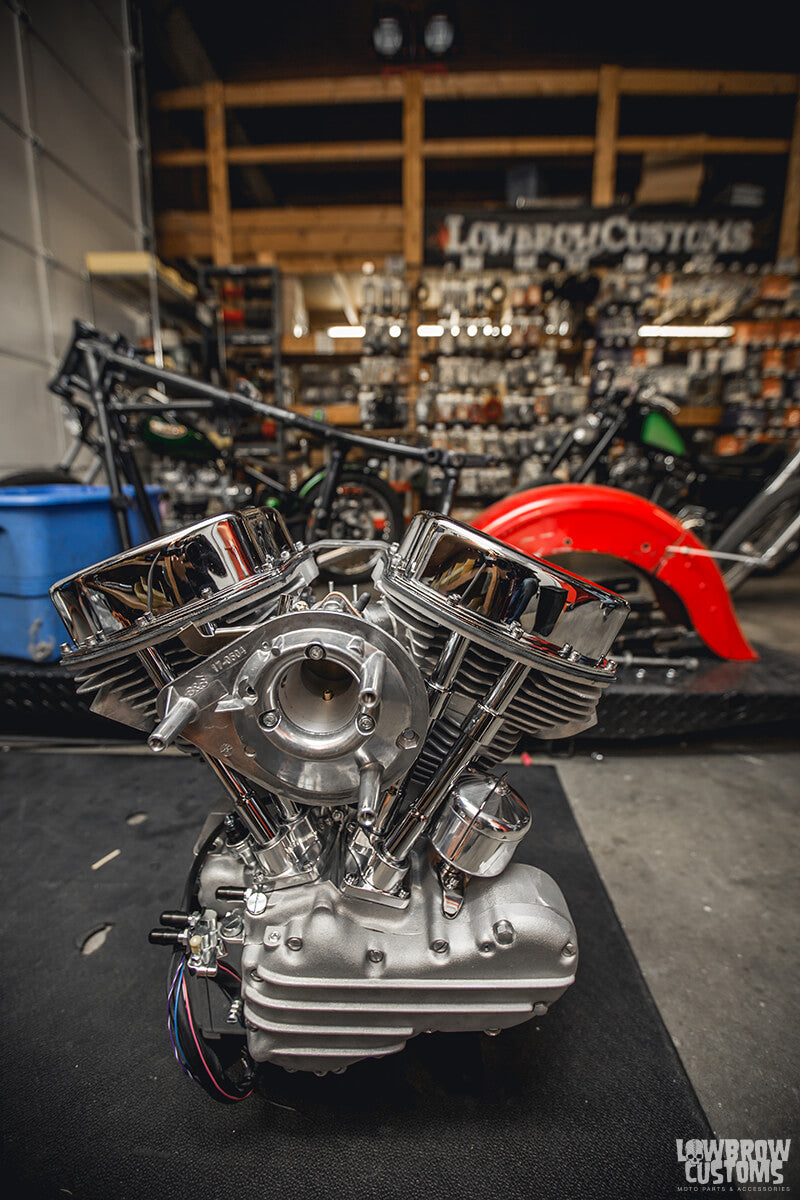
When S&S asks if you want to build a custom bike around one of their power plants, you don't even have to think about it. Today a brand new 93" S&S Panhead motor showed up at Lowbrow Customs. Unpacking a spotless, dialed motor out of a box is a great feeling!
How Does It Will Look Like
The plan is in my head, and we are working on gathering some of the main components for this build. The basic idea is a long-haul, bulletproof bike to make the ride cross-country in June 2016 to be parked in S&S Cycle's booth at Born Free. Fast, agile, the ability to haul two people along with their gear, and easy to service along the road are the criteria.
In addition to plenty of Lowbrow Customs parts, items from my own personal stash, and fabricating, we will be using plenty from Gasbox, Biltwell, and Drag Specialties.
Gathering the Components
11.24.2015
We are really getting close to having gathered most all of the custom bike parts we need for the Pan-American project. Soon we can assemble the front end, and once we get the suspension components we are waiting on we can make it a proper roller.
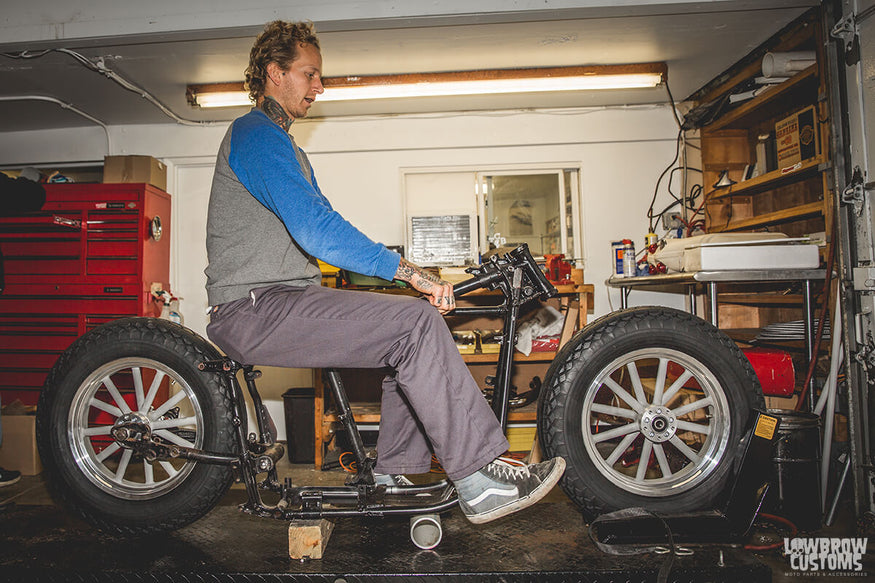
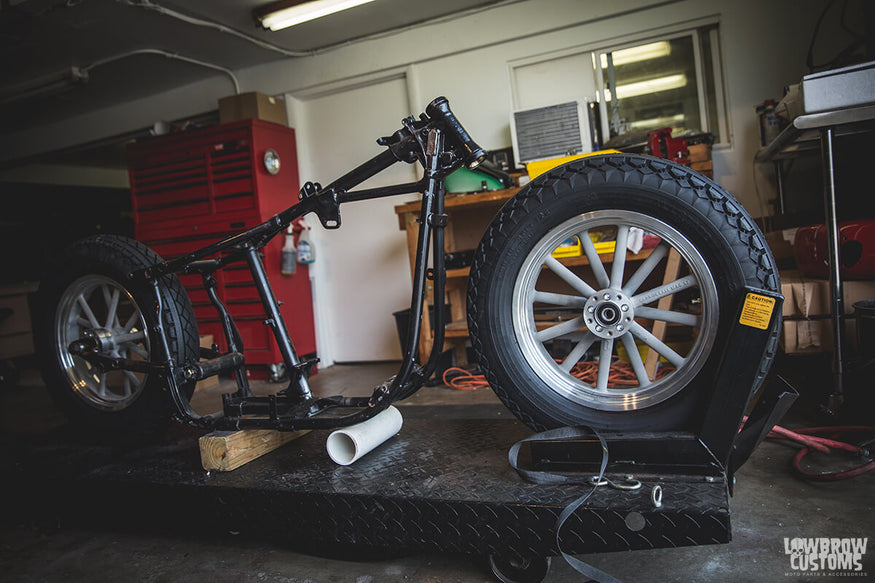
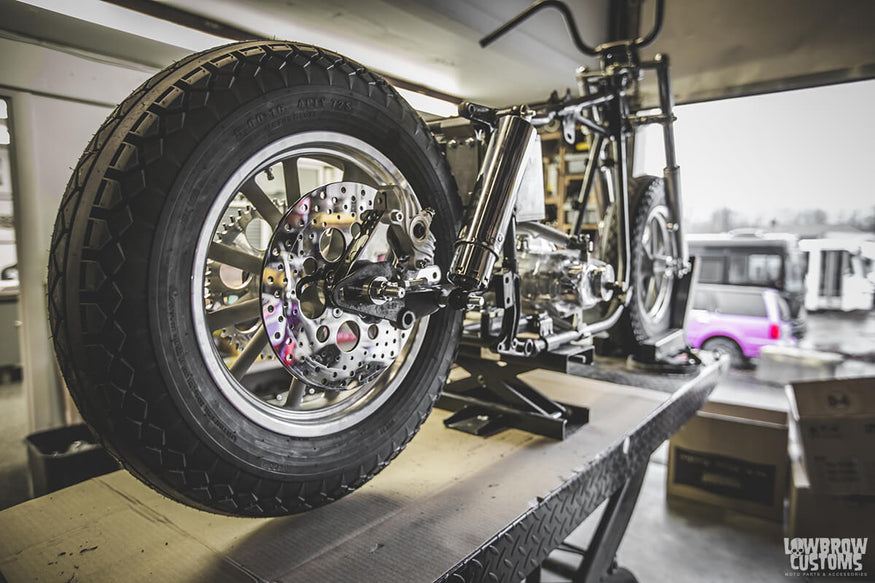
Until then, we had to settle for at least getting to stare at the frame with the newly mounted vintage style motorcycle tires on the uber cool Cannonball MAG-12 wheels made by W&W Cycles in Germany. W&W cast these 12-spoke wheels out of aluminum, and styled them after the magnesium drag racing wheels of the 1960's that were quickly co-opted by motorcycle weirdos for use on their custom motos.
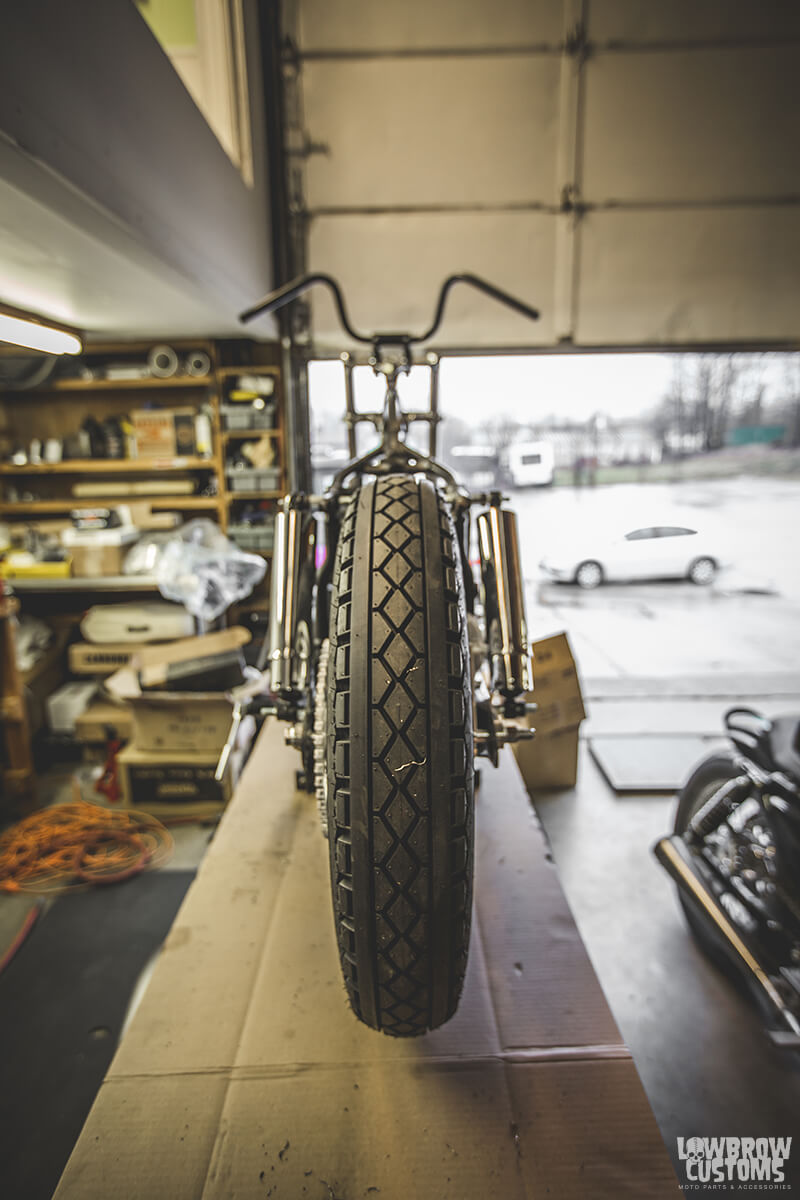
I am pretty excited about these meaty 16" tires front and rear. I will be even more excited once the fork is built and the rear shocks show up so we can get the real stance dialed in.
Also, fresh out of Italy come a set of raw cast controls from Kustomtech. We run Kustomtech controls on custom choppers as well as precision race bikes, not only do they look killer, the fit, finish and performance is second to none.
They really clean up the look of the handlebars, especially compared to any stock components!
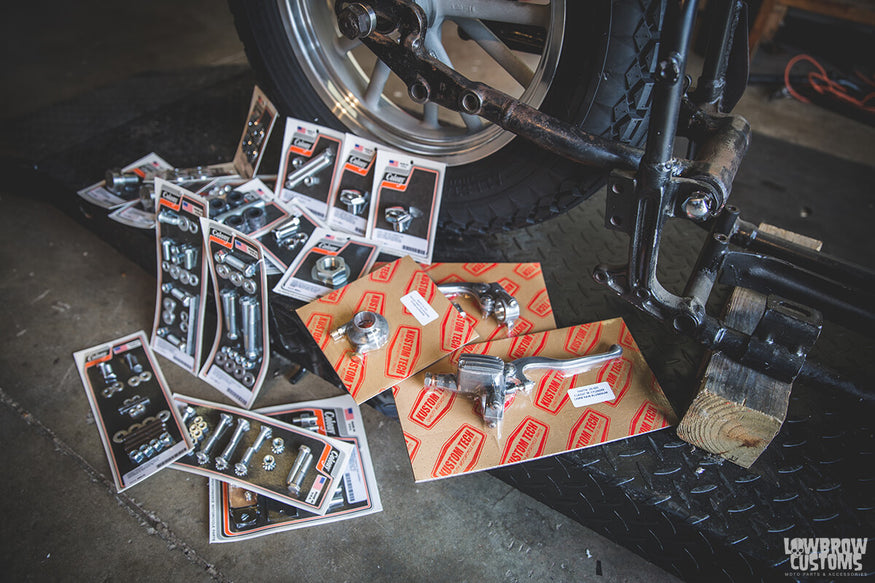
We also now have a pile of Colony Machine hardware for the Pan-American, everything from stock-style CAD-plated nuts and bolts to replacement chrome hardware with a little custom flair tossed in.
Made right here in Ohio, USA, you can never go wrong with Colony, as most motorcycle shops world-wide can attest. It makes assembly go much smoother when hardware fits as it should.
Stay tuned, for the next section will have a roller with a motor in the frame!
A Small Delay… But the Progress Is Going Smoothly
12.23.2015
OK so we had a long delay on any really good visual progress on the Pan-American project as we waited on suspension components. However, we have that sorted out and can post up some more progress pics!
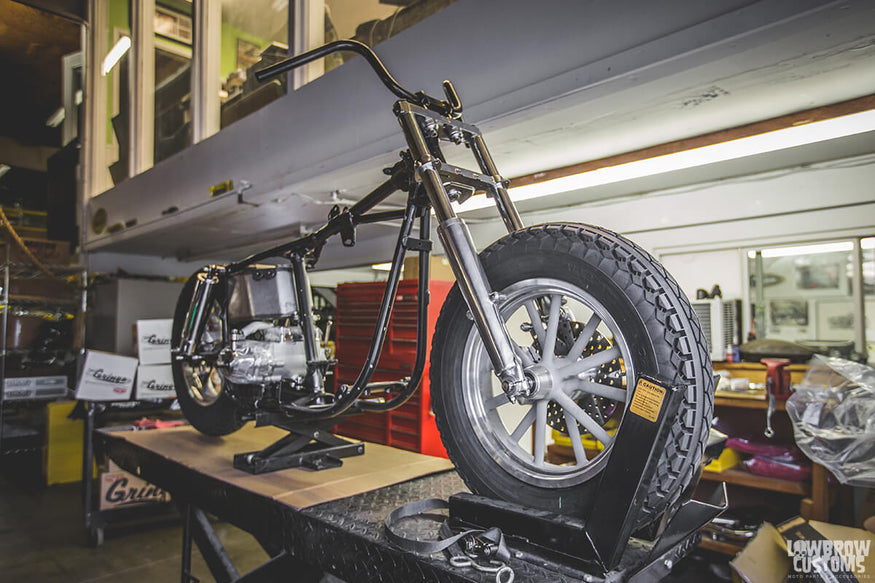
She's a roller! Todd put together the 41mm fork, test fitting all the components, including the springs from Progressive Suspension. Progressive 13.5" shrouded shocks support the rear, longer than the stock shocks on this '78 frame, but this works with the earlier 1958 - 72 round swingarm I decided to use.
You will also notice that we have our rotors and sprocket all dialed in. We had to open up the ID of the rotors from 1.9" to 2.1" as the W&W Cannonball wheels are set up for late-model discs, but we wanted to run some simpler looking rotors that weren't available for that year range.
Plus, we needed a 10" rotor for the wideglide fork which wasn't available with that ID.
We are running a Gasbox Oil Tank which is a rubber-mounted, bolt on oil tank that fits '65 - '77 swingarm Big Twin frames. And it is hard to miss that Baker Transmission, a 6-into-4 that should outlast me with ease. The 6th gear is an overdrive that should lower about 500 RPM at highway speeds, which makes for comfortable long-haul riding!
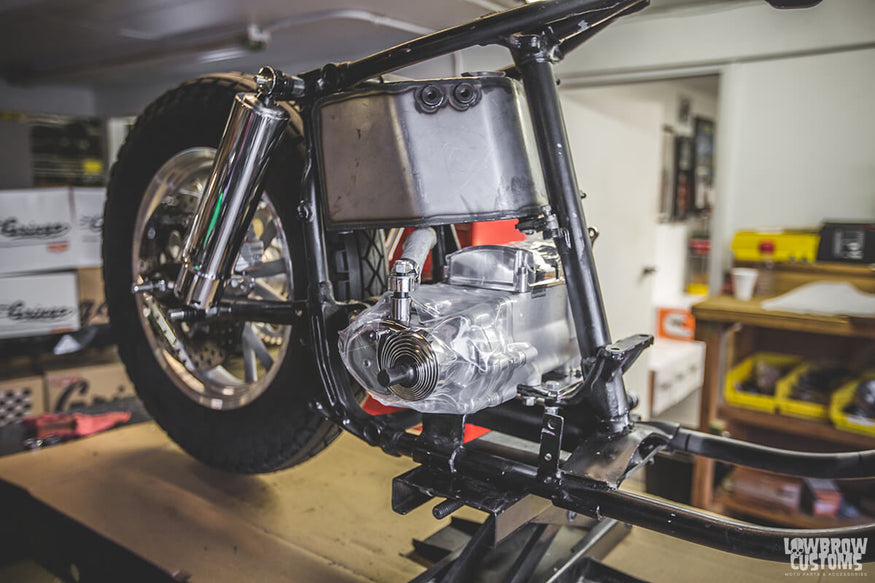
The Gasbox Oil Tank also includes the front mount with integrated clutch cable stop, which is bulletproof and way beefier than any stock bracket.
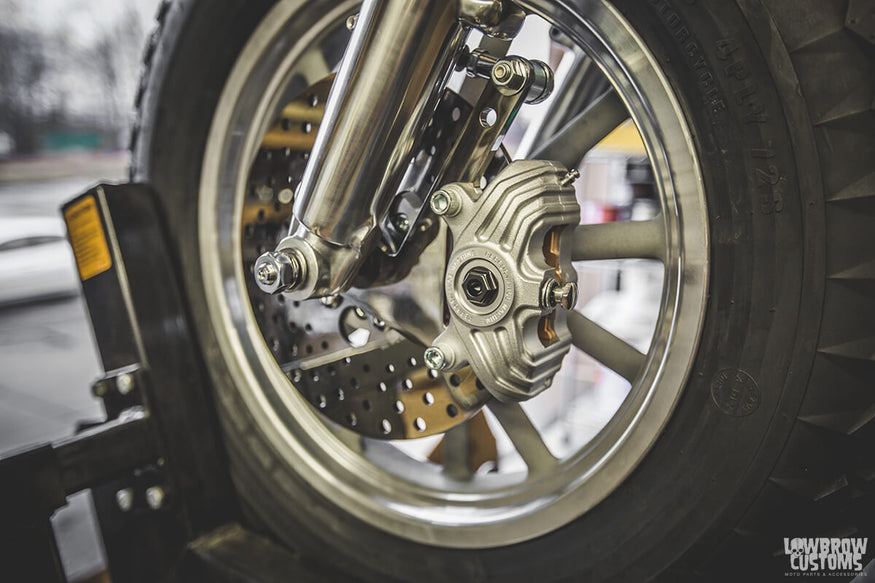
Performance Machine recently came out with their Vintage 4 Piston Caliper. I called the up and was happy to find out that the mounting holes are the same center-to-center as their standard 4 piston calipers.
This makes sense, but this info wasn't on their website so I had to check. This means that these calipers will fit their different caliper brackets, including this one that lets you replace the giant, stock banana caliper that doesn't work that well with a modern one with great styling and finish.
They aren't cheap, but it is nice to have an alternative to that stock banana caliper on your wideglide front end.
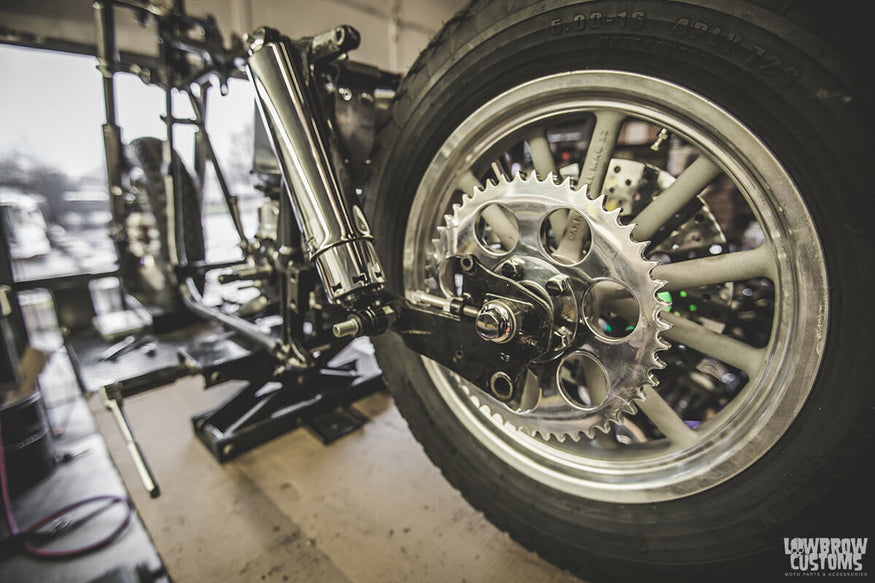
Measure and Align the Chain & Wheel Spacers
Next up we need to throw a chain on and get that aligned so we can measure and make motorcycle wheel spacers for both front and rear wheels. Keep your eyes open for a tech article from us showing the details.
This will mean our bike will be ready to drop the motor in and keep moving forward!
2.5.2016
More delays as the holidays got out of the way, and normal work at the shop kept us all busy! However, assembly is coming along pretty quick, with hardware being fit, metal being massaged gently with files, or grinder, as need may be, and we compile some notes on additional parts needed, problems solved, or fabrication to be completed.
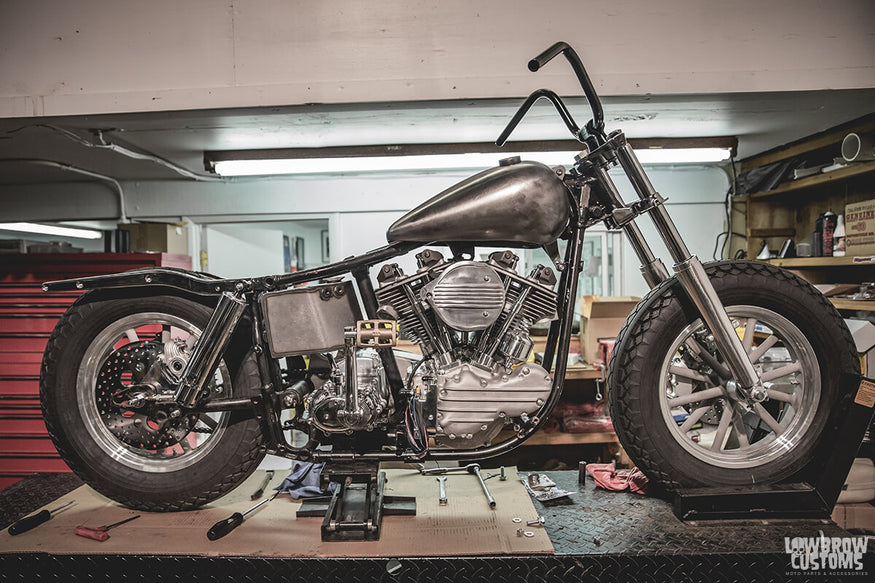
At first glance you will likely notice that the motor is in the frame! Looking pretty good in my opinion.. I am very excited to ride this bike, the 93" S&S Pan motor paired with the Baker Drivetrain 6-into-4 transmission, upgraded Progressive suspension and PM brakes should lend itself to a fast and agile bike.
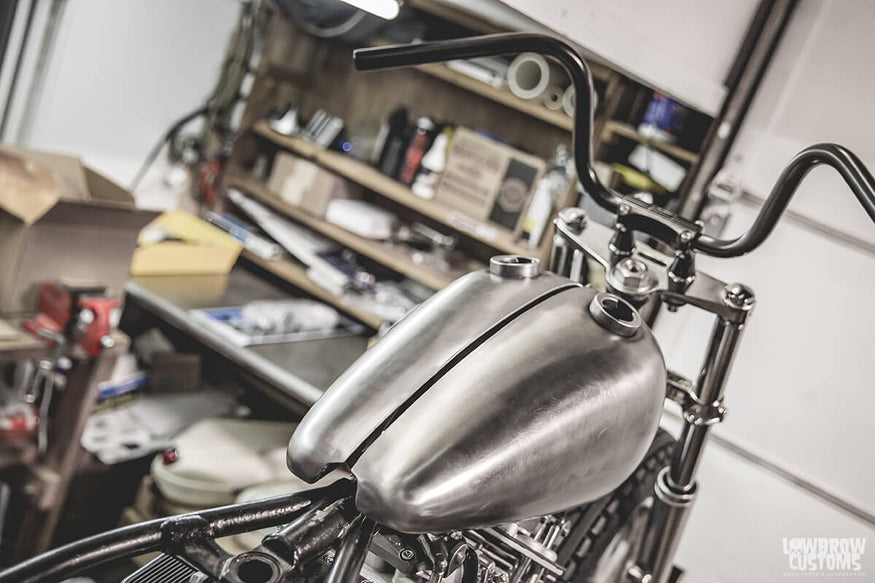
You might also notice the stylin' gas tanks. These are a sample set of Lowbrow's WX Split Gas Tanks, which will be out and for sale by March 2016. A play on the MoCo WR factory race gas tanks, which held gas in one half, oil in the other. These WX Split Gas Tanks are bolt-on fitment (NO welding or modifying your frame!) for 1936 - 1984 Harley-Davidson Big Twin frames.
We have been working on getting these made for almost three years, so I am quite excited about finally being done!
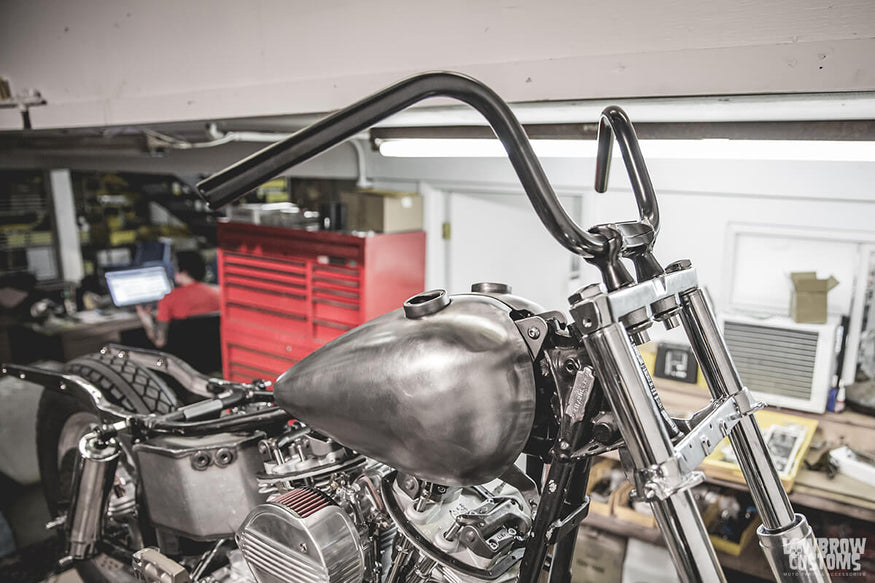
Another view of the WX Split Tanks, and a good view of the stainless steel, investment-cast Biltwell Thunder Risers & 1" Chumps handlebars.
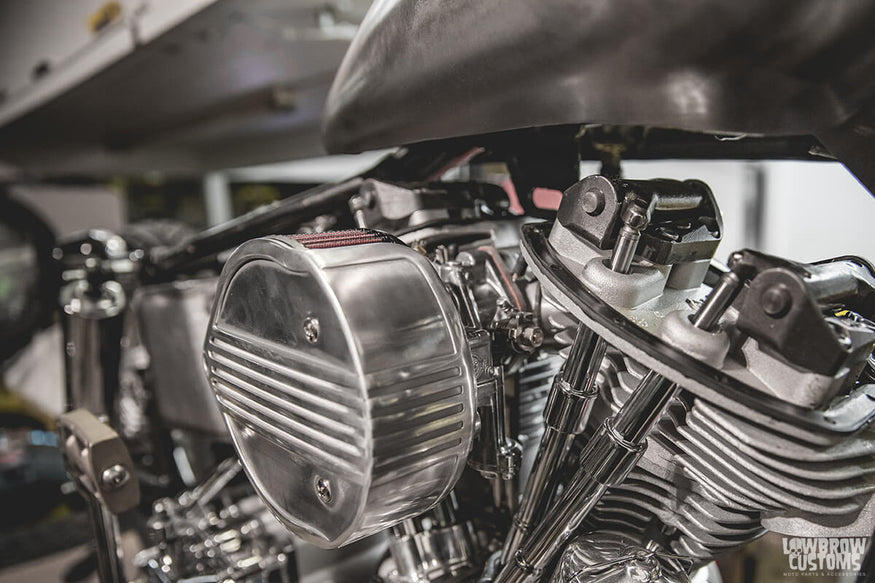
We aim to run some cast aluminum, finned rocker covers by Custom Cycle Engineering, but we will have to mill some material off of the bottom flange, as the S&S Pan motor is a bit taller than the stock cone Shovel motor that would have been in this frame, and there are clearance issues.
We swapped out the S&S teardrop air cleaner cover for a cast aluminum Lowbrow Finned Air Cleaner Cover, which uses the stock S&S air filter element and backing plate, it is a two minute change-over that helps set this bike apart from a sea of others.
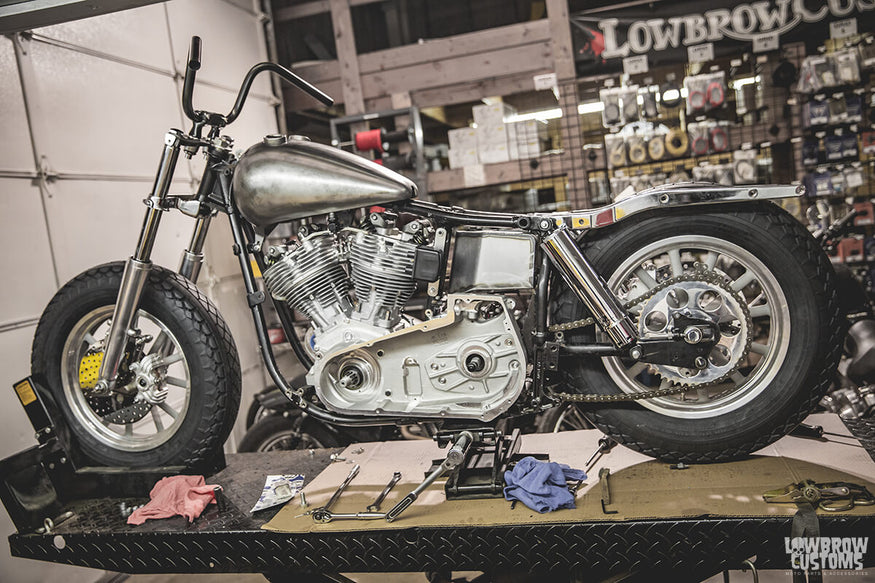
B-side.. Rivera Primo makes a heavy-duty inner primary that will be indestructible and work well with the electric start we will be using (the Pan-American will be kick and electric start). Another high-quality component that helps make this bike the long-haul, bulletproof moto we set out to build.
Other bits and pieces are coming together, just trying to get all the main components fit and on the bike. Fender will be fit next, then it is time to make a seat pan for a custom seat, sort out tail light, head light, fabricate some mounts and brake stay for the rear caliper, and a bunch of other odds and ends.. Onward and upward!
Reassembled & Test-Ridden
4.21.2016
Spring draws near, so we periodically pull the bike out and get some work done on it, being that I plan on riding it from Ohio to Born Free in California in June, and it still needs to be finished, blown apart for paint and polish, reassembled and test-ridden before taking a meandering jaunt cross-country!
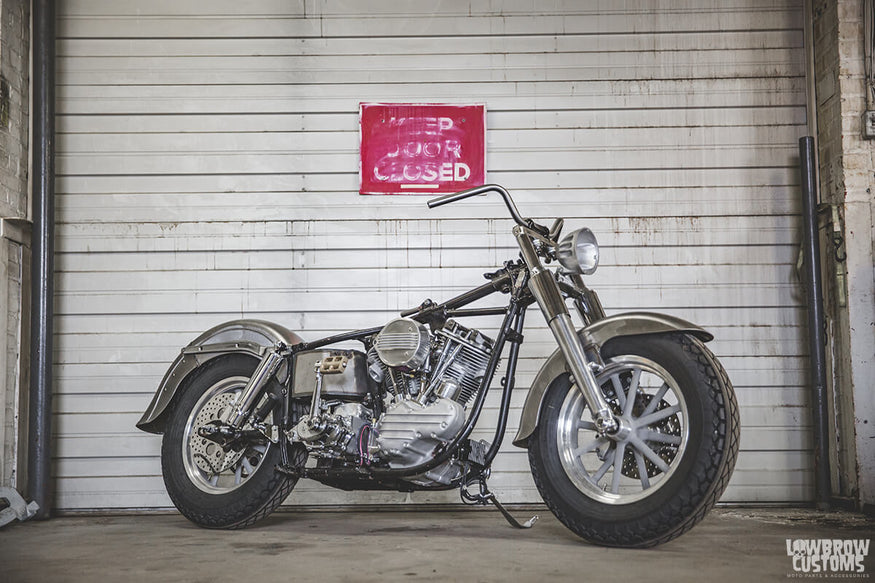
We ended up swapping bars for some Zombie Performance handlebars, in 1" raw steel. I was looking for a 1-piece bar like early Harley-Davidson Big Twin motorcycle handlebars<, but narrower and not set up for an internal throttle.
This bend fit the bill, I like how the clamping area is narrow, that the bars swoop right out of the top clamp.
I hauled the bike over to our friends at The Gasbox to knock out a few of the fabrication tasks. The WX Gas Tanks are already off to our friend Joe to get prepped and painted, just trying to keep ahead of the schedule even if by a little bit!
Being that this bike's purpose is to be utilitarian, fast and nimble, in addition to looking great, we thought it was important to add a front fender for those rainy slogs encountered often enough in the Midwest USA.
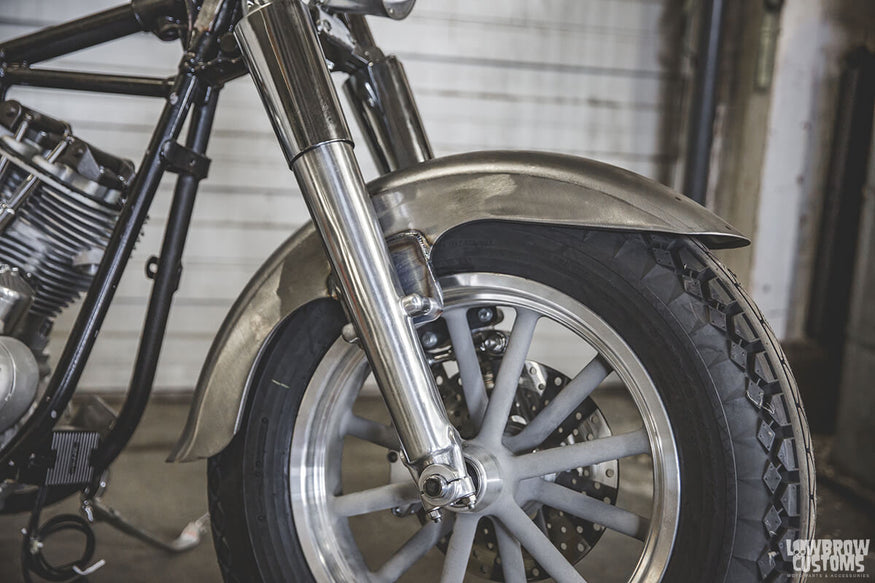
We procured a Fatboy style front fender from Drag Specialties, which was modified to fit this earlier wide glide front end. A steel bracket was cut for each side and welded, raising the fender up about an additional 1/2 inch from the tire tread, and spacers were made to center it properly.
Now we have a great rain-stopper that looks good compared to the giant stock front fender, and it can also be easily unbolted if slamming around town and you want to strip the bike down a bit.
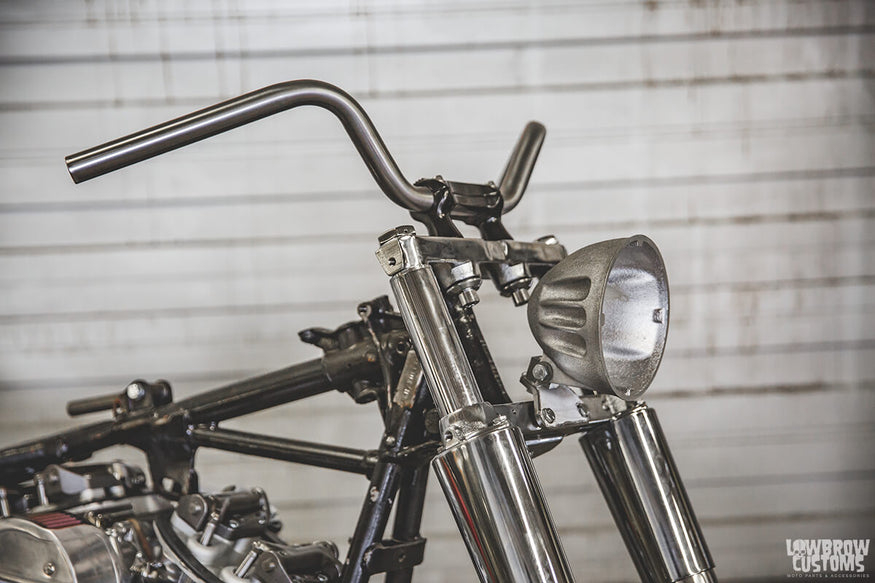
The EMD headlight is now held in place with a simple, yet classy and durable, stainless steel bracket. The EMD Vitamin A headlight is a cast aluminum headlight bucket (made in France) that takes the stock H-D bezel ring and bulb.
It is made to swap out the stock headlight bucket on your Sportster or Dyna, however, it also works well for custom projects like this one!
Next up: seat pan, foot controls, grab bar (short sissy bar), bag mounts.
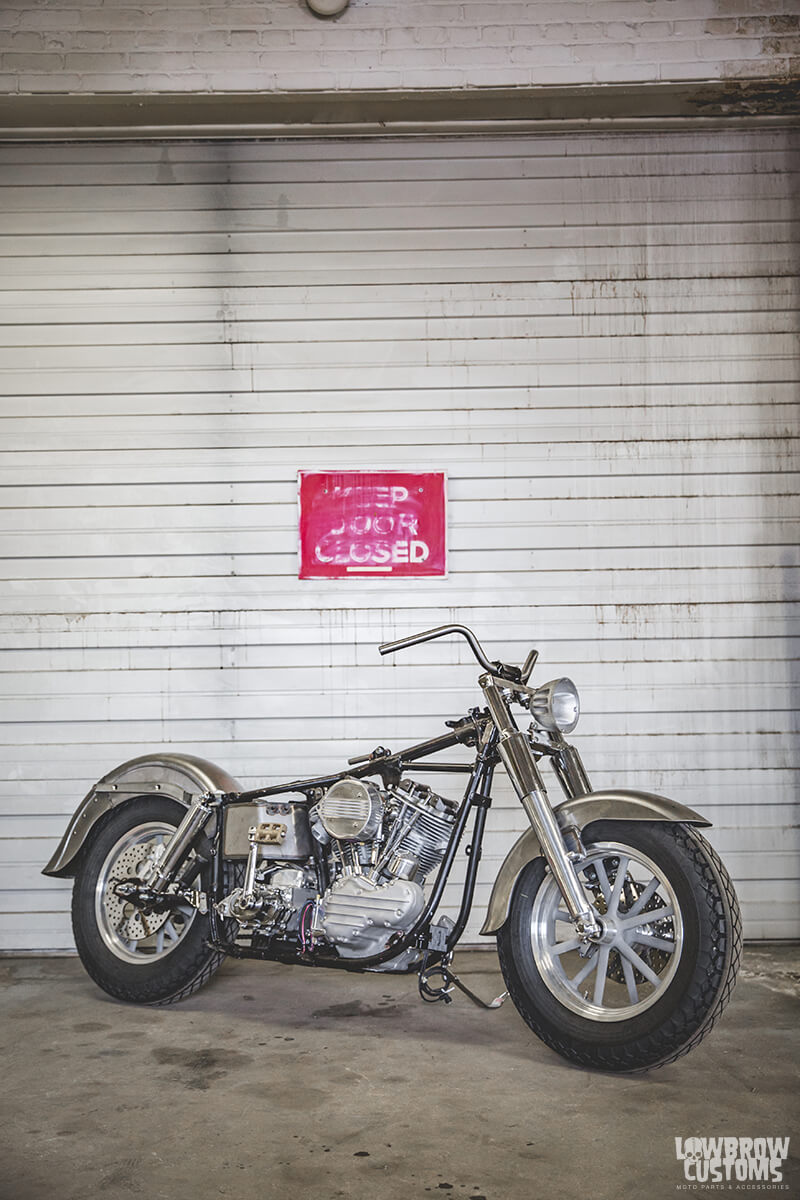
Mounting Seat Pan, Foot Controls, Grab Bar & Bag
6.14.2016
Spring and summer are so busy for us both with work as well as events, rides, parties, motorcycle shows (such as Fuel Cleveland) and the like. SO while a lot of work has gotten done on the Pan-American, I have not gotten this build post updated in a while.
I will get you up to speed in two installments, this being the first. The Pan-American is actually on the road and getting broken in right now! And, in fact, I leave on it cross-country starting this coming Friday, June 17th, 2016 on a 2900+ mile journey from NE Ohio to Born Free in Orange, California.
Of course we aren't taking the most direct route, but one that will provide some of the most scenic riding our great country has to offer (stay tuned for photos and video from the trip, you can follow along on our Lowbrow Customs Facebook page as well as our Instagram account @lowbrowcustoms).
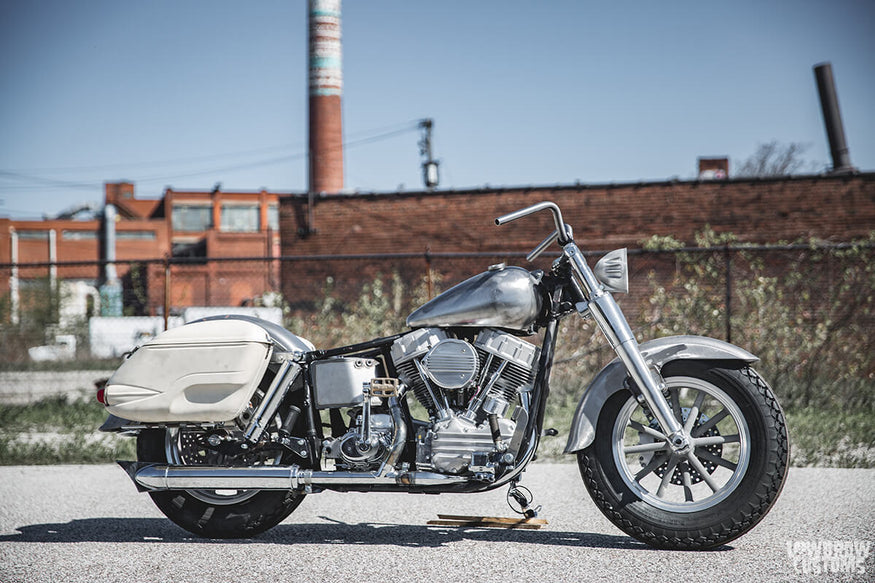
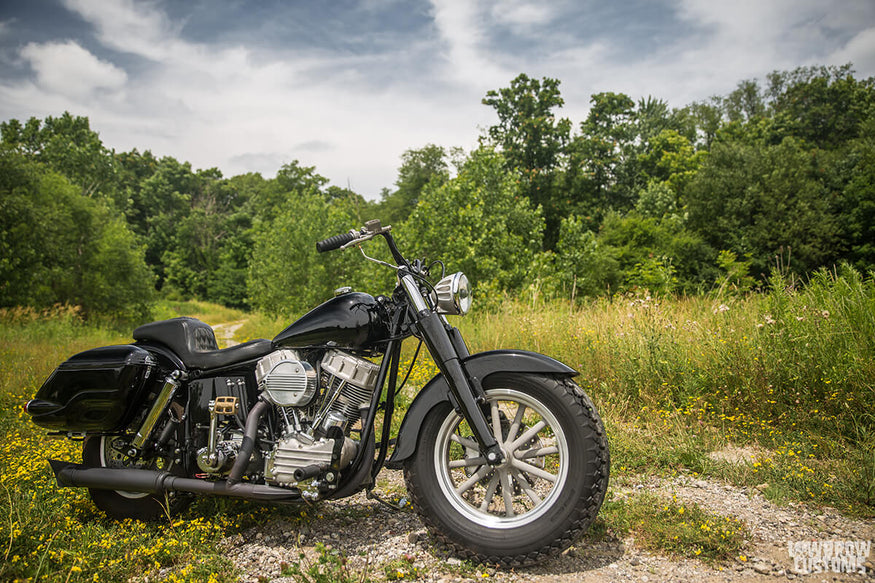
The saddlebags are vintage Buco bags that I bought on eBay. They were in really good shape, likely sat on a shelf for the last 50+ years. Gasbox modified some stock bag brackets for us and made them work perfectly with these Buco bags.
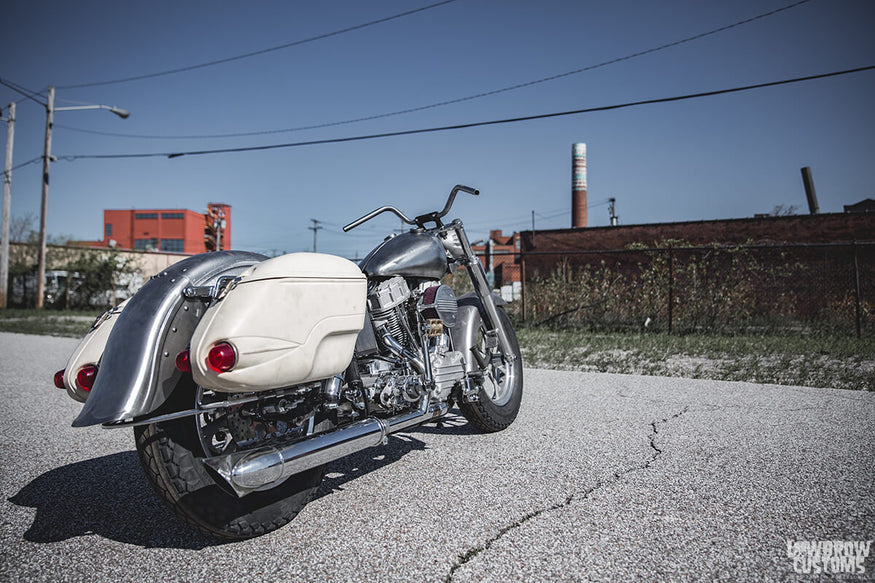
The exhaust is a Paughco exhaust stock header pipe, however, it had to be cut into pieces and reworked as this bike is a mutt, with an S&S Cycle 93" P-motor (Panhead, .25" taller than stock) which is a generator style, though in a swingarm alternator Shovelhead frame.
A repop muffler was cut up a bit to relieve the flow a bit for this large motor. The whole exhaust system was then black ceramic coated. One other thing that was affected by this mixup of parts was the CCE Cast Pan Covers.
They are quite thick and stout, and with the added height of the S&S alternator-generator motor they wouldn't clear the frame or gas tanks. The simple solution was to remove the thick gaskets they came with and run case sealant between the heads and covers!
This proved to work well as both are cast aluminum with milled gasket surfaces, and they mated up perfectly.
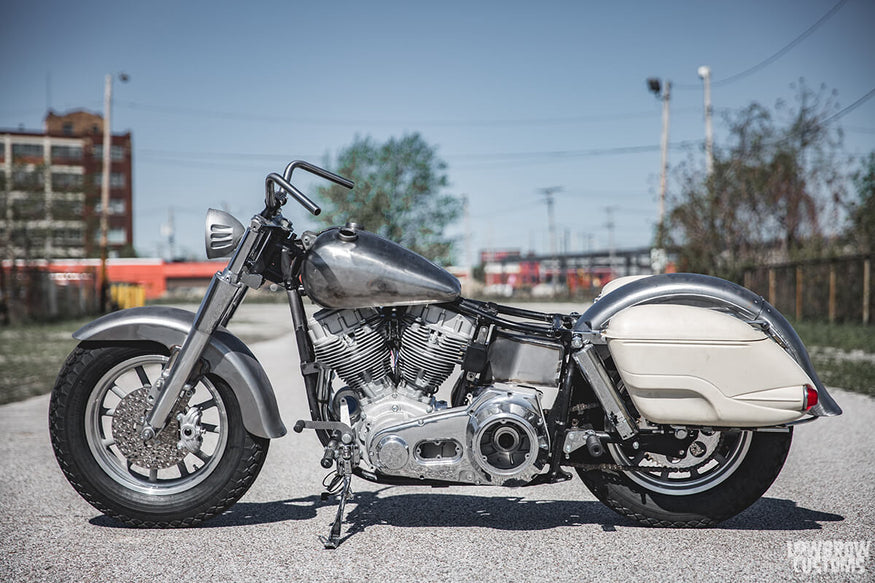
I tore the bike complete down, making one pile for black powder coat, one pile for black paint, and one pile for black ceramic coating. This all went off to Ace Powder Coating (Phone 330-896-6365, 3663 Massillon Rd, Uniontown, OH 44685), which did an amazing job as far as quality goes, in addition to the fast timeline, turning everything around for me twice as fast as usual!
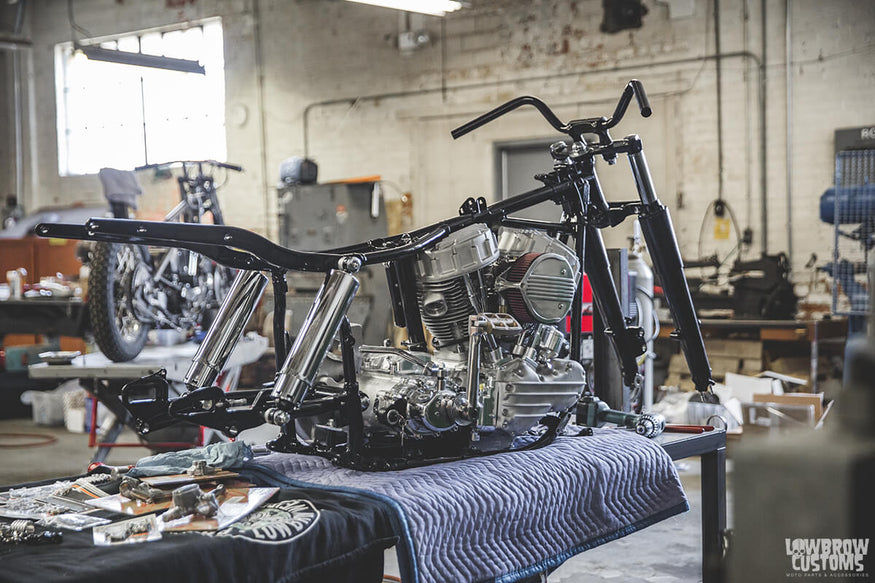
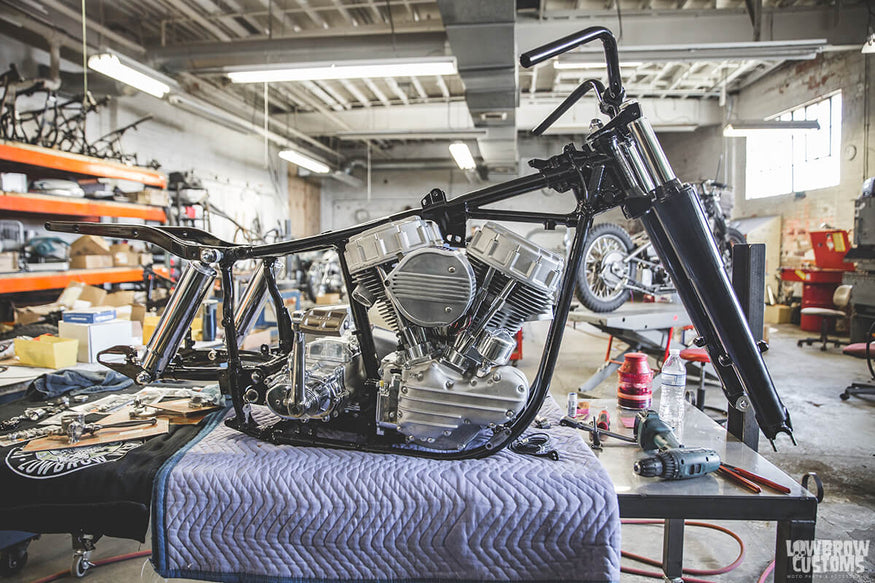
As soon as the frame and other components came back from powder coat I jumped at the chance to get some of the assembly out of the way. As this is the final assembly (and I don't want to have it apart more than once!) care was taken to assemble carefully and with the highest quality Colony Machine fasteners.
In general, red loctite was used anytime steel fasteners met steel, and blue loctite when it was steel going into aluminum. As the motor is mainly cast and cadminum (Cad) plated fasteners, I kept with that scheme, with all fasteners for the drivetrain being cad plated wherever possible. I also went with hex head bolts and standard lock and flat washers throughout.
On the chassis, which is primarily black, I used chrome hex head bolts, lock and flat washers, which look great against the black and match some of the other chrome on the bike (shocks, kicker cover, kicker arm, starter motor, fork tubes etc).
Getting the proper length and style hardware for everything was kind of a pain, but in the end it is worth it as the entire bike came together well and has a cohesive style.
I will get the final photos up showing the rest of the assembly and the finished Pan-American HOPEFULLY in the next couple of days. However, my plan is to be riding the dang bike breaking it in, so we will see what wins over, getting on the internet or riding my new bike!
Cheers!
Some finished photos (7.15.2016):
Seat by JD Sandsaver of Flying Monkey Fabrications.
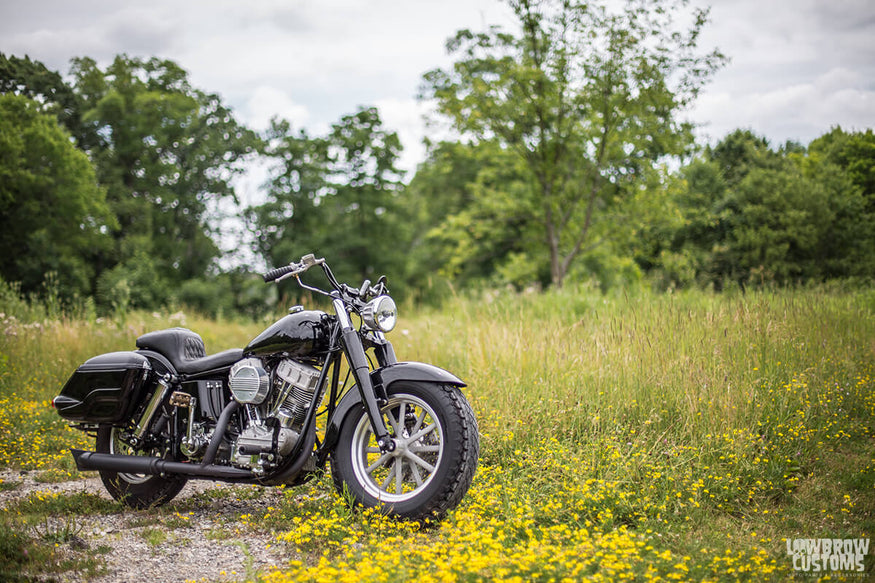
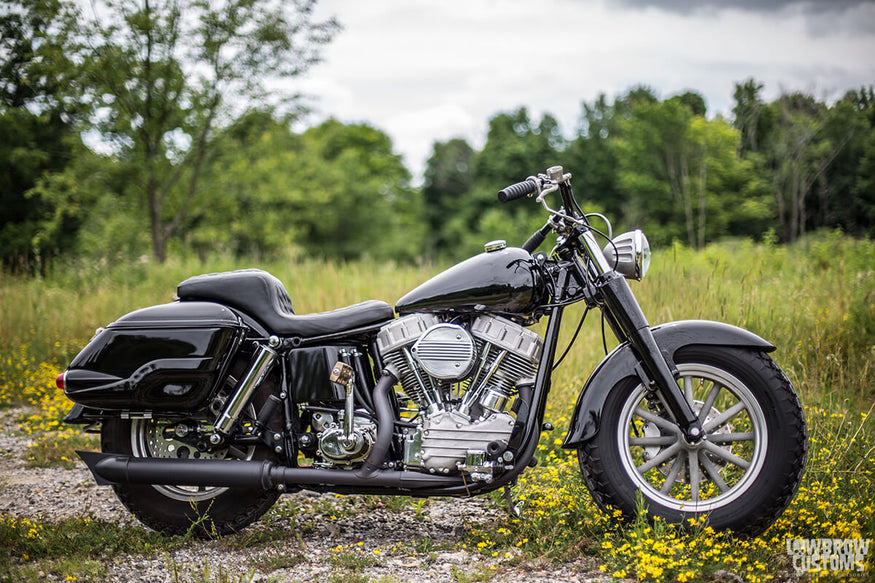
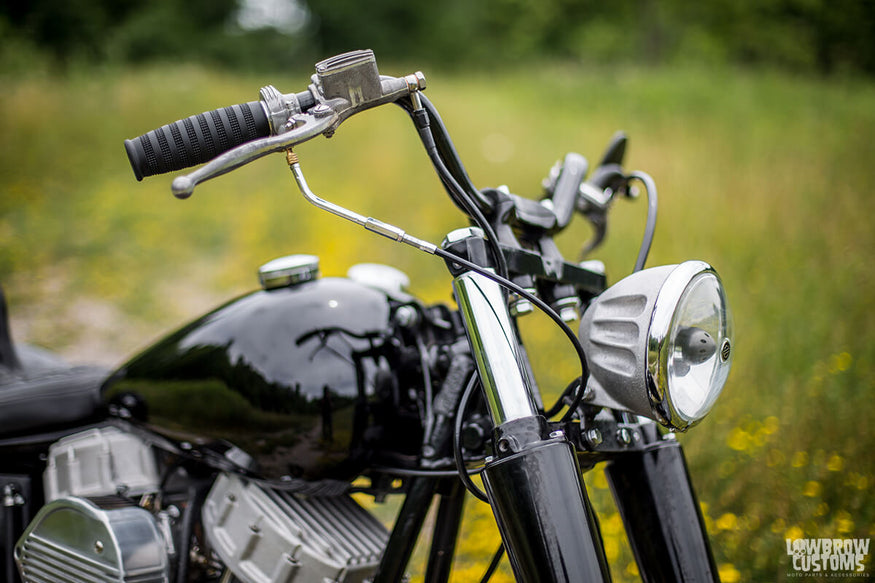
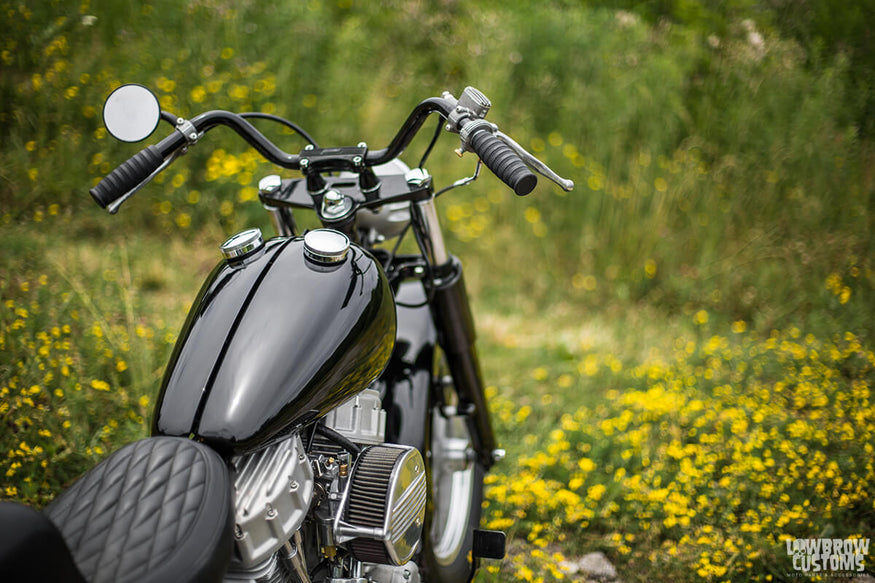
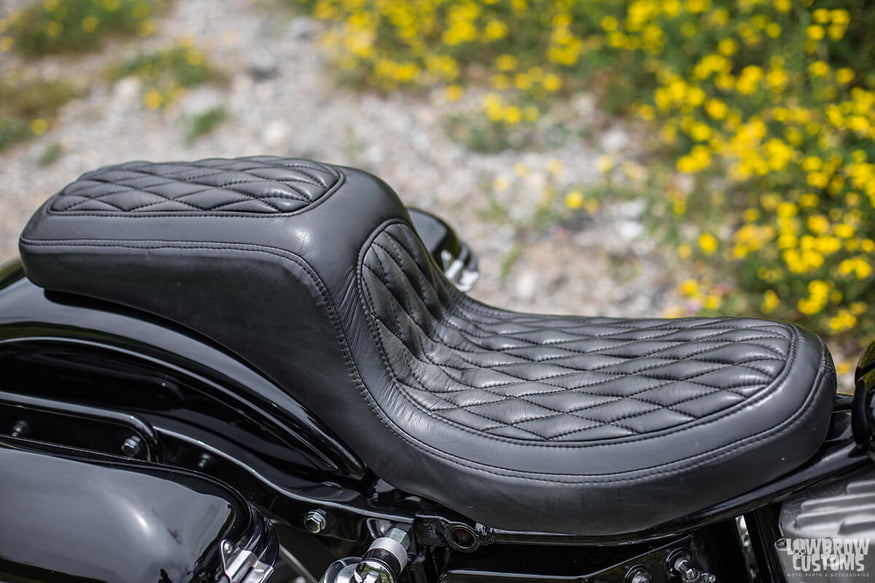 Seat by JD Sandsaver of Flying Monkey Fabrications.
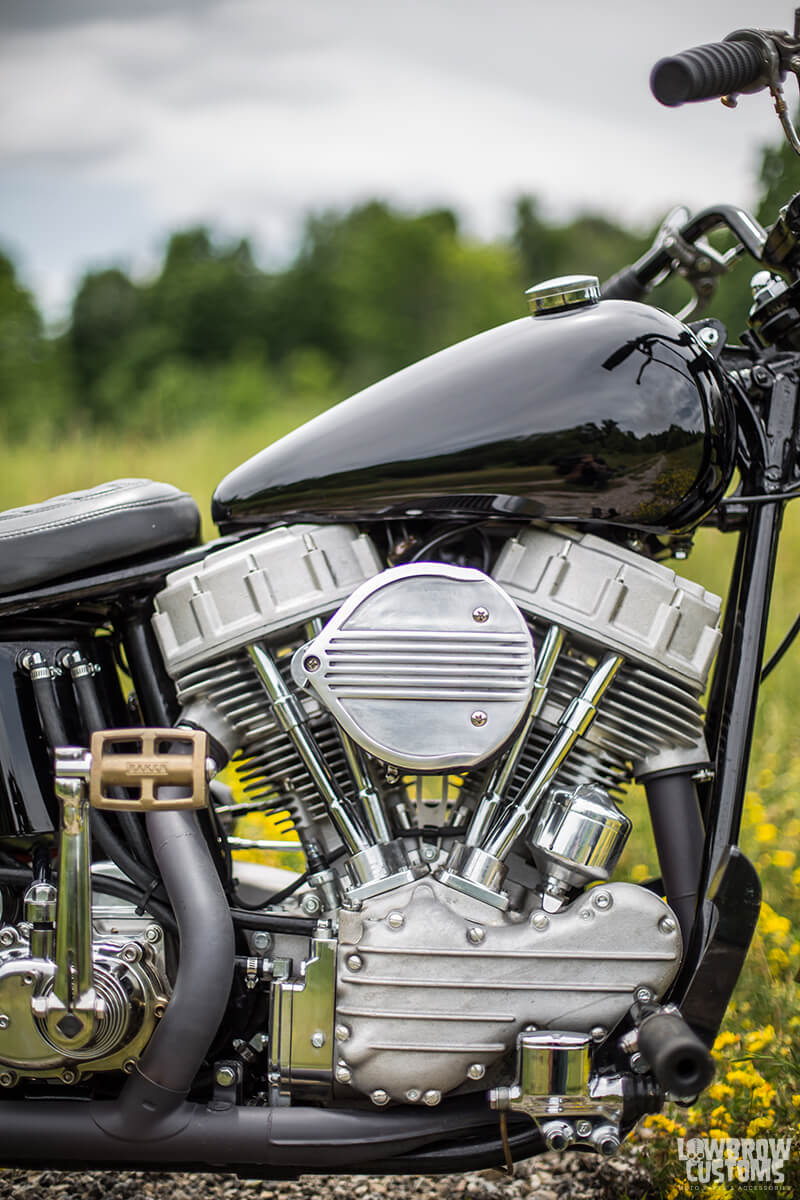
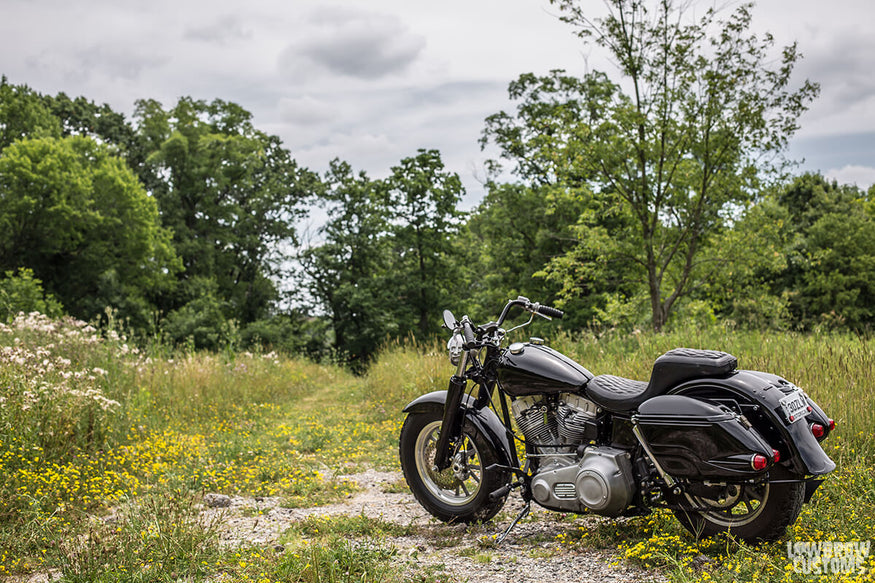
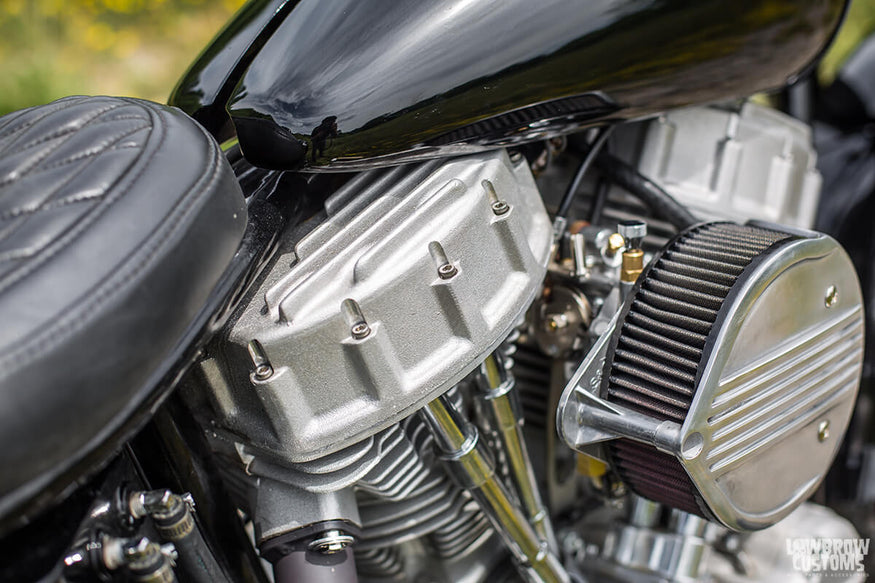
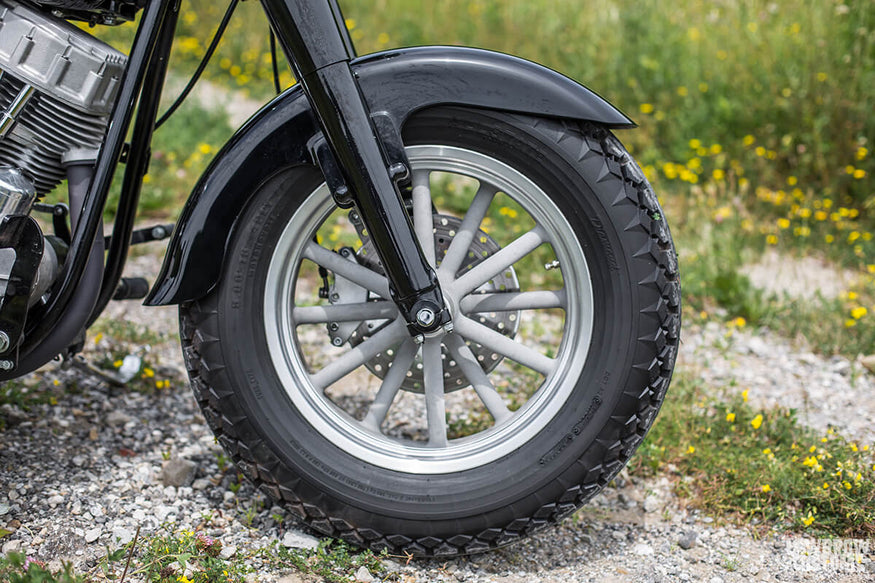
You can take a look at the walkthrough video below for a better look.
We wanted to give a huge thank you to the following companies and people who were involved with this build.
Baker Drivetrain
W&W Cycles
US Valley Tires (used to be All state)
EMD
Progressive Suspension
Zombie Performance
Colony
Rivera Primo
Flying Monkey Fabrication
Go Pro
Ed Vanaman & Ace Powder Coating
Todd Muller
-Tyler Malinky
Related Products


