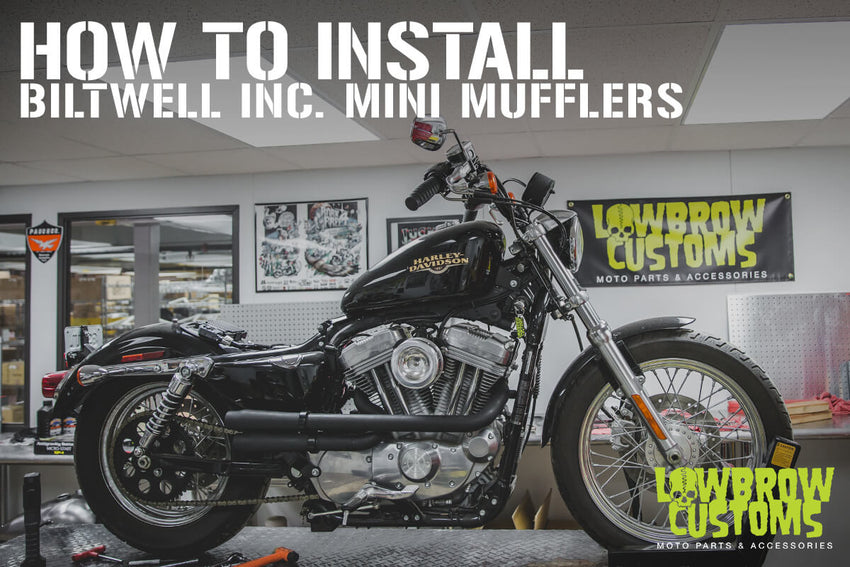
Biltwell Mini Mufflers slip fit over the open ends on 1-3/4-inch O.D. custom exhaust pipes to change the look and sound of the motorcycle exhaust system. A perforated steel baffle tube with fiberglass wrapping inside the Mini Muffler can be removed to change the exhaust note. Biltwell Mini Mufflers come in different 3 styles Javelin, Cannon and Stinger, with two color options, chrome and black.
For this project we decided to install black Javelin Mini Mufflers onto our black Lowbrow Customs Shotgun Pipes which compliment each other really well.
Tools needed for the job:
- 1 x 1/2 inch socket
- 2 x 1/2 inch wrenches
- a hacksaw, pipe cutter, or angle grinder
- 1 x 7/16 inch wrench
- 1 x 1/4 inch allen socket
- assorted files of your choosing
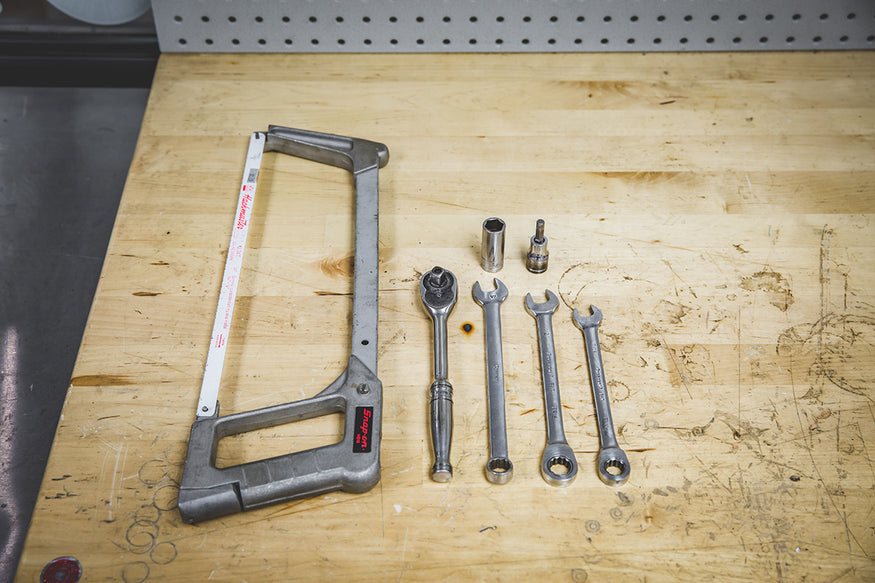
- All of the tools needed for this job.
Installing Biltwell Mini Mufflers onto Lowbrow Customs Shotgun Pipes
Step 1. Locate the middle of the mounting tab on the back of the muffler. Line up the center of the tab on the muffler with the rear bracket mounting holes. Mark the Shotgun Pipe where the cut will be made, make sure to leave enough excess pipe to insert into the muffler flange.
 - Todd eyeing up where the tabs would meet the mounting bracket.
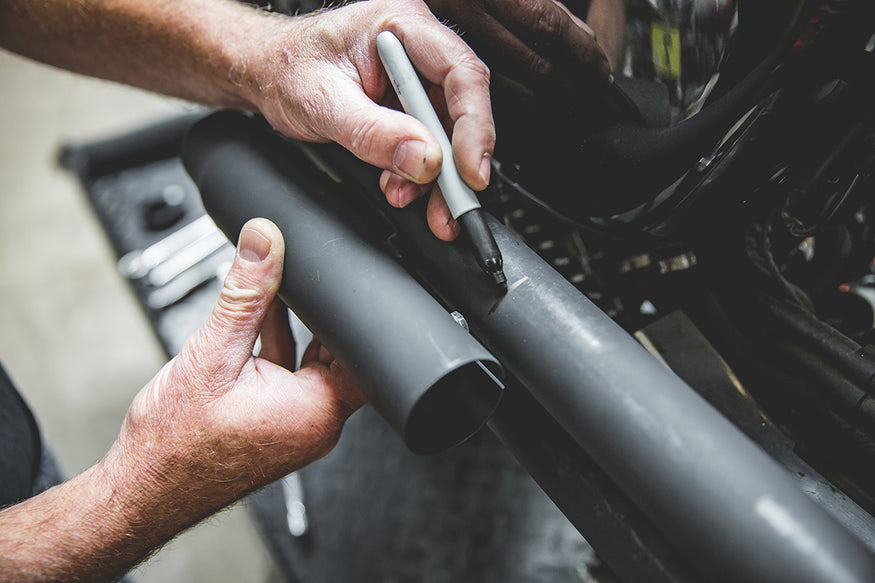
- Todd marking the line he wants to cut on the pipe, make sure to leave enough excess pipe to insert into the muffler flange.
Step 2. Unplug O2 censors.
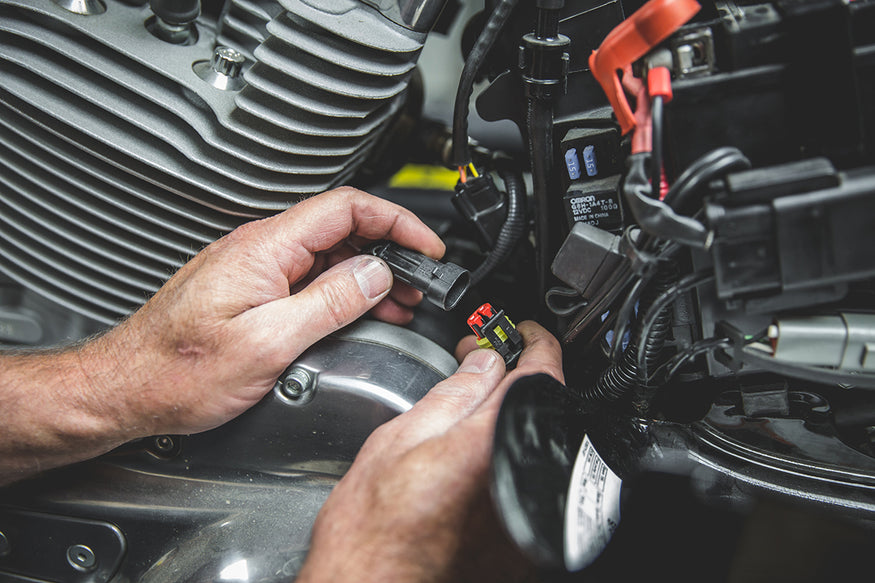
- Todd unplugging the O2 censors from the opposite side of the pipes on the bike.
Step 3. Using both 1/2 inch wrenches remove both nuts and bolts from the mounting tabs at the rear bracket.
Step 4. Remove top pipe from the front cylinder head using a 1/2 inch socket.
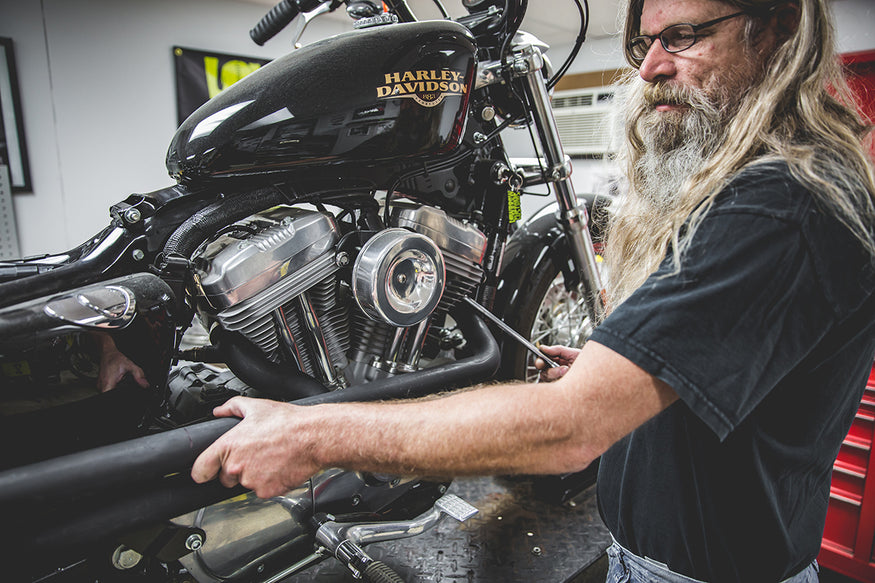
Step 5. Use a pipe cutter, angle grinder, or hacksaw to cut the shotgun pipe along the line you marked. If using a hacksaw or angle grinder, it is very important to keep the cut as straight as possible.
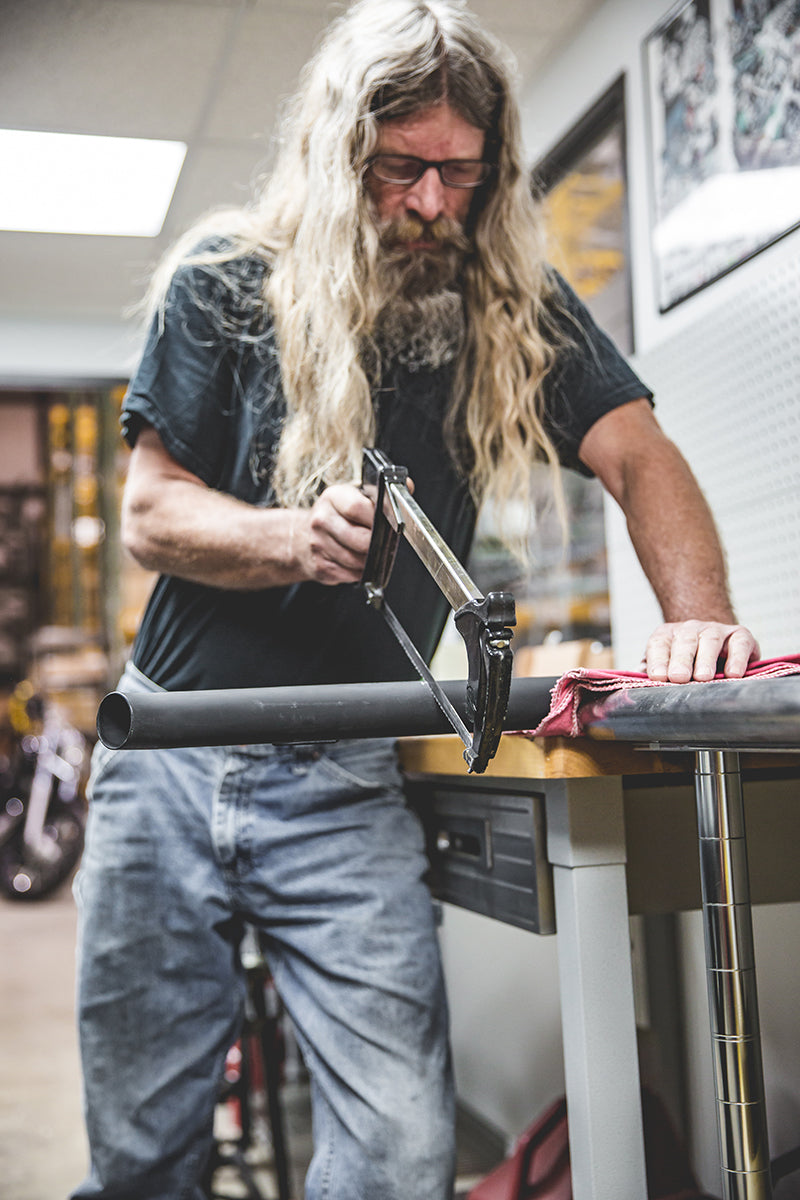
- Slow and steady wins the race, try and keep it as straight as possible and use a vise if you have one.
Step 6. File off any jagged edges along the cut on the inside and out of the Shotgun Pipe.

- Todd filing down any jagged edges.
Step 7. Using a 7/16 inch wrench, make sure the baffles are tight on each muffler.
Step 8. You will need two exhaust clamps to secure your mufflers to the pipes, (we used Biltwell’s 1-3/4” Duo Muffler Clamps in black)
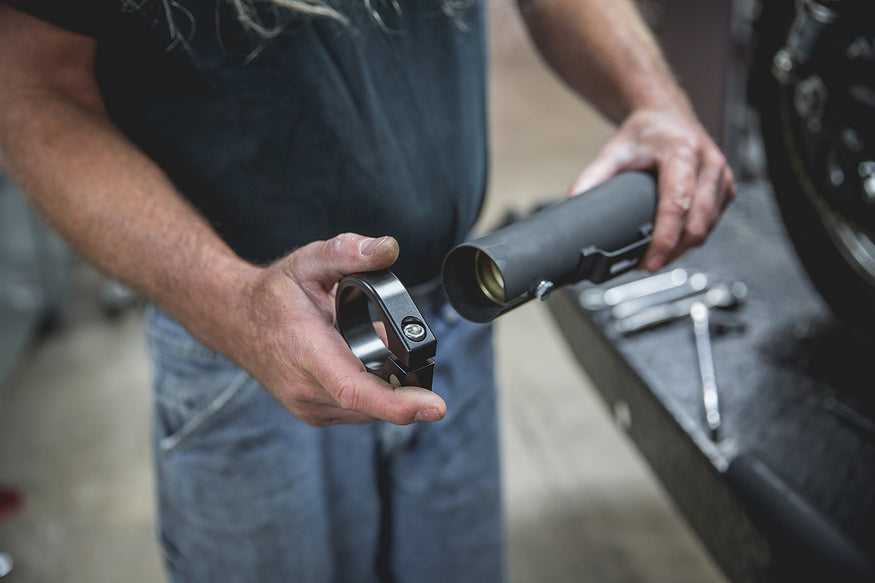
- Biltwell Duo Muffler Clamps.
Step 9. Reinstall Shotgun Pipe to front head loosely.
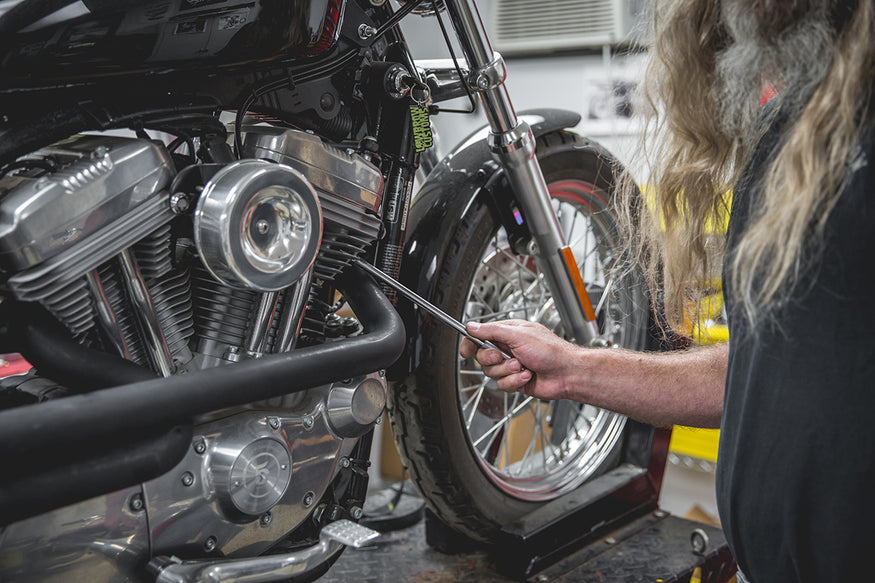
- Todd loosely putting the front pipe back on.
Step 10. Loosen clamp to allow it to be slipped over the muffler. Then slide muffler on to head pipe.
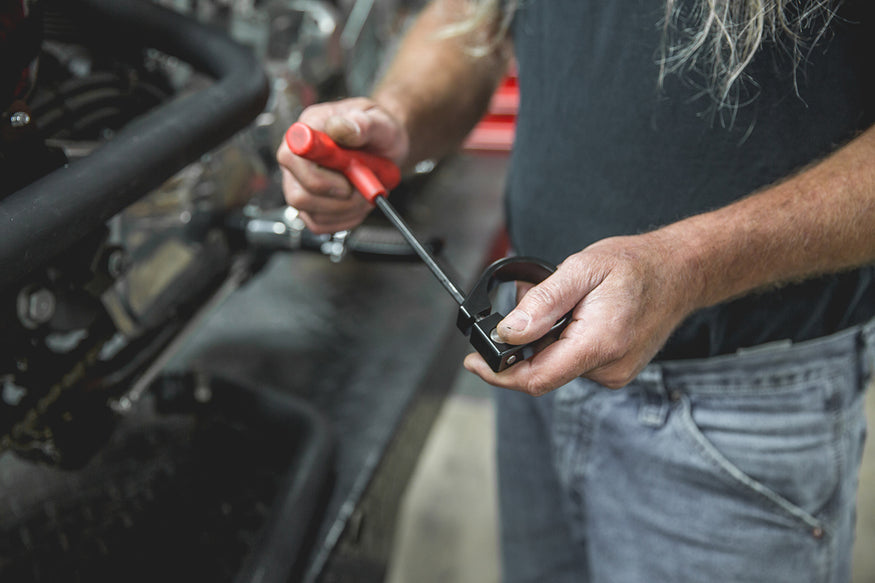
- Todd using a 1/4 inch allen to loosen up the Biltwell Duo Clamp.
Step 11. We chose to stagger the mufflers a little to compensate for the larger diameter of the Duo Muffler Clamps. Locate the middle of the mounting tab on the back of the muffler. Line up the left of the tab on the muffler with the rear bracket mounting holes. Mark the Shotgun Pipe where the cut will be made, make sure to leave enough excess pipe to insert into the muffler flange.
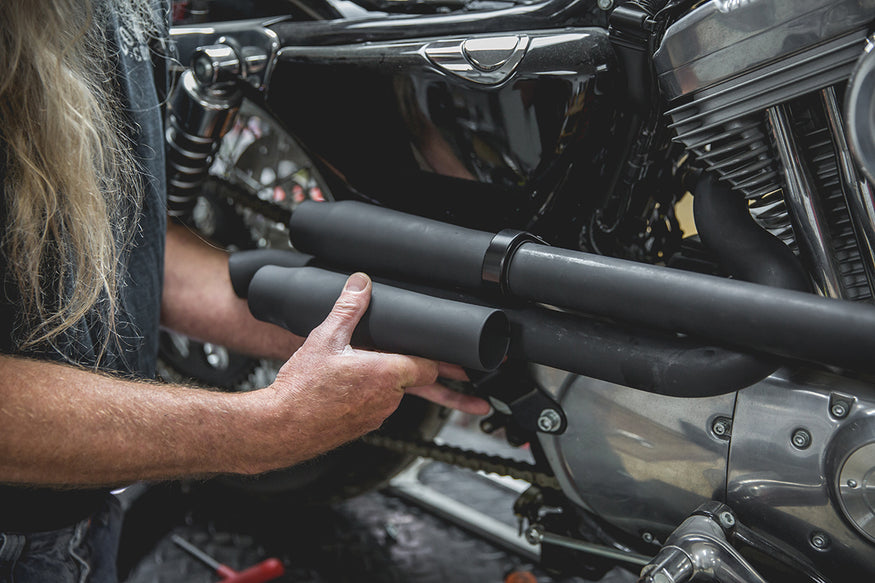
- Todd lining up the second Mini Muffler to where he wants to mount it, and marking it to be cut.
Step 12. Remove top Shotgun Pipe, remove bottom Shotgun Pipe, and repeat steps 5-8 on bottom Shotgun Pipe.
Step 13. Reinstall Shotgun Pipe into the rear cylinder head.
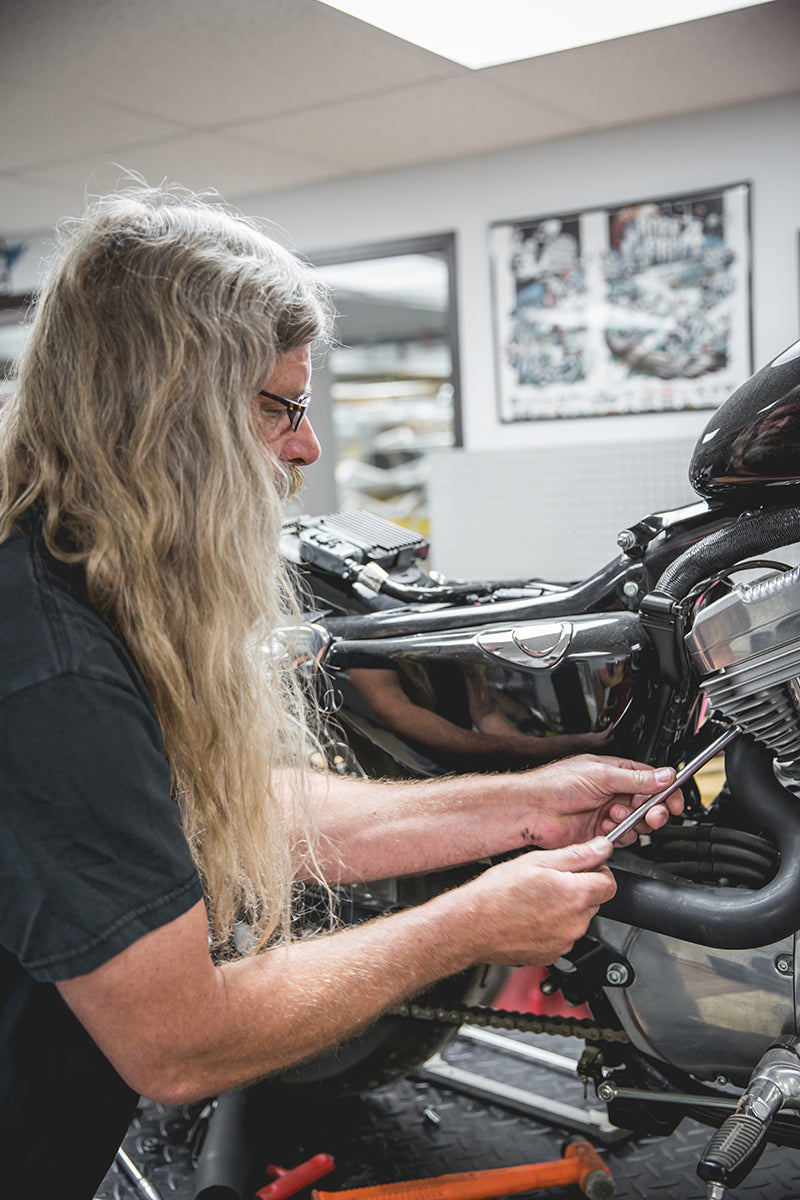
- After Cutting down the bottom pipe, Todd reinstalls it to rear cylinder.
Step 14. Secure clamp to muffler loosely and fit over Shotgun Pipe.
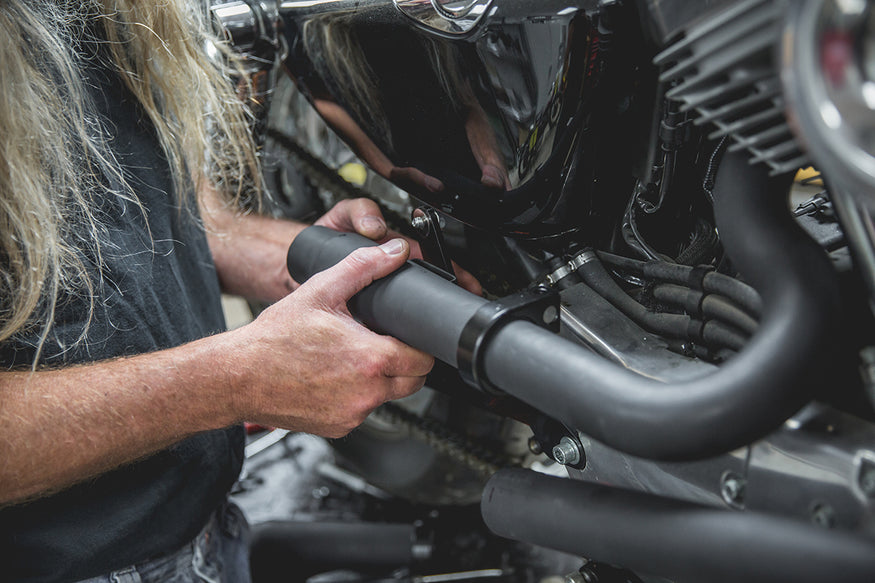
- Todd loosely attaching the Mini Muffler to the rear pipe and bracket.
Step 15. Reinstall front Shotgun Pipe with muffler.
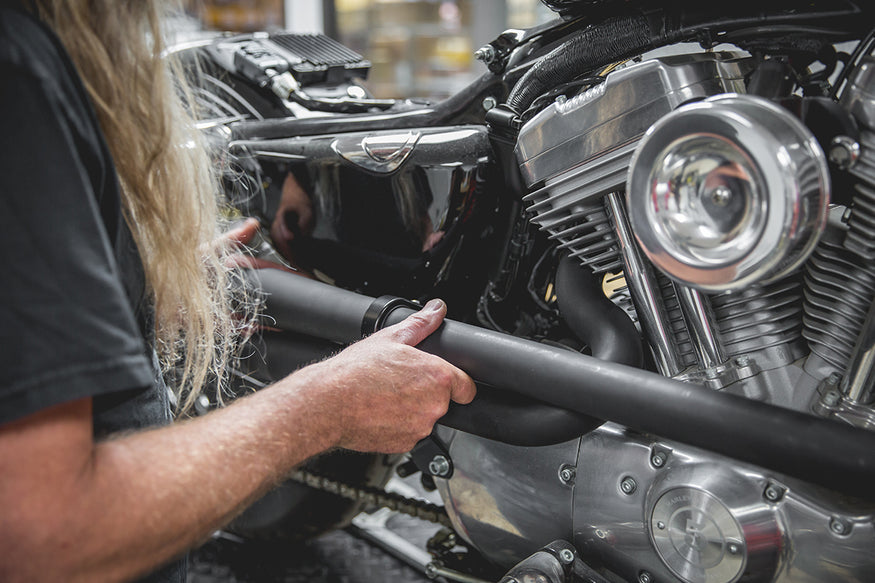
- By loosely installing both pipes, it makes for an easier time to line up the pipes evenly.
Step 16. Evenly tighten both Shotgun Pipes at the heads and rear mounting tabs. Adjust pipes till your lines look straight. Make sure to tighten Duo Muffler Clamps.
 - Make sure to tightened both clamps, back tab bolts and head bolts.
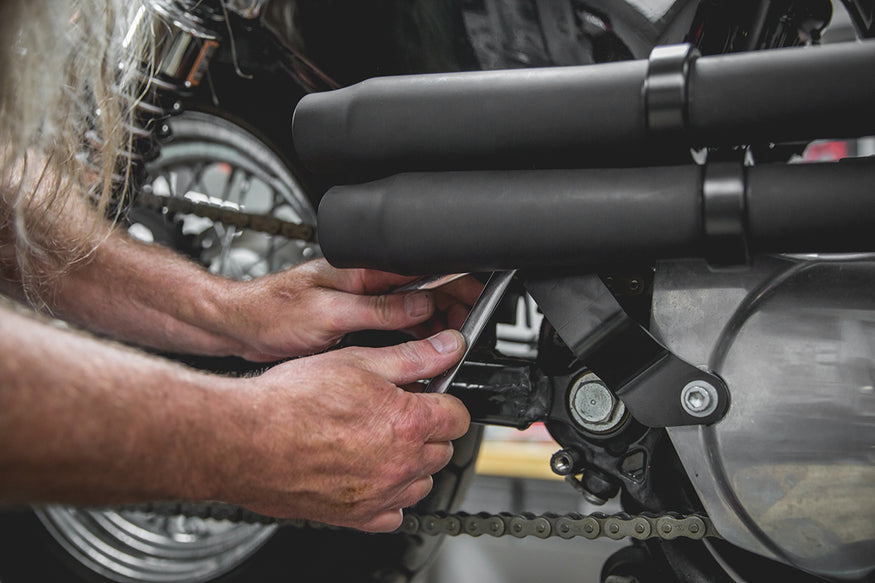
- Todd using 2 - 1/2 in. wrenches to tighten the back tab bolts.
Step 17. Plug back in your 02 sensors and go for a ride.
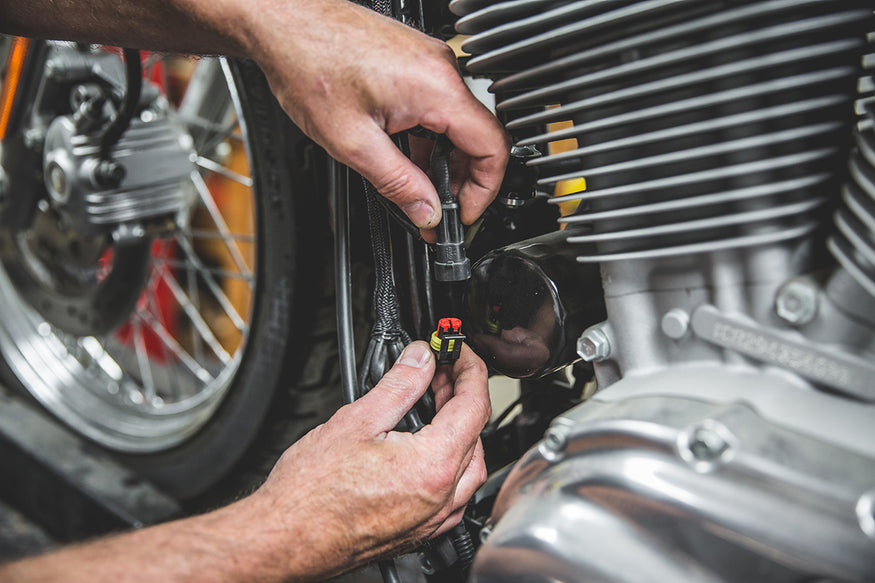
- Plug back in your O2 censors!
Step 18. Note: When attaching mufflers to rear bracket, you may need to add a washer in-between the tab on the muffler and the rear mounting bracket to be sure that the bolt will not come into contact with the muffler when tightened.
 - "That's all there is too it, now go for a ride!" - Todd.
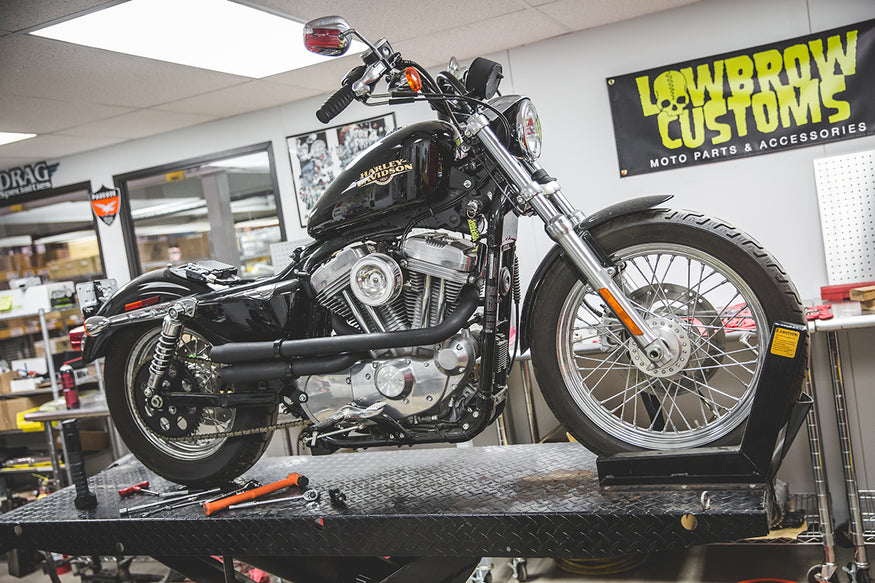
 - The Before
- The After
We bet it is easy to follow our instruction, right! You shoud check more our installation tutorials for Biltwell bike parts below:
- HOW-TO INSTALL THE BILTWELL GRINGO S REPLACEMENT SHIELD & HARDWARE
- HOW-TO INSTALL MOTORCYCLE GRIPS WITH OTTO FROM BILTWELL


