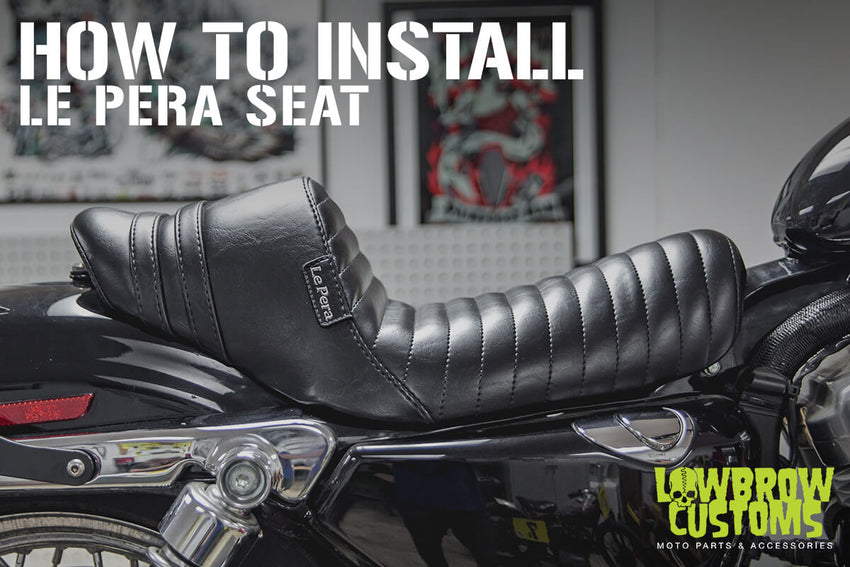
Installing Custom Le Pera Seat
Tools needed for the job.
Flat or Phillips head screwdriver (depending on seat screw)
Changing Your Stock Motorcycle Seat To A Le Pera Stubs Spoiler Seat.
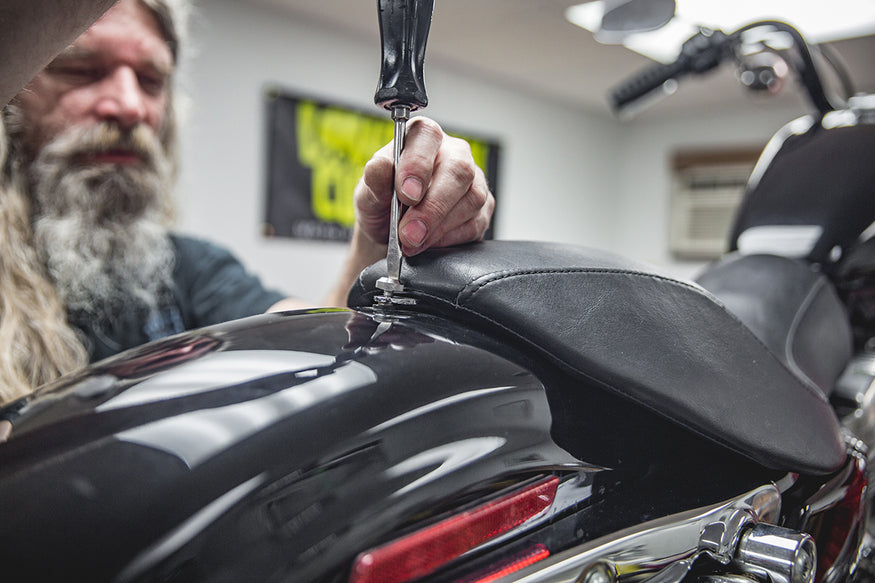
Step 1. Remove the screw located on the rear fender closest to the back of your seat.
Step 2. Lift and separate old seat from mounting points.
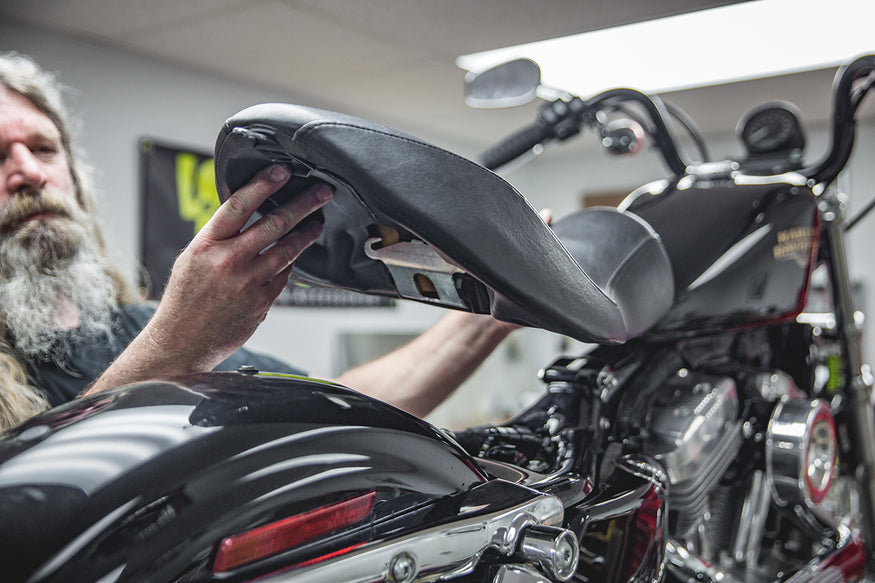 - Todd showing how easy your seat will come off.
 Step 3. Push new Le Pera seat in to place, tab forward in to the gas tank slot or frame slot and align back screw to fender hole.

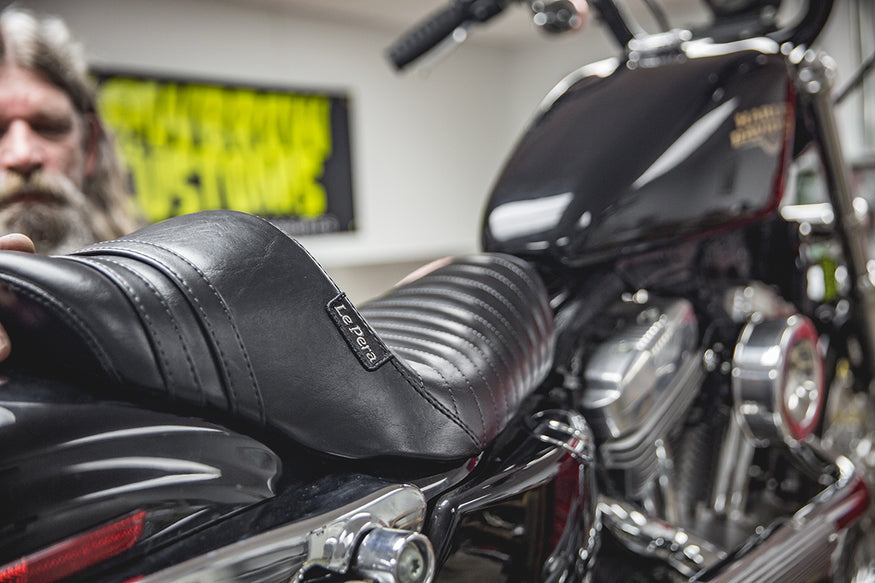 - Todd making sure seat is securely in place.
 Step 4. Tightly fasten seat screw to attach seat with a screwdriver.
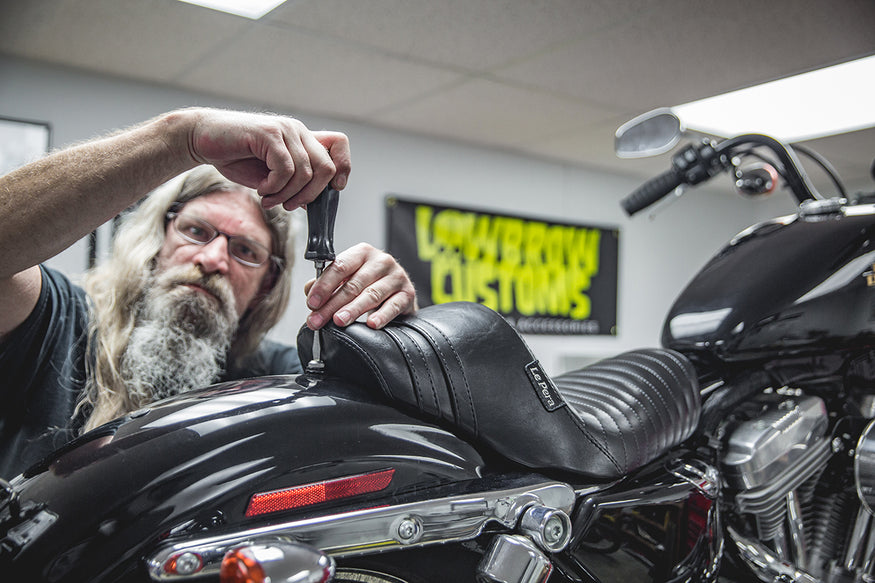 - Todd mean mugging and showing this seat who's boss.
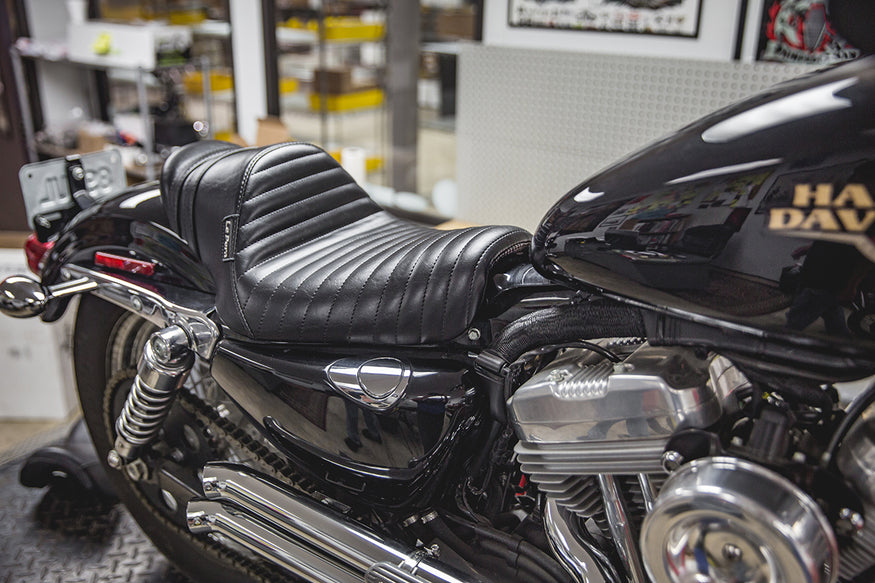 - The After
 Installing Biltwell Banana Seat
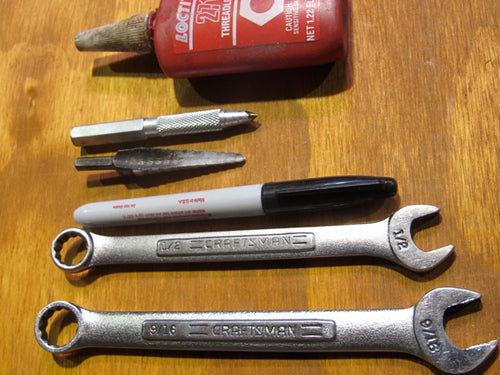
STEP 1: Organize your tools
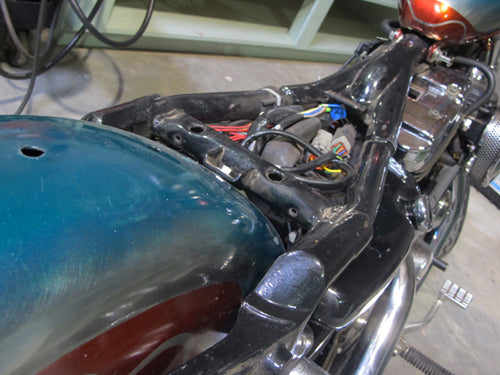
STEP 2: Remove the old seat and tidy up space
Remove the old seat. We haven’t shown this process because we don’t know what seat model is on your current model. If there’s a bird’s nest of wires hiding beneath your old seat, tidy up this space before proceeding to step 3. Failure to do proper housekeeping with custom electricals can result in a pinched or severed wire between the seat pan and the frame rails.

STEP 3: Locate the steel plate riveted to the bottom of Banana seat pan
Locate the steel plate riveted to the bottom of your Banana seat pan. This plate fits underneath the welded metal tongue at the Y-juncture of your stock Sportster's subframe and backbone.
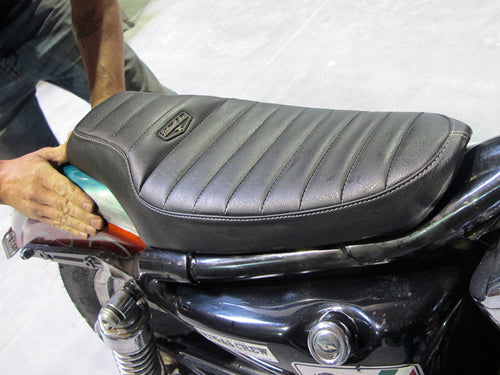
STEP 4: Install the seat
- Lower the seat onto the subframe and fender, then slide the seat forward until the tongue engages with the pan plate.
- Test engagement by pulling upward on the nose of the seat.
- When properly engaged, the seat’s nose will remain flush to frame behind the gas tank.
- If the nose lifts off the backbone, slide the seat pan backwards and try again.
- This step constitutes the “dry fit” mentioned earlier in these instructions.
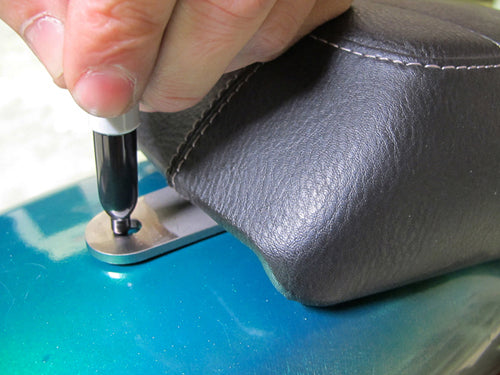
STEP 5: Draw a dot inside the rear seat bracket with a Sharpie
While applying gentle forward pressure on the seat to keep the tongue and pan plate engaged, draw a dot inside the rear seat bracket with a Sharpie.
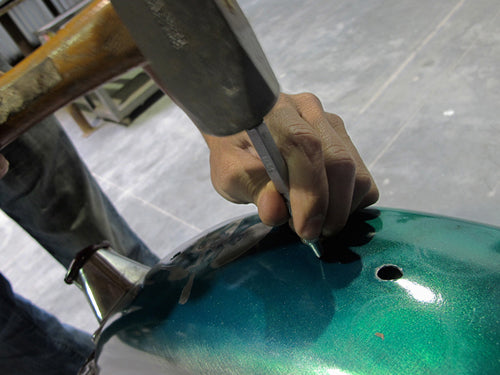
STEP 6: Remove the Banana seat and mark the center of fender hole
Remove the Banana seat. Mark the center of your fender hole with a punch and hammer
STEP 7: Drill a hole in your fender
- Drill a hole in your fender no bigger than 3/8” I.D. Take care not drill into your rear tire.
- If you are concerned about marring the paint beneath your banana seat pan, cut a 3” wide x 5” long piece of rubber from an old motorcycle inner tube and center this rubber patch 1” forward of the center of your fender hole.
- Hold this rubber patch in place and repeat step 4 to make sure your rubber patch is hidden beneath the seat pan after installation.
- If the rubber patch shows, move it accordingly to create a cushion between the fender and the rivets that secure the stainless steel bracket. Reinstall the seat.
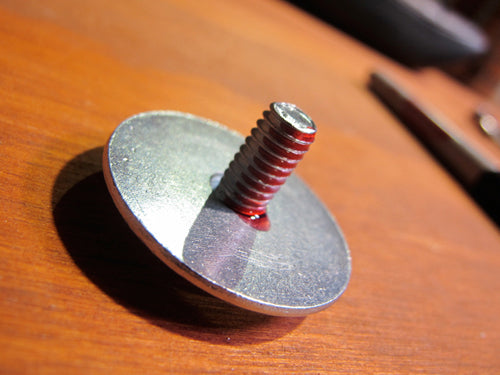
STEP 8: Assemble the bolt and fender
Assemble the 5/16”-18 bolt and fender washer supplied with the Banana seat and put a few drops of Lock-Tite on the threads.
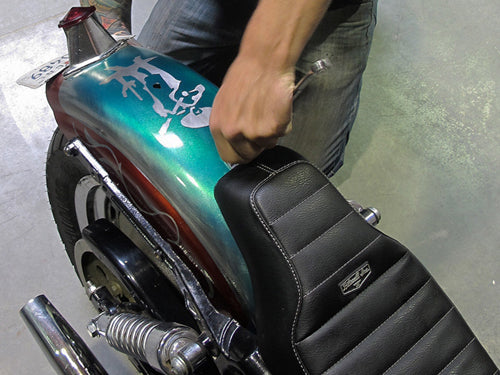
STEP 9: Insert the bolt/washer assembly into the hole on the fender
- Insert the bolt/washer assembly into the hole on the fender from the underside and screw on the supplied 9/16” acorn nut.
- If the supplied 5/16”-18 bolt is too short, re-check the dry fit of your Banana seat.
- If there is more than a ¼” gap between the top of the fender and the bottom of the stainless steel bracket, install washers to take up this space.
- When installed on a stock XL fender, the space between the fender and the bracket is generally less than 3/16”.
Depending on the straightness of your frame and the style and condition of your rear fender, these specs may vary.
Try to avoid applying unnecessary stress on the rivets that secure the stainless steel bracket to the plastic pan. Shoring up the gap between the bracket and the fender will mitigate this dilemma.
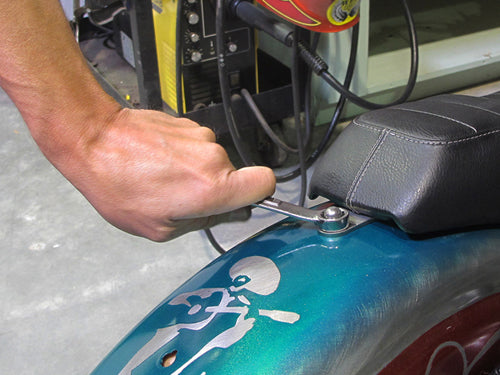
STEP 10: Tighten the nut and bolt snugly and you are finished
As this photo shows, no washers between the fender top and the stainless steel seat bracket were needed. Tighten the nut and bolt snugly and you are finished.
Related Products


