TABLE OF CONTENTS
REPLACING A FRONT BRAKE ROTOR ON A HARLEY-DAVIDSON SPORTSTER
In the last installment of Knoble Tech Tips, Steve showed how easy it is to inspect and change your own Sportster brake pads. In this segment, learn how to properly change your brake rotor while you are at it!
It's hard to imagine a brake rotor wearing out or going bad, but they do! Over time you apply your brakes over and over again. The pads gradually wear themselves down and also wear down the rotor too.
The rotor gets grooved over time from use. If you don't replace your rotor when it is grooved, those swanky new brake pads you just installed can't do their job properly...
Those new pads are now only riding on the top of the grooves and not catching the entire surface of the rotor. This leads to not utilizing the maximum amount of breaking ability you could have on the new brake pads.
So, take a good look at the rotors on your bike, and if you need a replacement Harley rotor, we have you covered!
WATCH VIDEO: REPLACING A FRONT BRAKE ROTOR ON A HARLEY SPORTSTER
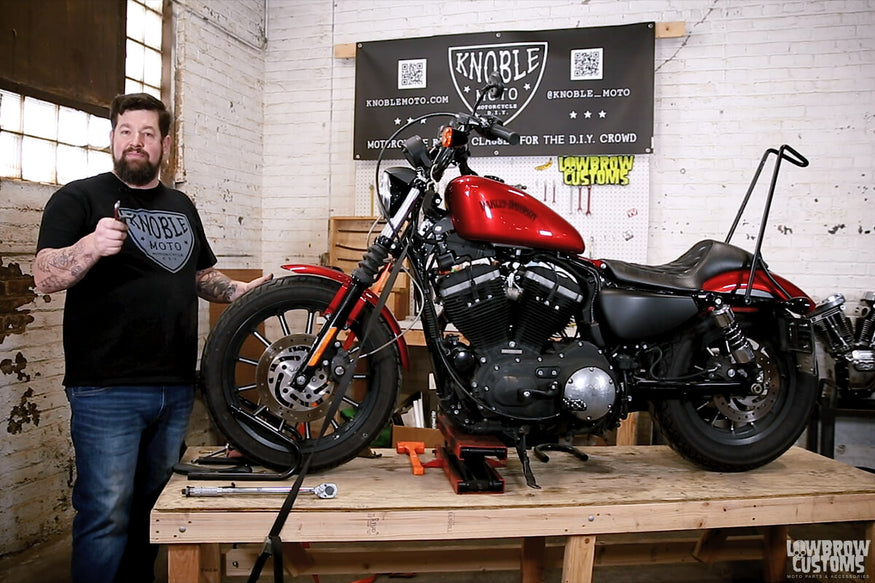
Steve Knoble of Knoble Moto walks you through how easy it is to remove a front brake rotor and install a new one on a 2012 Harley-Davidson Sportster. The process is similar on different year models but be sure to get yourself a service manual for your year bike to have accurate torque specs.
HOW TO REPLACE YOUR FRONT BRAKE ROTOR IN 5 EASY STEPS
STEP 1: JACK UP THE BIKE, REMOVE FRONT FENDER AND CALIPER
First things first, jack the bike up just enough so the front wheel will freely spin.
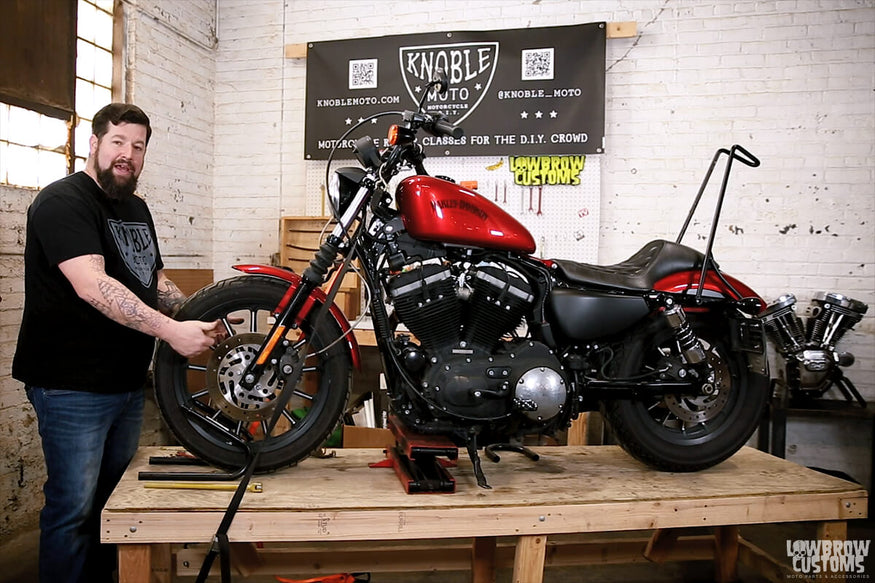 Free wheelie! Make sure it can rotate freely up in the air.
You then will need to remove the front fender so the bolts are gone and the tire can clear when removing it from the front of the motorcycle. Put it in a safe space.
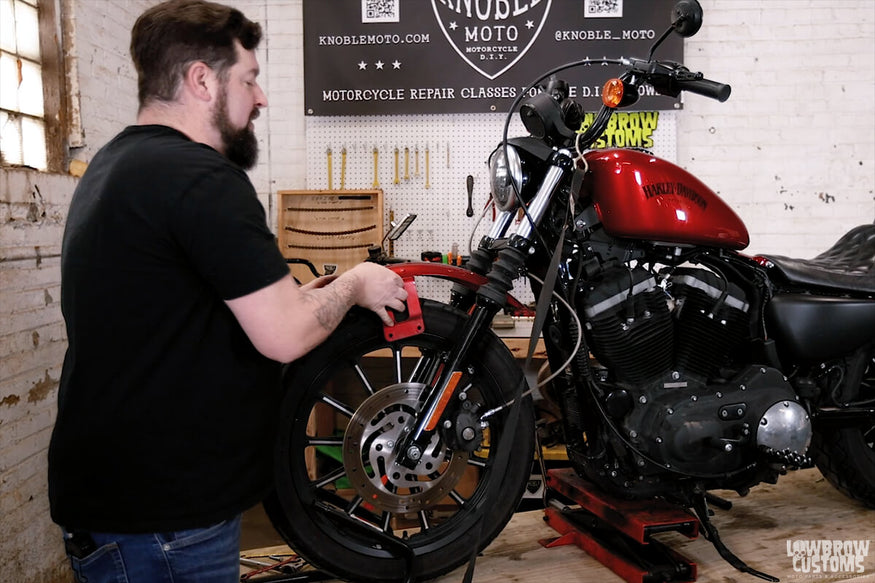 Goodbye old front fender friend, see you when we are done with this tech tip.
Next break each bolt free on the rotor while the wheel is on the axle. It helps to hold the spokes and pull up on the wheel as you lefty loosen those suckers.
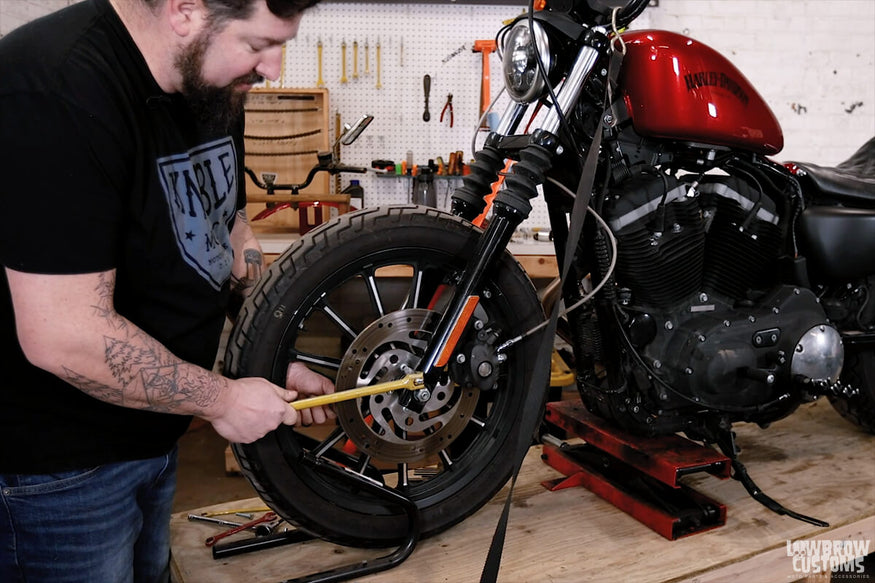 Grip it and rip it. Make sure to loosen all five bolts.
Next up, remove the brake caliper. You will need a 10mm 12 point socket or wrench to remove the two caliper bolts from the trees.
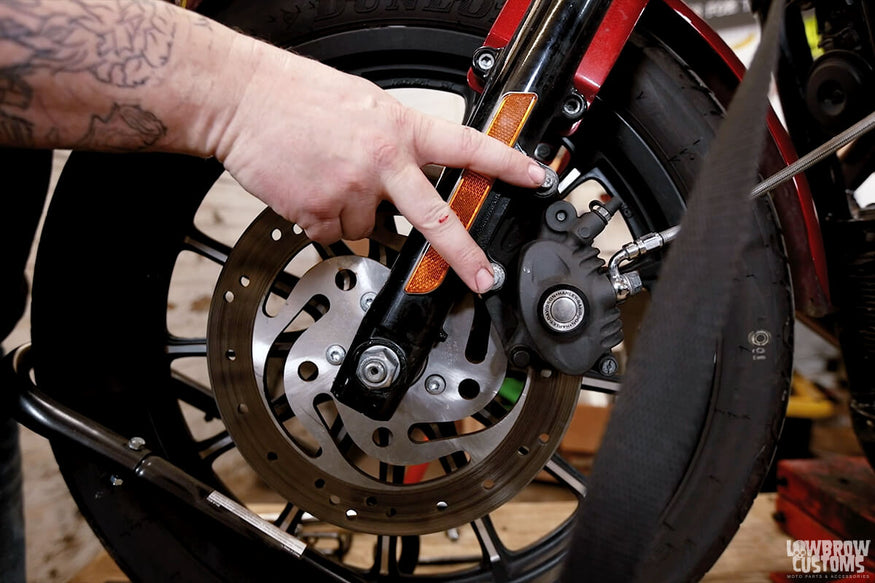 These are the two bolts that hold on your brake caliper.
 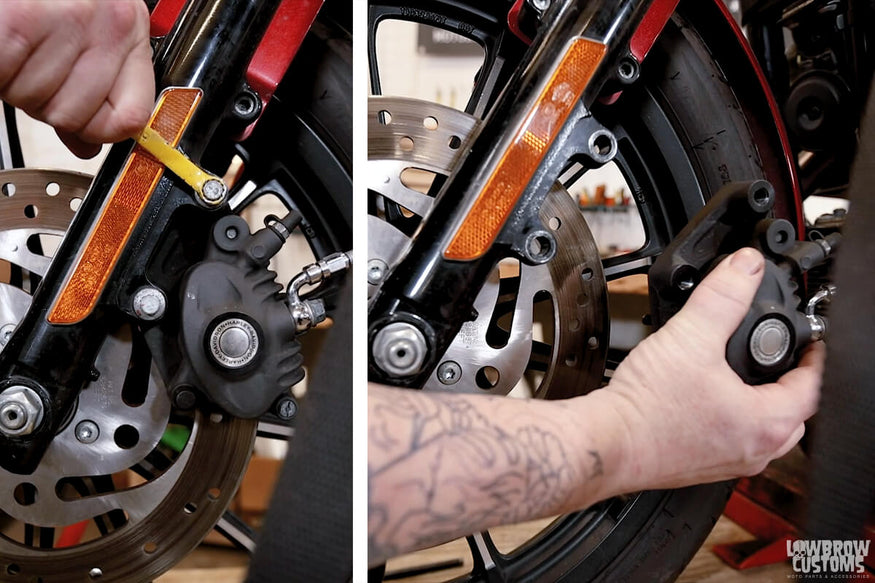 Remove the two bolts and slide the caliper off of the rotor. Place the caliper carefully out of the way.
STEP 2: REMOVE THE FRONT WHEEL
Now comes the fun part. Take a thick allen wrench or screwdriver and stick it in the axle hole on the right side of the bike. Use a 15/16 socket to loosen the axle nut.
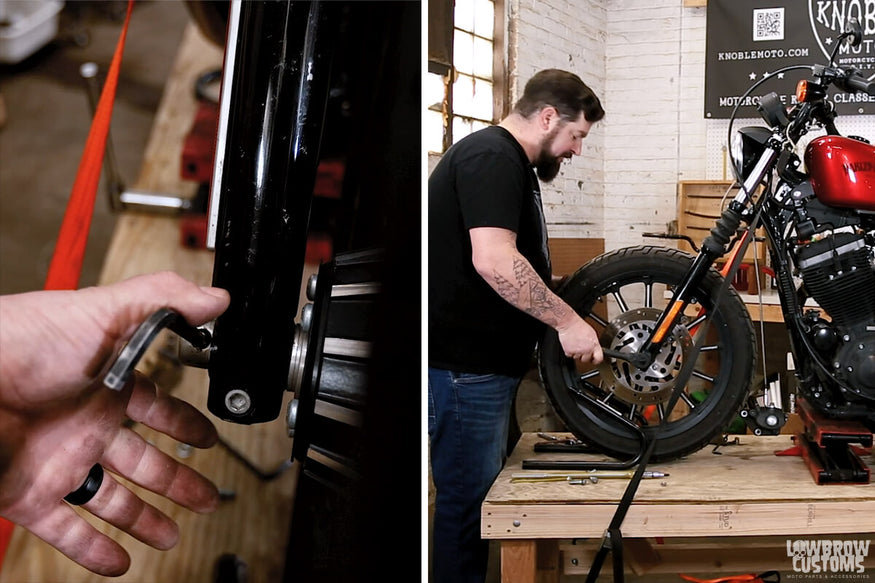 See the hole in the axle, this will help you keep it steady as you break loose the axle nut.
Next loosen the pinch bolt that keeps the axle tight on the bottom of the right side leg.
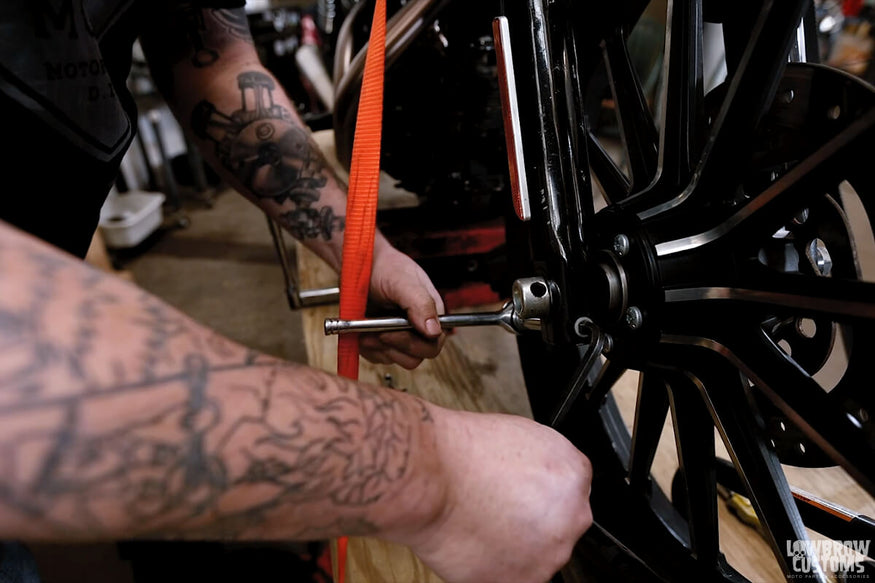 Using a 5/16" allen and a 9/16" socket loosen the pinch bolt.
You can now use a soft faced blow hammer to hit the axle free on the axle nut side and getting moving.
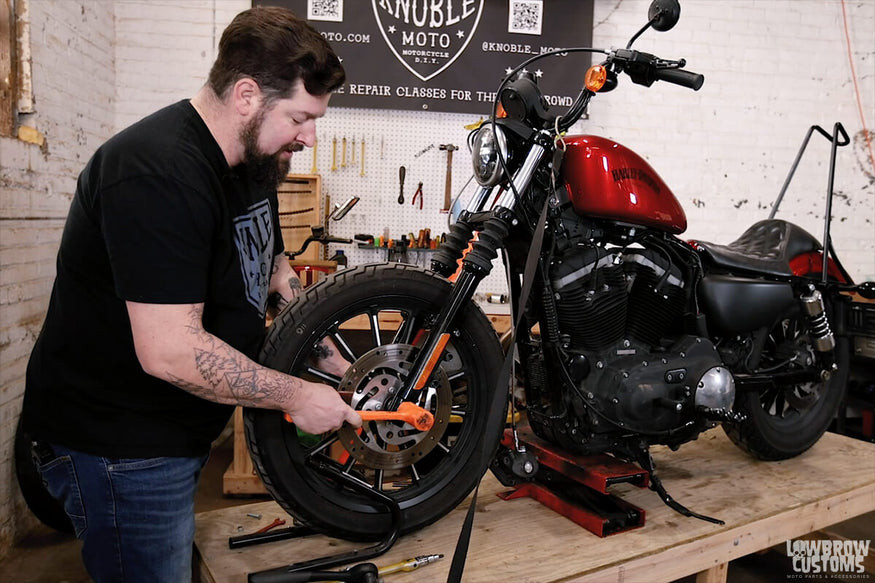 Hitting the axle nut with a dead blow will get the axle moving and not risk damaging the threads.
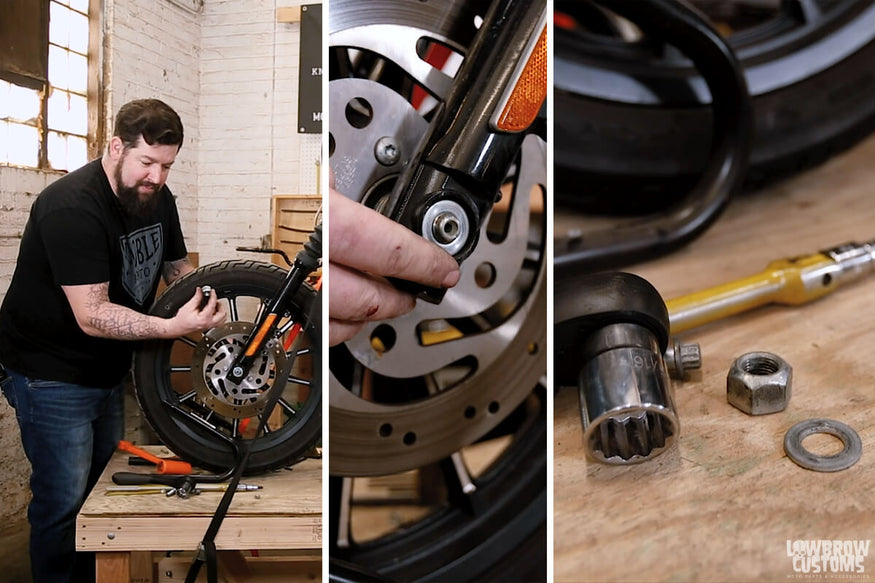 Remove the axle nut and spacer and set off to the side.
Next, lift up on the wheel and pull the axle out. Note there are two spacers, larger one is on the left side of the motorcycle and the smaller one on the right side. If it helps you remember, put the spacers back on the axle in the correct order.
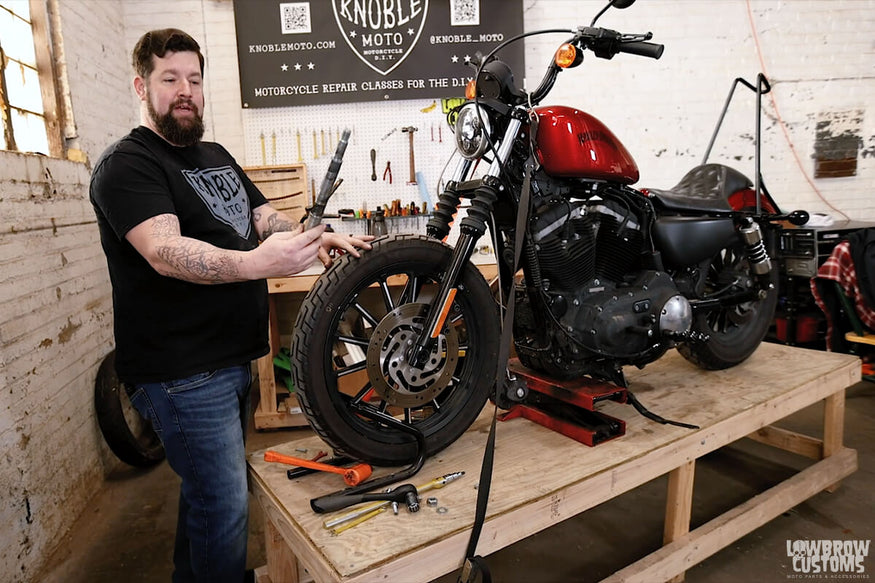 You can tell its an axle cause of the way it is.
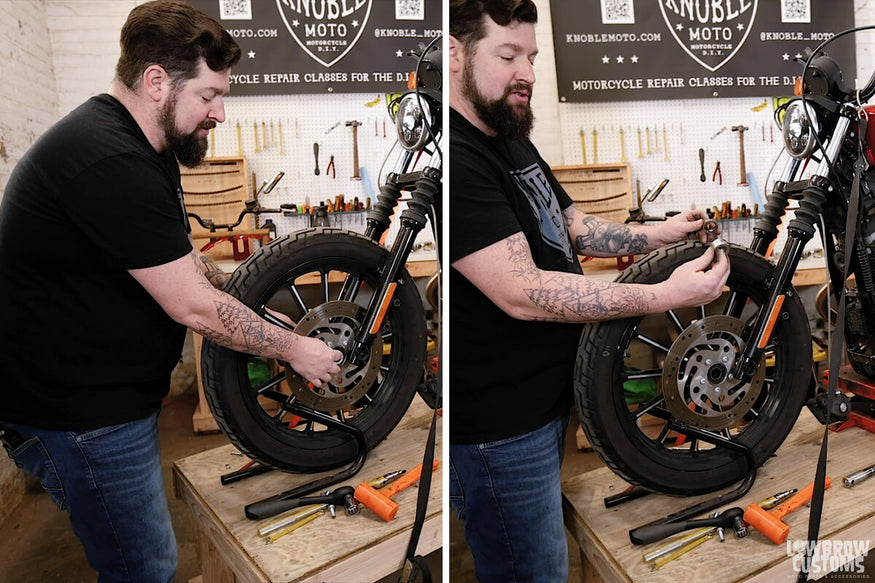 When you pull the wheel hold onto the spacers and note the larger is on the left of the motorcycle the smaller one is on the right of the motorcycle.
STEP 3: REMOVE THE ROTOR, CLEAN THE WHEEL AND REPLACE
Now it's time to remove the rotor. Aren't you glad you loosened those rotor bolts.
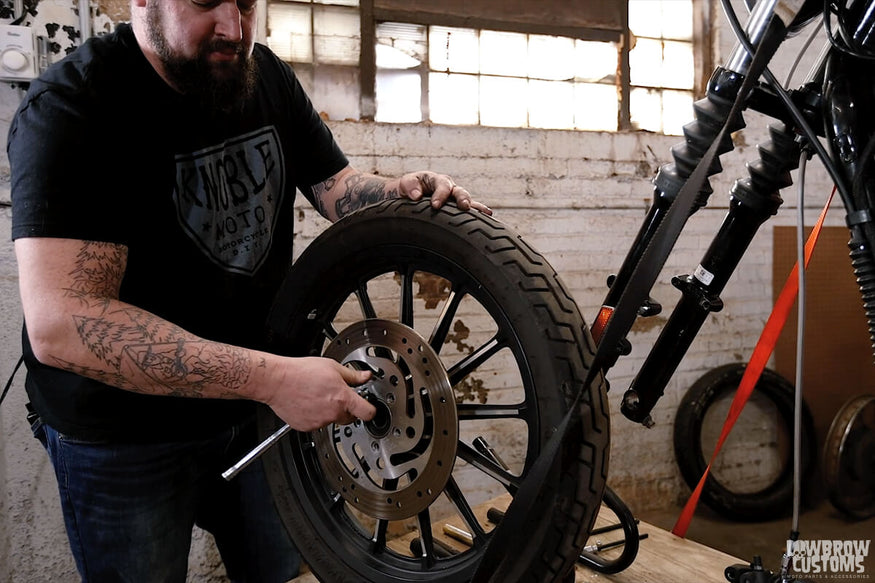 Remove all 5 bolts from the rotor.
Take a tap and clean out the holes from any thread locker, rust, corrosion or residue that could be built up in the threads. Use an air nozzle to blow the holes of any possible leftover debris from the tap.
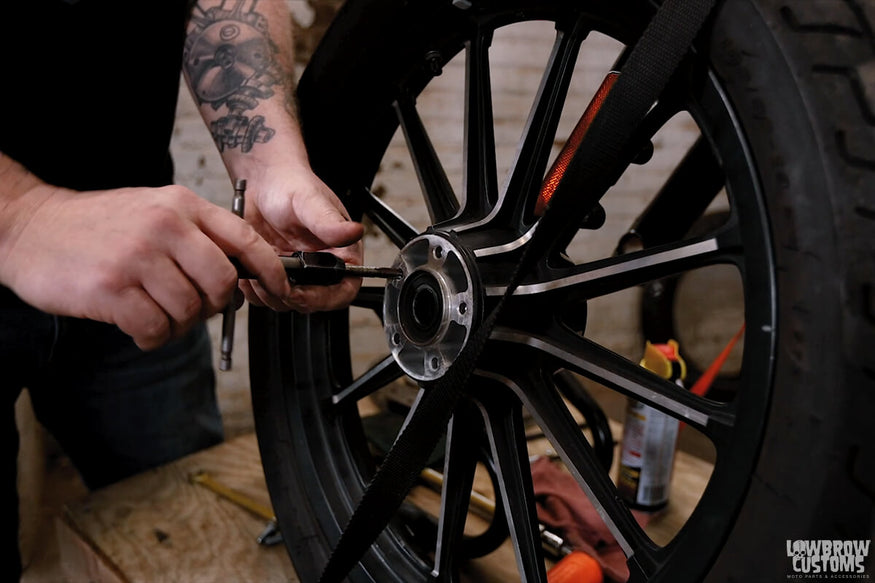 Running in a 5/16 - 18 tap. to clean out any thread locker, rust, corrosion, or residue that could be in the holes.
Take some scotch bright and clean off the face of the wheel where the rotor bolts on. Sometimes dirt, grease, corrosion and or rust can accumulate in that area. If you bolt the new rotor without cleaning that area properly the rotor could be sitting up a little in certain areas and could rock back and forth which could cause your bolts to fail.
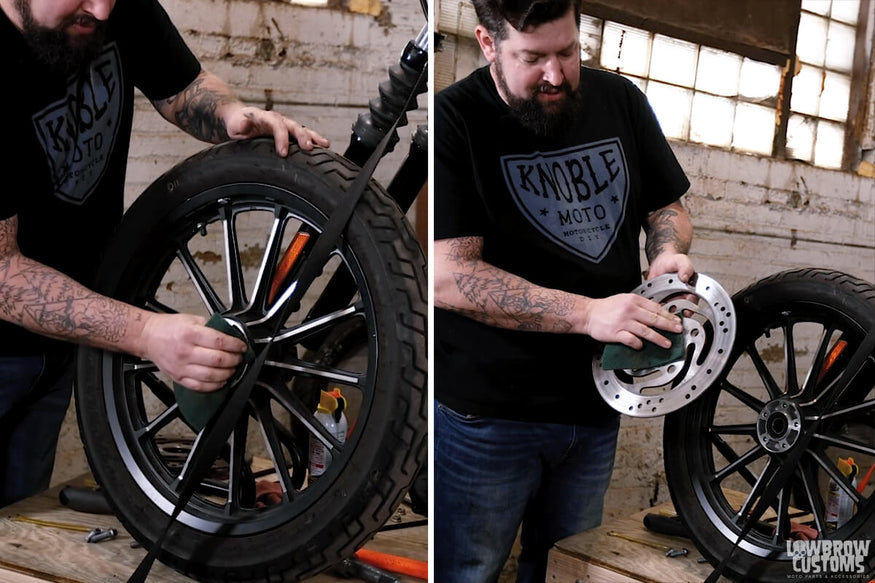 Clean off the face of the wheel and the back of the rotor before installing it.
Now you can bolt on the new rotor. This year sportster has a counterbore on the rotor which faces out on the wheel.
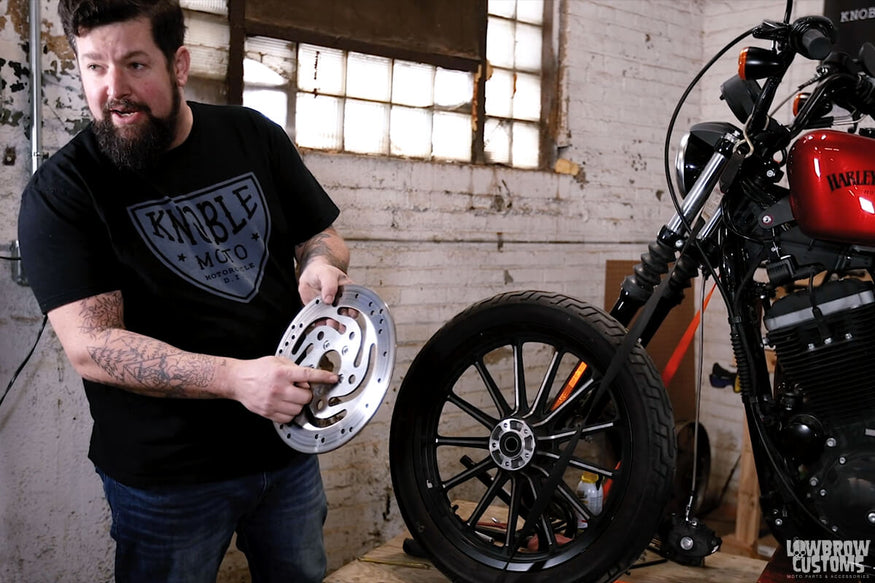 See the counterbore? That faces out on the wheel.
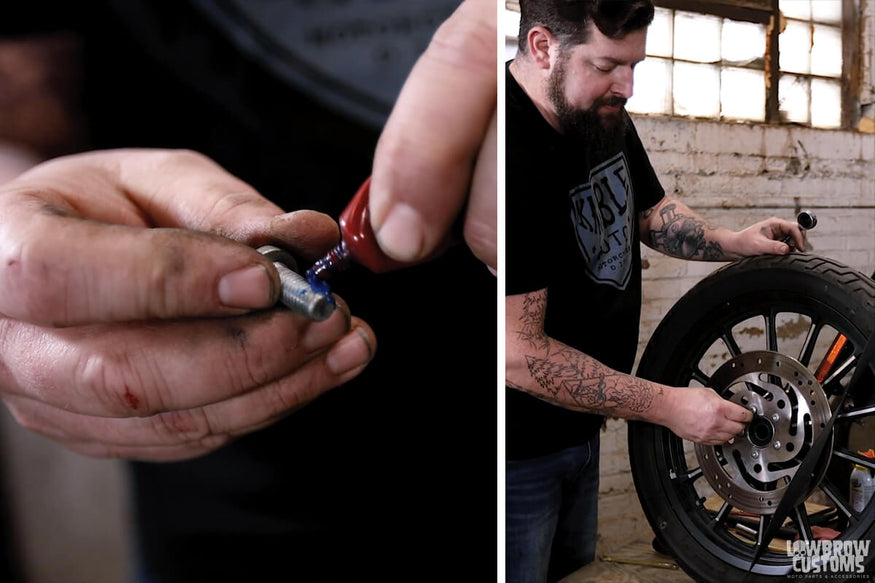 Use a blue loctite on your bolts and install them till they are snug. You will torque them when on the motorcycle.
When snugging up the bolts do it in a cross or star pattern.
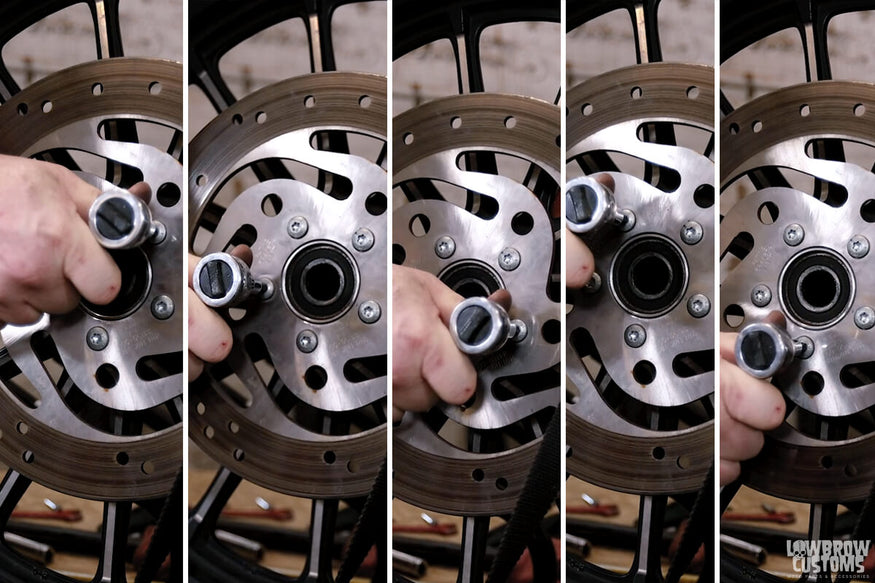 Note the wheel never moves and you can see how to tighten in a cross or star pattern.
STEP 4: REINSTALL THE WHEEL
Take your spacers and line them up with the races of your wheel. Again the large spacer goes on the left side of the motorcycle (caliper side) and the smaller one goes on the right side of the motorcycle.
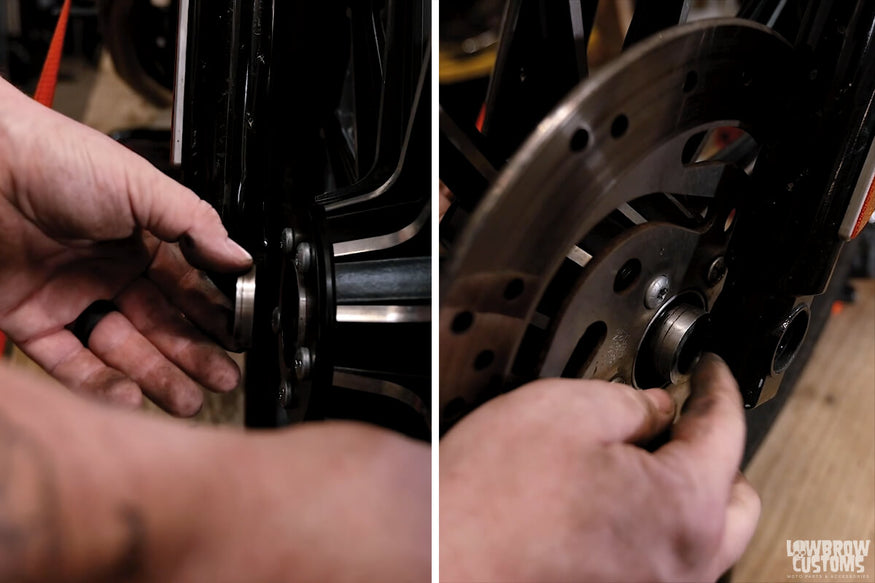 It helps to put the spacers in when moving the wheel into position. Putting a small dab of grease on the spacers and sticking it to the race can help keep them in position.
Next make sure your axle has a good coat of grease and or some never cease and then slide it through the legs.
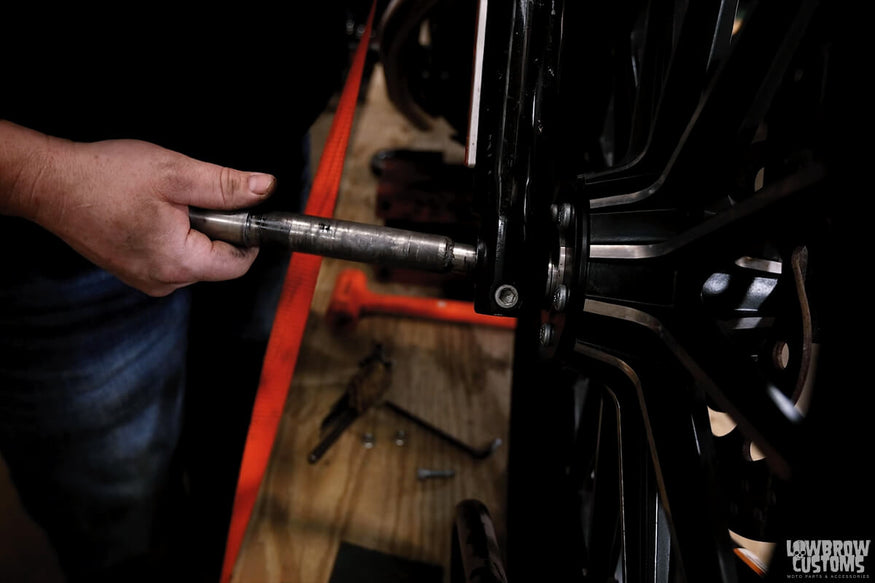 Install the axle from the right side of the motorcycle.
Next put your washer and axle nut on and snug it down.
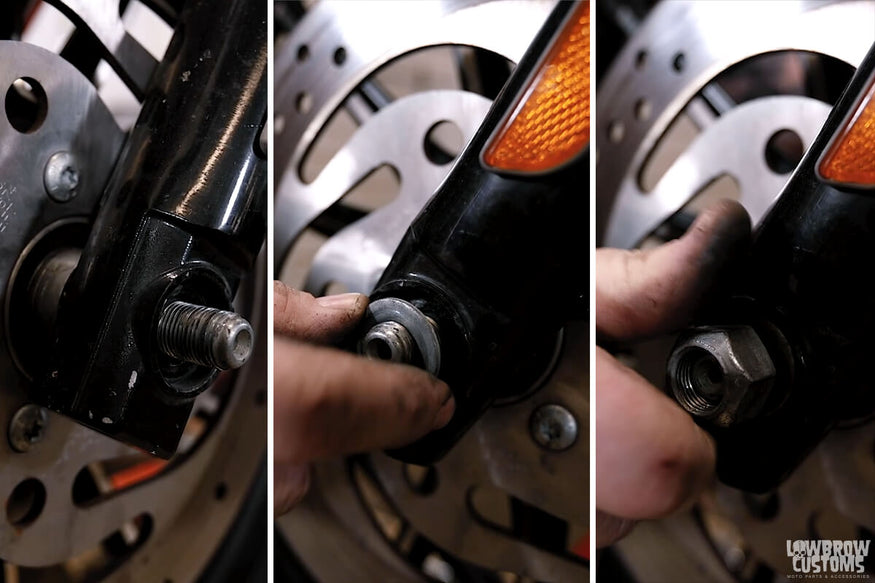 Putting the washer and axle nut on.
Next torque your axle nut, use an allen wrench or screwdriver to hold the other side of the axle tight.
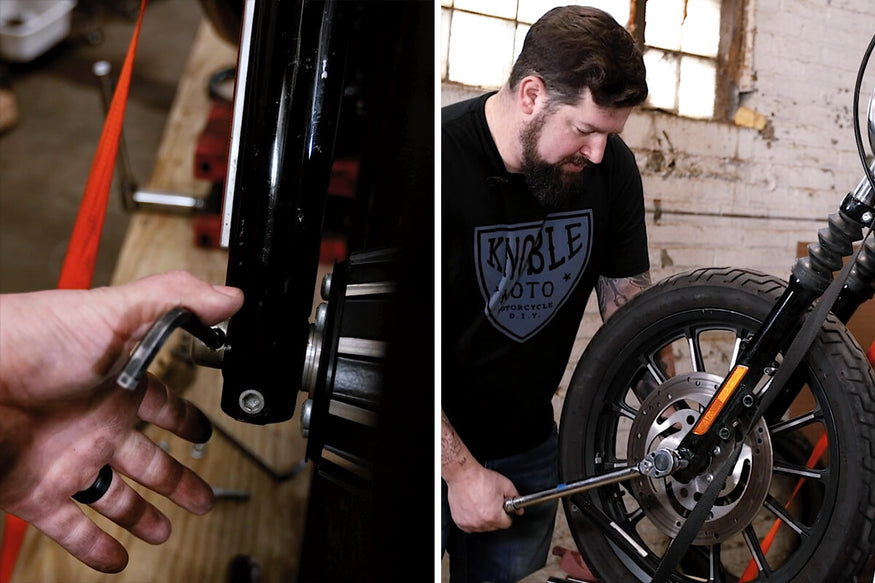 Use an allen wrench or screwdriver in the hole of the axle to hold tight while you torque your axle nut to spec.
Now tighten your pinch bolt screw and torque it down to factory spec.
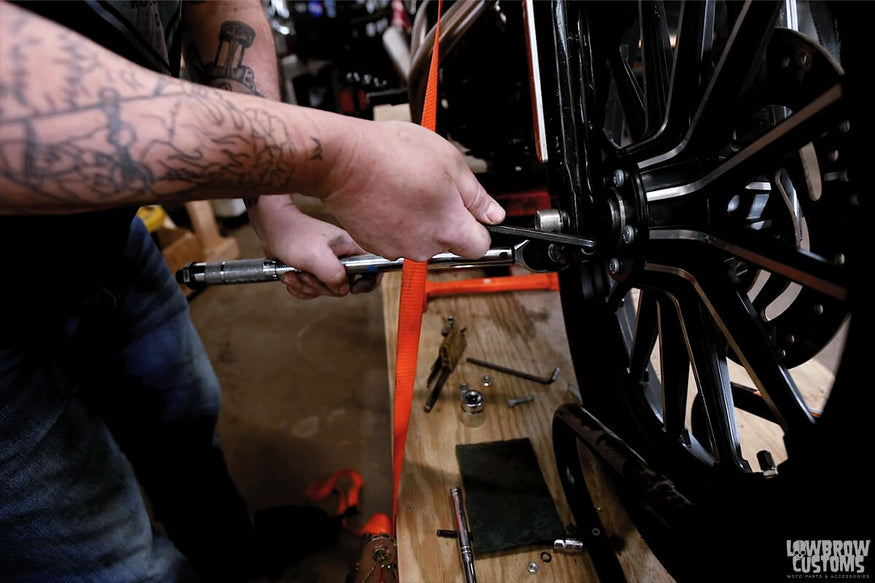 Torquing down the pinch bolt on the right leg that holds the axle in place.
STEP 5: TORQUE YOUR ROTOR, REINSTALL YOUR CALIPER AND FENDER
Now it's time to torque your rotor bolts. Push down on the wheel while pulling up on your torque wrench and torque each bolt to spec. Again do it in the cross or star pattern.
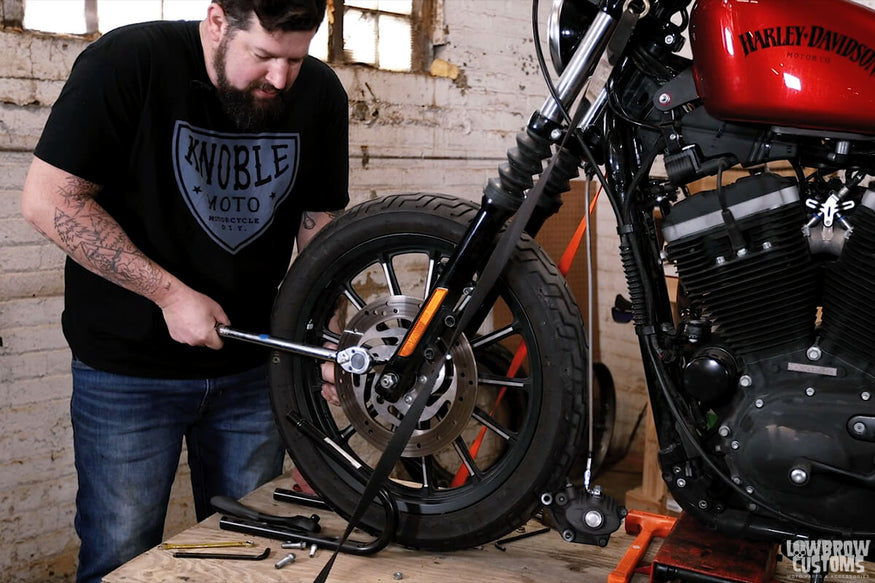 Remember torque each bolt in a cross or star pattern.
Clock your bolts. It's good practice to draw a line on each bolt facing towards the axle. When you inspect your bolts and notice one of your lines isn't facing towards the axle its a good indication you might have a problem and or need to re-torque your bolts bud.
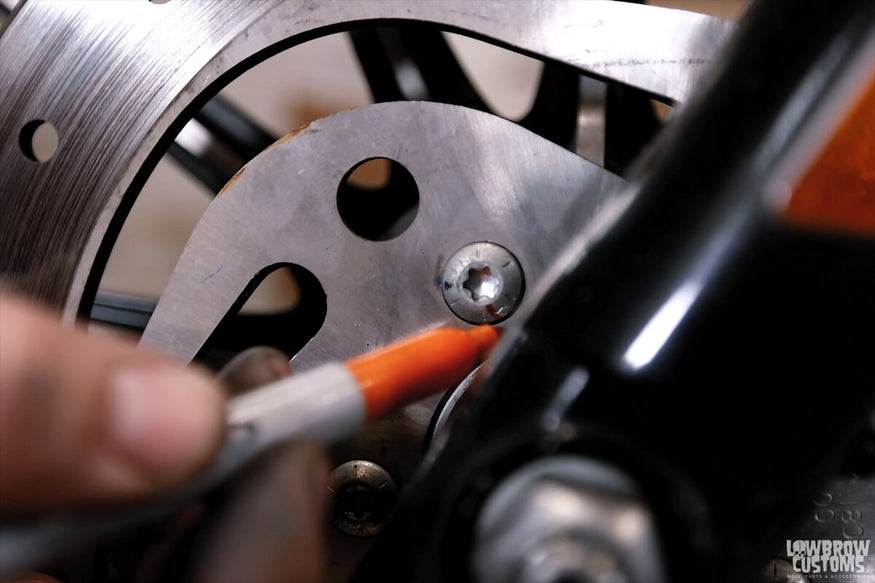 A paint marker or sharpie is good insurance to keep an eye on your torqued bolts.
Now you can reinstall your caliper. Spread your brake pads apart and slide the caliper over the rotor. Install the bolts and torque to factory spec.
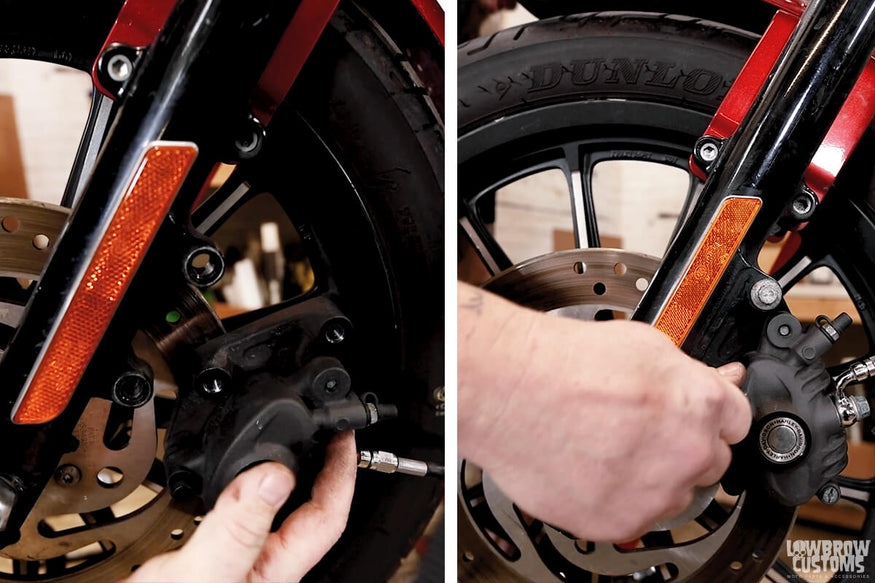 Sliding the caliper over the rotor and installing the bolts.
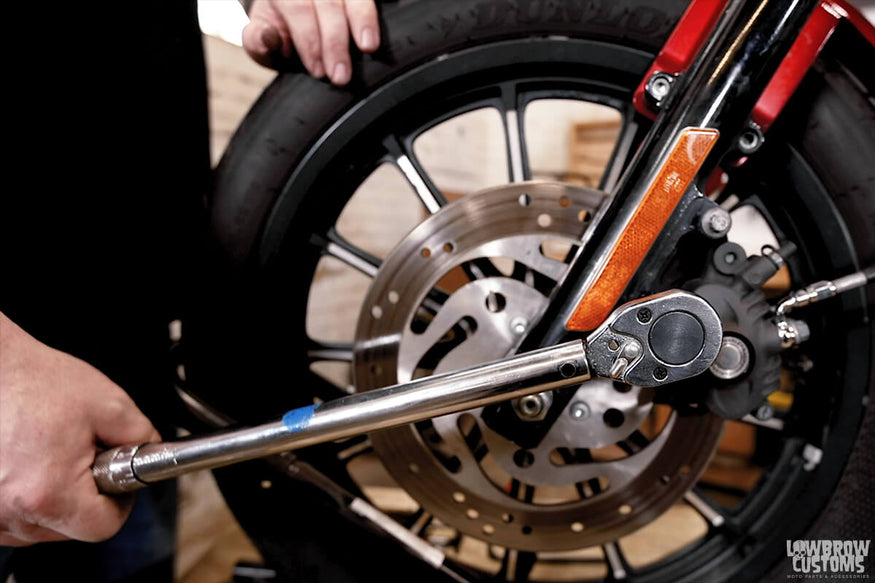 Torque the caliper bolts according to your workshop manual specs.
Now you can grab your front fender and reinstall it.
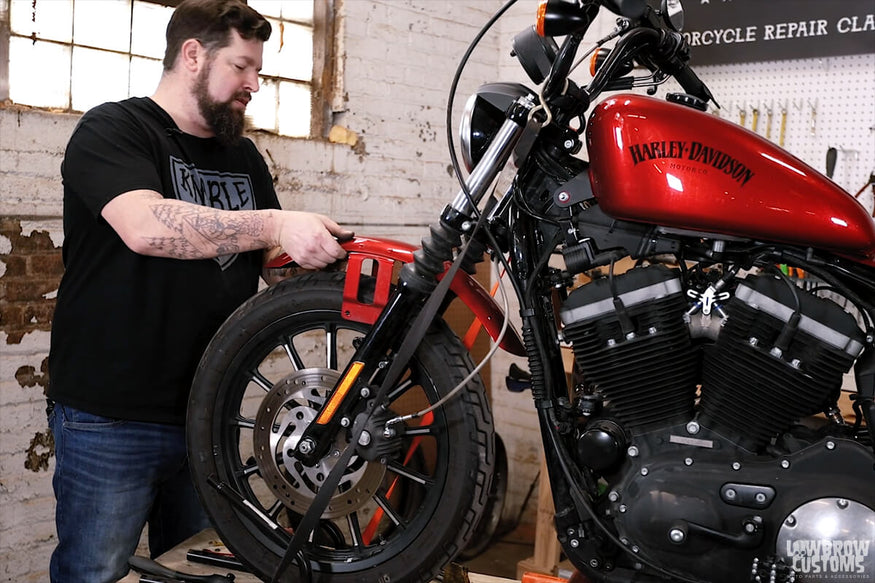 For nuts and bolts hold on your fender, get that sucker on there.
Lastly because we had the caliper off of the rotor its a wise idea to pump up the brakes a few times and make sure they are working.
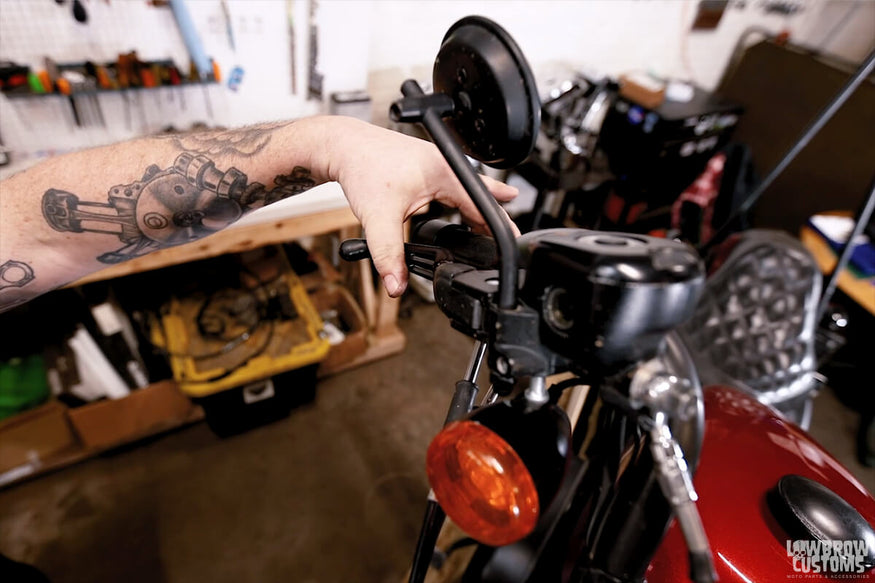 Pump those brakes up!
 Thats all folks! You did it!
Related Products


