Let me take you back to the summer of 1995. I was living the life down in Myrtle Beach, South Carolina. Waiting tables in the morning at the Hilton, bussing tables at night at Damon’s Grill, sleeping on the floor at my buddy’s sister’s house and taking in a steady diet of McDonald’s cheeseburgers.
By the end of the summer, I had saved up enough money to put a down payment on my first motorcycle, a 1996 Harley-Davidson XL1200C Sportster. I had a lot of adventures on that motorcycle over the next ten years and racked up over 70,000 miles on the clock before moving on to various other bikes. Even then, I kept the Sportster around for sentimental reasons, figuring I’d do something with it sooner or later.
Well, it’s taken almost 24 years, but sooner or later has finally arrived and I’ll be using my old Sporty as the basis for my first chopper build. I’ll be detailing the entire process here on the Lowbrow Customs blog, so you can see just how easy (hopefully) it is to build a badass chopper using many Sportster custom parts available directly from Lowbrow without breaking the bank in the process.
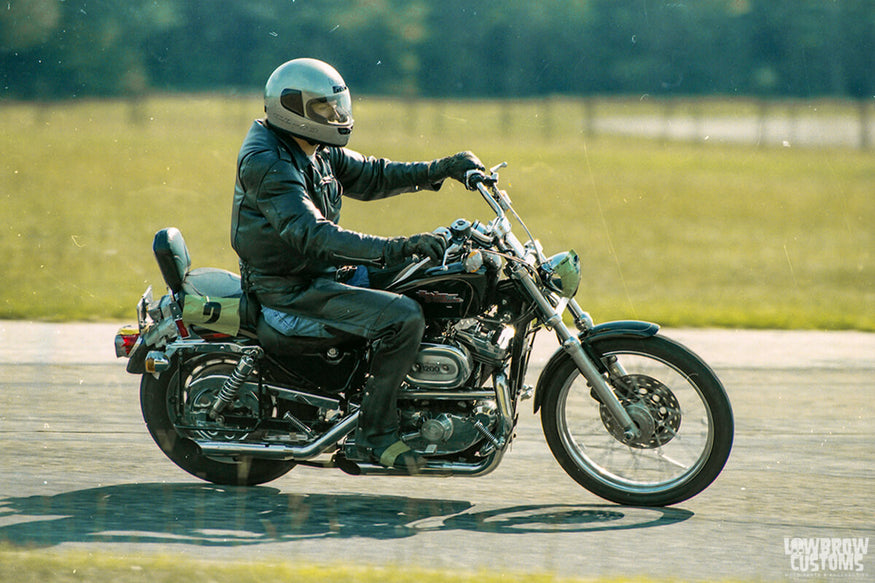
Ripping around the track at Keith Code's Superbike School in the late 1990’s.
Now the first thing I discovered when I started researching for this build was that it is pretty easy to build a horrible Sportster. Either you completely fail at getting the lines right or you just dump way too much money into it that you will never be able to recoup.
Just do a Google search for “Sportster choppers” and you’ll see exactly what I am talking about. So, my plan is to keep everything clean and simple. I want to hide as much wiring, cables, fasteners, etc as possible and just have a basic stripped-down chopper.
To insure that I got this right the first time, I spent hours combing through Instagram until I finally spotted a bike with the right stance. Then I reached out to the owner and got some basic details on his build. I think this approach will help insure that I am headed in the right direction.
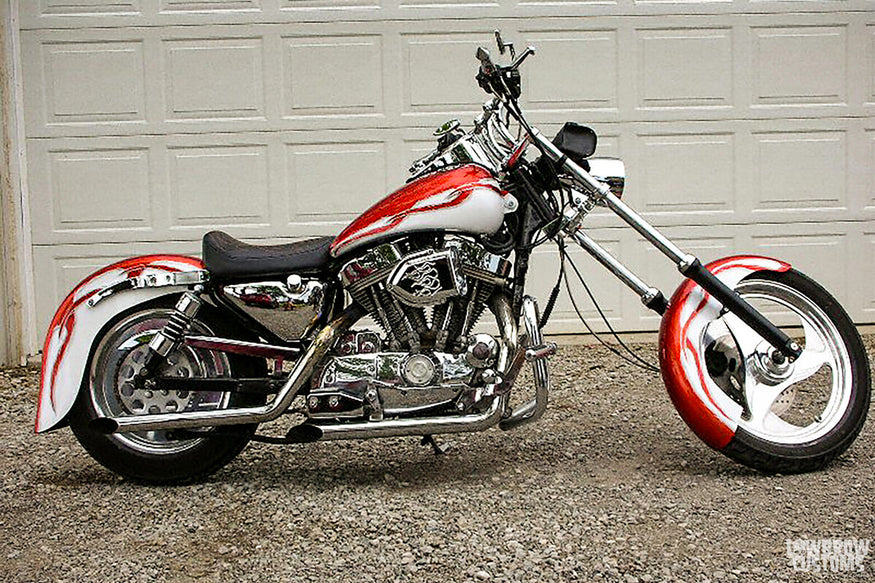
This Sporty chop got the “Big Twin” treatment, never a good idea…
Once I had an idea of the geometry I wanted, the next step was to figure out what to do with the frame. A lot of people opt for a weld on hardtail which does save time and a lot of hassle at the DMV since you retain your original neck with the VIN number stamped into it, but I just couldn’t bring myself to cut my original frame. Who knows, one day when Sportsters are highly sought after collector’s items, I may want to restore it back to stock…
So instead I picked up a complete frame from Paughco. Specifically it is a S120EA , which has 0 stretch and a 35 degree rake on the front end (basically the same dimensions as stock, but with 5 degrees more rake). The frame is already set up to accept my motor and frontend and has a lot of the mounts I need already welded on from the factory, which will be a big time saver.
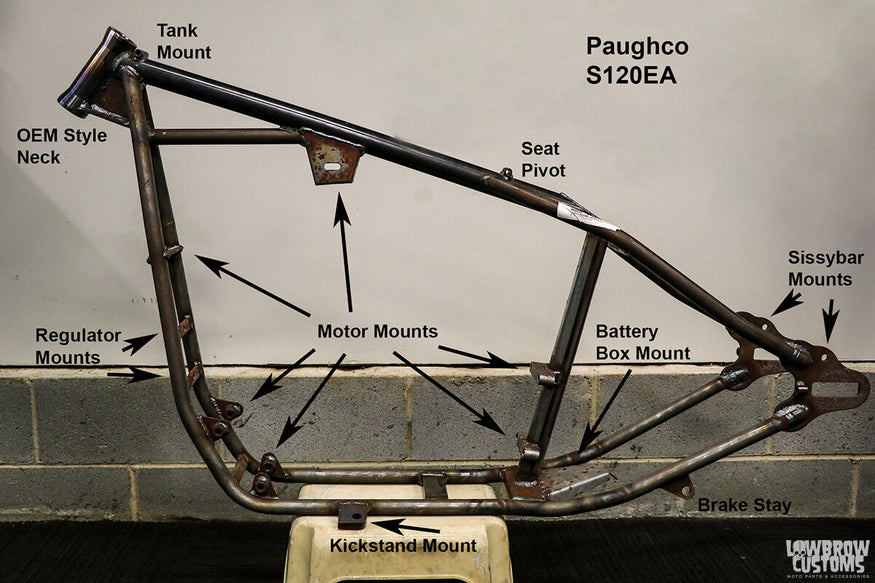
It doesn't have every mount you'll need, but it comes pretty close.
On the sheet metal end of things, I’m going with a Lowbrow Customs P-Nut Frisco Shallow Tunnel gas tank to help open up some space around the top of the motor. It holds 2 gallons of fuel, which means more gas stops, but I really like how it looks, so I am willing to trade cool looks for longer range.
I’m storing the slippery stuff in Lowbrow’s Dimpled Steel oil tank which is already plumbed, comes with all the necessary threaded bungs to mount it solidly to the frame and works with their weld on frame mounts for easy installation. Sure I could weld up my own tank, but why reinvent the wheel just to say you built your own oil tank. I’m skipping on the front fender completely and will just be running a 21” front rim with a skinny 275-21 Firestone Classic ribbed tire.
Out back I’ll be using a 6” Lowbrow Customs Stingray ribbed steel fender. It is just the right size to wrap around my Firestone Deluxe Champion 5.00-16 tire, and the ribbing adds extra strength for when I need to load it down with gear for long trips.
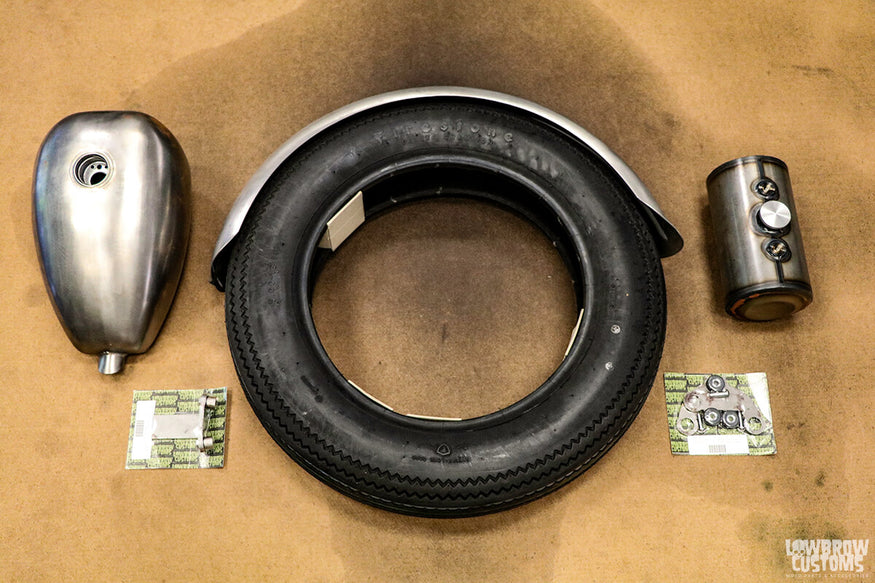
Starting with new well-made sheet metal will save on headaches down the road.
There is a lot of electrical that needs to be trimmed down and I’ll lose a lot just by ditching the OEM ignition and switching to a much simpler Dyna S system that is completely self contained. I’ll also be removing all the stock marker lights in favor of hand signals and a pair of Prism Supply’s ripple tail lights.
I’m mounting the taillights directly to a Gasbox DIY sissybar kit, along with the license plate to keep the backend nice and narrow. I’ll keep the stock headlight, but all the handlebar buttons will be going in the bin with the lights. I’m still thinking about how I’ll handle the starter button and hi/lo beam switch, but the plan is to integrate them into the motorcycle in a way that they are unseen.
The battery will be moved below the oil tank and I’ll be using an Anti-Gravity model to save space and weight.
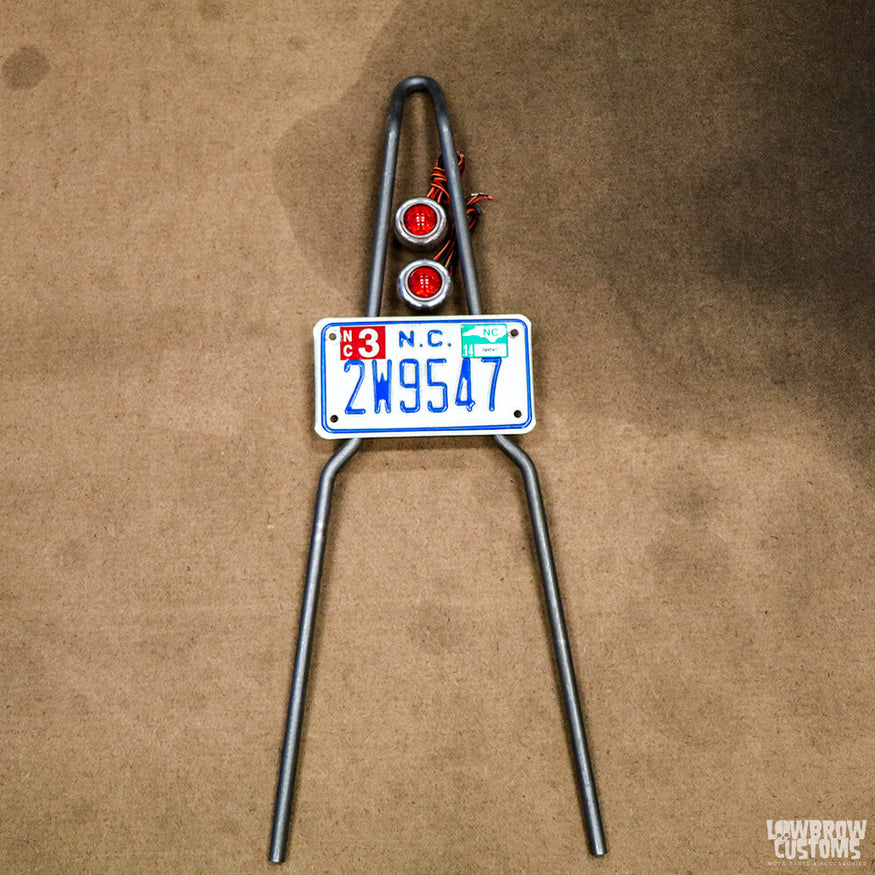
I'm still not 100% sure about mounting the license plate on the sissybar, it may find its way somewhere else.
To provide comfort on the road, I’m using a Haifley Brother’s Bates style Tuck-N-Roll seat and matching p-pad. The motorcycle seat comes in both 2” and 1” thicknesses and I opted for the 2” version knowing that after a couple hundred miles that I am going to be so thankful for that extra 1” of memory foam. It is a lot narrower than I am used to, but maybe I can use it as an excuse to drop some pounds. I’ve got long arms and legs, so I’ll keep the forward controls so I can stretch out a little and go with a set of mini apes to keep my arms at a comfortable level.
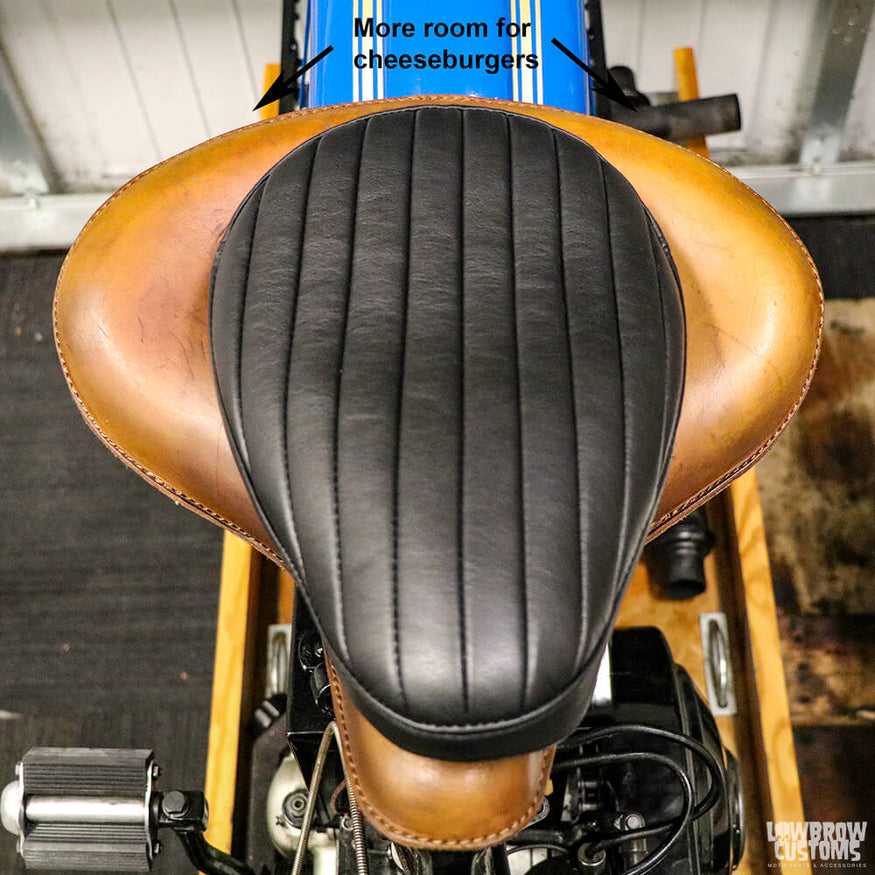
Comparing the Haifley Bros. seat to my VL seat makes me think that a lot of salads are in my future.
The right side of the motorcycle will be getting a major makeover with hand fabricated exhaust, a chain drive conversion and modifications to the cam cover to trim some fat. The old ham can air cleaner will be replaced with a round Louvered Air Cleaner set up, I’ll relocate choke cable and install a new breather system for the heads.
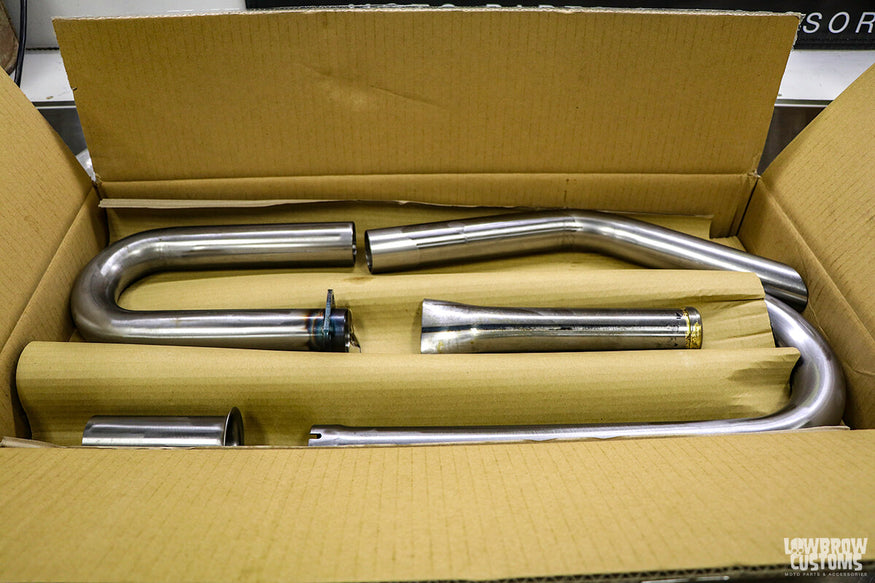
Turning this into a set of upswept fishtails is going to be a challenge.
So that is high level vision of this build. There is going to be plenty to do over the next few months to turn this stock Sportster into a chopper and I’ll be keeping you up to date with my progress as I go. The main goal for this series of articles is to provide an in depth look at what it actually takes to do a complete ground up chopper build, so I won’t be leaving out any of the gory details. To stay on top of when new articles are getting posted and more insights on the build, follow me on Instagram (@panhead_jim).
Words and Photos by: Panhead Jim
Related Products


