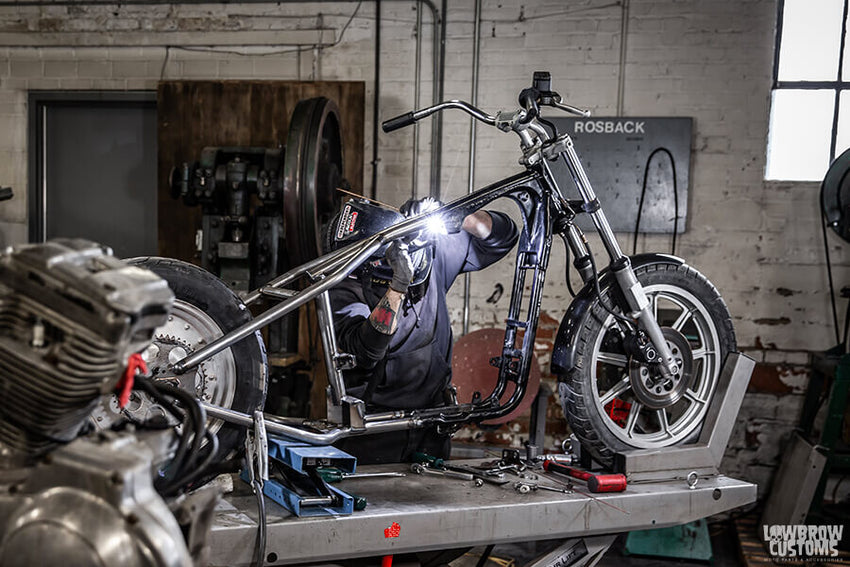
In this step by step how-to tutorial, we will walk you through how easy it is to install our Lowbrow Customs Hardtail section for 1982-03 Harley-Davidson Sportsters. In an afternoon in your garage you can change the entire look of your Sportster and give yourself a good canvas to start your killer chopper or bobber project. Let's get after it!
Check out more our David Bird Sporster hardtails projects from our experienced fabricators and welders:
- INSTALLING A 1954 - 1972 SPORTSTER DAVID BIRD HARDTAIL
- INSTALLING A DAVID BIRD 1973 - 1978 SPORTSTER HARDTAIL
- INSTALLING A DAVID BIRD 1979 - 1981 SPORTSTER HARDTAIL FRAME
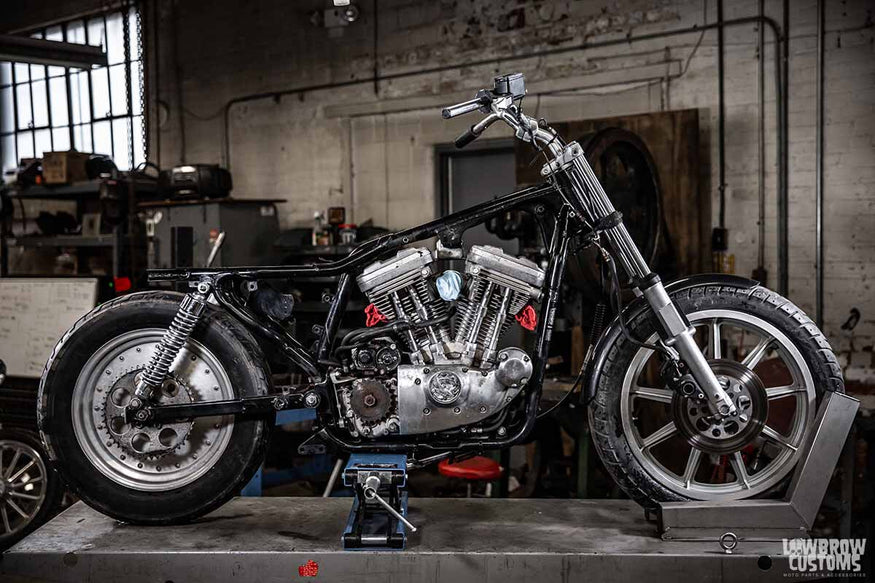
STEP 1
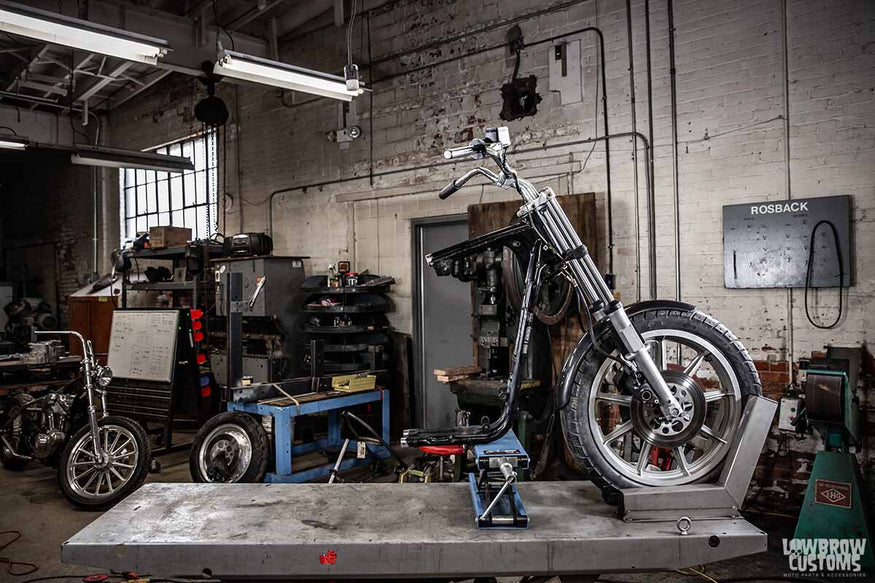
Remove Sportster parts, including rear chain, so the motorcycle is just a rolling chassis. You can remove the front end and rear wheel to make it easier to move the frame around when finish welding, but this is not necessary. 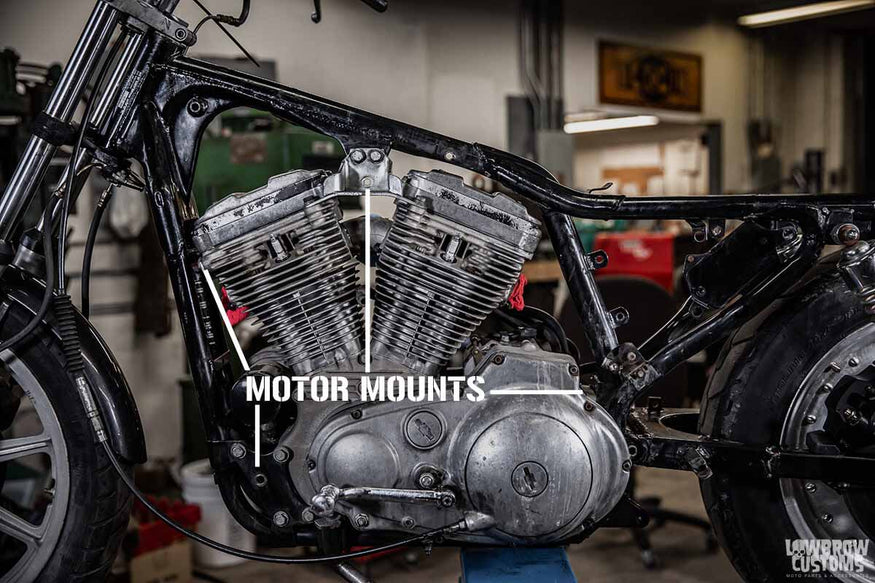
STEP 2
Prepare to remove the engine from the frame. All motor mounts need to be unbolted. The top motor mount, front upper mount and front lower mount can be unbolted and completely removed. The four bolts holding the rear of the motor to the frame can also be removed. The engine will sit steady even with the bolts removed as the sleeves that sit proud of the rear motor mount plate on the frame will still be engaged with the holes on the engine’s rear mount. 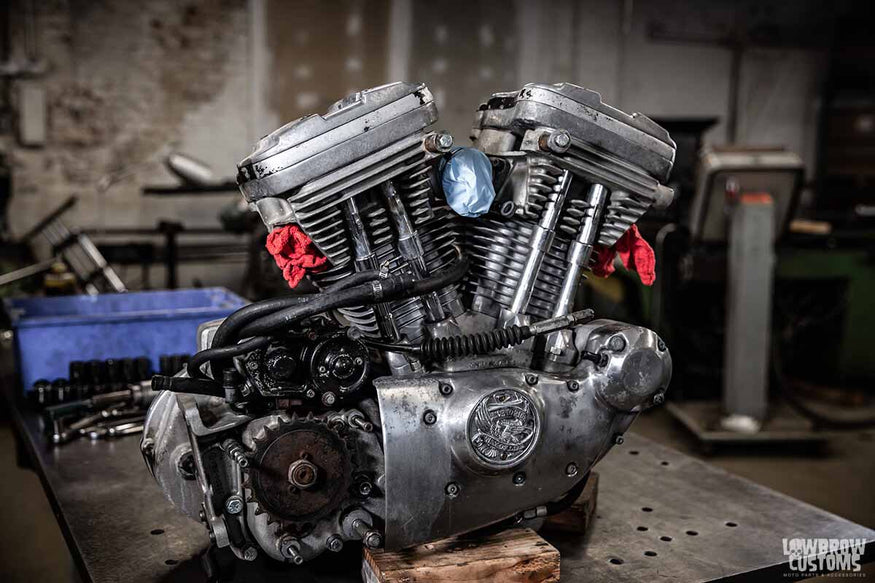 Have a block of wood and a clear surface ready to set the engine on before removing it from the frame. The block of wood can be used at the front of the engine to keep it from falling over. The engine should be removed from the right side of the bike. Slide the engine slightly forward, tilt the front downward slightly and tilt it out toward you and it will pull clear of the frame. Note that the sump section at the bottom of the engine sits down in the frame rails, so as it is tilted towards you, lift it up and out of the lower frame rails.
STEP 3
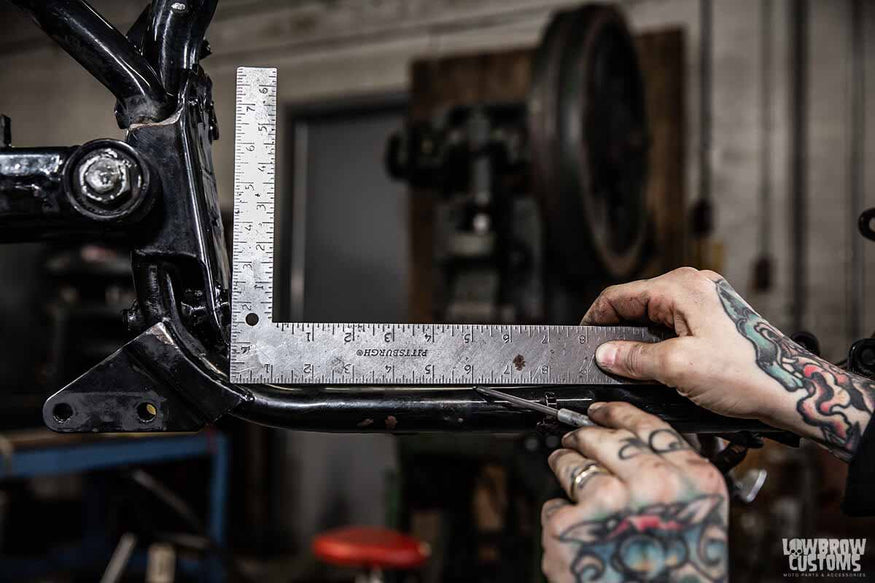
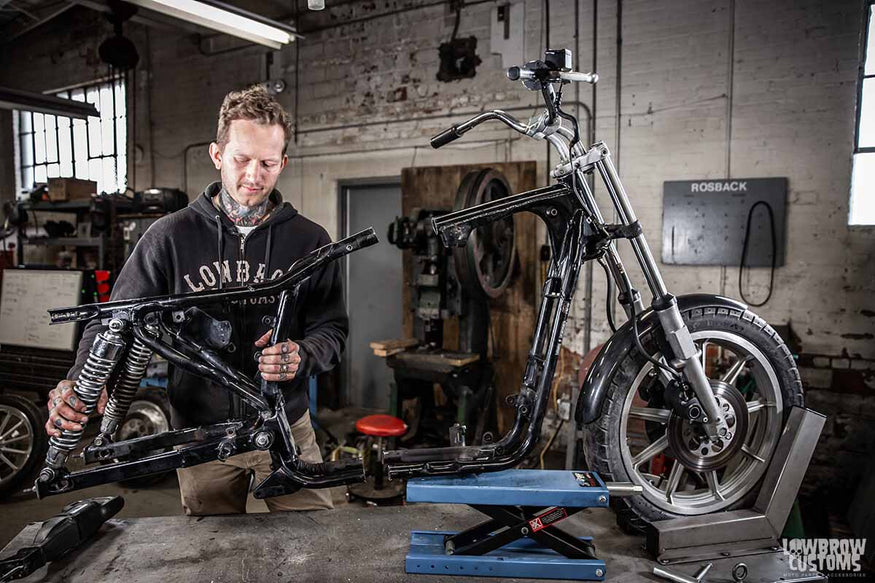
Scribe marks on your stock frame and prepare to cut and remove the rear section of the stock frame. Mark both lower frame rails at 6” from the face of the lower sleeves on the frame’s rear motor mount plate. Use a square, keeping it level with the lower frame rail and having the vertical arm of the square butted against the face of this lower sleeve. Scribe a mark at 6”. 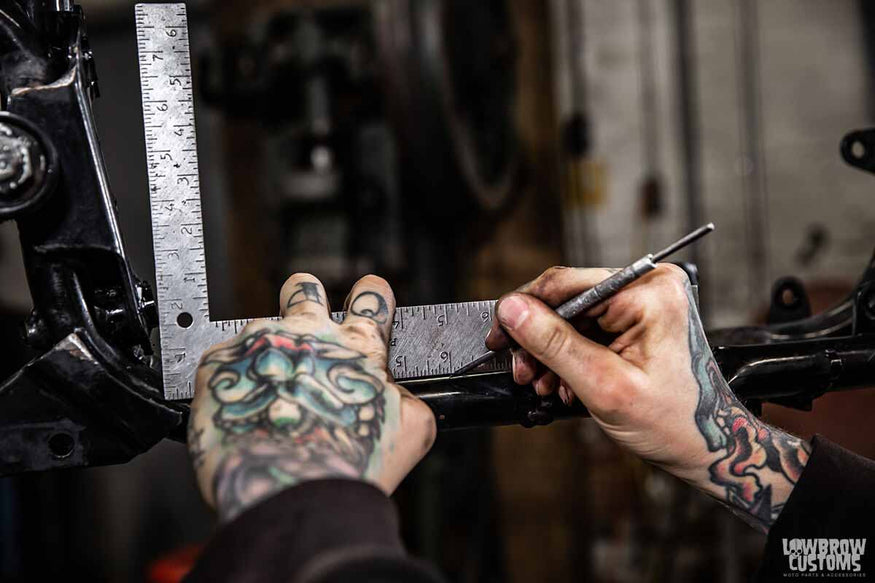
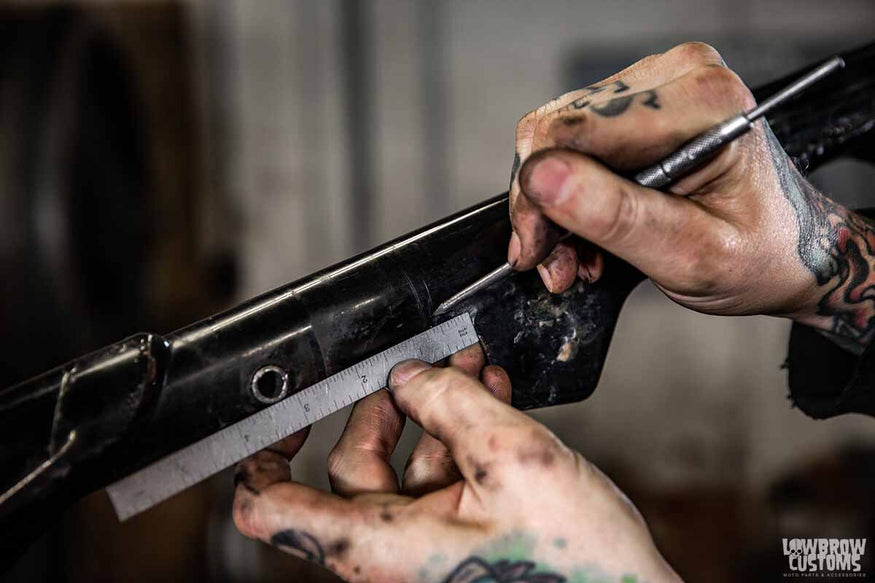
The proper measurement for the backbone is 1” - 1.5" back from the back edge of the top motor mount bracket. Using a small ruler held parallel to the backbone, scribe a mark where you will cut the frame.
Important Note: We initially specified this measurement at 7/16", but since adjusted it to ensure that the frame isn't cut too short. You may have to make the initial cut, test fit the frame, and then grind the top, stock backbone shorter to get the perfect fit. A slight gap is ideal as this allows the weld to penetrate the stock backbone, the hardtail backbone, and the slug that connects the two.
STEP 4
Cut the stock frame. Using a sawzall, hacksaw or grinder with a cut-off wheel, cut through the backbone and lower frame rails at the scribe marks. Try and cut perpendicular to the frame rails so the cuts are nice and square.
STEP 5
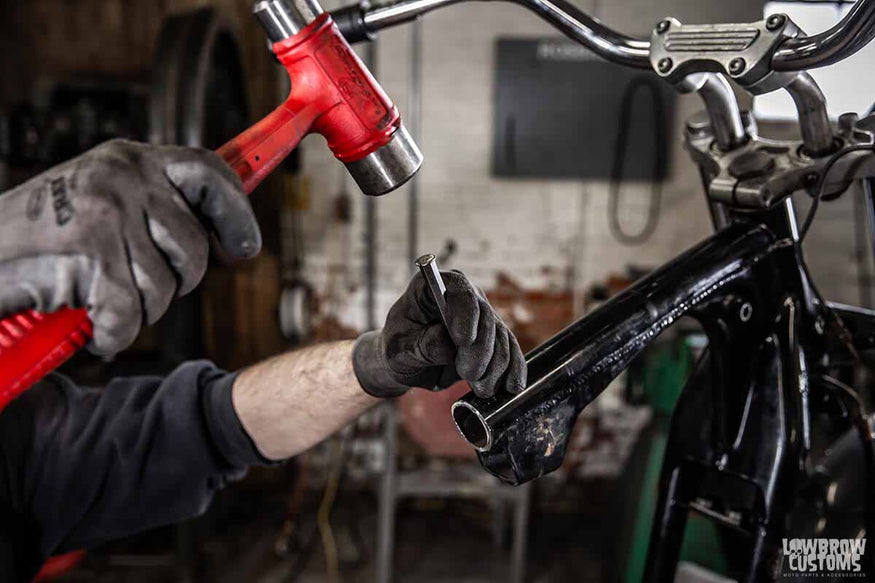
Prepare the stock frame for welding. If the cut ends of the frame tubing aren’t square, go ahead and square them off with a file or grinder, etc. Using a grinder, bevel the outside edges of the tubing. This will allow extra clearance to assure the weld penetrates while installing the motorcycle hardtail section. Center-punch a mark ½” from the end of each lower frame rail and the backbone. At these center punch marks, drill 5/16” holes for rosette welds. The hardtail backbone has a piece of tubing sleeve rosette welded in place. This tubing allows internal wiring to be run through the backbone if desired. The lower frame rails have machined, stepped, solid steel slugs located and rosette welded. 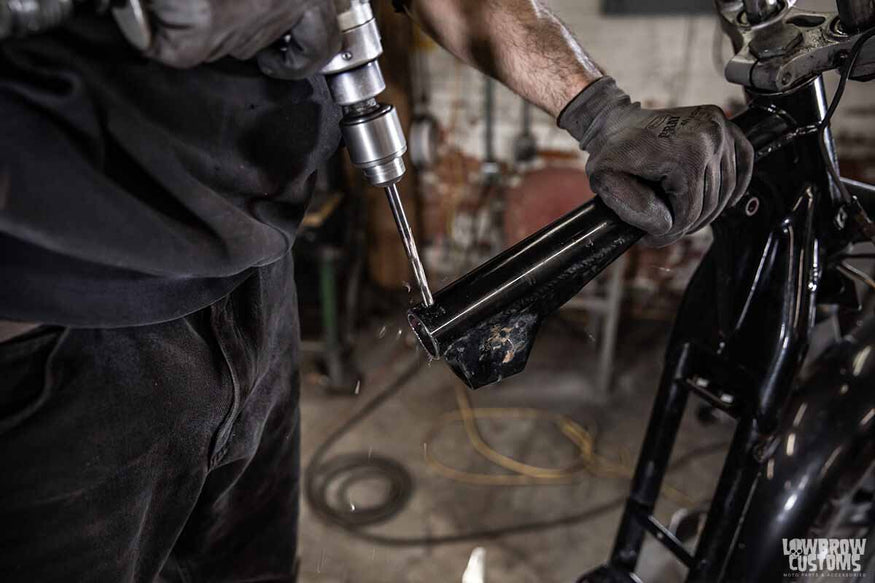

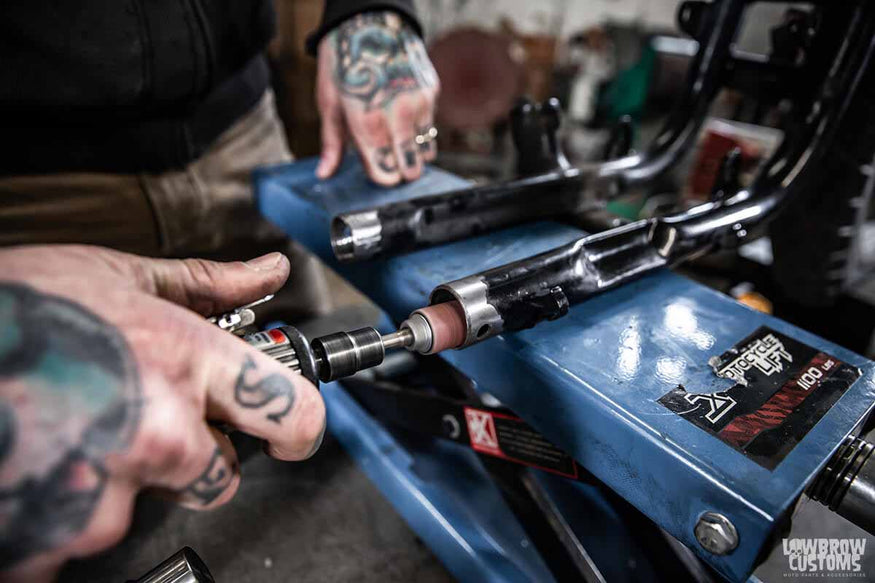
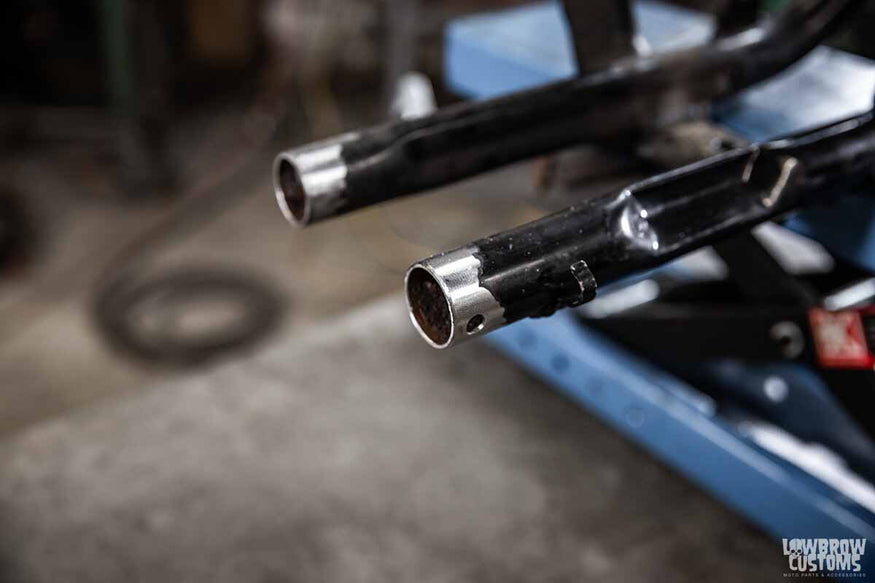 Remove paint from the outside edge of the frame tubing in preparation for welding. The inside of the stock frame tubing is often crusty and rusty. Clean this up using a small sanding barrel on a Dremel or die grinder. Ensure that the slug at the end of each hardtail rail will slide smoothly and completely in to the stock frame and that there are no restrictions.
STEP 6
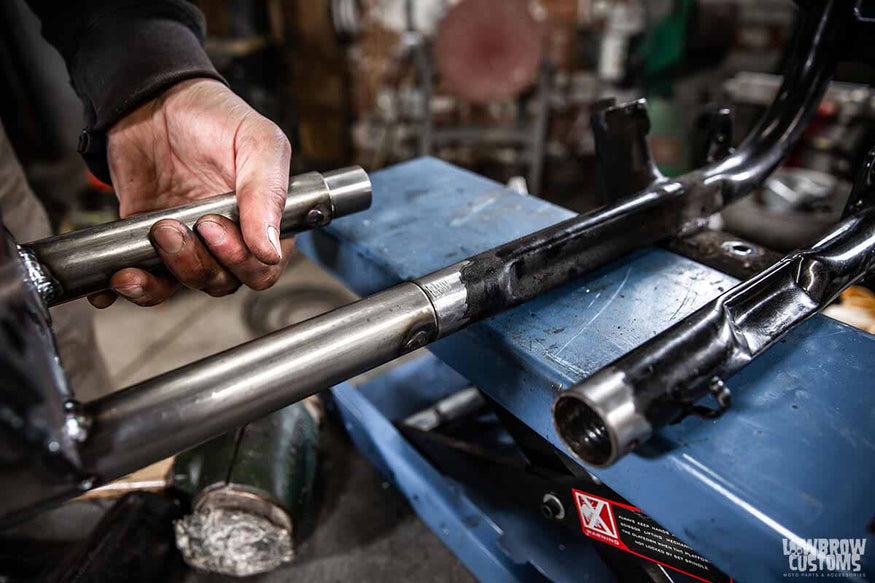
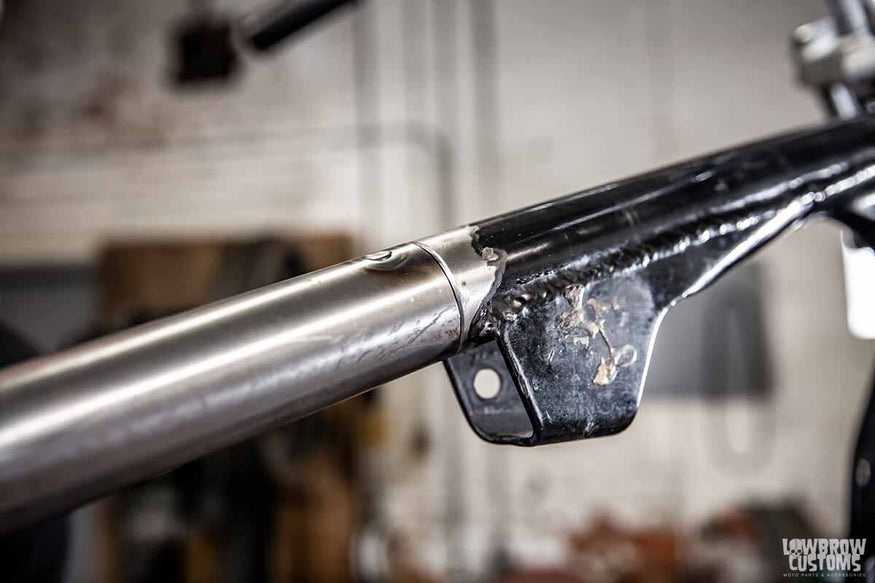
Clean the hardtail slugs and stock frame rails in preparation for welding. Do not use oil or lubricant to help slide the hardtail frame section in place as it needs to be clean for welding. If needed, use a rubber mallet to tap it into place at the back of the rear motor mount. Sometimes, the stock lower frame rails spring open a bit wider than the hardtail rails. If this is the case, use a clamp to gently bring them in until it aligns and slides into place.
STEP 7
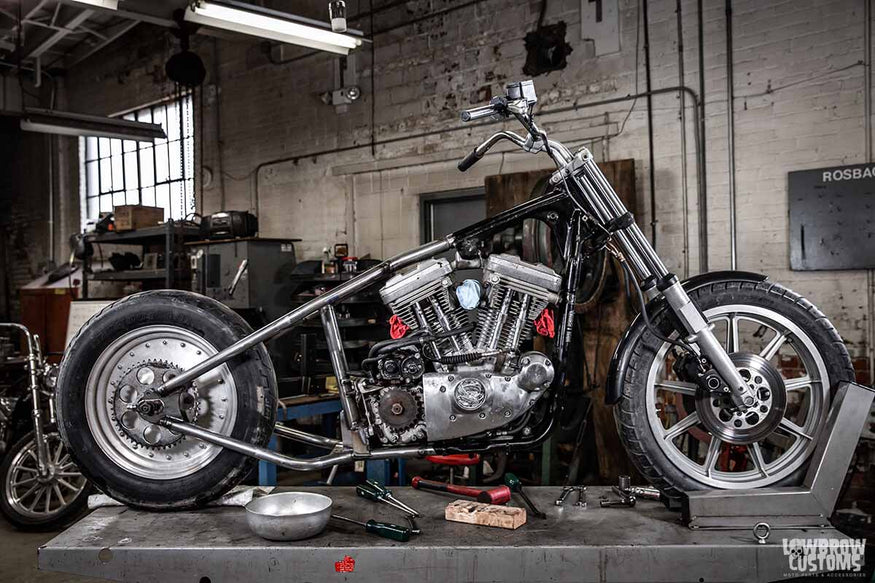
Do NOT get excited and weld the hardtail in place without bolting the engine completely back in place. The engine serves as a jig for the frame and will ensure it is perfectly aligned. With the hardtail slid in place, reinstall the engine in the frame, simply reversing the process of removing it. Bolt all motor mounts in place using all hardware and tighten properly.
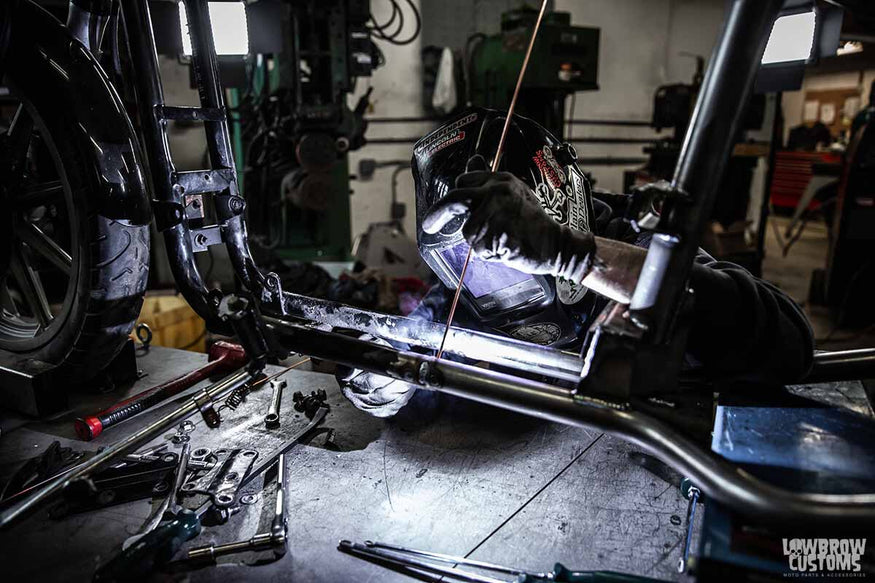
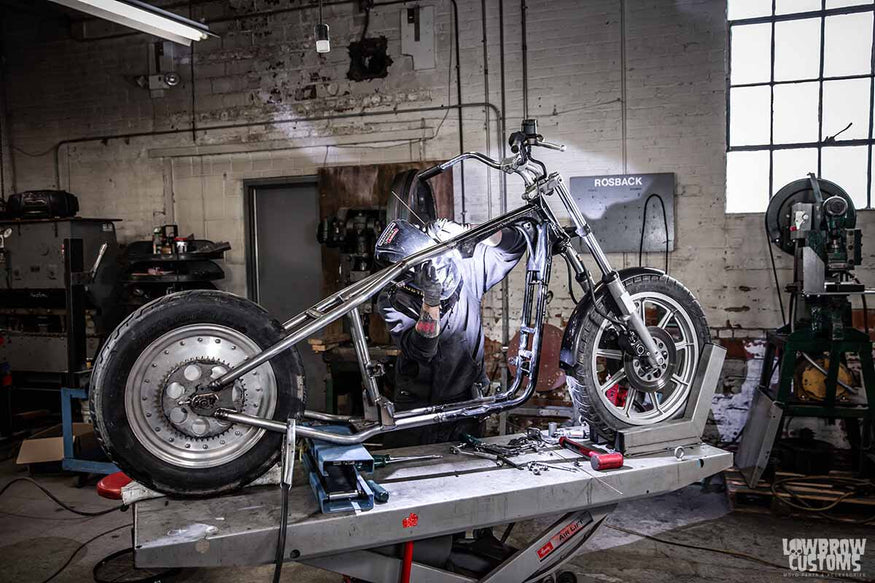
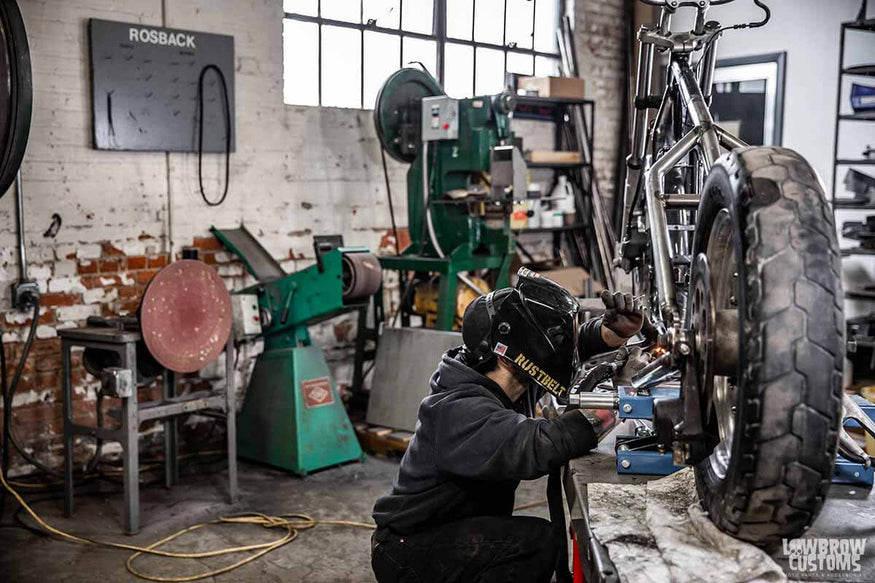 With the engine torqued in place final fitment can be checked. It is fine to have a gap between the hardtail and stock frame rails, exposing some of the frame slug. A ‘perfect’ gap would be around 1/8”, as this allows for easy welding and penetration of all three pieces of material: both frame tubes and the slug. Once the engine is in place and everything looks good, go ahead and place several heavy tack welds on each tubing joint. After tack welds are complete the frame can be welded as much as possible before removing the engine and finish-welding the remaining bits. Once the engine is removed the frame can be tilted or flipped as necessary to completely finish weld all tubing joints and rosette welds.
STEP 8
That’s it! The frame is done and the engine can be installed if desired as the rest of the build is completed. 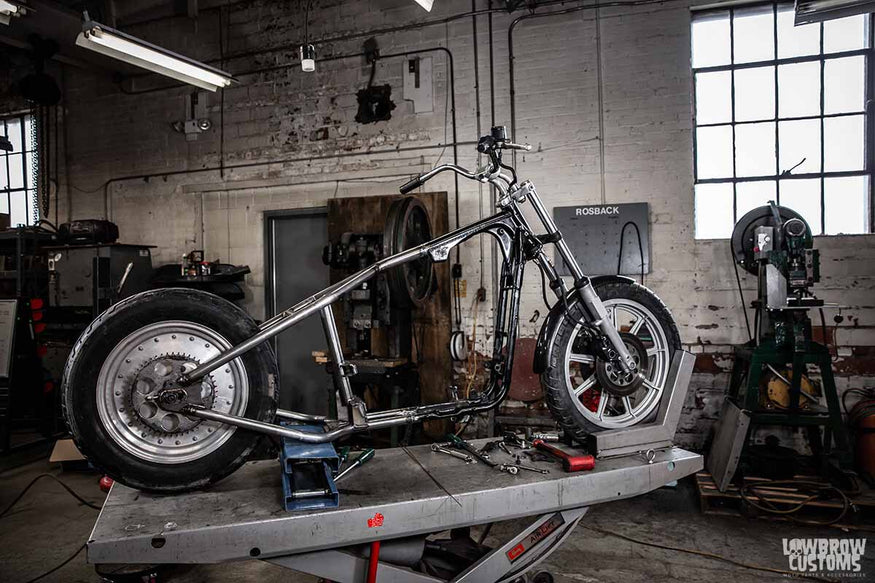
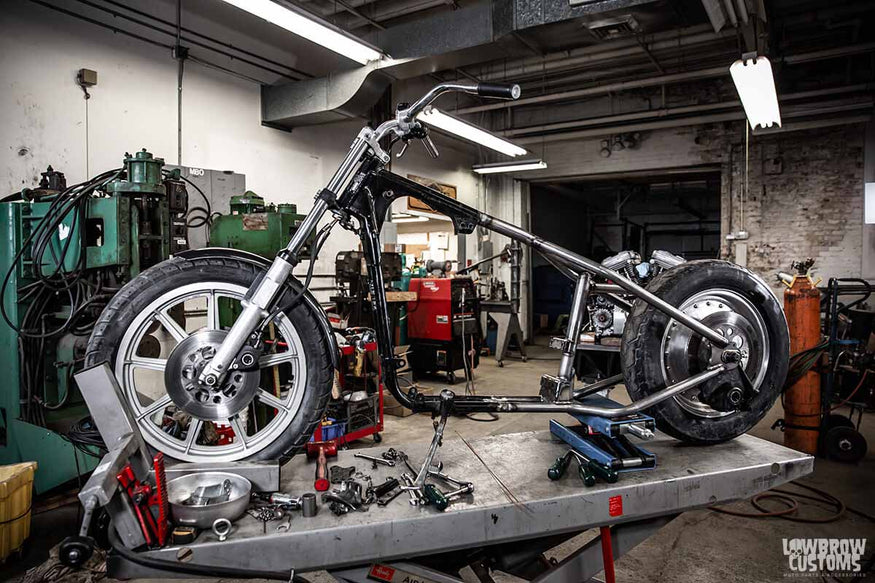
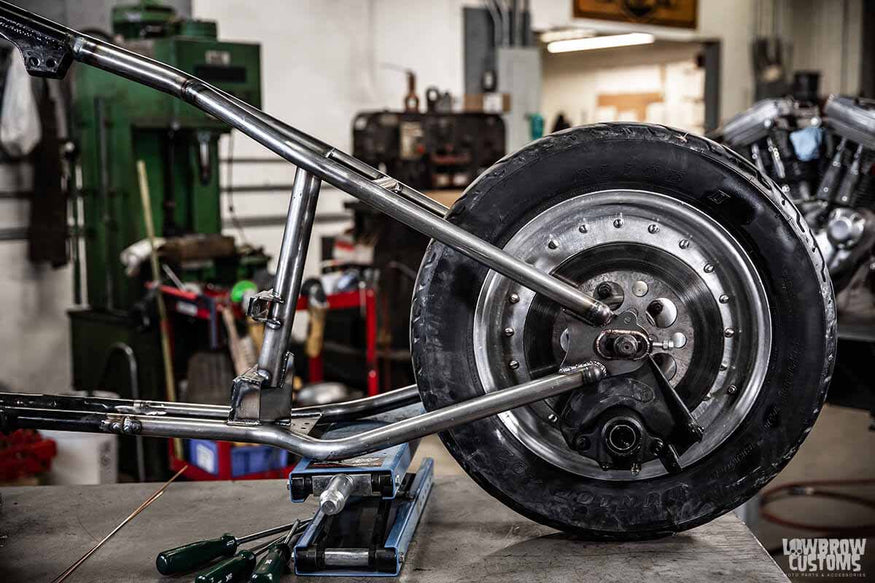
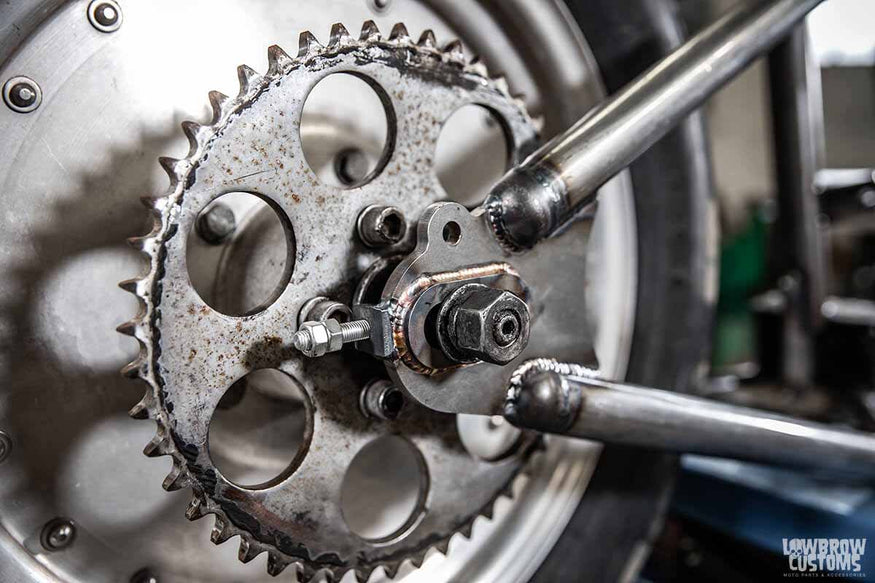
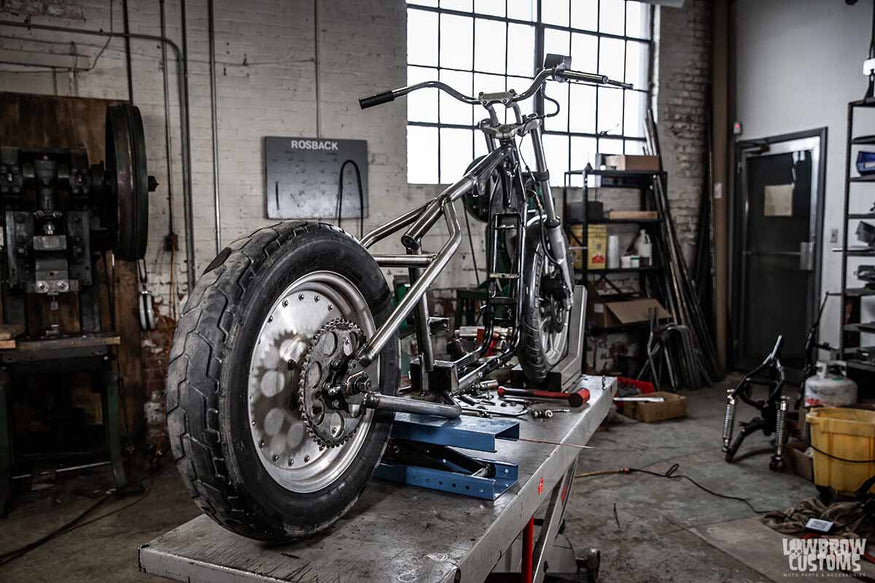 If you need a more in-depth look at how this was done, don't worry we got you covered. Check out the install video of this same bike getting hard tailed and follow a long.
Related Products


