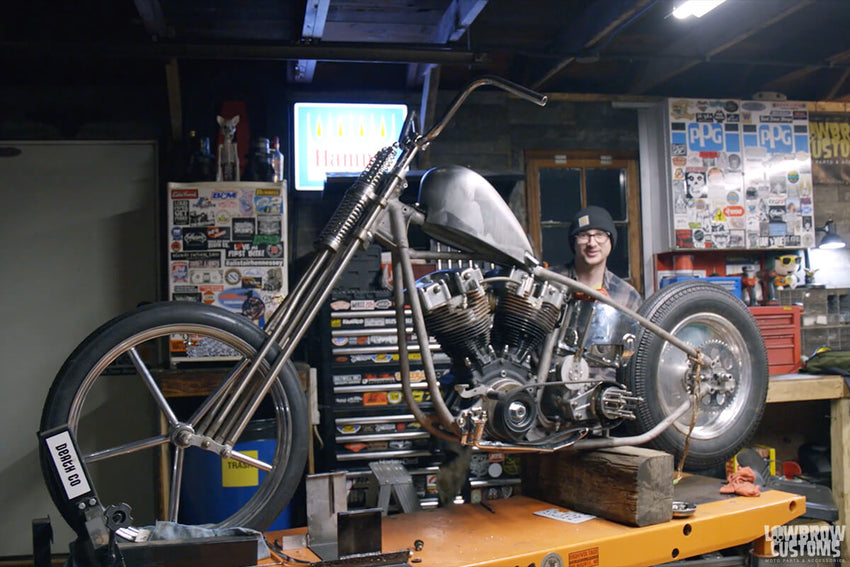
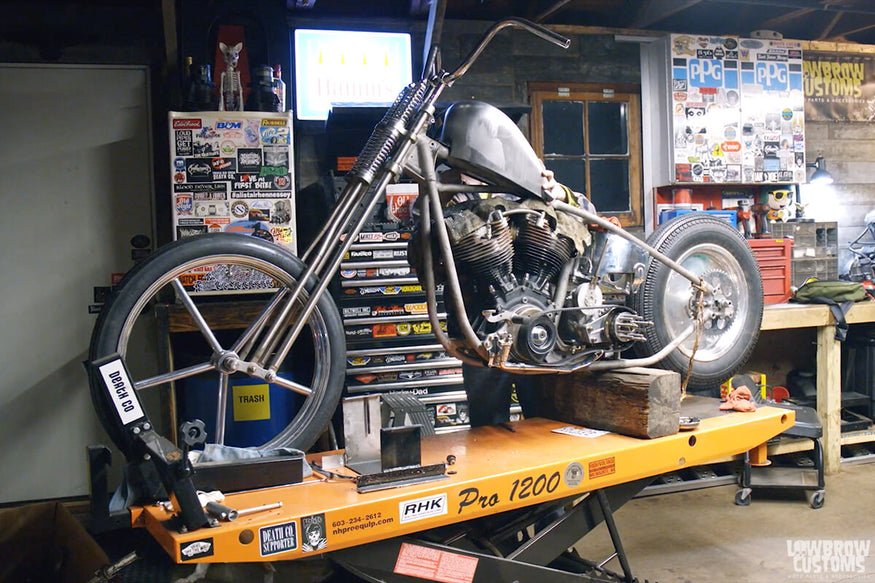
In this gas tank installment of Ian Olsen's Harley-Davidson 1981 Shovelhead build by Geared Science, Ian shows you how easy it is to mount a Lowbrow Customs Sportster Frisco Gas Tank 2.1 Gallon utilizing some of our slim top hat bungs that he drops right into the frame.
With a few quick steps, measuring twice, drilling once and using all the right tools; Ian walks you through how easy it is to get those motorcycle bungs welded up and your fancy new gas tank mounted up properly onto your frame. This method can work well on many different styles of choppers while using any of our slotted tab gas tanks we have to offer.
Watch our video on How to Mount a Chopper Gas Tank Step by Step
Follow along with Ian and see the process he uses to mount his motorcycle gas tank in the short, 4-minute video above. We also broke the gas tank mounting process down for you into 8 easy-to-follow steps, along with photos, below!
Subscribe to the Lowbrow Customs YouTube channel to check out all of our videos. We spend a lot of time and effort creating motorcycle how-to videos, product reviews and event coverage for your enjoyment. You can also visit our Blog for more awesome how-to videos and guides like this! Please let us know what you think and leave a comment at the bottom of this post.
How to Mount a Chopper Gas Tank in 8 Easy Steps
(We strongly advise against liquid courage before performing this job. Please leave that to the professionals.)
Step 1: Determine where you want your gas tank to sit on the backbone of your motorcycle and mark with a marker or Dykem layout fluid. You can scribe a mark into the Dykem / marker for a precise location. This will mark the spot you want your gas tank to sit on the backbone, how far forward or back it will be located.
TIP: Be sure that your handlebars / risers do not hit your gas tank when turning fully left to right before final mounting your gas tank!
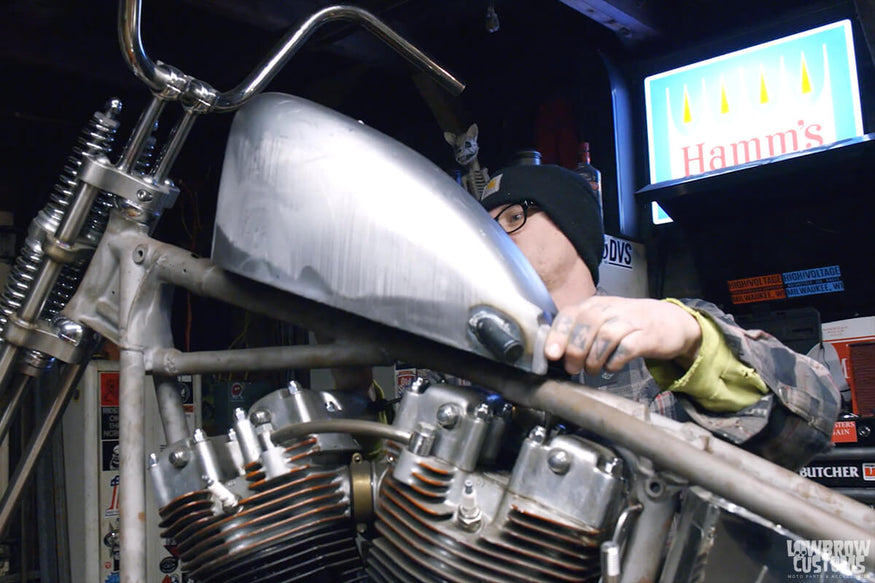
Ian eyeballing where he wants his tank to live on his backbone of his 1981 Shovelhead
Step 2: Figure out the centerline of the backbone and make some marks (scribing the centerline into the Dykem or marker from Step 1). This will create 'crosshairs' for the center of each mounting bung.

Ian finding his center
Step 3: Measure the tab slots center-to-center on your gas tank and compare to your marks on backbone to make sure they match accordingly. Or put the gas tank in position and 'eyeball' to verify the crosshair marks are centered in both the front and rear tabs.
NOTE: the slotted tabs on Lowbrow Customs gas tanks will give you some adjustability (room for error) front to back, but try and be as accurate as possible.

Ian measuring the gas tank mounting tab slots center-to-center.
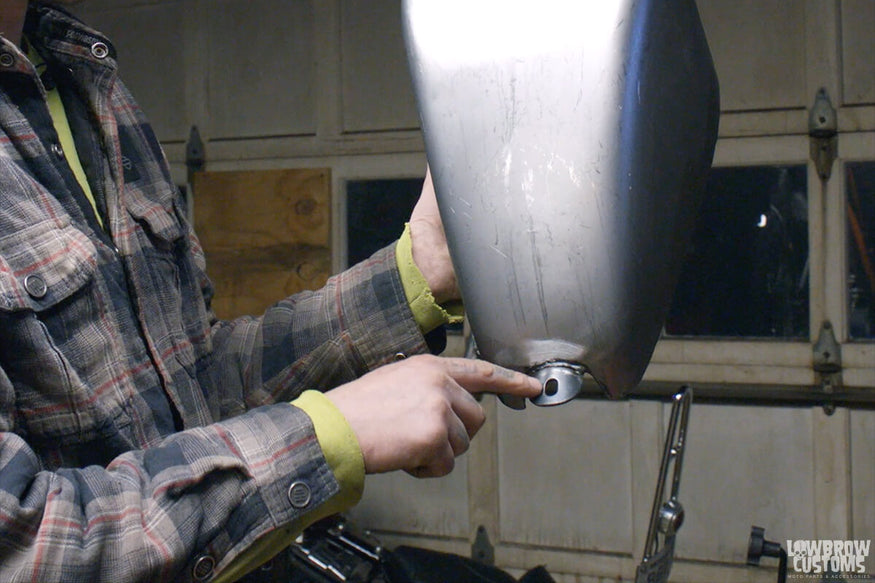
Slotted tabs, so nice! These allow you to get a bit of forward or back adjustment on your gas tank location. They also allow for a bit of variance (mistake, lol) in the location of your welded bungs, to ensure your gas tank bolts in place nicely!
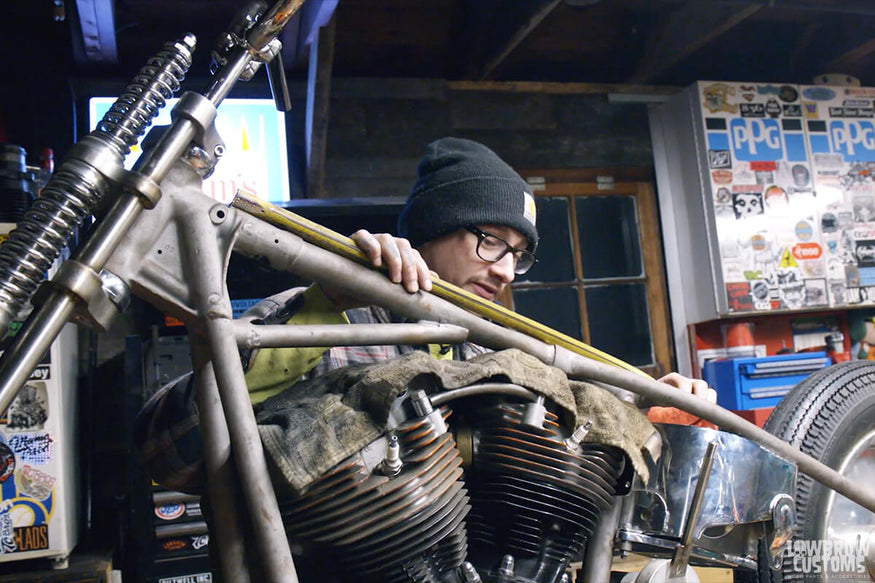
Measure twice drill once!
Step 4: Use an automatic self center punch on both your marks on your back bone. Alternatively, a steady hand and a sharp punch with hammer do the trick. Either way, absolutely center punch before drilling for accurate work!
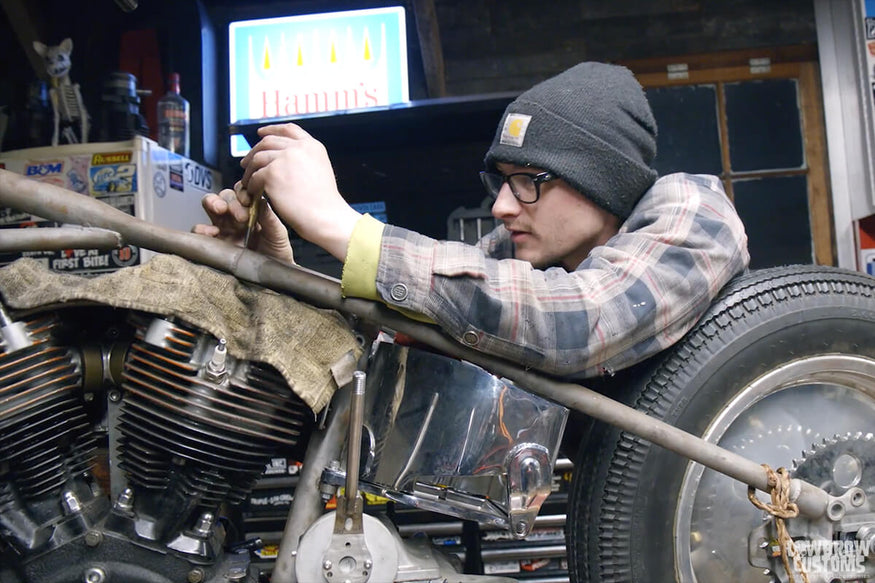
Automatic center punch helps guide the drill bit from walking and keeping to where you want to drill.
Step 5: Drill pilot holes with a small drill bit made for metal. Then use a step drill bit (or a progression of larger and larger standard drill bits) to open up the hole to the size of the Lowbrow Customs Slim Top Hat bungs (1/2").
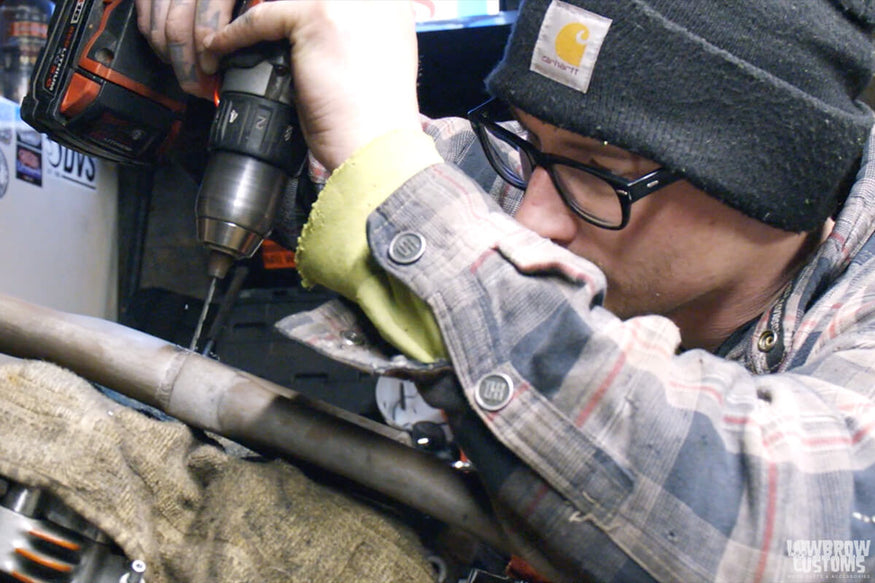
Drilling small pilot hole helps guide the step drill bit.
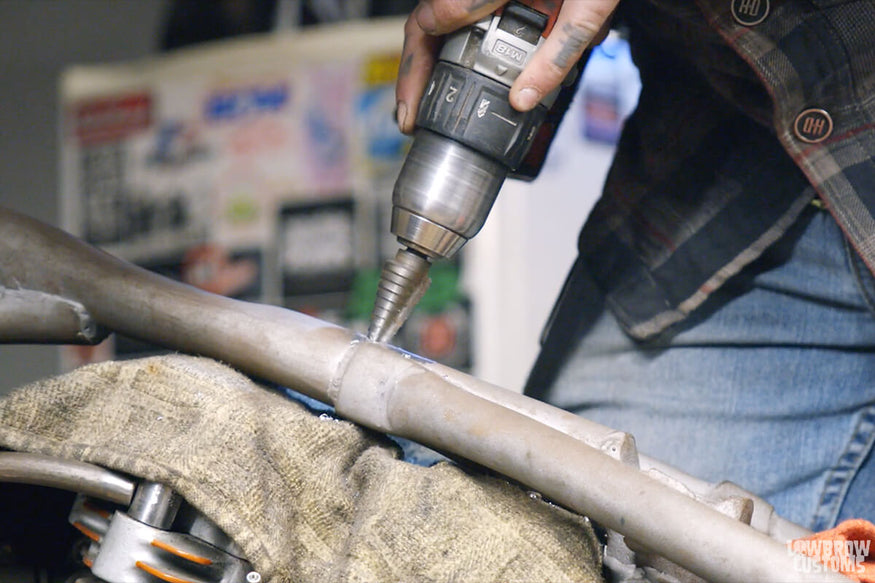
Stepping it down, awe yeah!
Step 6: Drop in your bungs and tack weld them in place. It helps sometimes to use a long bolt threaded into the bung to hold it in place and level while you tack it. This makes visually leveling the bung easier as it gives you a taller reference point.
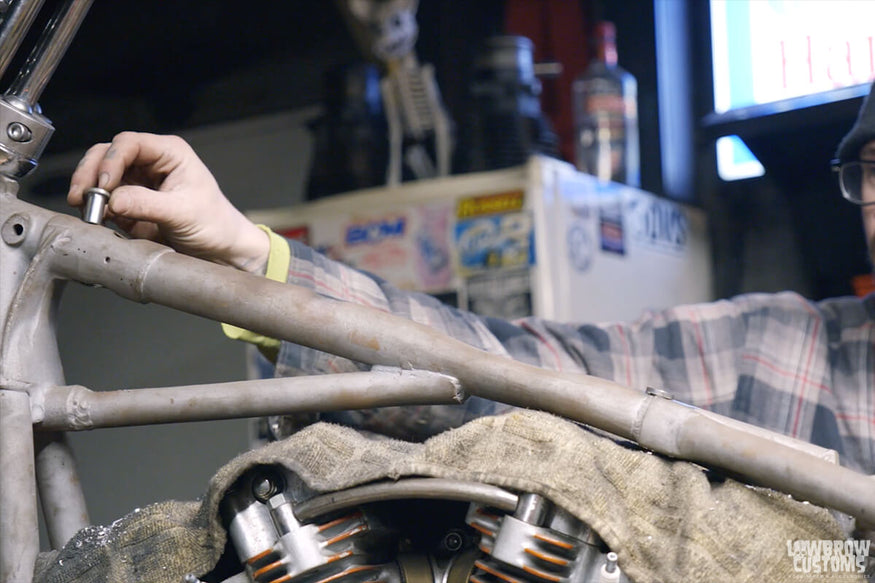
He said bung.
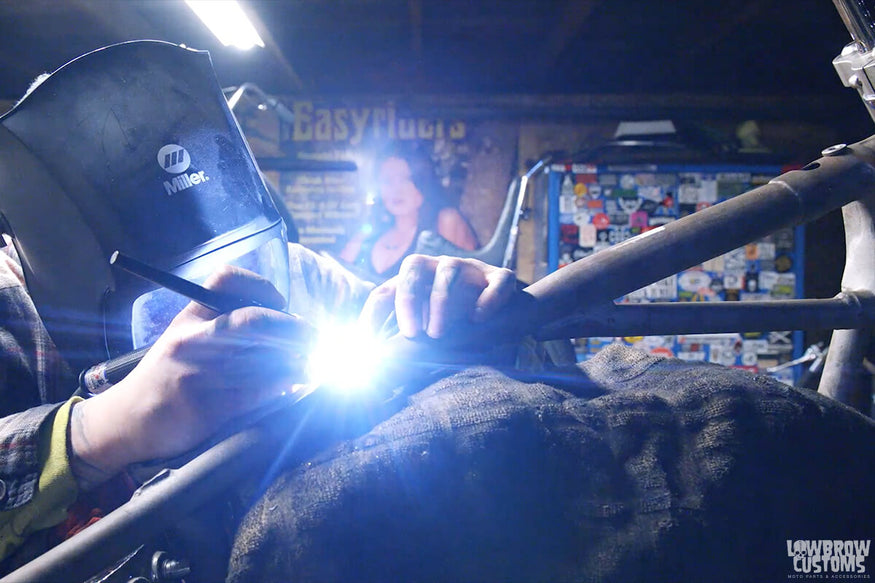
Tacking the threaded bungs in place.
Step 7: Trial fit your gas tank onto the bungs before you finish weld everything. If something is out of place it is way easier to break or grind the tack welds and fix it now, then grinding fully welded bungs out and starting over!
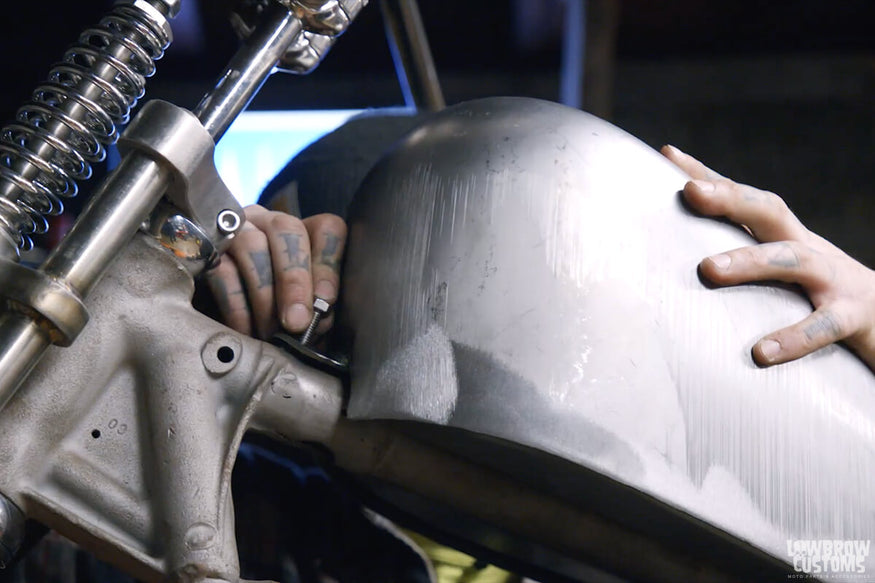
Test fitting the gas tank before finish welding the bungs into the frame backbone.
Step 8: Finish weld your bungs. That's it! Your gas tank is securely mounted.
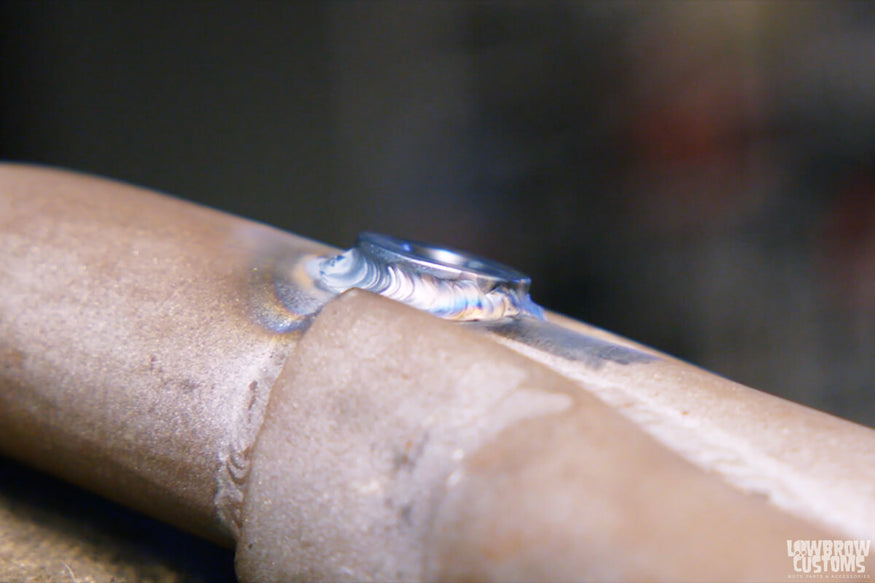
Look at those buttery welds!
Looking oh-so-good and ready for some paint!
Related Products


