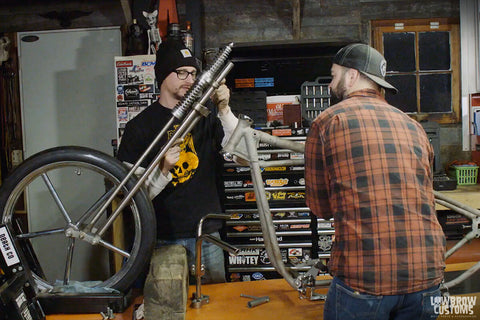
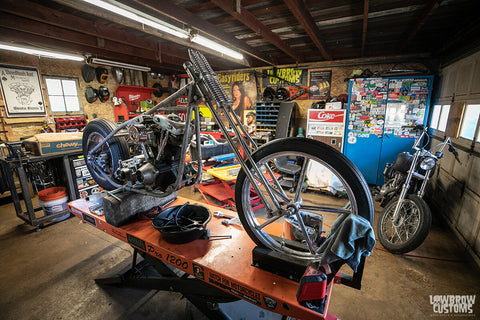
HOW DO YOU EXTEND A HARLEY FRONT END? WE'LL SHOW YOU...
Brian Radmond of Geared Science gives you and easy step by step tutorial on how to extend your fork tubes and give your Harley-Davidson a more aggressive chopper style stance.
Editor's Note: These tubes do not come with PVC pipe inserts, if you need them use 5/8” PVC and cut to whatever extension your tubes are. For example if you are doing +6 over, you cut the PVC to 6 inches, +4 over you cut to 4 inches and so on.
WATCH VIDEO: HOW TO INSTALL EXTENDED FORK TUBES ON YOUR HARLEY
With some minimal tools found around the garage, a new set of extended Custom Cycle Engineering fork tubes and a James Gasket 39MM Narrowglide fork seal rebuild kit you will be rocking new legs on your chopper in minutes! Brian is using a 39mm set of legs to demonstrate how to do this job. However, if you're working with FL/FLH models from 1977–1984, the Harley 41mm Fork Tubes are a great fit for creating that classic extended front-end look.
Subscribe to the Lowbrow Customs YouTube channel to check out all of our videos. We spend a lot of time and effort creating motorcycle how-to videos, product reviews and event coverage for your enjoyment. You can also visit our Blog for more awesome how-to videos and guides like this! Please let us know what you think and leave a comment at the bottom of this post.
PHOTOS OF THE FORK TUBE INSTALL PROCESS
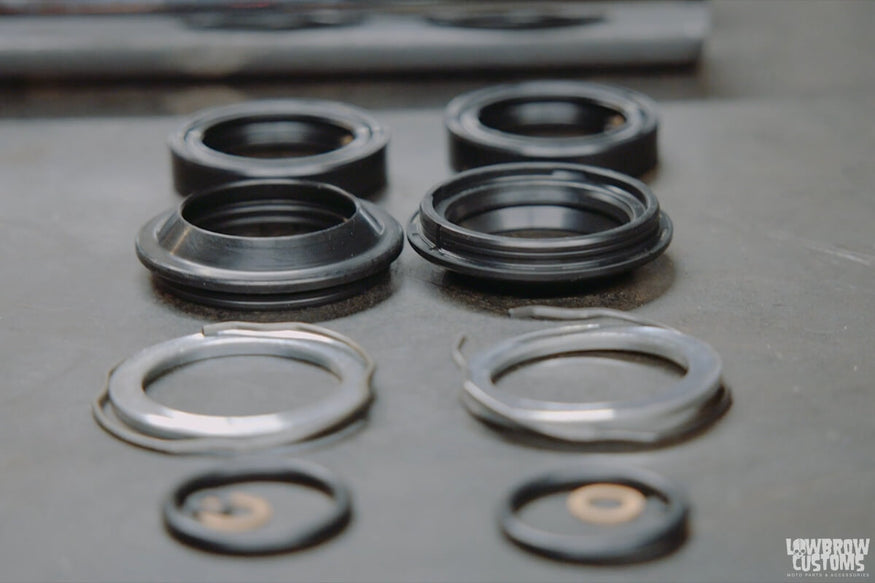 James Gasket fork seal rebuild kit for 39mm Narrowglide front ends.
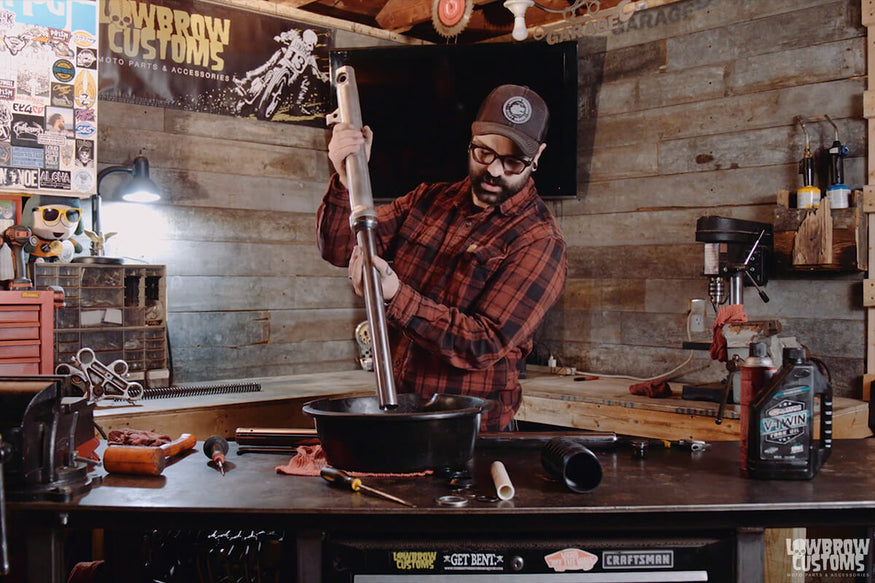 Once you remove the top cap and spring you can drain the oil out of the top into an oil pan to avoid a mess before taking the bottom leg apart.
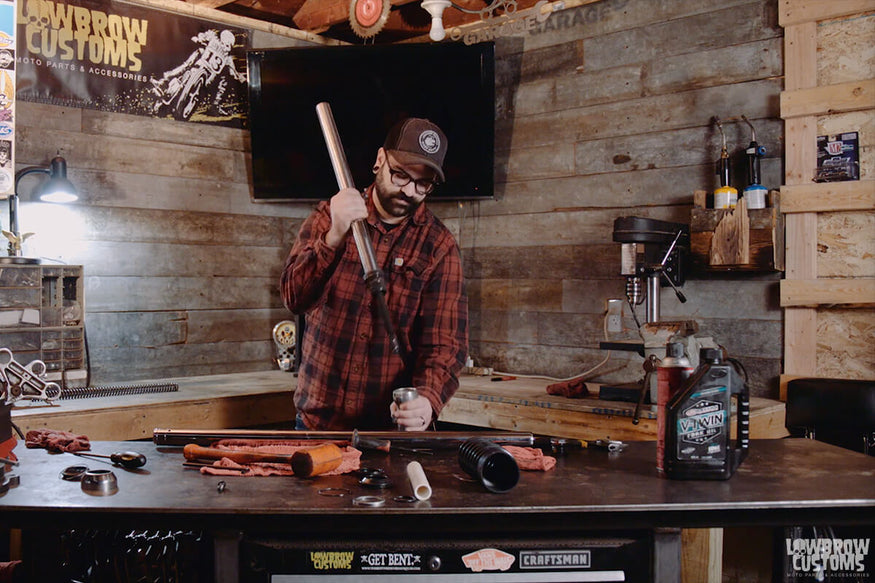 After removing the bottom allen bolt from the lower leg, use a slide hammer type action up and down on the fork tube and lower leg to pull them apart.
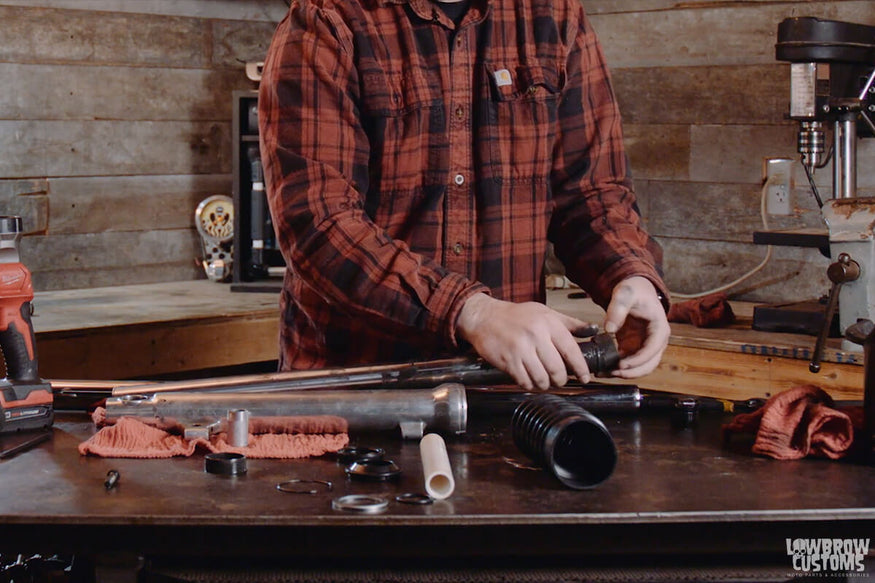 Be sure to save the bushings at the end of the stock fork tube, inspect for ware and if replace if needed.
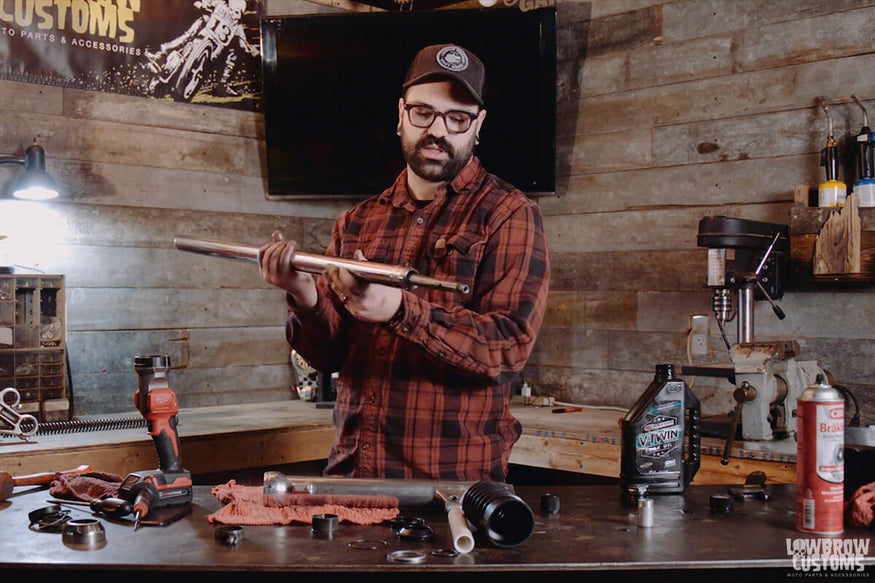 Sliding the damper rod with the spring staying on till the tube comes out the bottom of the can be tricky. Try sliding it gently side to side till it comes out the hole.
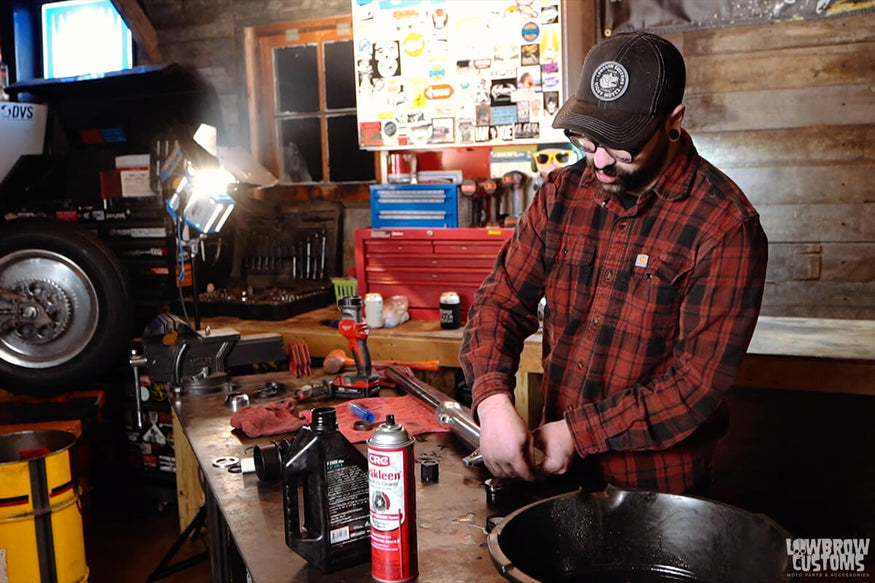 Loosely install your allen bolt back into the bottom of your leg.
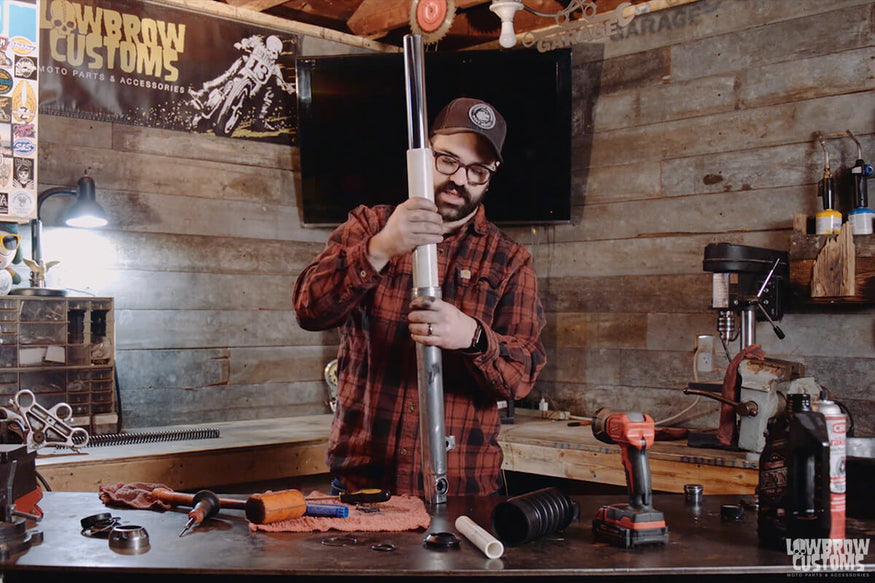 If you don't have a slide hammer or fork seal driver tool, a pvc pipe with the right ID/OD can work well to drive your seal home and below the lip where your snap ring sits.
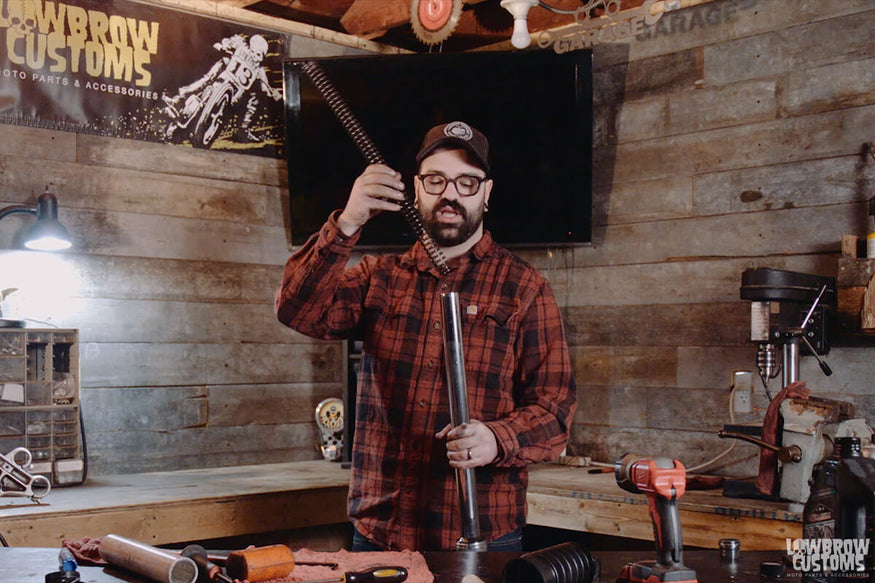 Install your new spring and spacer, fill your leg oil up accordingly to your type of front end and put the cap on.
You can read the full transcription of the video here:
What's up, guys? This is Brian with Geared Science here for Lowbrow Customs to talk about the replacement fork tubes for your Harley front end from Custom Cycle Engineering. They come in a show chrome or a hard chrome. Hard chrome is going to last a lot longer and that's what we've got here, so let's dive in. I'll show you how to do this. You're going to need your seal kit. Make sure you order the seal kit. Do not forget to do that. It's very important.
I like these James Gaskets seal kits that Lowbrow carries because they include everything you need. You're also going to need a punch, flat-head screwdriver. This is very important, a 6-millimeter Allen wrench. You're also going to need a dead blow or a rubber mallet, something like that, fork oil, some brake cleaner, and a pan for draining the oil in. It also wouldn't hurt to get a copy of the Clymer manual for your bike.
They're good to have around and we're trying to keep this to tools that everyone has laying around. For this fork cap to the end here, just go ahead and use an adjustable wrench. Step one, you take your 6-millimeter Allen wrench and you're going to crack loose the Allen on the bottom. Just loosen it up. Leave it in there for now. We'll remove it fully later. Next, we're going to take off the fork cap here and pull the spring out.
Most of us are going to have just this kind of setup. Just put a rag around your fork tube and put it in your vise. Just be careful not to over-tighten it. Make sure you're very careful when you're pulling this out because there's a spring in there. It's spring-loaded. If you're not careful, you'll catch yourself in the eye. Told you. We're going to go ahead and just pull this off, wipe it down real quick, and we're going to set that to the side. Now, we'll go ahead and just drain this out.
Next, what we're going to do is pop off this chrome dust cap. Now, we're going to pull off this dust seal here and work your flat-head screwdriver around here. That just slides right out. Take that, set it aside, throw it out later. Next, you're going to take off this. There's a retaining clip. Just fish your screwdriver in here. You can carefully pry that out. There we go. Again, we're not going to need that. Put that in our garbage pile.
Now, it's time to fully remove that Allen head bolt on the bottom. Now that it's loose, it should come out. No problem. Make sure you save this. You want to clean that off because we're going to reinstall that. Now, it's time to remove the seal. We're going to pump this out until it pops out with it. You might want to do this over your drain pan because some more oil is going to come with it.
There we go. All right, you're going to want to make sure you pull your damper rod and spring from your old fork tube. Now that we've pulled our old tube out, we're going to want to make sure in the bottom of the slider-- Mine was actually pretty stuck in there. You'll have this oil lock. Don't lose this. Make sure you pull it out of there because you're going to want to look at it and clean it.
Now, we're going to want to take these old seals off of here. Again, put this one in our garbage pile along with the old washer. Now, it's really important there are two bushings that are on here. There's one right here and there's another one that clips on the bottom here that we want to pull off. This one, you got to separate and that comes right off. Okay. Now, you want to make sure you inspect all of your pieces.
Make sure nothing is cracked or broken with them because you may need to replace these. This one looks okay. This one looks good as well, so I'm going to go ahead and reuse these. Now that you have your damper rod out and your spring out, just go ahead and give it a once-over. Clean it up a little bit. Wipe it down. Make sure nothing's broken. It also wouldn't hurt to take your fork slider and clean it out a bit because I don't know about you, but I don't want to be messing with these too often.
I don't know when the next time I'm going to get into this thing is going to be. You’re going to want to make sure you inspect your new fork tube. Before proceeding, it’s important to know how to identify Harley forks to ensure you’ve got the correct tube for your setup. You don't want to make it work if it's not the right one. Figure that out if you have to, but it's not safe to run the wrong tube with the wrong slider. Now, we're ready for installation. They say it's a good idea in the book to coat your parts in a thin layer of fork oil.
I just poured out a little bit in the cap here. I'm just kind of-- We're going to take our damper rod, put the spring over it, then we want to slide it down the tube. It's kind of tricky to get your damper rod all the way down here without the spring falling off. What I like to do is put it in here and just gently slide it sideways until it pops out on the end like that. Now, we're going to want to take this bushing here and slide it over the new tube just like so.
Now, it is time to put your new fork tube in the slider. You want to make sure you have the oil lock over the damper like so and we're going to just slide this in here just like that. Now, what I like to do is just get your Allen head bolt started on the bottom of the damper rod just so it doesn't move around or you don't misplace where you're at. You're also going to want to make sure you put on just a little bit of blue Loctite. Make sure you do not use red.
Red's a little bit aggressive for this and you want to be able to get this off when you need them. The order of installation up here is the bushing, which we already have installed. Next, you're going to put your spacer washer, then you're going to want to go ahead and put your oil seal on. That just slides down like so. To drive that in place, you're going to want to use a slide hammer. If you have a slide hammer, good for you. We're going to use this piece of PVC pipe.
Like I said, we're doing this video with things that most people would have laying around the garage. We're going to take this and we just drive it in there. You're going to want to get it in there just far enough to where you can see the lip where the snap ring comes in. Drop your snap ring on, pinch it together, and work it into the grooves with your screwdriver. There we go. Next, put on the dust seal. Now, we're going to replace the spring in the tube.
Now that your spring is in there, you're going to want to replace your fork oil. Check your climber for how much you need. Ours call for 9 ounces. If you bought extended tubes, your tube should have come with this PVC spacer to make sure you fully extend these. Go ahead and drop that in. Now, we're going to replace our fork caps. Now, it's a good idea to replace your O-ring on the fork cap.
Your James Gaskets seal kit should have come with one, so go ahead and do that now and then press down and get it started. Now, I've got it started. Now, I'm going to go ahead and just wrap another rag around here, put it in the vise. Remember, don't crunch this too tight in there. You don't want to mess up your beautiful, new tubes. There we go. Now, you want to go ahead and tighten this Allen on the bottom. It wouldn't hurt to use a small impact to get this done.
Lastly, what you would want to do is replace that chrome dust cover. This guy. Instead, I'm going to go ahead and run these neat, little gaiters. I'm just going to go ahead and slide this right over the tube and there you have it. Go ahead and repeat the process for that next fork leg and you'll be ready to go. Be sure to pick up your Custom Cycle Engineering extended or standard-length fork tubes from Lowbrow Customs today.
Related Products


