

SWAP OUT THOSE CLUNKY STOCK HARLEY MIRRORS FOR SOMETHING WITH STYLE
Are your old Harley-Davidson rear view mirrors looking beat-up, out of style, rattling around, and or not keeping their position? Or maybe they are just giant and ugly? Are you looking for a change?
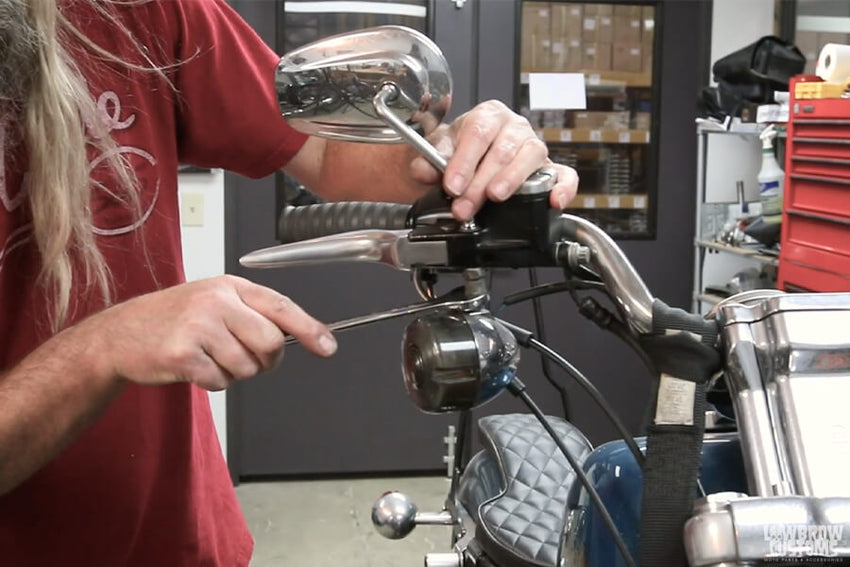
Never fear, Todd here at Lowbrow Customs has got you covered! With this step-by-step video tutorial, Todd walks you through how to switch out those old pesky stock mirrors.
WATCH VIDEO: HOW TO CHANGE MIRRORS ON A HARLEY-DAVIDSON
Check out the Lowbrow Customs YouTube channel to check out all of our videos.
Video Time Stamps:
00:01 - Intro
00:34 - Two Tools.
00:58 - Remove left mirror.
01:30 - Make sure the motorcycle turn signal if attached to mirror doesn't hit the tank.
02:02 - Variety of parts that come with the Cycle Standard Stem.
03:14 - Trial and error fit to see how many threads you have and what will look and work best.
04:45 - Install the stem.
05:44 - Check out the adjustments of the new mirror and fit to your liking.
06:54 - Todd takes a ride on the lift.
07:01 - How to position your mirror to work best for riding.
07:41 - Crank that mirror into place.
09:19 - Change the right side mirror.
09:38 - Todd lied, you need a 3rd tool for the job.
10:51 - Off with the old mirror.
11:20 - Make sure you have enough threads, trial fit new stem.
11:57 - Snug it down but dont crank it down just yet.
12:16 - Match the mirrors so they look even and unified in height.
12:43 - Todd goes for another ride on the lift to check the position of the mirrors. 13:13 - Crank it down.
13:49 - Put the turn signal back on.
15:36 - Additional adjustments available on these Cycle Standard mirrors.
16:11 - One last check while on the lift. 16:37 - GO FOR A RIDE!
Check out the great selection of custom motorcycle mirrors available at Lowbrow Customs. These mirrors not only have great form and function, they also allow for multiple adjustments and alternative ways to mount on your motorcycle. We spend a lot of time and effort creating motorcycle how-to guide and event coverage for your enjoyment, please let us know what you think by leaving a comment!


Related Products


