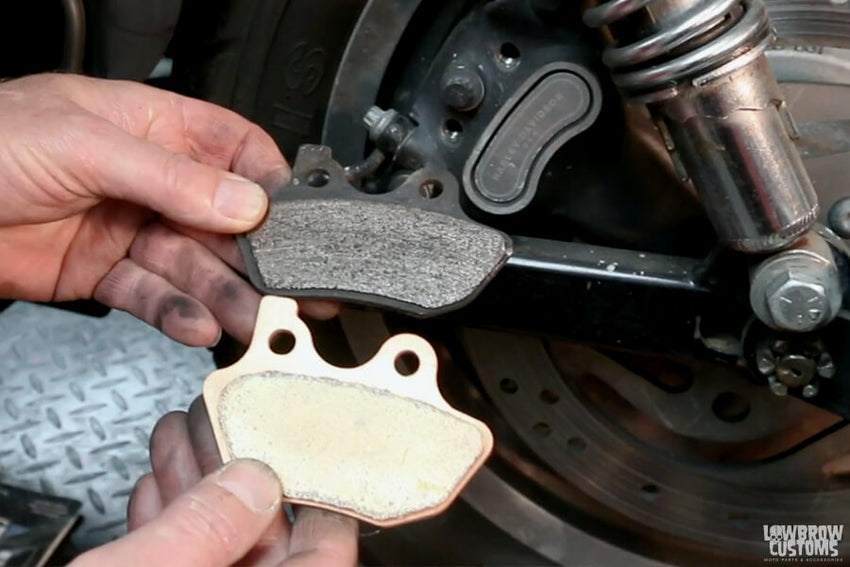
Are your brake pads on your Harley-Davidson Sportster on their last centimeter of life? Are you lost when it comes to changing them out? Don't worry, Todd is here for you. Watch as he walks you through how easy it is to change out those old wore out brake pads with a new set in this short how to tech tip.
Brakes are probably one if not the most important thing on your motorcycle. Proper care and maintenance is very important and should never be overlooked. It's recommended by Harley-Davidson to inspect your brake pads every 2500 miles. It's also a good time during any springtime maintenance to check your brake pads before your riding season starts to make sure you have an adequate amount of pad left.
Check out the Lowbrow Customs YouTube channel to check out all of our videos. We spend a lot of time and effort creating motorcycle how-to videos, product reviews and event coverage for your enjoyment, please let us know what you think. Click here to subscribe to the Lowbrow Customs YouTube channel and stay in the know!
Time Stamps:
00:01 - Intro
00:26 - Compress the pistons in the caliper explanation.
01:12 - Clean of the caliper and brake pad area with brake clean and some air. 01:58 - Use a pri-bar or putty knife to compress the brake caliper pistons.
03:12 - Remove the two pins holding the brake pads in.
04:32 - Remove the pads if they haven't already fallen out of the caliper.
04:43 - Note the orientation in which the Sportster brake pads go with the new ones, see the difference between the inside and outside pads.
05:20 - Clean the 2 pins off.
05:38 - Apply pin lube to the 2 pins.
06:15 - Install the new pads.
08:53 - Install the 2 pins into the caliper and torque to factory spec.
09:33 - Review
10:28 - Pump those brakes
10:37 - Check the brake fluid level. Don't mix Dot 3,4, or 5 always use same fluid. 12:31 - Brake pad change complete now GO FOR A RIDE!
Related Products


