HOW DO YOU ADJUST THE REAR DRIVE BELT ON A HARLEY?
General maintenance is key to keeping a bike running and happy for a long time. If you have a motorcycle from 1980 to current, you most likely have a belt drive on your bike, instead of a chain.
Steve Knoble of Knoble Moto walks you through some easy steps on how to inspect, check and tighten your rear drive belt all while keeping the rear axle aligned. With the proper care and adjustments there is no reason why your belt can't last the entire life of your motorcycle.
WATCH VIDEO: HOW TO ADJUST HARLEY REAR BELT DRIVE
Steve shows you how easy it is to inspect and tighten a rear belt drive on a 2008 Harley-Davidson Street Bob. He also shows you how to keep your axle aligned while tightening the belt. This general inspection and adjustment process is similar on most Harley-Davidsons.
PHOTO GUIDE TO ADJUSTING YOUR REAR DRIVE BELT
 Welcome to another Knoble Tech Tip with Steve Knoble.
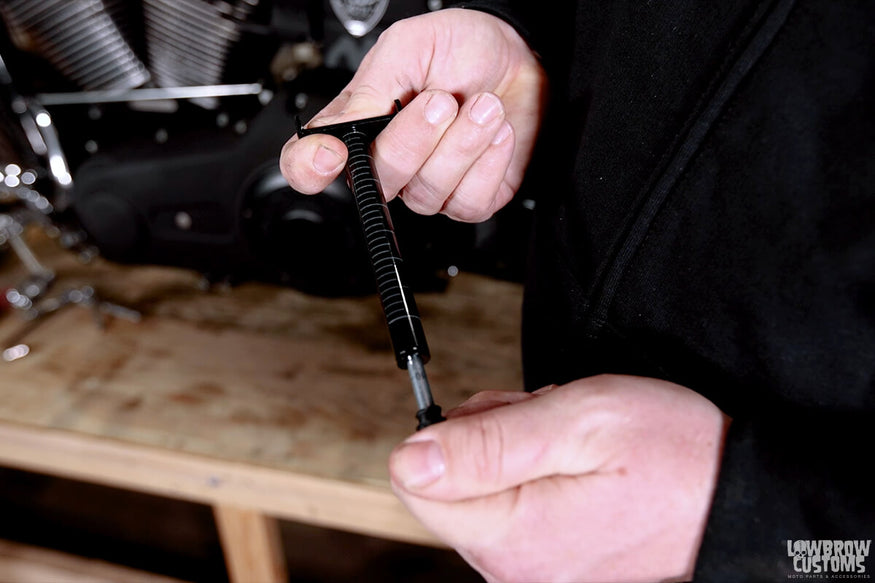 This special tool helps you determine your deflection of the belt with 10lbs of pressure added to it.
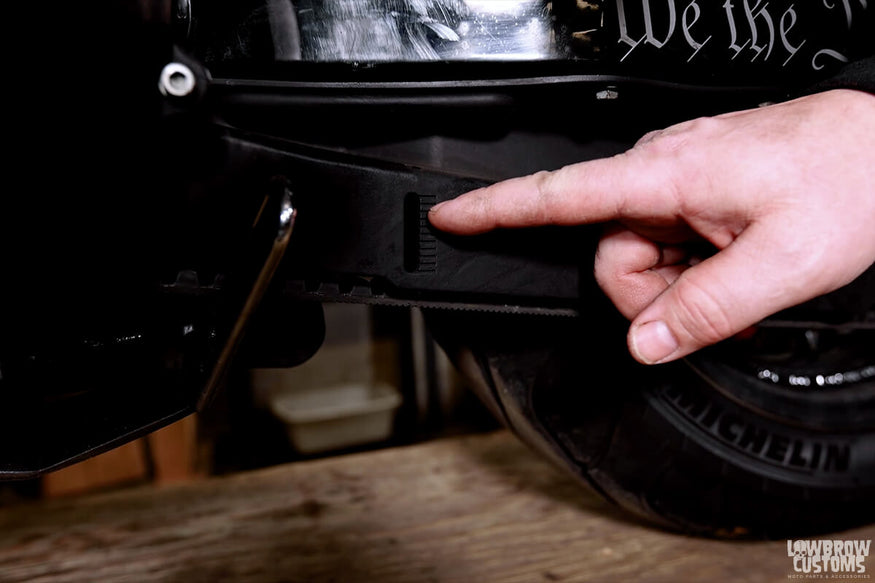 Most newer Harley's have a belt guard on the bottom of the belt with a window where you can measure the deflection. If you took it off or dont have one you can use a tape measure.
 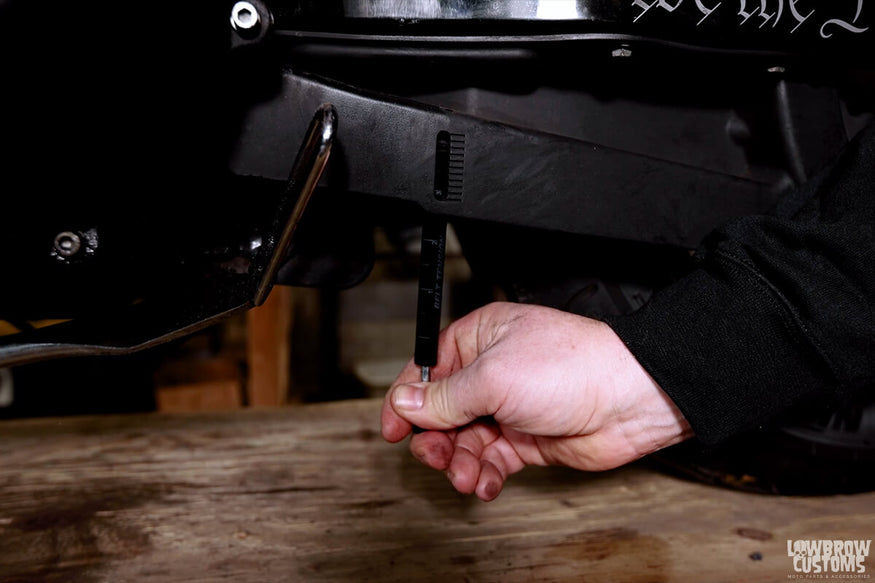 Applying 10lbs of pressure to the belt in the window of the lower belt guard you can determine if the belt is within spec for your model. Check your service manual for this specification!
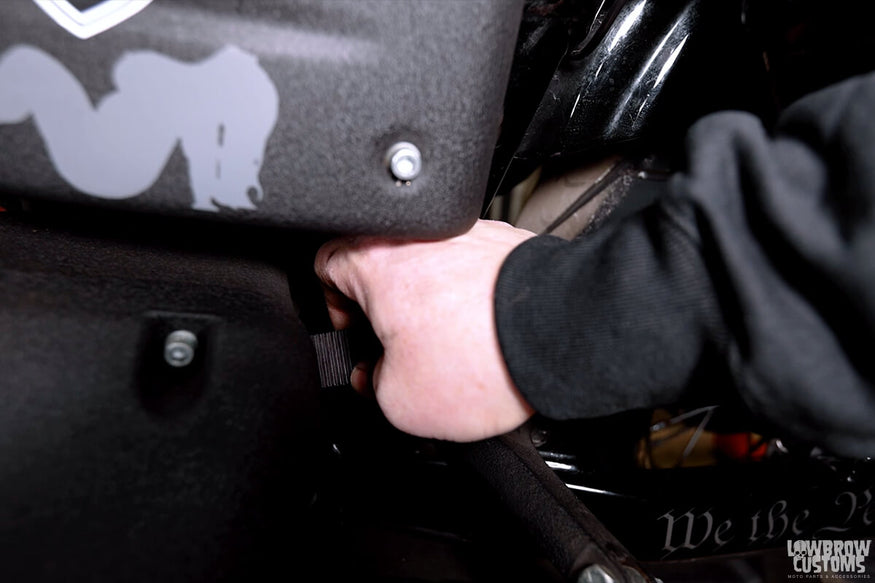 If you don't have a 10lb deflection tool another way to determine if your belt is loose is seeing if goes passed 45 degrees when pulling up on it left or right.
 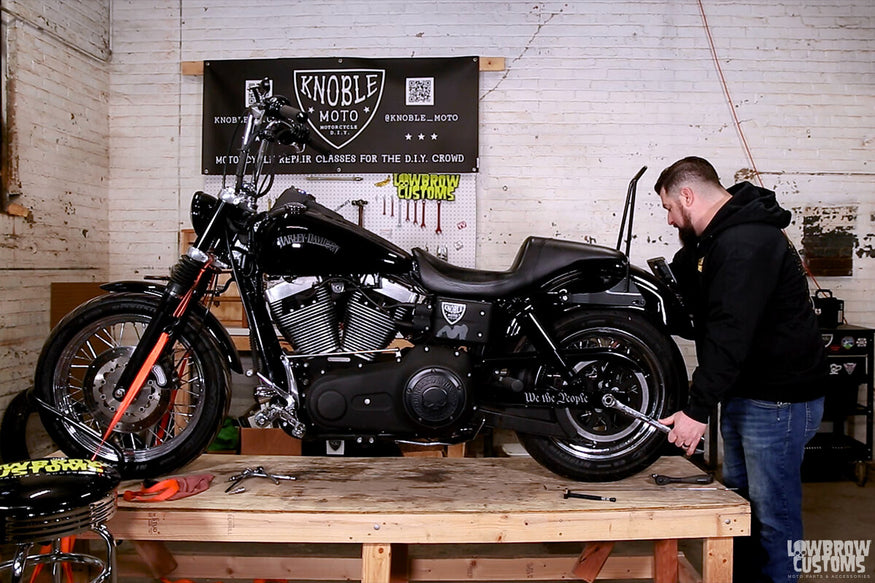 To adjust your belt you will have to loosen your axle nuts first.
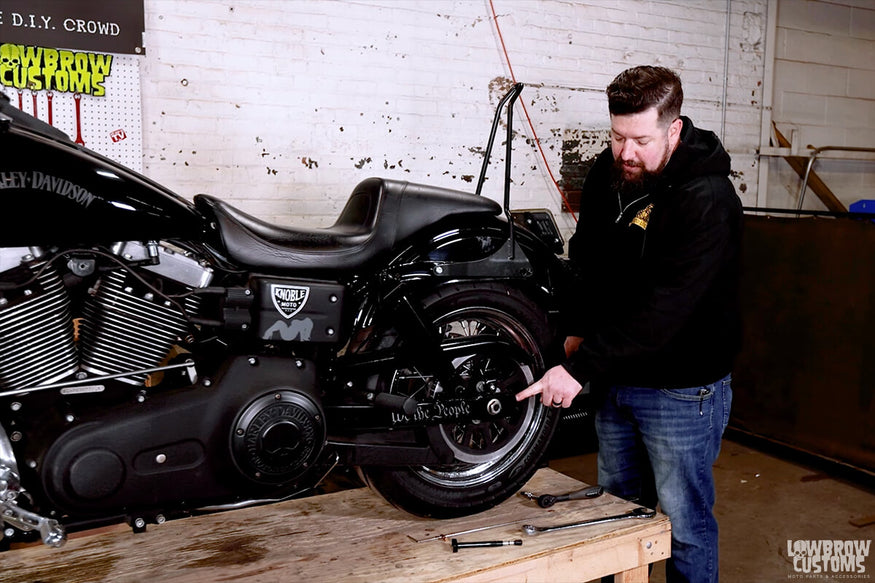 There is an axle adjuster bolt on each end of your swing arm.
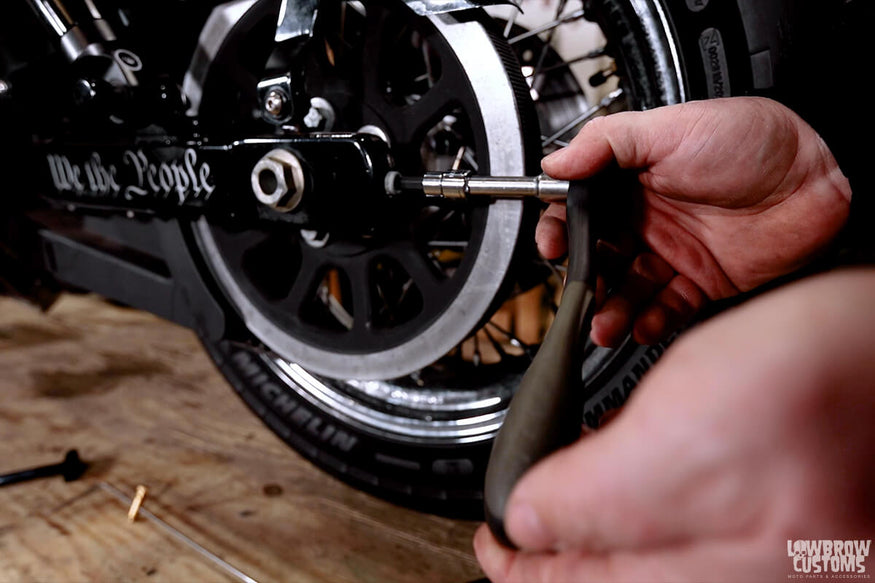 When tightening the axle adjuster it will pull the wheel back towards you. Think of your wrench as a clock. Start from the bottom at 6 o'clock and tighten to 9 o'clock that is a 1/4 turn. Then do that same thing on the other side. If a pipe is in the way you may have to do to 1/8ths of a turn to equal 1/4 turn.
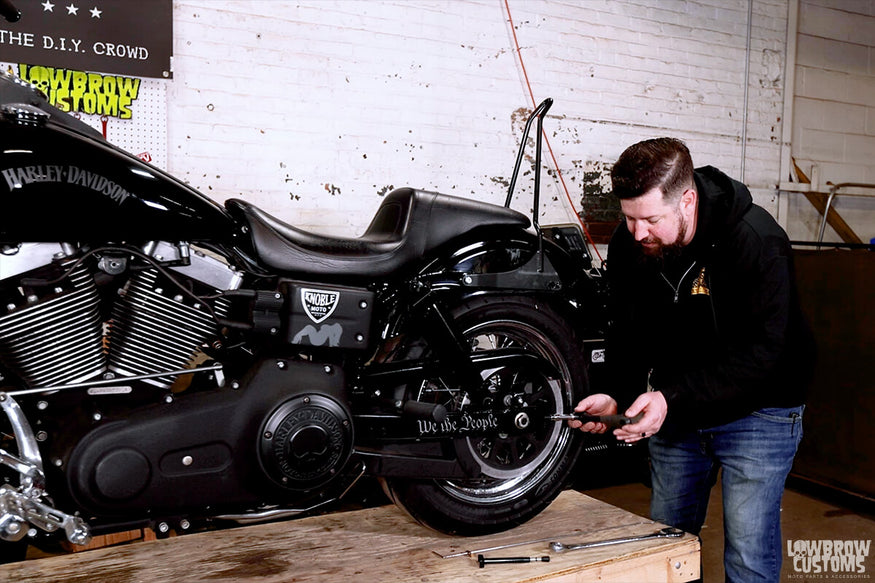 You can see here Steve stopping at 9 o'clock equaling a 1/4 turn.
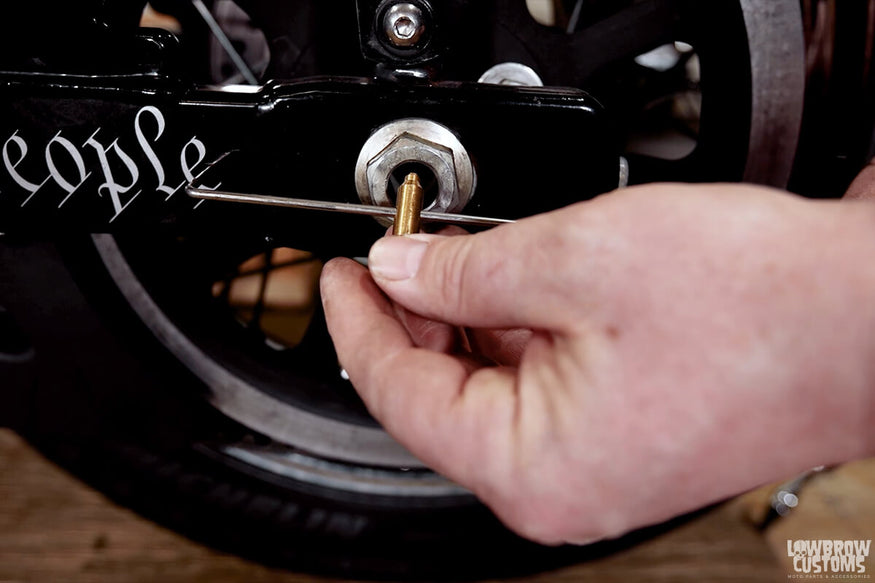 After tightening each side evenly and checking your belt tension is to the spec you need. Use a coat hanger and a zip tie or get a fancy tool on line that you can stick in your swing arm holes and measure your axle on each side. You can also use a tape measure. Measure from the hole in the swing arm to the center of the axle bolt on each side and make sure they are the same.
 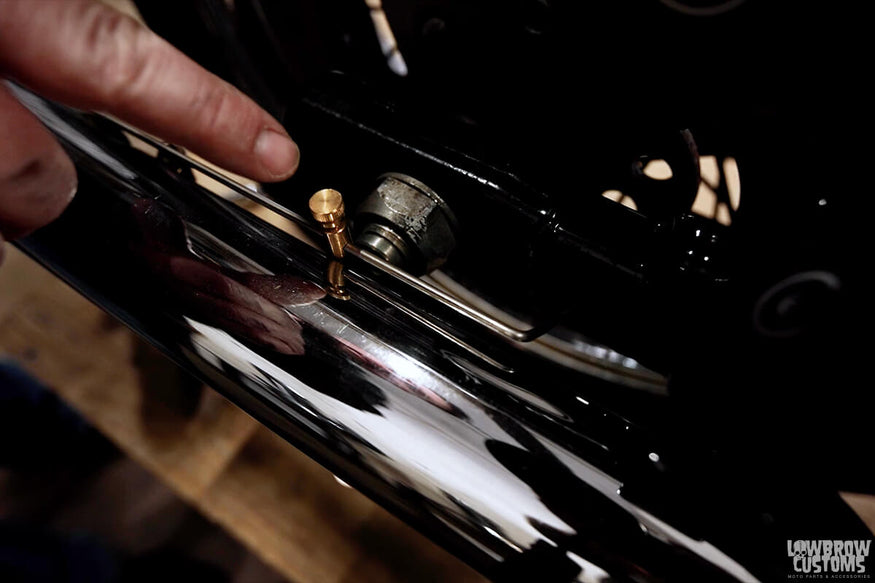 Measuring the other side with the locked in brass piece. Looks like Steve did a spot on job.
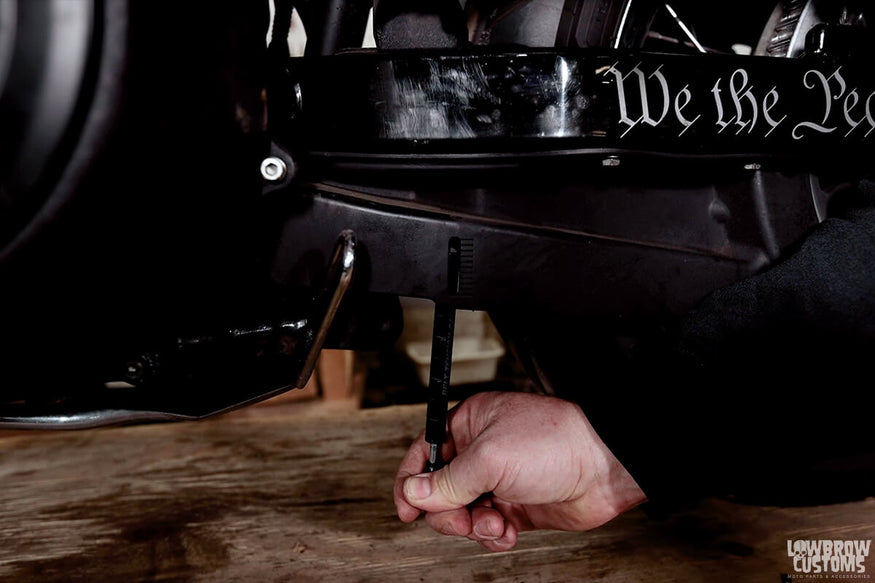 Check the deflection again if you had to adjust your alignment of your axle.
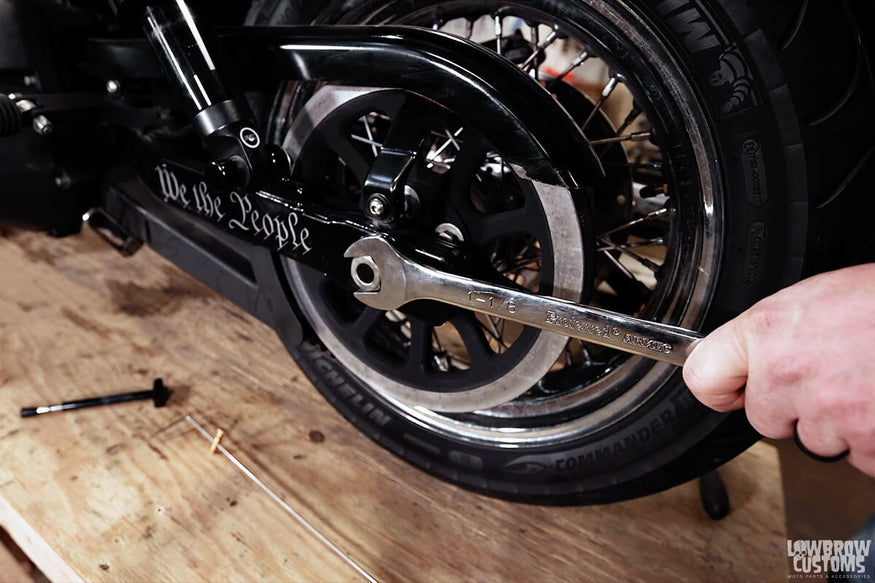 Torque down your axle nut, add on your axle clip or safety wire and you are ready to ride!
Related Products


