TABLE OF CONTENTS
- Tools for mounting a sprung solo seat:
- Step 1: Measure and mark center line on the frame
- Step 2: Grind the top & bottoms of the springs
- Step 3: Get rid of a bracket meant for a round back bone tube
- Step 4: Put all of the hardware onto the custom motorcycle seat
- Step 5: Use some strong magnets place the spring
- Step 6: Tack each side of the seat hinge mount and the spring mounts
- Step 7: Clean up your marker spots and all spots you are going to need to weld
- Step 8: Start welding the seat hinge mount and spring mounts
- Step 9: Attach your seat
WATCH THE MOUNTING A SPRUNG SOLO SEAT FULL INSTALL VIDEO
Tyler shows you how easy it is to install a Lowbrow Customs solo seat hinge / pivot bracket. The seat springs sit on seat spring mounts which are welded to the frame. This all secures the new solo seat in place.
Todd chose to roll with a Rich Phillips Solo Seat and 3" seat springs, which has just that right look for this Triumph chopper project. There are lots of ways to mount a solo seat, and many varieties of parts. Design, style and material used to make solo seat pivots, seat springs, seat spring mounts and the solo seat itself can vary. Many of our parts make installation incredibly easy. So, fire up those welders and let's get after it!
 Lowbrow Customs Weld-On Solo Seat Pivot, Spring Mounts, and Seat Springs on a Harley Ironhead Sportster chopper.
 A Lowbrow Customs Bolt-On Solo Seat Pivot for 1963-1970 Triumph motorcycles.
HOW TO MOUNT A SPRUNG SOLO SEAT
Tools for mounting a sprung solo seat:
- Square
- Straight Edge
- Measuring Tape
- Sharpie
- Grinder or Disc Sander
- File
- Magnets & Magnetic Flex Rod
- 1/2” & 9/16 open end wrench
- Welder (Tig or Mig)
- Laser eye
Step 1: Measure and mark center line on the frame
To start this job, you will want to make sure the rear wheel, rear fender and gas tank are installed on the frame so you can judge the clearance and alignment from front to back.
Measure and mark you center line on the frame where the seat hinge mount will go and also the center line on the cross bar where the spring mounts will go. Use a square to check center lines are equal.
- Measure the width of the seat hinge mounting bracket.
- Mark three lines on a ruler as you measure, end of the left side, dead center, and the end of right side of the bracket.
- Line up the middle mark on your ruler representing the dead center of the mount with your mark you made on the frame.
- Then make two marks on the left and right ends where you visualized the seat hinge mount will go.
- Using a square make straight lines down to the end of frame plate.
- Do the same step on the cross tube but with your seat pan, measure your spring studs on the seat making a mark on the ruler at the center of the left side stud, dead center and the center of the right side stud. From your dead center line on your ruler mark the left and right side measurements on the cross tube where your spring mounts would go.
Step 2: Grind the top & bottoms of the springs
Now it is time to grind the top & bottoms of the springs to make them to sit flush and bolt down straight with your seat mounts. You can use a grinder or a disc sander for this job. To make sure they are level, place them on a flat surface and you will see how they sit flat.
Step 3: Get rid of a bracket meant for a round back bone tube
The Lowbrow seat pivot comes with a bracket meant for a round back bone tube so we need to get rid of that for this bike I’m currently building. Make a straight line right at the top of the radius all the way across the bracket. Grind the arc away flat and even using a disc sander or grinder. I like to clean up all the bottom side edges of the mount to in prep for welding too.
(Note: At the time of this install, the Lowbrow Stainless Solo Seat Hinge - Bolt On wasn’t out yet, which is why Austin ground down the coped area on the standard weld-on seat hinge. If you have a plate instead of a round back bone tube on your frame, you can now use a Bolt-On Solo Seat hinge for ease.)
Step 4: Put all of the hardware onto the custom motorcycle seat
Next you will want to put all of the hardware onto the custom motorcycle seat for mock up.
Step 5: Use some strong magnets place the spring
Using some strong magnets place the spring mounts on the locations where you marked your measurements on the cross tube. Place the seat in place with pins in to see how the springs sit and the front hinge mount lines up with your measurements. Now you can step back and take a look at your seat from multiple angles.
Although you marked your center lines for reference, nothing is perfect. You can nudge the seat to the left or right to line it up visually with the frame rails and gas tank. This is where your laser eye really comes into play and it is always a good idea to have a second pair of eyes for another opinion.
Step 6: Tack each side of the seat hinge mount and the spring mounts
After all is inspected and you approve of the seat position, its time for some quick tack welds so nothing gets burn or melted. Tack each side of the seat hinge mount and the spring mounts.
Step 7: Clean up your marker spots and all spots you are going to need to weld
Disassemble the seat completely. Remove the gas tank, rear wheel and fender so you have more room to weld. Clean up your marker spots and all spots you are going to need to weld.
Step 8: Start welding the seat hinge mount and spring mounts
Now you can start welding the seat hinge mount and spring mounts. If you are Tig welding, some of the spots can be challenging to reach. Weld as much as you can and if there are a few spots you aren’t confident in doing, you can always finish welding those spots when the bike has to be taken apart and the frame needs to get prepped for powder coating and or paint.
Step 9: Attach your seat
After everything has cooled off, attach your seat and basque in all your glory! Thats all there is to it.
*Note: The small leather washers on for the spring mounts go a particular way, the smooth side goes on top.
OVERVIEW OF LOWBROW SOLO SEAT PIVOTS
Whether you have little to no experience in fabrication and welding or you are a master builder, our wide selection of Lowbrow Customs solo seat pivots and hinges make it easy for everyone to mount their favorite style solo seat onto a custom chopper or bobber project.
In this short video Amanda walks you through a handful of options we have to offer. With different styles of bolt-on and weld-on applications, our US made solo seat pivots / hinges will help you get the job done right and riding thousands of miles with even more smiles knowing you installed that seat on your own.
From Triumphs to Harley-Davidsons, rounded backbones, to flat gusseted hard tail sections, and everything in-between you will be able to take your project to the next level of awesomeness with our solo seat pivots and hinges.
WATCH AMANDA'S VIDEO OVERVIEW OF LOWBROW USA-MADE SOLO SEAT PIVOTS
Here are a few examples of Lowbrow Customs seat pivots and hinges on some choppers and bobbers.
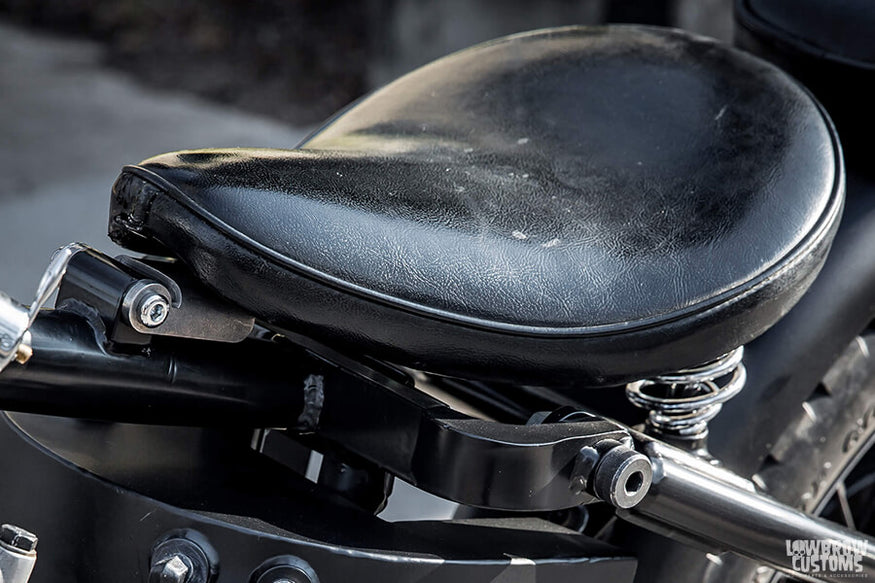
Tim Fiorucci's Ironhead using stainless steel Weld-on seat hinge / pivot.
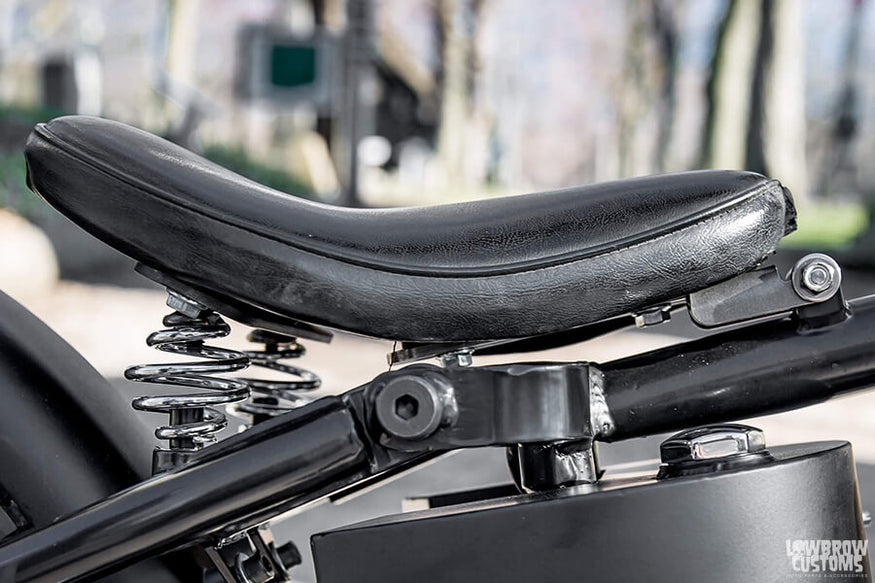
Side view of Tim Fiorucci's ironhead seat.
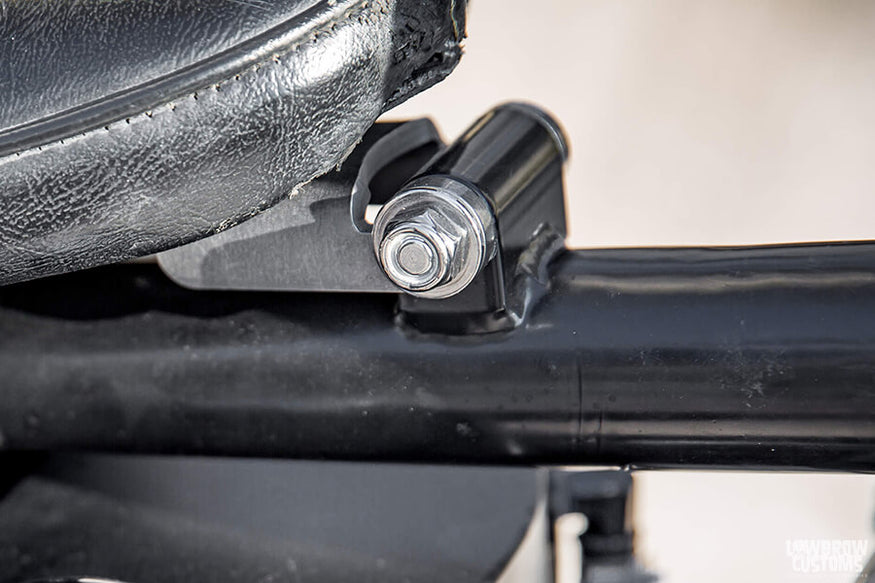
See how the hinge is welded to the center of the backbone.
 One of Todd's Triumph builds using the stainless steel 1963-70 Triumph bolt-on seat hinge / pivot.
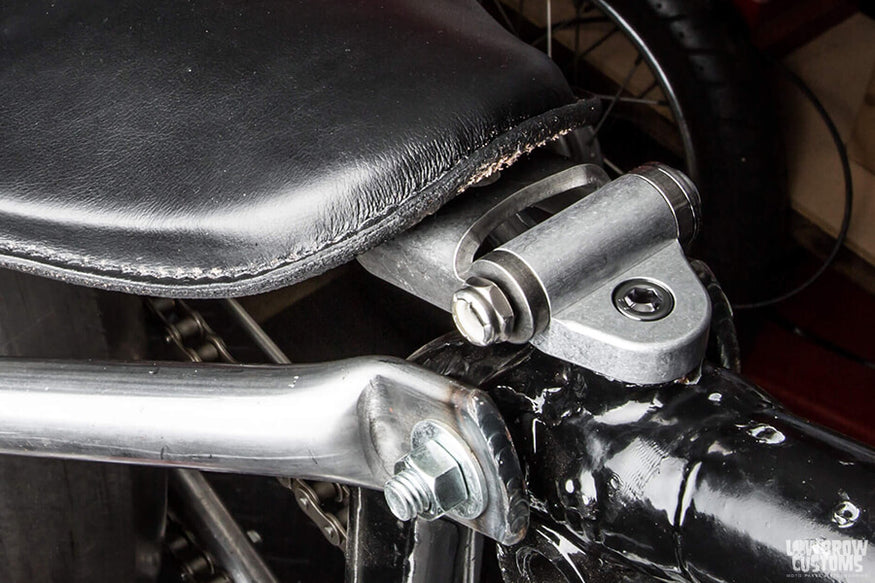
Notice close up how easy this one is to install on the down tube of the frame.
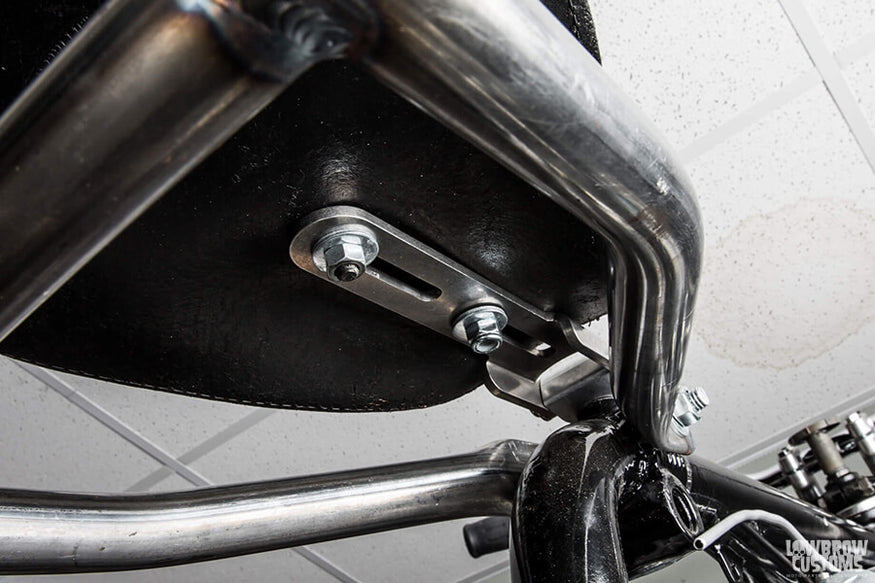
The view from underneath.
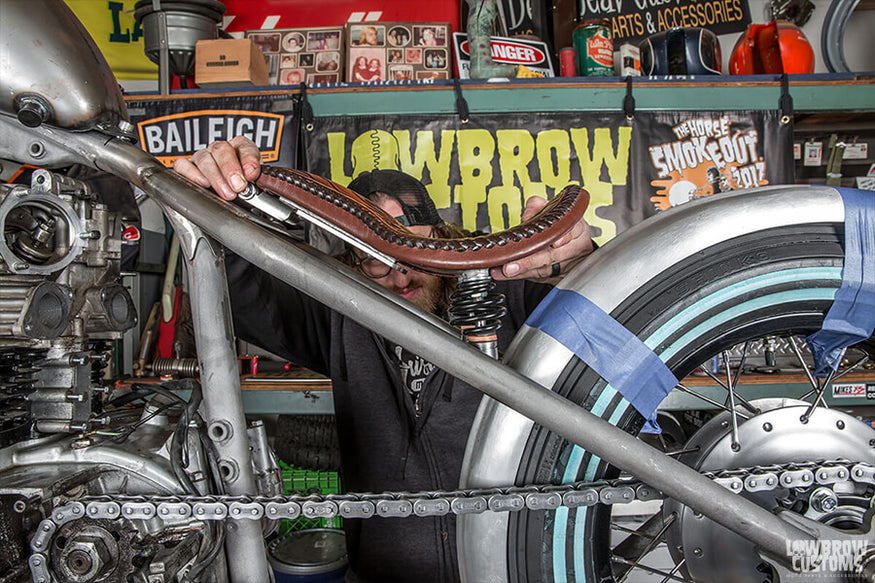
Austin Andrella using a stainless steel weld-on pivot to install this killer seat onto a Yamaha XS650.
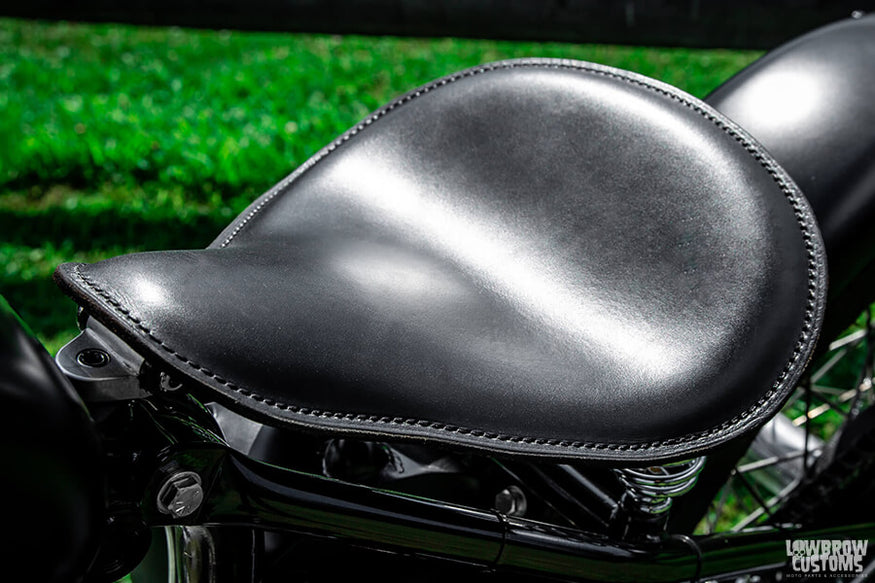
Another one of Todd's builds using the Triumph 1963-70 bolt-on seat hinge / pivot in black.
OVERVIEW OF SOLO SEAT SPRINGS
Traditional barrel-style solo seat springs come in 2 inch, 3 inch or 4 inch height. These are heavy duty springs made into two different styled finishes, chrome plated for superior corrosion resistance or black electroplated superior in durability compared to powder coating.
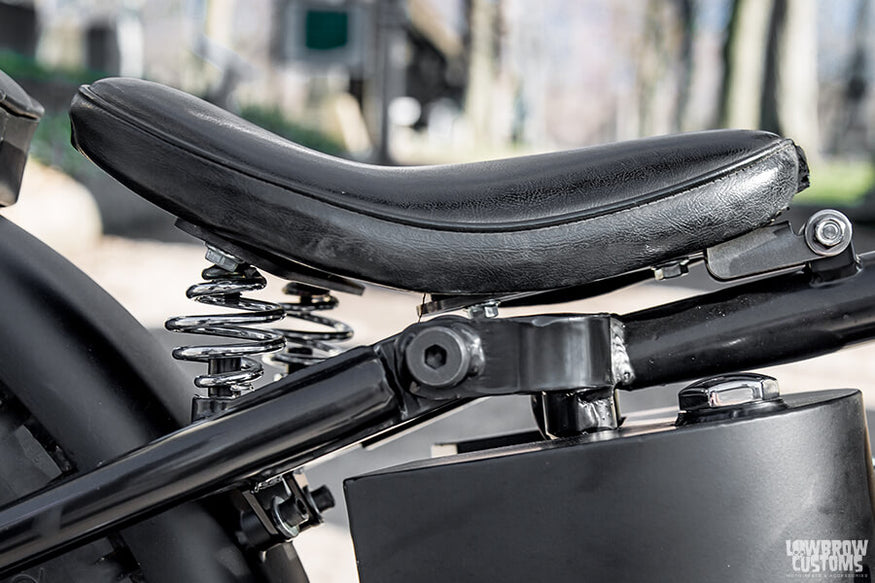
Hairpin (also known as scissor) solo seat springs come in 2 1/2 inch or 3 inch height. These are heavy duty springs made into two different styled finishes, chrome plated for superior corrosion resistance or black electroplated superior in durability compared to powder coating.
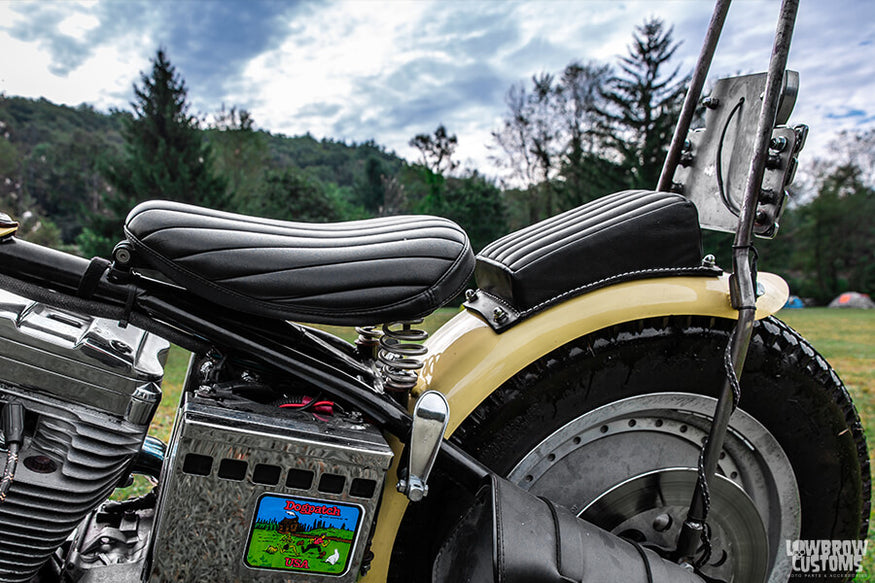
Solo seat springs support the rear of your motorcycle’s sprung solo seat, working together with a front-mounted pivot to offer suspension and comfort during your ride. Options like the 2-Inch Chrome Barrel Solo Seat Springs are ideal for reliable support and a clean, classic look. We offer a wide option of fabricator parts to mount our two different styles of springs to your custom motorcycle, chopper, or bobber project. Along with large selection of solo seats, seat pans and seat pivots to choose from.
WATCH VIDEO OVERVIEW OF SOLO SEAT SPRINGS
Related Products


