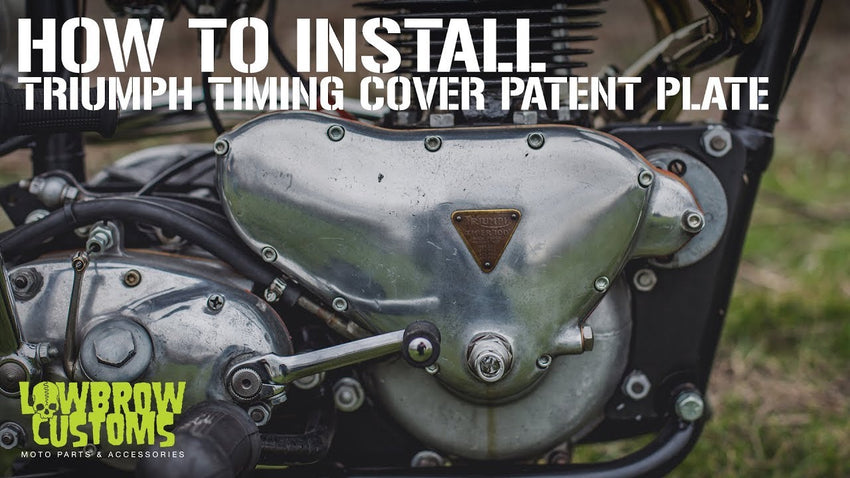
In this DIY Tech Tip, Todd shows you how to remove your old, damaged patent plate from your vintage Triumph timing cover and install a new one. A simple method that keeps your timing cover free of gouges and scratches from prying it off with a screwdriver! This works for all vintage Triumphs with patent plates, pre-unit and unit alike. Watch more indeep videos for Triumph Installation below:
- VIDEO: ENGLISH 101 - A TUNE AND SERVICE GUIDE FOR VINTAGE TRIUMPH AND BSA MOTORCYCLES
- VIDEO: HOW TO INSTALL A PAZON ELECTRONIC IGNITION ON YOUR VINTAGE TRIUMPH MOTORCYCLE
Check out the Lowbrow Customs YouTube channel to check out all of our videos. We spend a lot of time and effort creating motorcycle how-to videos, product reviews and event coverage for your enjoyment, please let us know what you think. Click here to subscribe to the Lowbrow Customs YouTube channel and stay in the know!
You can read a full transcription of this video below:
Hi I'm Todd from Lowbrow Customs. Today we're going to show you how to change the patent plate on your Triumph 650cc timing cover. Here's what your patent plate will look like when it comes to you in the mail. I also have the patent plates available in a brass colored finish. If you're accenting your bikes with some brass things, you might want to consider the brass, versus the traditional one. One important fact to note is that, the three little screws that- They're not really screws, they're more like a rivet, they are fluted. First thing you want to do is with a thin bladed screwdriver. You want to get underneath the patent plate, carefully, and that one just popped right off the rivet.
So now what you want to do is you want to grab a pair of pliers, and physically just tear the whole plate right off, leaving the rivets in the cover. It doesn't hurt to clean it a little bit. Now, once you've got the plate torn off the cover, you'll want to use a pair of pliers that have a real flat end and that are going to have some grip at the very end. Then you're just going to grab onto that, the rivet, give it a pull, and a turn. They'll come right out because they are fluted. Repeat that three times. This one looks like she's ready to come out. There you go. One more to go, and there you go. All three rivets removed from the cover.
Now would be a good opportunity to buff this out. This can also be done on the motor. You don't have to have the cover off of your motor to do this, but I'm going to take this opportunity to buff this cover out, make it nice and shiny before we put the new plate on. Okay, got her cleaned up last night. Took it home, put a little polish to her. First thing I like to do when reinstalling these is since the cover is a little rounded, it's not flat and the new tag is flat, I like to put a little bend on it very carefully. Just give it a little curvature so that when you apply it to the cover, it'll sit nice and flat on there.
What I like to do next is start all three of the little rivets in there, in the holes. Not putting one in all the way and then going to the next one, that will help make sure they're all correctly aligned. Okay, looks like that. Now I'm going to use one of my favorite punches Evolution Rocker Shaft. Just give it a nice little- and there you go, patent plate installed. All right, since we put a new patent plate on our timing cover, might want to consider replacing your points cover. I know most of the motors I rebuild. This is going to be the stock cover that we offer. Pretty inexpensive, made in UK, chrome plated. I'll give you that nice stock appearance.
We also have some different aftermarket timing or points covers. This is a reproduction of the Webco style cover. A little bit more money than the stock one, but if you're got going for that custom look. Then we have a few other different ones. I just grabbed another one. This is made by Fork Co. Japan. That one's kind of cool, it says 'Electric' on it, polished aluminum. It goes very nicely with the polished cover. Beep, beep, that's all folks.
Related Products


