TABLE OF CONTENTS
In this video, Tim from Fiorucci Fabrications gives you an in depth tutorial on how to perform fuel tank pressure testing and how to fix a gas tank leak on one of Todd's old Triumph gas tanks. He gives you great tips and tricks on how to do this test easily and even walks you through how to weld up and fix any pin holes or cracks you may find a long the way. These procedures are the same for any types of gas tanks new or old.
Watch Our Video On How To Test & Fix A Leaking Motorcycle Gas Tank
Why should you pressure test old motorcycle gas tanks, as well as new ones for that matter, before painting them? The answer is simple: pressure testing a gas tank is cheap insurance on making sure that fancy new paint job doesn't get ruined by some tiny pin hole or gas leak.
By checking to make sure you have no leaks, pin holes, or cracks in any of the welds or seams of your gas tank, you are taking the risk factor out and guaranteeing your paint will last a long time and not be destroyed. Gasoline eats paint, it's a known fact. Don't skip this step when prepping your bike for paint, you will thank us!
This process is also necessary on newly fabricated gas tanks and motorcycle oil tanks, or any vessel that will hold fluid. Those welds may look perfect, but pinhole that isn't visible with the naked eye will cause you a lot of grief once that tank has gas or oil in it. Taking the time to pressure test before you paint or plate is well worth the effort, and repairing any found pinholes only takes minutes.
Subscribe to the Lowbrow Customs YouTube channel to check out all of our videos. We spend a lot of time and effort creating motorcycle how-to videos, product reviews and event coverage for your enjoyment. You can also visit our Blog for more awesome how-to videos and guides like this! Please let us know what you think and leave a comment at the bottom of this post.
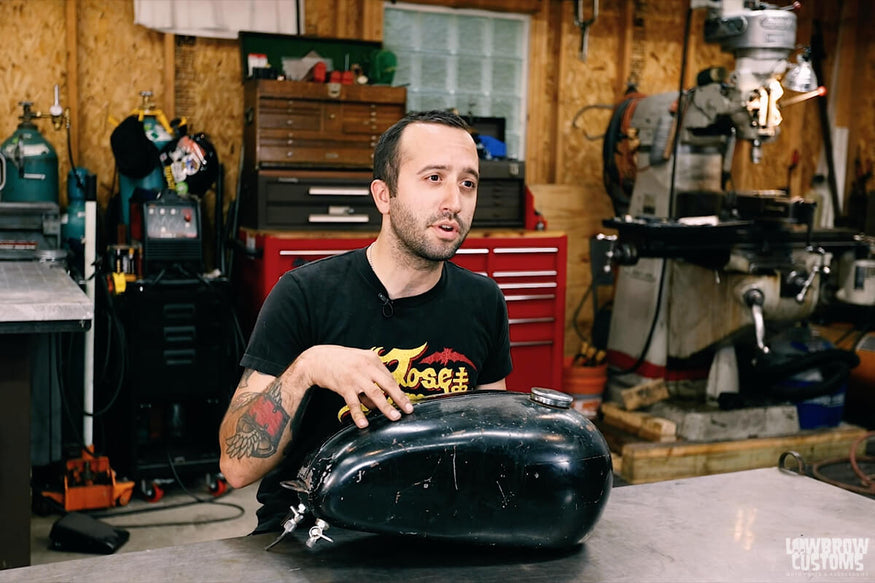
Here is a step-by-step how-to on the pressure testing procedure and sealing a gas tank leak.
1. Drain the Gas and Gasoline Fumes from Your Tank
Purge your gas tank of gasoline fumes if you are using a swap meet find or an old gas tank of your own. This goes for any tank that has held gasoline, even if it was years ago. Skip this step and go to number 2 if you're testing a new gas tank.
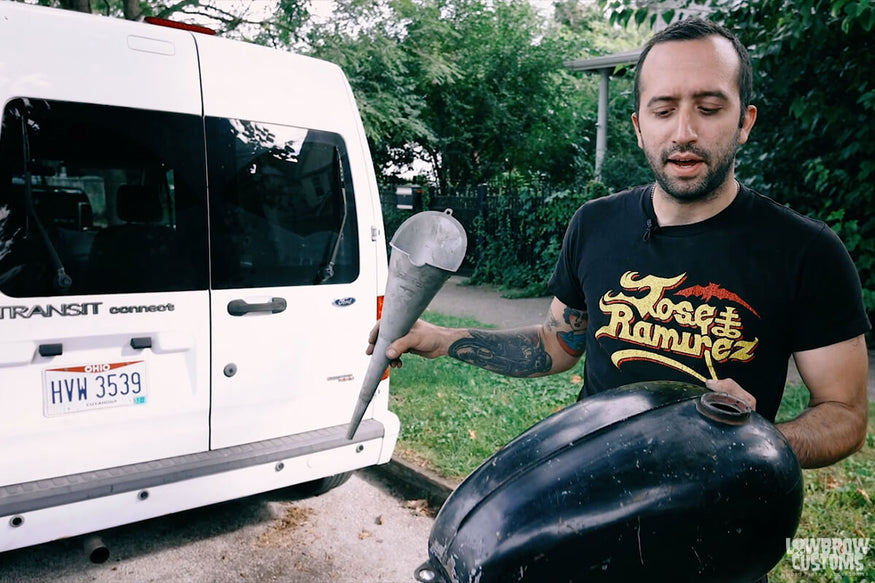 Tim with a funnel, gas tank, and transit connect
Use your car and an old funnel to get rid of any gasoline fumes that maybe lingering in your old gas tank.
 Big side of the funnel out, obviously!
Put the small side of the funnel into the gas filler hole of the tank and set the larger end of the funnel onto the exhaust pipe of your car.
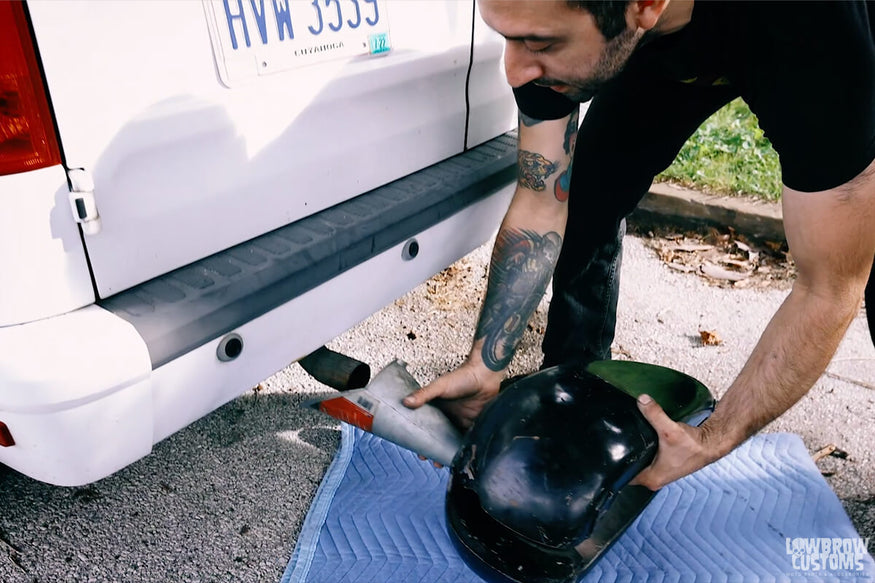 Big side of the funnel goes on the exhaust pipe!
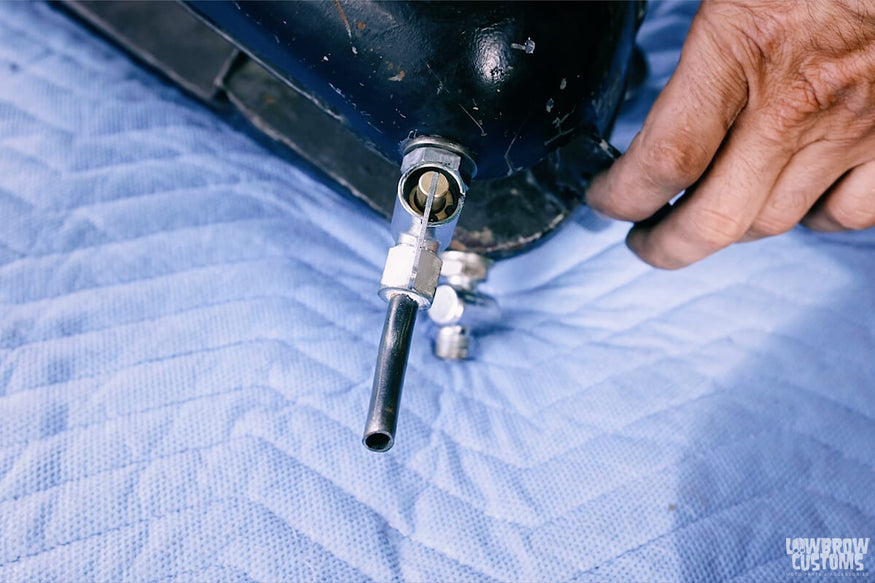 Make sure your petcock or petcocks are open
Open the petcock (both if there are more than one) to allow for all of the gasoline fumes flow out of them.
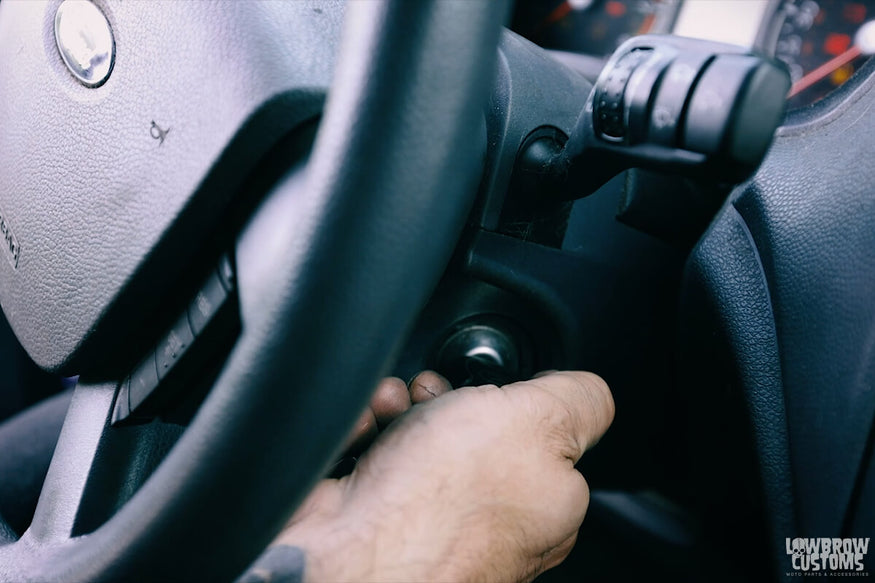 Let'r rip tater chip!
Start your car and let it run for 30 mins, set a timer and go have some fun.
 Fancy phone, fancy timer.
After you take your tank back inside there is one more thing you can do to make sure you don't blow yourself and tank up. Wearing face protection light a torch and stick it down the filler. If theres any gas residual fumes left over it will shoot a small flame out the holes so be careful!
 Making extra sure there are no old fumes in there before welding!
2. Pressure Testing A Fuel Tank
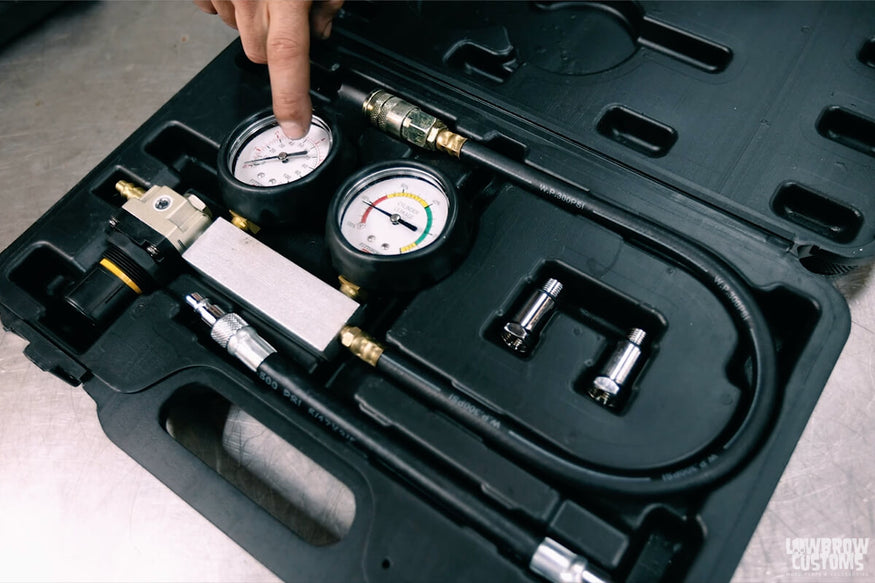 Cylinder leak down tester
What tools are needed for a leak down test? Get your self a cylinder leak down tester from your local auto parts store. You will also need a spare piece of hose and some fittings to make an adapter kit that will allow you to connect the hose and fitting to the leak down tester
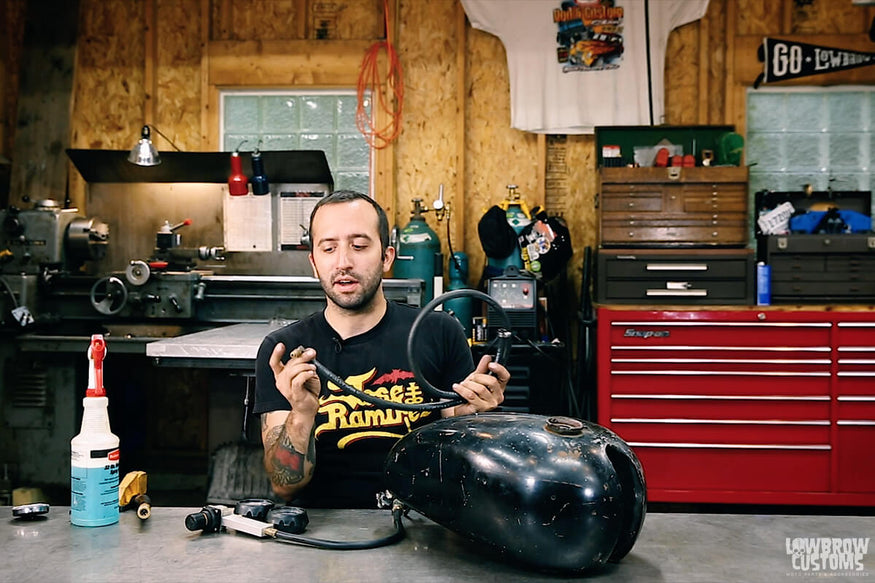 You will need an extra bit of hose and some adapters to hook the tank up to the leak down tester.
Connect the hose up to your petcock and keep the petcock open. If you have a second petcock, close it so it helps keep pressure in the tank.
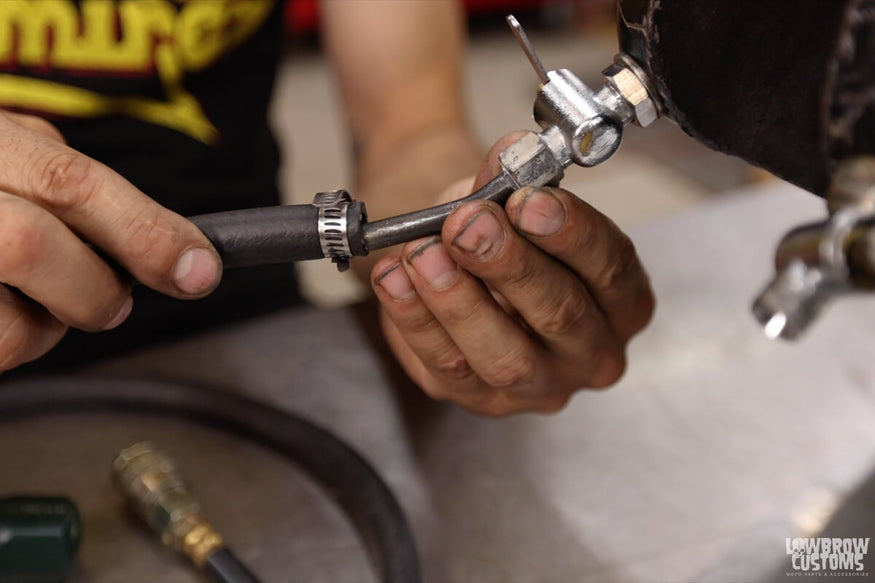 Make sure when connecting the hose to the petcock that your petcock is open. If you have a second petcock be sure to close the one not connected to the leak down tester.
Connect the other side of the hose to the leak down tester and the leak down tester to an air compressor.
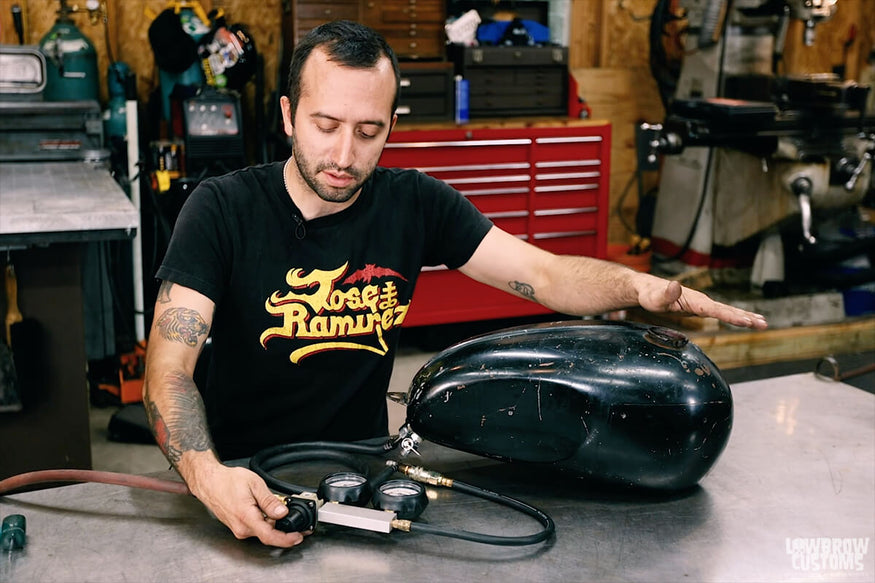 Use your hand to determine if you have too much air going through the tank.
Slowly let air into the gas tank and put your hand over the filler hole, if you can't hold your hand on it easily and are fighting to keep it on you are putting to much air into the tank. Regulate it down more till your hand can sit on the filler but still feel pressure.
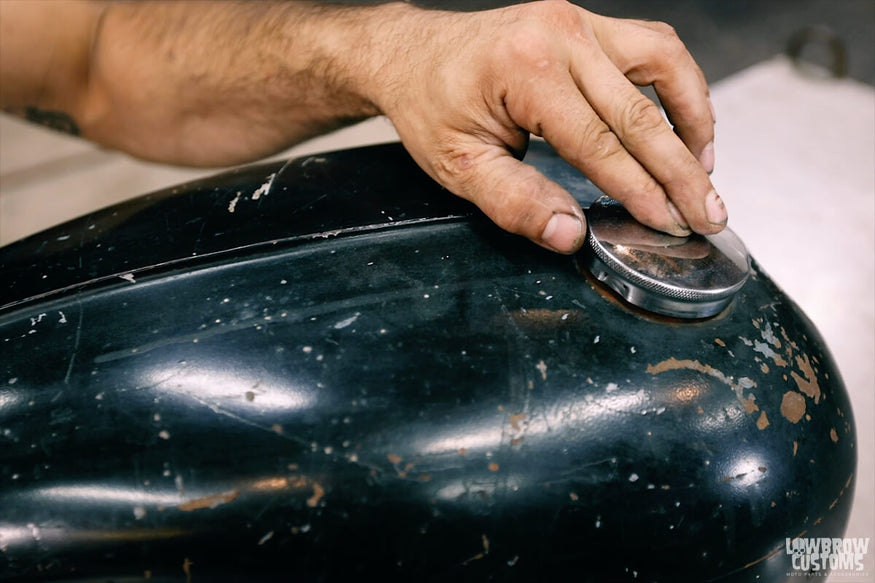 You can put your finger over the vent hole of the gas cap to build pressure in the gas tank.
3. The Check For Gas Leaks Using Soap Water Leak Test
If you have a vented cap put that on your tank and then you can cover the vent hole with your finger.
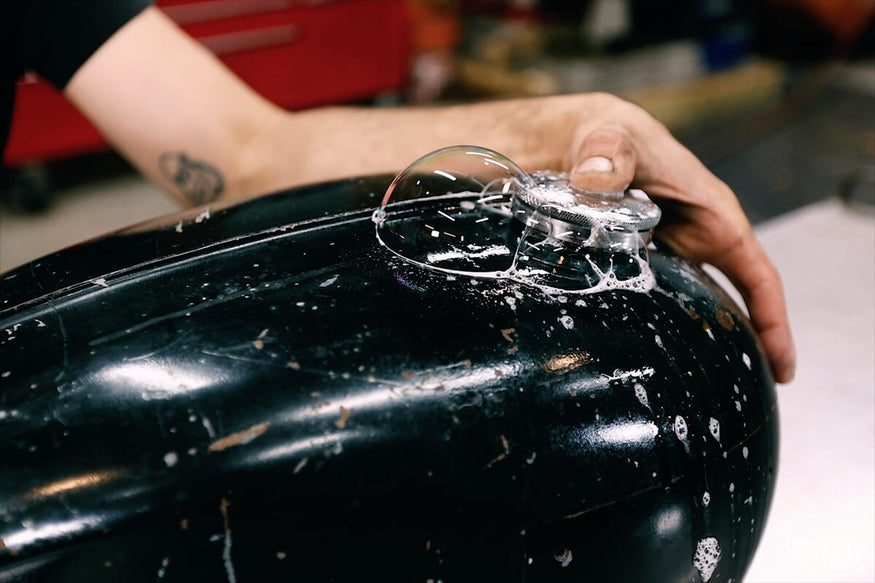 Spraying soapy water by the gas cap and seeing bubbles is common because the gas cap is vented and you will have air leaks there. This is a good way to determine you have enough air going in as well.
Spray soapy water toward the gas cap to see if it gives you any bubbles, It should do so because the cap being vented should leak a little and cause bubbles if the pressure is set right.
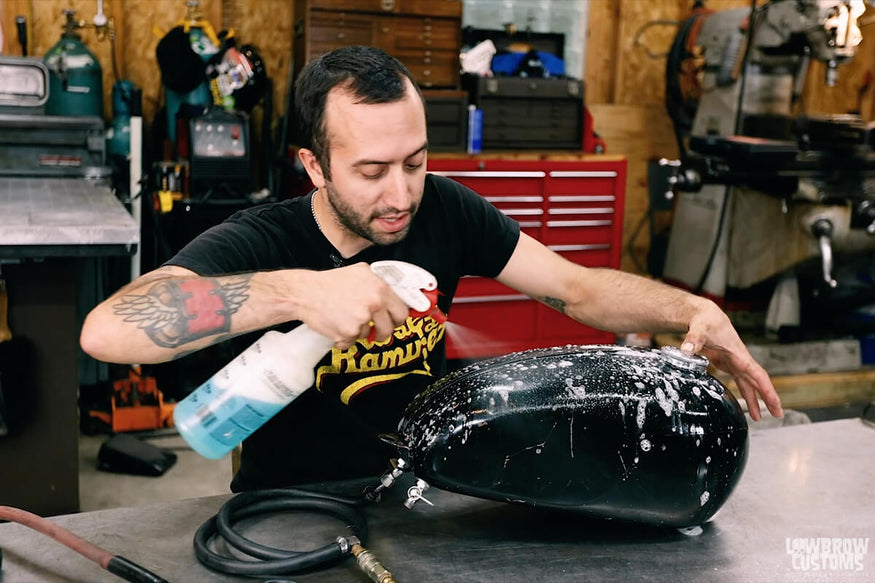 Spray the hell out of it!
Spray soapy water all over the gas tank and inspect any weld seems, fittings, or other mounts welded to the gas tank directly. These spots are the most common places to find leaks.
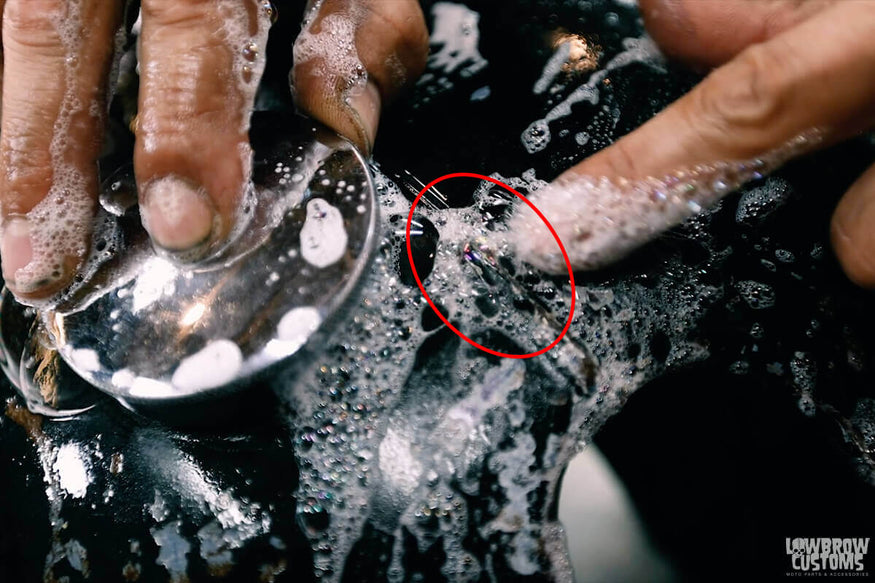 We found a pin hole leak! The bubbles kept coming up on this center seam when we moved them away.
If you have a leak you will find bubbles growing in an area, swipe them away and see where the come back. Note where your pin hole, crack, or bad area is and continue searching for more.
4. Clean the Crack and Surround Area (that's what she said)
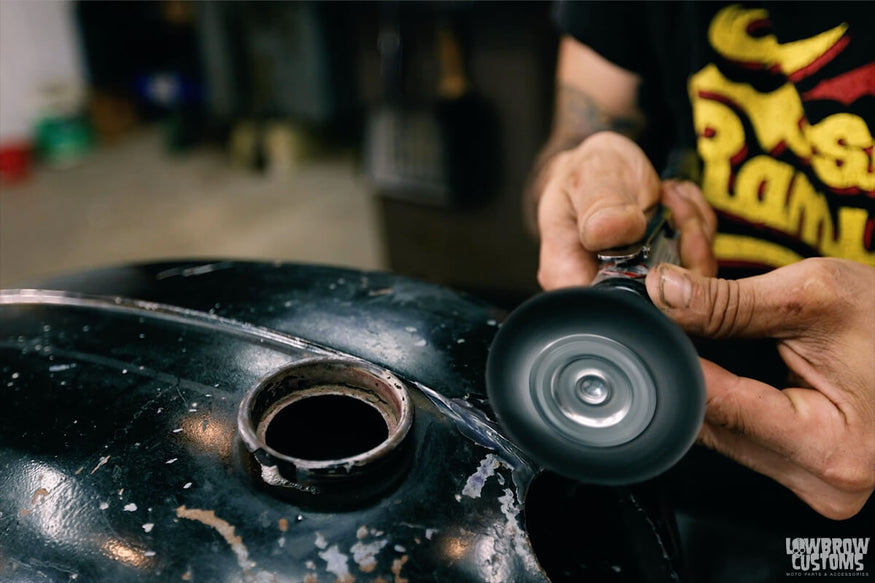 Use an air grinder with a wire brush.
After you determined where you have leaks, wipe off all the soapy water from the tank and clean up / prep the areas that need fixed using an air grinder with a wire brush or steel wool, you only want remove paint from the area, not any of the metal. Its good practice to clean a larger area in case the crack or whole is larger then you can see, it may run on you when welding.
5. Weld Your Gas Tank To Fix The Leak
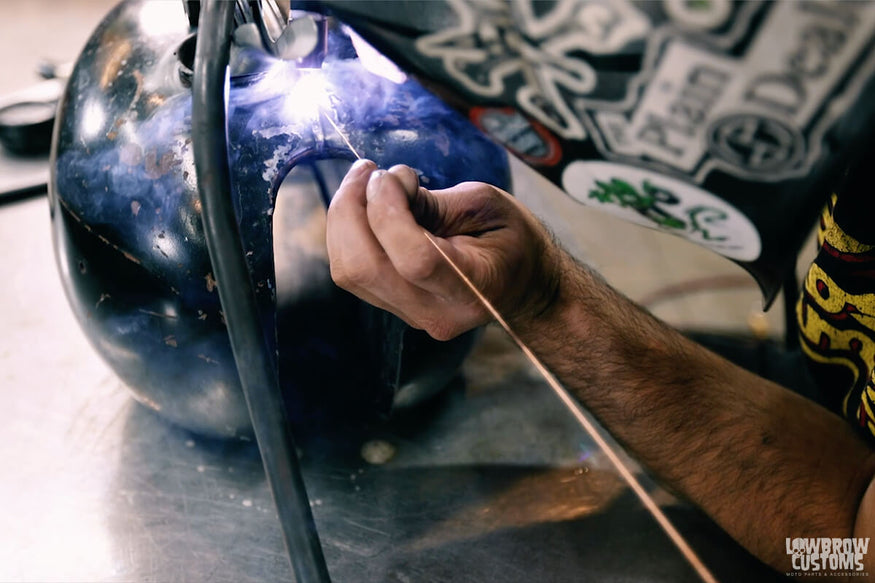 TIG or MIG weld it up, don't braze it!
Weld your pin hole or crack up using a tig welder and filler. Do not braze!
6. Pressure Test Your Fuel Tank, Again
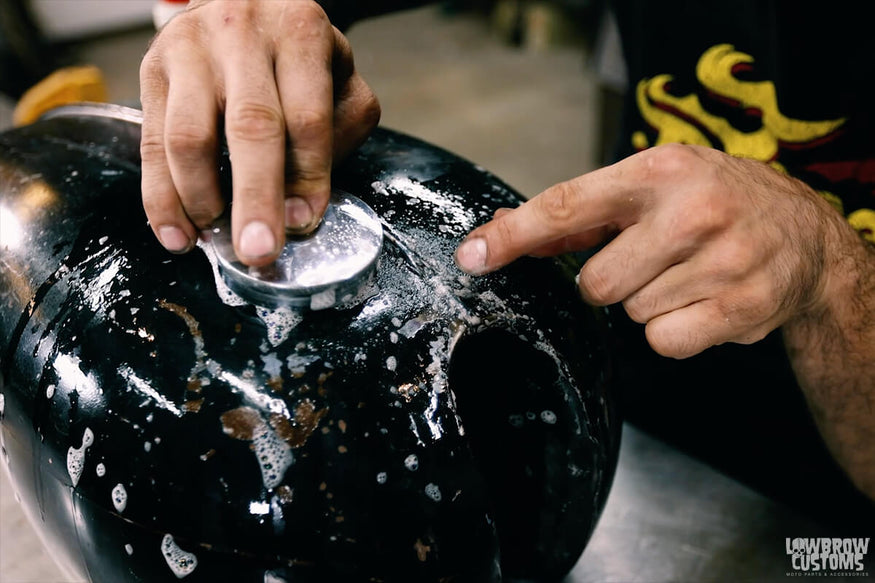 Sprayed more soap in the fixed area with the lead down tester hooked up again. the gathering of bubbles has disappeared, problem solved!
Hook your leak down tester back up and re pressure test your tank. Inspect the areas you fixed to see if you welded it up or if it walked on you and you need to fix some areas. This could be a back and forth process but again necessary and will save you from costly paint mishaps in the future.
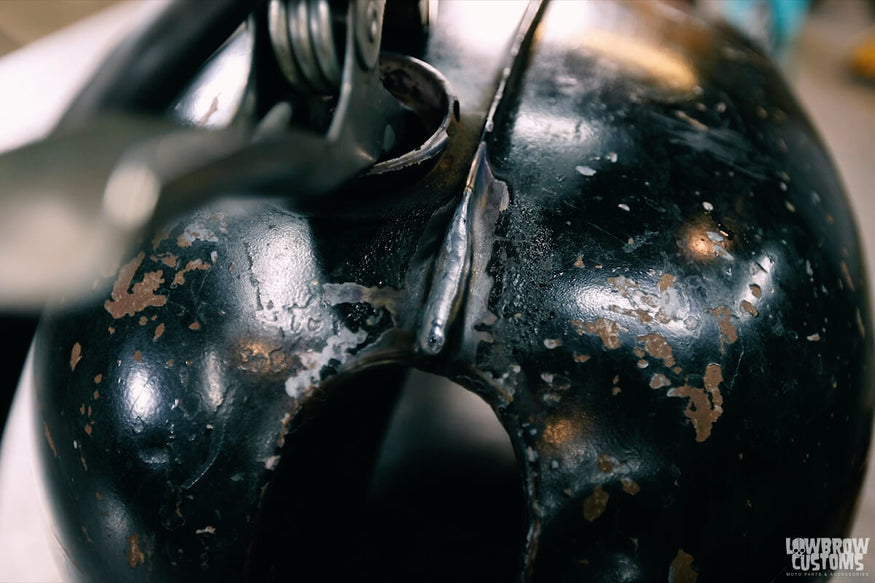 Tim put a nice weld on that center seam to fix it right up.
Is the leak gone? Looks good! We are all done with the fuel tank pressure testing procedure and fixing a hole in a gas tank. Now you are ready for that killer paint job!
Related Products


