We know brake lines can seem intimidating and scary, it's literally the one and only thing that helps you stop and you definitely don't wanna screw that up. Well with the Goodridge line of Brake Lines, Brake Fittings and Banjo bolts, replacing brake lines and making custom brake lines for your motorcycle could never be easier. There's not much to it either and couldn't be simpler.
After taking a few measurements, determining your fitting bends needed, banjo bolt sizes and fastening everything together properly, all you have to do is bleed your brake line and it's all set. No need for thread tape or specialties tools this Goodridge system is plug and play!
WATCH OUR VIDEO ON HOW TO MAKE CUSTOM BRAKE LINES FOR MOTORCYCLES
In this Lowbrow how-to video, Todd walks you through some of the different options available from the Goodridge line. He also shows you step-by-step how to put a front brake line on a 2003 Harley-Davidson Sportster and how easy it really is.
Subscribe to the Lowbrow Customs YouTube channel to check out all of our videos. We spend a lot of time and effort creating motorcycle how-to videos, product reviews and event coverage for your enjoyment.
You can also visit our Blog for more awesome how-to videos and guides like this! Please let us know what you think and leave a comment at the bottom of this post.
Step 1: Determine the Brake Line Routing With a Wire
Determine the fittings and banjo bolt sizes you will need for the master cylinder and caliper.
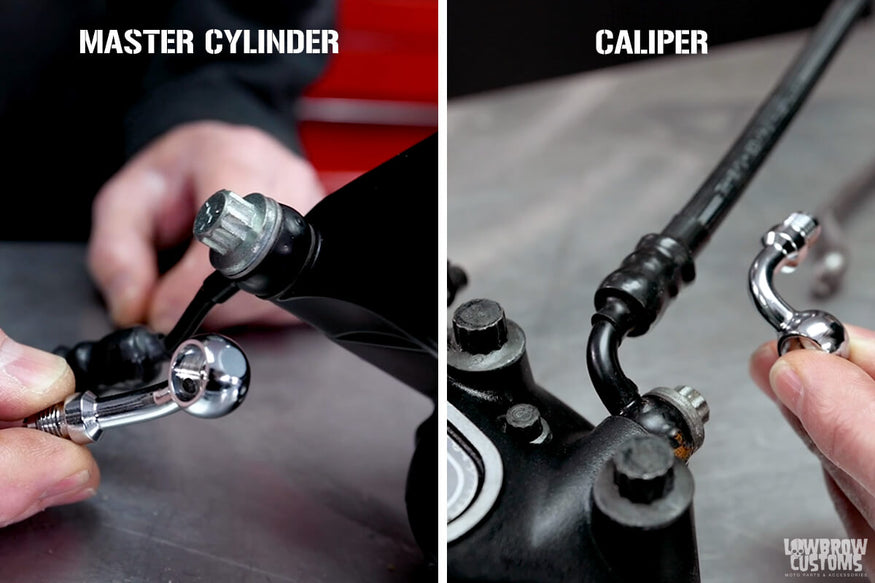 This is for a 2003 Sportster. The master cylinder on the left takes a 20 degree 7/16" banjo fitting and the caliper on the right takes a 90 degree 3/8"/10mm banjo fitting.
Using a piece of wire or thin rope, route the wire in the fashion of how you will be routing the brake line. Then, while holding the end of the wire, lay it out on a workbench and measure the length with a tape measure.
NOTE: If you are doing a front brake line be sure to leave enough length for the handlebars to turn left and right freely with no tension.
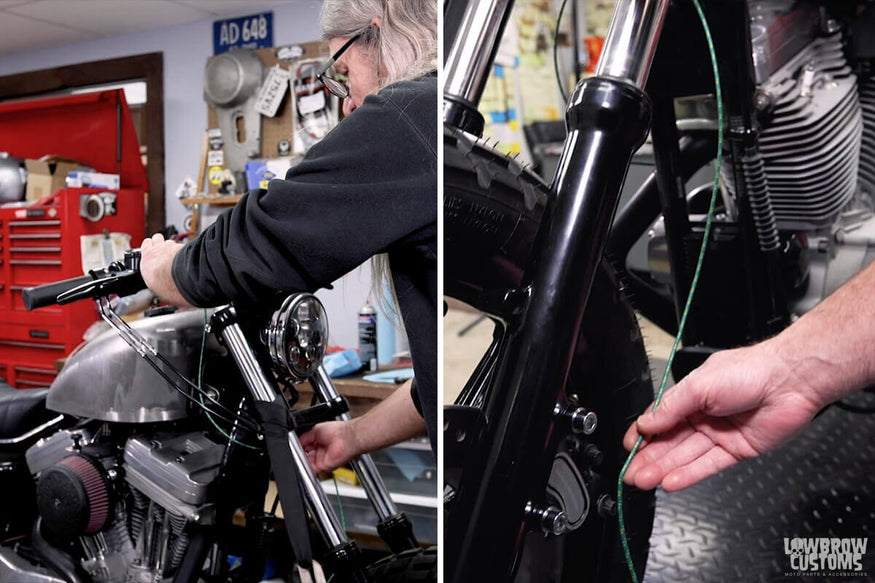 Todd taking an old cloth wire laying around the shop and routing it along the bike how he feels the brake line would look best. Routing from the master cylinder mounted on the handlebars to the caliper on the bottom legs.
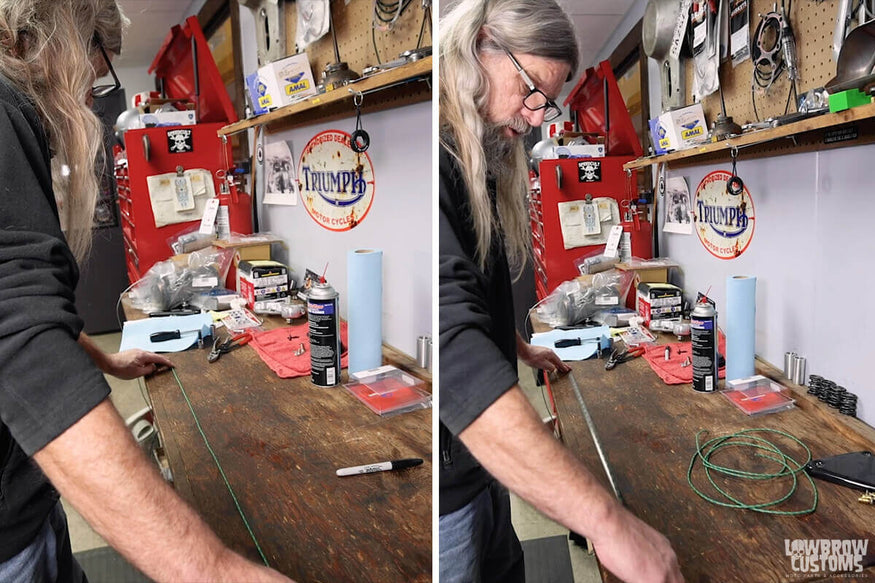 After pinching the line at the desired length, Todd took it to the workbench and laid it flat. He then marked each end on the surface and then used a tape measure to determine the length of brake line he will need.
Step 2: Start to Replace Brake Line From The Master Cylinder
Install your fittings on the motorcycle master cylinder and caliper, be sure there is a sealing washer on each side of the fitting. The order it should go in, Banjo bolt, sealing washer, fitting, sealing washer, caliper or master cylinder.
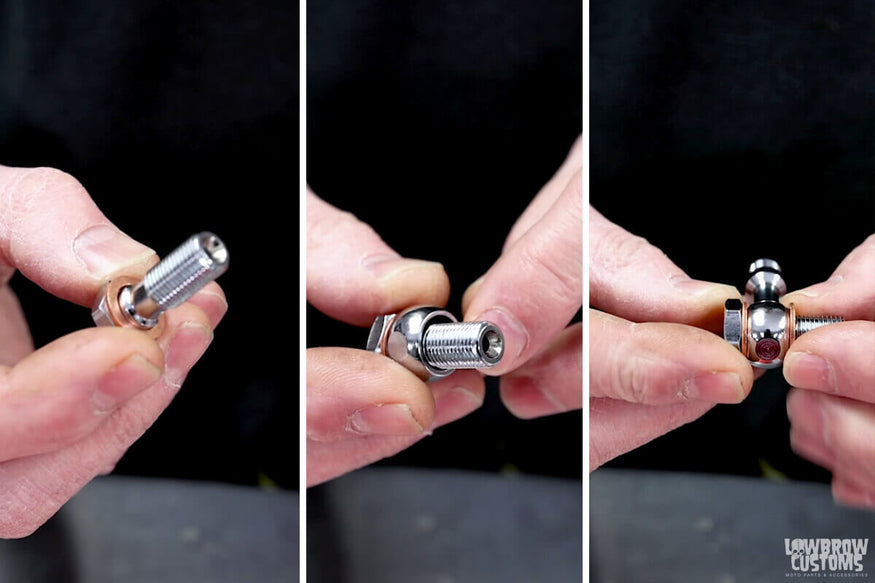 Example of how to install the banjo bolt into a banjo fitting correctly.
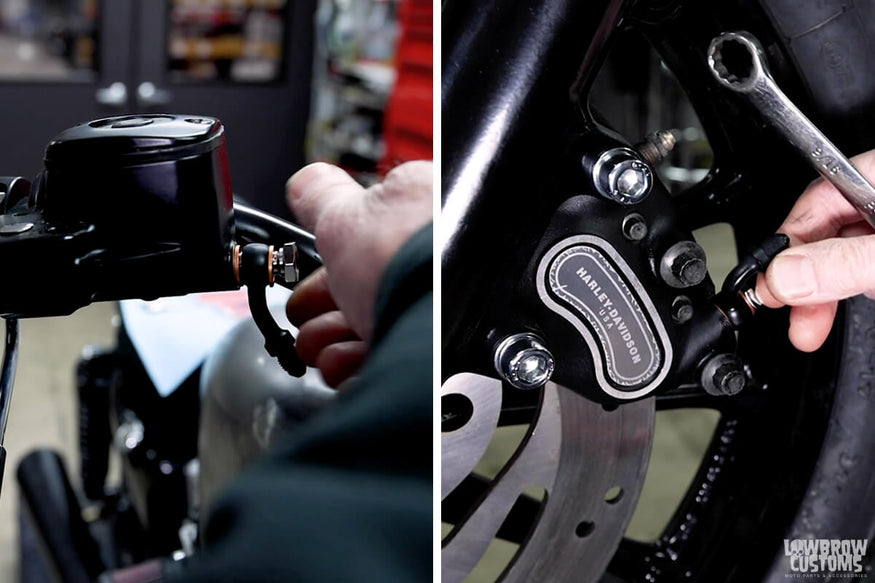 Installing 20 degree banjo fitting on the left and and the 90 degree banjo fitting on the right.
Step 3: Install the Brake Line to the Fitting
Install your brake line to each fitting. Make sure everything is tightened accordingly and run the way you want. Reuse stock mounts or find a way to mount each line so it is not in the way of getting snagged or pinched.
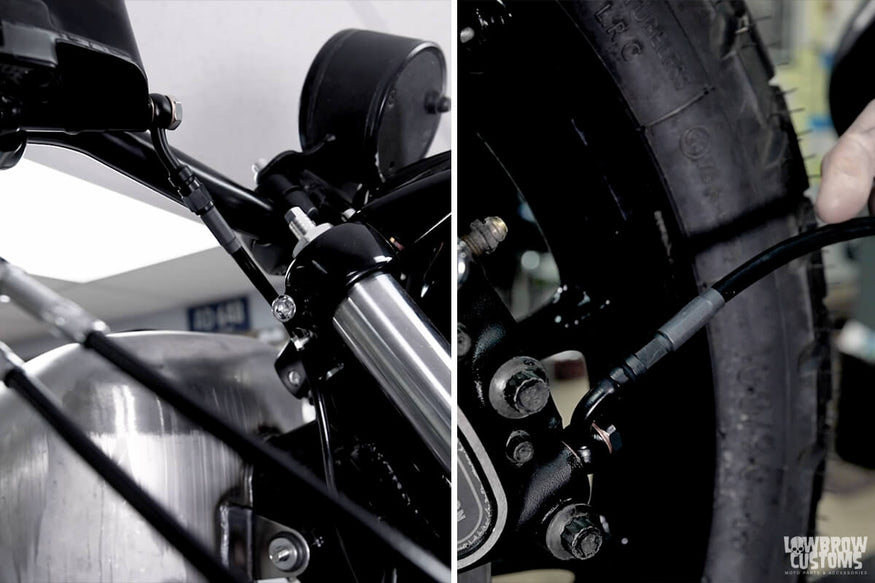 Installing brake lines is easy, just screw them on to the banjo fitting ends and tighten.
Step 4: Fast-Fill Up Master Cylinder and Your Bike Is Ready
Fill up the master cylinder with the correct brake fluid required by the recommendations of your motorcycle. Note that there are DOT 3, DOT 4 and DOT 5 brake fluids, and you should not mix them!
Bleed the brake line using a brake bleeder. Check for any leaks, test that the brake works and GO FOR A RIDE!
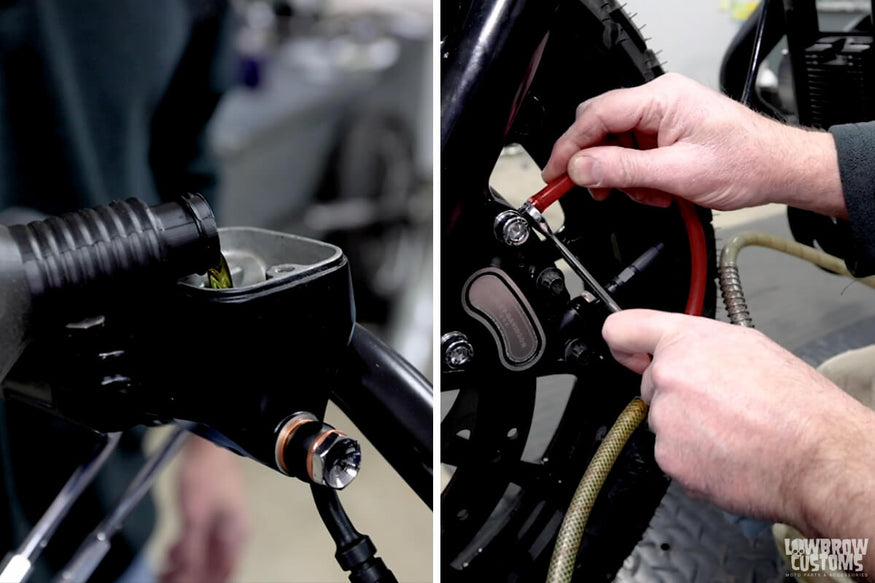 This 2003 sportster takes DOT 5 brake fluid. Do not mix different brake fluids use what your bike recommends. Todd used an air bleeder to help bleed the brakes.
NOTE: After doing any work on your brakes, be sure to always test that they work properly and that the bike wheel stops properly before going for a ride. You can jack the bike up and spin the wheel, apply brakes to see if it stops. If on the ground, just push the bike and hit the brakes to ensure that it fully stops and that the motorcycle brake lever or pedal feels firm.
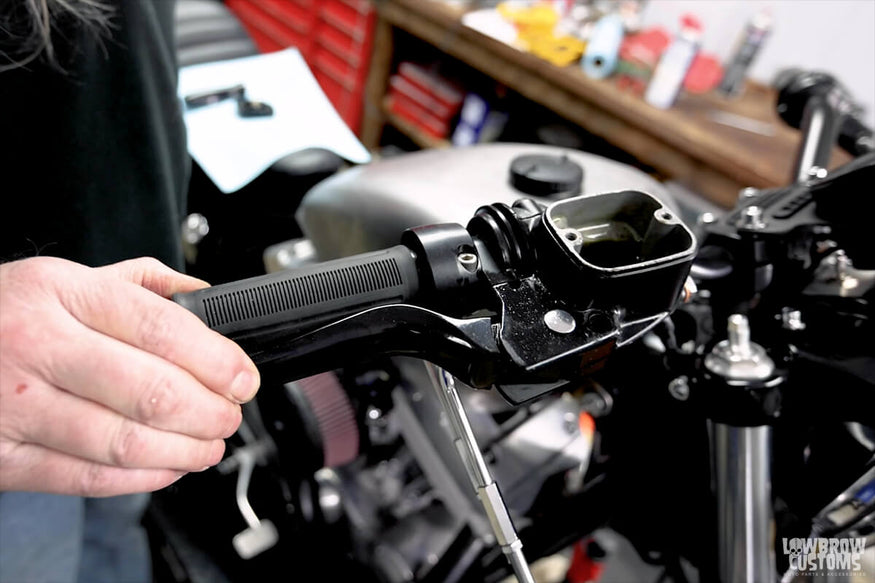 After brakes are bled you will feel the brake lever harden. Make sure brake fluid is filled before putting the cover back on. Be sure to test the brakes before going for a ride.
Tips and Safety Precautions
- Always follow your motorcycle manufacturer's guidelines and recommendations when customizing your brake lines.
- If you're not confident in your abilities, it's a good idea to seek professional assistance or advice.
- Be meticulous with measurements and fittings to ensure a secure and safe installation.
- Regularly inspect your custom brake lines for wear and tear, and replace them if necessary.
Crafting custom brake lines for your motorcycle can be a rewarding DIY project that enhances both the aesthetics and performance of your bike. By following this comprehensive guide and taking the necessary safety precautions, you'll be well on your way to enjoying the benefits of personalized brake lines that match your unique riding style.
Whether you're a weekend cruiser or a dedicated track enthusiast, custom brake lines can make a world of difference in your riding experience. So, roll up your sleeves and start customizing your brakes for a safer, more stylish ride.
Related Products


