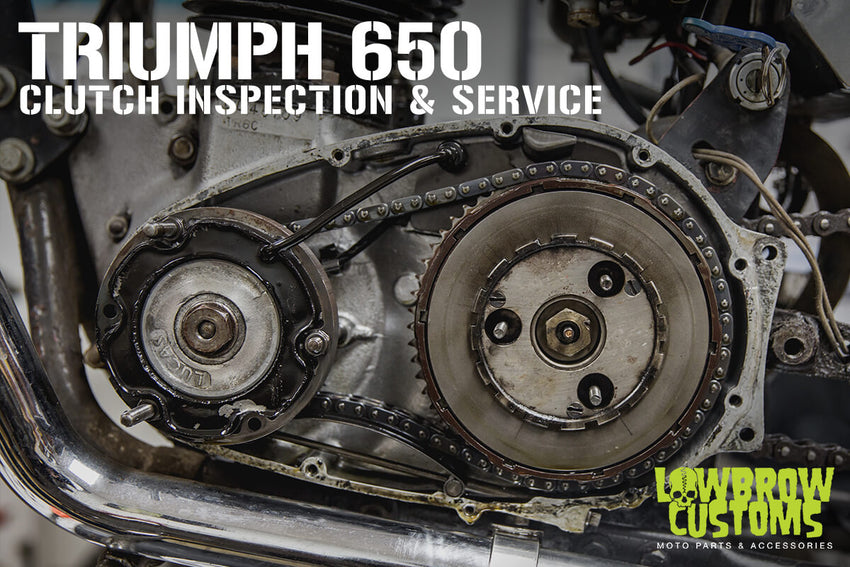
So, you just dragged home a that crusty Triumph or Harley from some craigslist ad and you get her running. As you set out for your maiden voyage and you pull the clutch lever in, nothing happens and the bike dies. The likely answer to your problem is your clutch plates are stuck together from sitting in some Joe Schmo’s garage the past 10 plus years. Todd purchased a pretty raw 1970 Triumph 650 chopper at our last swap & meet and low and behold that same scenario happened to him. So we are going to walk you through on what to inspect and replace under that primary cover “to make her ride like the wind”.
First order of business you have to see what evil lurks underneath the primary cover by actually removing it. It is easiest on this bike to simply remove the rear motor mount plate and leave the brake pedal and peg attached to gain access for removal of the primary cover. It is held by two bolts to the motor and one nut to the frame.
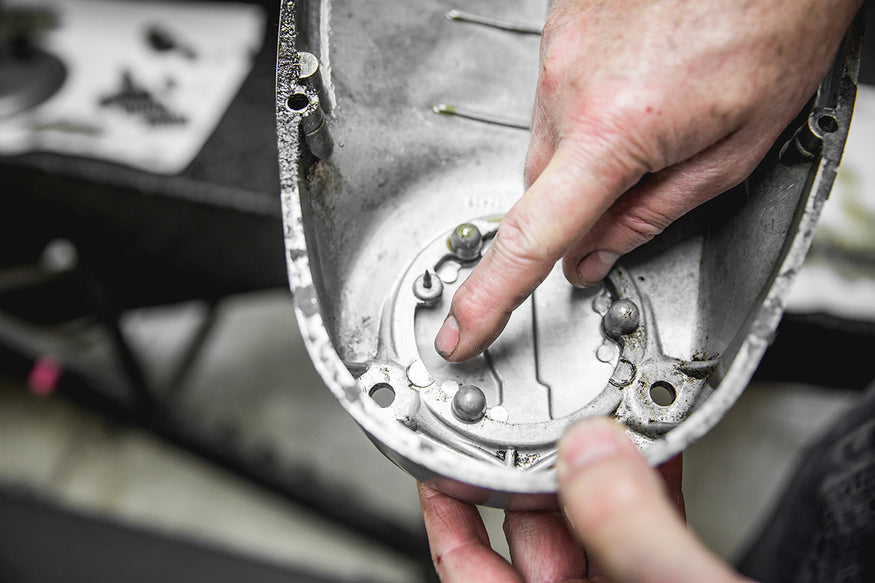
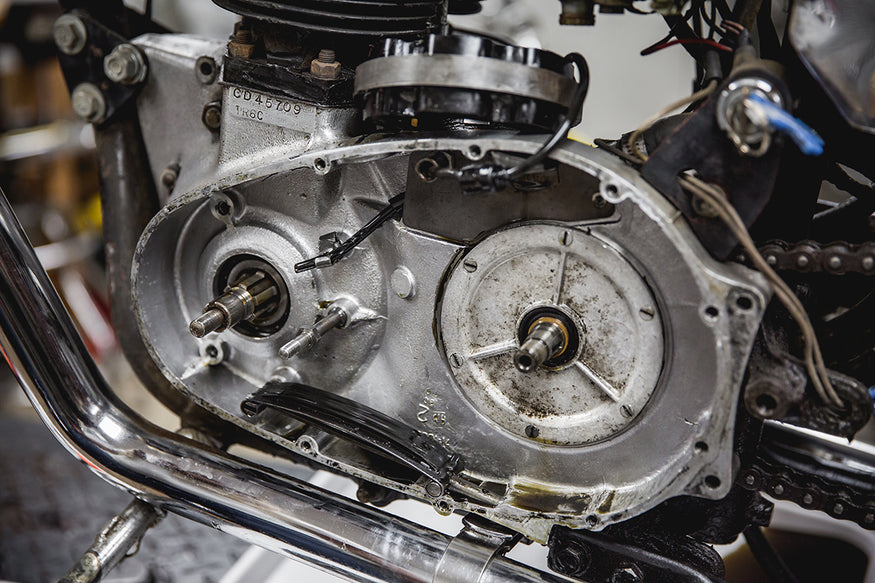
Check your primary cover on the inside
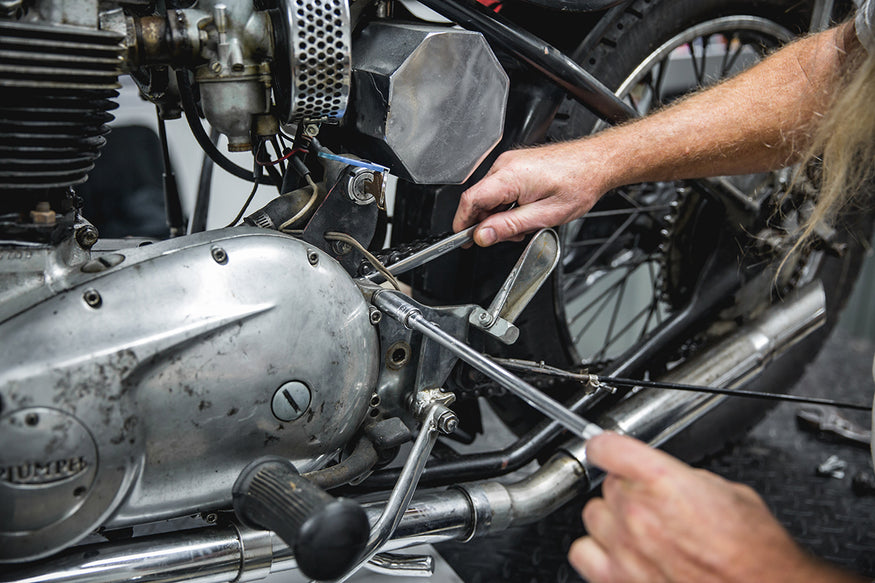
Now that we have the rear motor mount plate off, remove that pesky cover. Todd chose to put a drip pan underneath the bike instead of draining it because you are going to have to clean it up anyway.
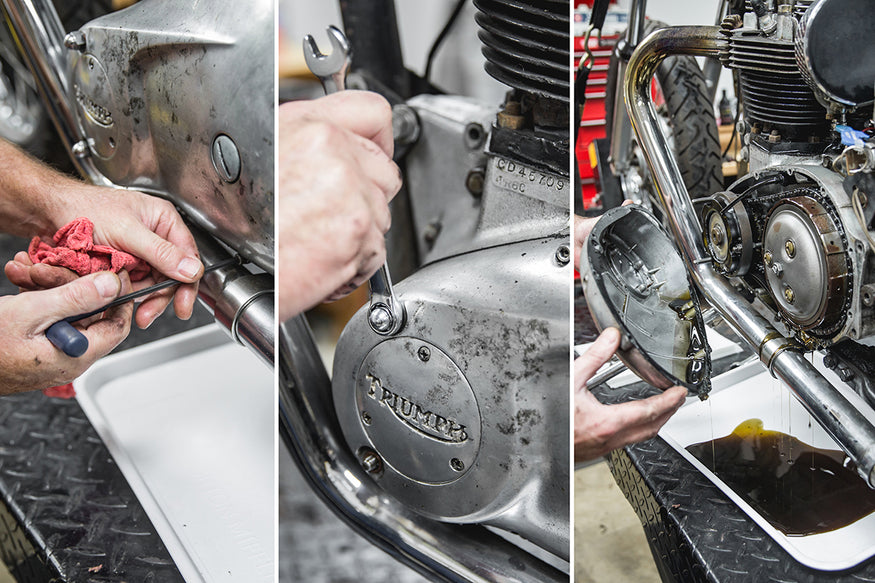
There are 3 types of bolts to remove, you will need 3/16 and 1/4 inch allen along with a 1/4 whitworth wrench.
Once removed do a once over on the primary cover and look for cracks near the front 2 larger holes where the studs come through, they are prone to cracking there from over tightening.
Quick visual inspection of the clutch components
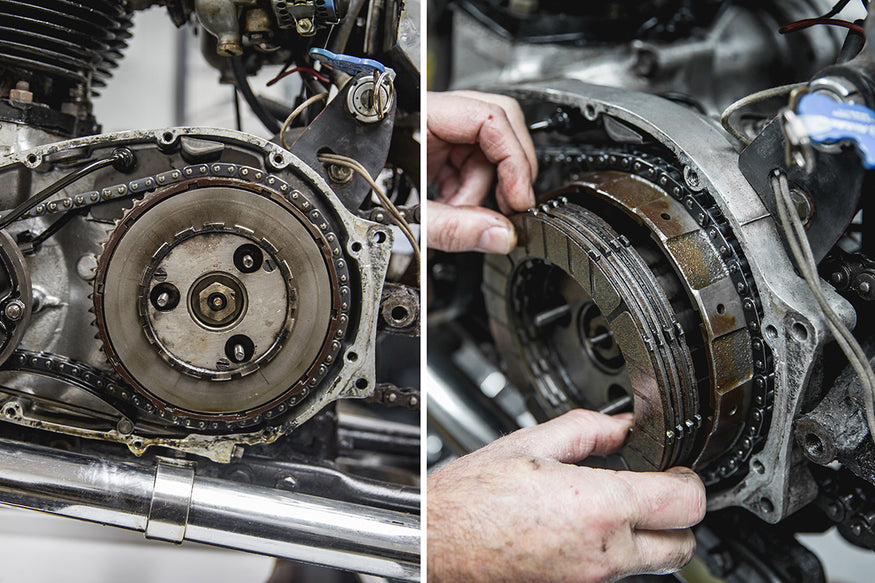
It’s always good to do a quick visual inspection of the clutch components once the primary cover has been removed before disassembling the components.
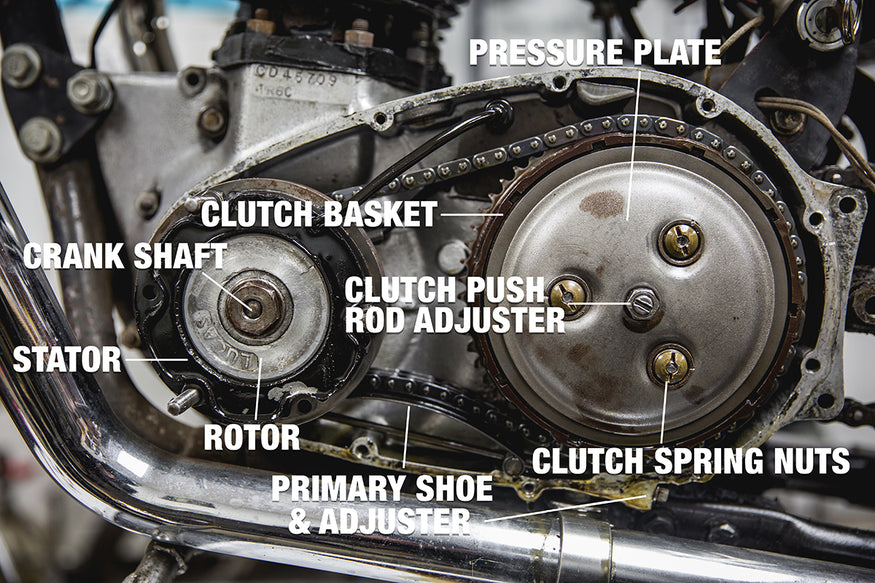
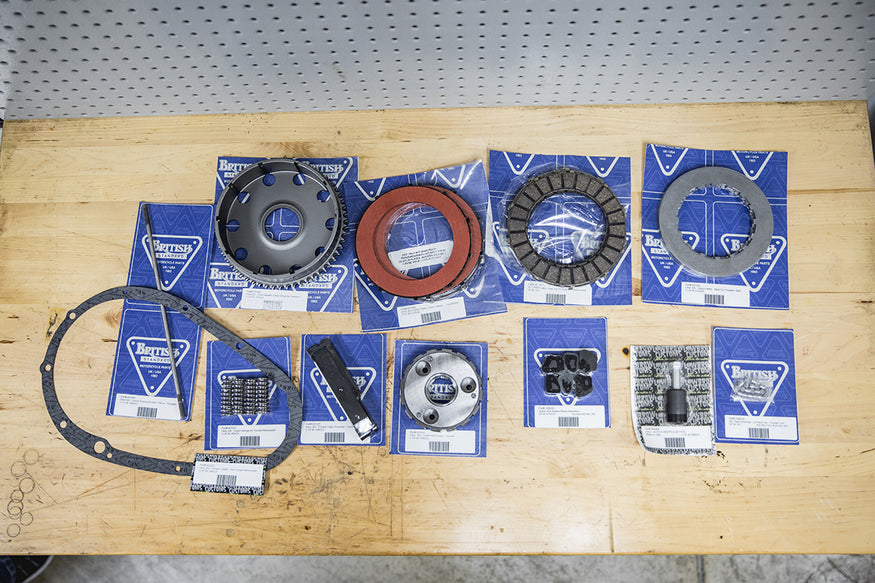
One thing in particular Todd noticed right away was how far the primary shoe was adjusted upwards on this particular bike. This is one indication of a chain being beyond it’s useful life. We have new primary chains available here at lowbrowcustoms.com along with a tons of replacement parts and tools to help you restore your clutch back to new. If the primary chain tensioner shoe is worn out really bad we also suggest to replace that as well.
Restore your clutch back to new
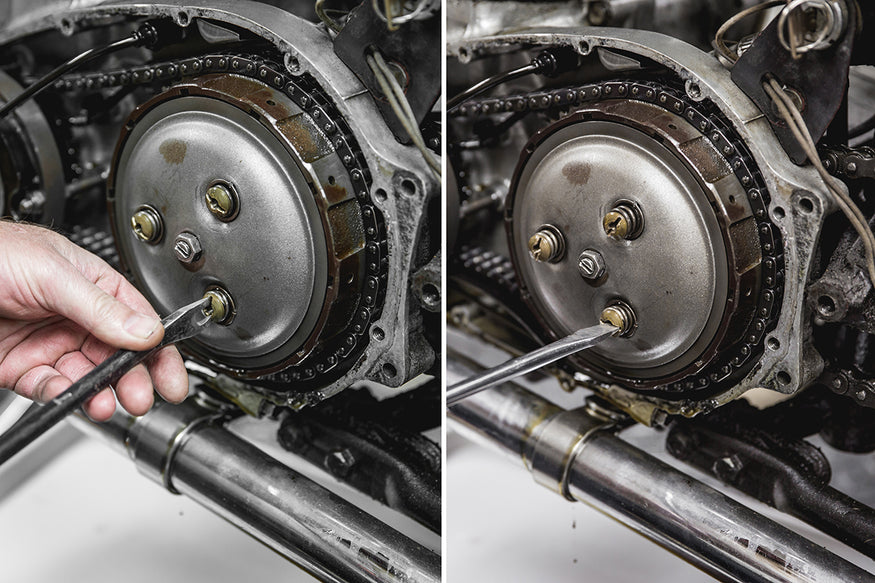
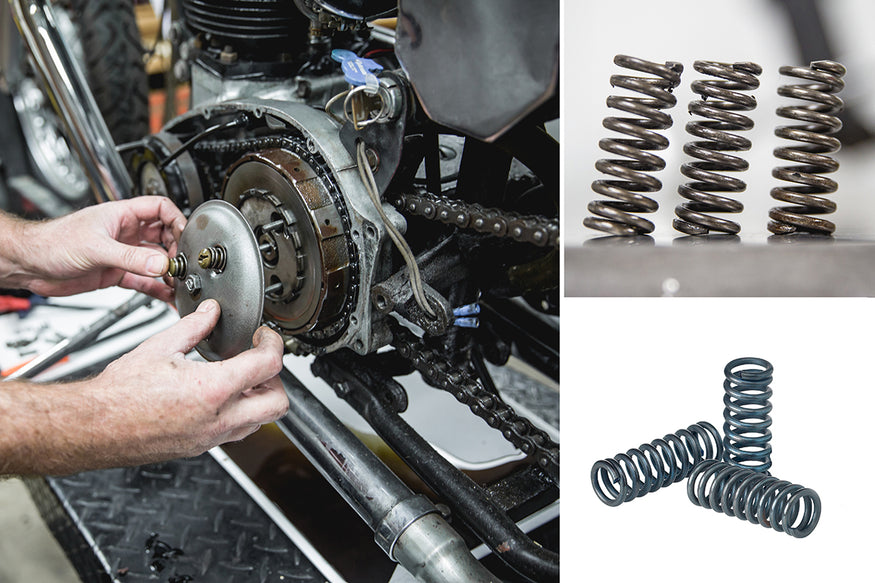
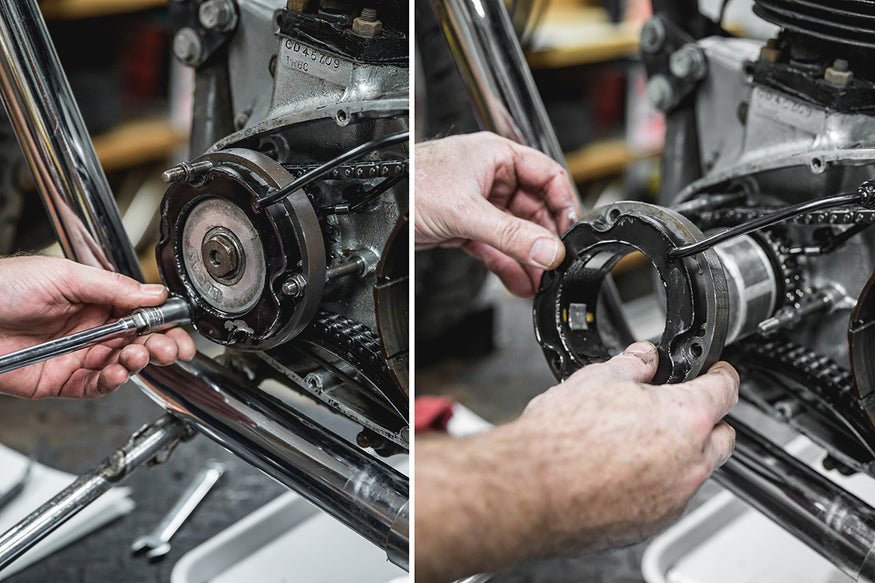
Using a special tool that you can purchase called a Clutch Spring Adjusting Tool you can remove the three clutch spring nuts.
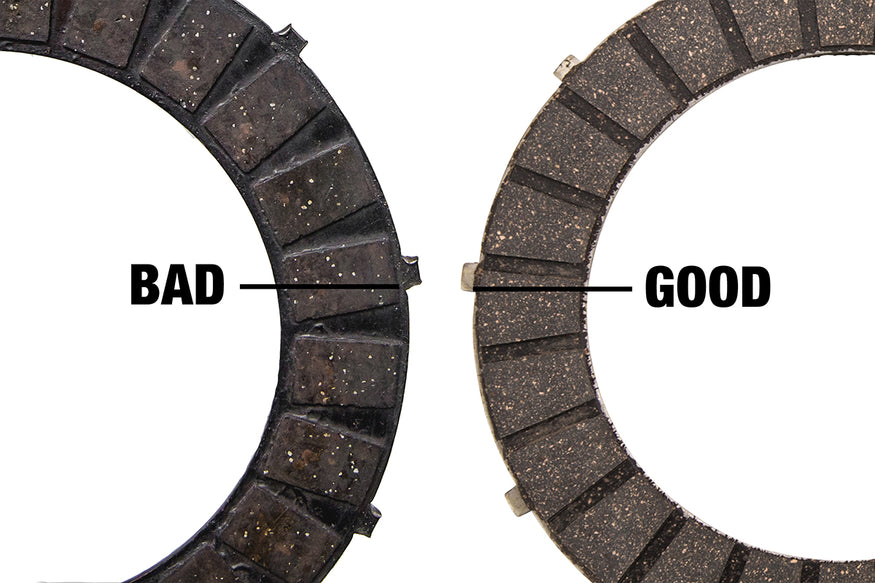
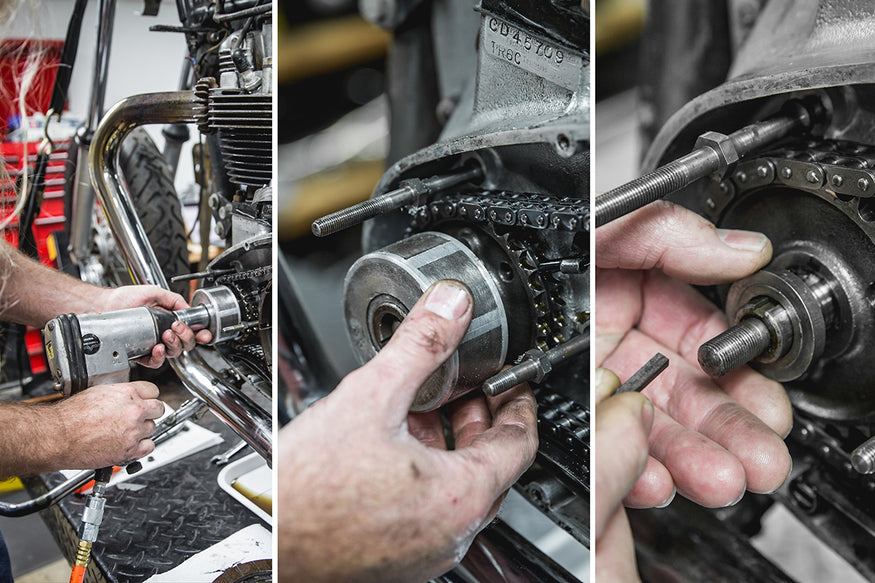
It helps to use a impact to remove the rotor nut
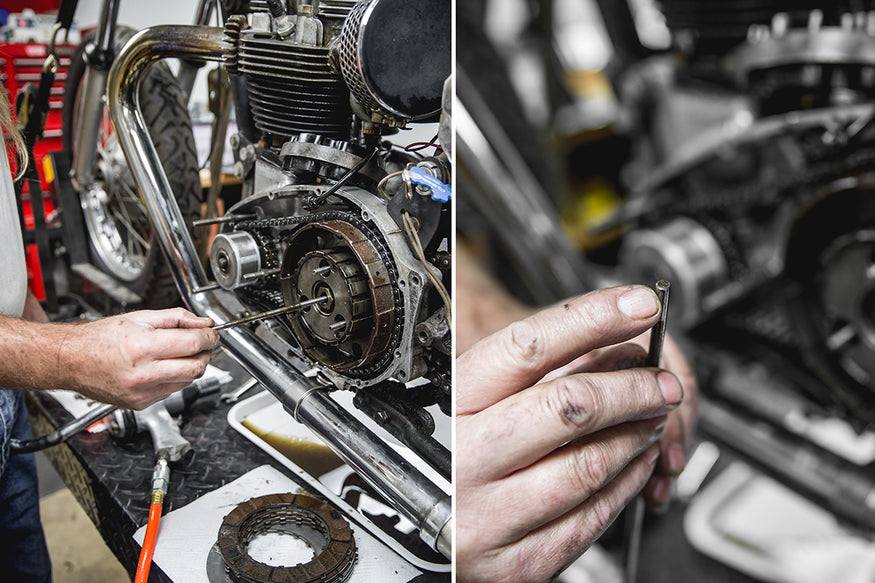
Next we are going to remove the nut from the main shaft in the center of the clutch assembly. Then utilizing a Clutch Hub Puller Tool, there are threads on the clutch center and their purpose is only for this tool to be used. Thread the puller in then tighten center nut on puller, this will pop the clutch center off of the taper of the main shaft.

If the front drive sprocket doesn’t want to come off the splines on the crank shaft, a puller can be used by threading into the two holes on the sprocket, be careful not to damage the threads on the end of the crank shaft.
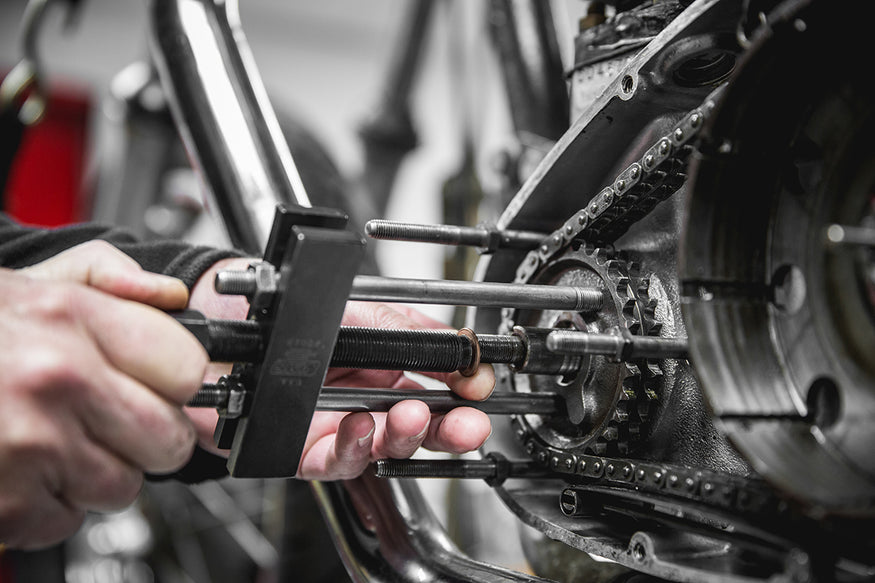
You must remove the clutch basket, chain, and front sprocket at the same time.
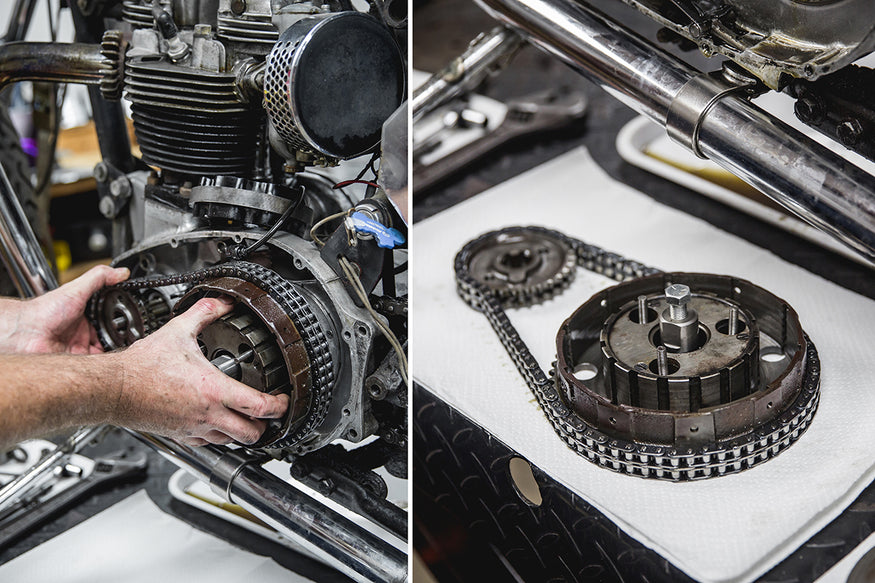
Now would also be a good time to take a peek at the transmission drive sprocket to see if the teeth are starting to hook and may be in need of replacement. It is just behind the round cover with the 6 screws in it where the main shaft is sticking out.
Remove the clutch center hub from the basket. Next thing we want to look at is the clutch bearings. There will be qty of 20 rollers in between the center of the clutch basket and clutch center hub. Inspect the rollers for pitting and also inspect the race on the center of the basket. You also need to look at where the rollers ride on the hub.
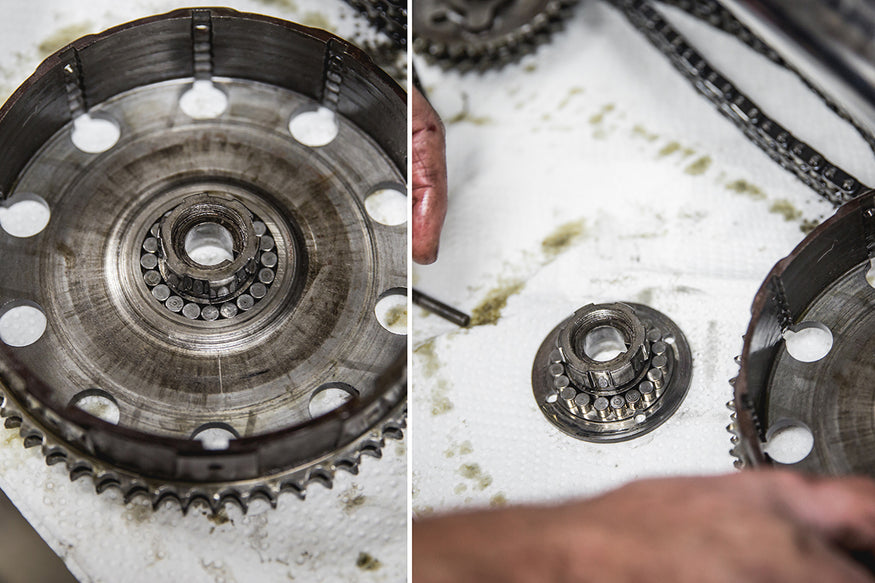
The clutch center hub can be rebuilt with new clutch hub rubber shock absorbers.
Inspect your clutch basket
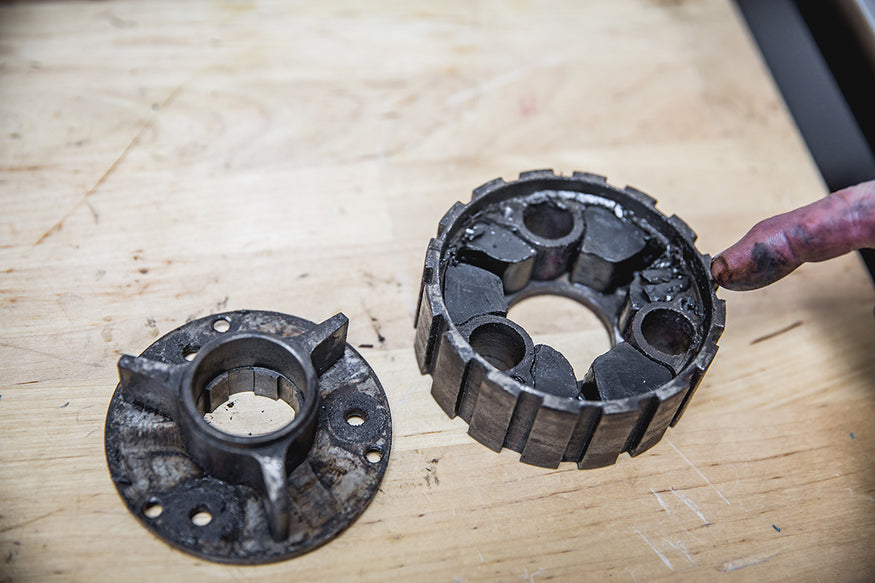
If the grooves are worn you can simply replace the entire hub.
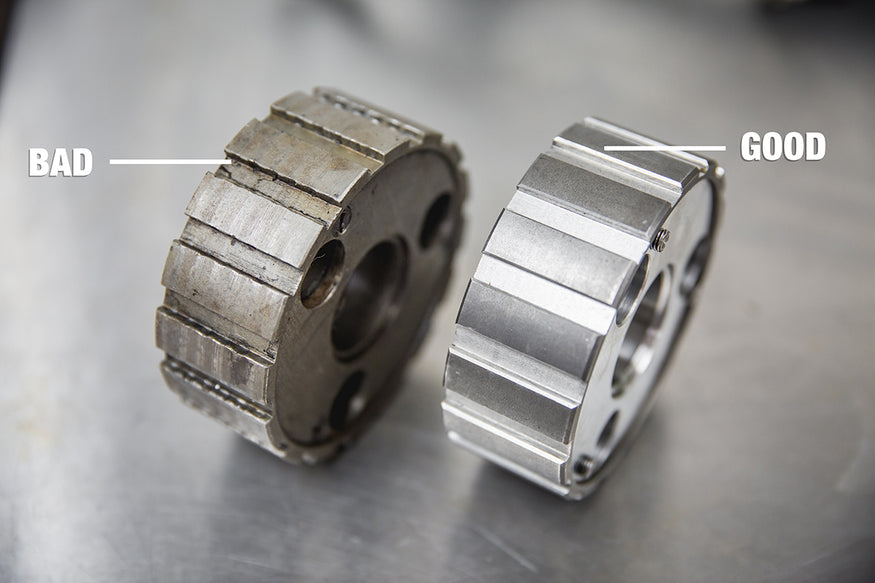
Now we need to inspect the clutch basket teeth and grooves for wear. If any of these are worn badly you should replace the basket with a new one.
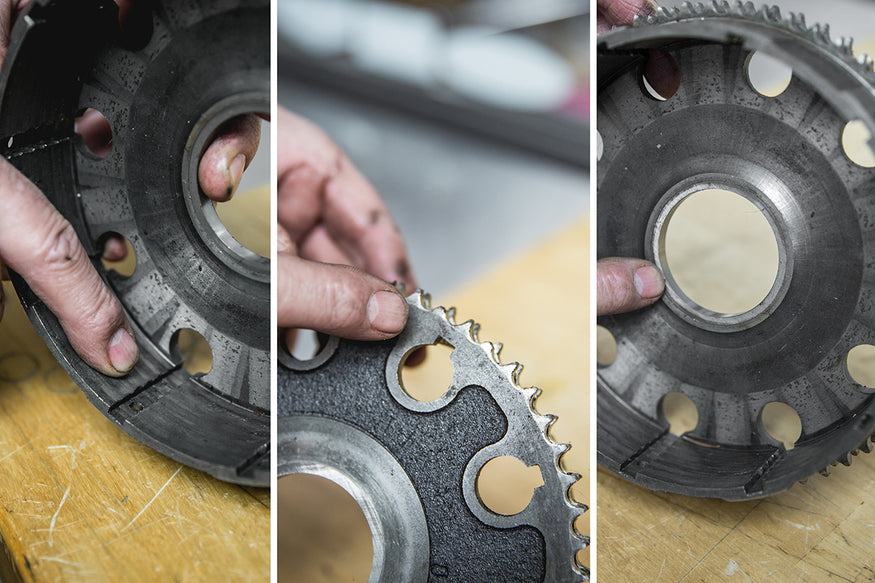
Also inspect the front sprocket for wear.
The moral of the story is when doing your clutch inspection and some or all of your parts look like they are on the verge of wearing out. Now would be a good time to go ahead and replace those parts. This way you know you will have a smooth operating clutch and primary drive system for years to come. Assembly is reverse of disassembly once you have all your components back in order and everything is torqued to spec; as Todd always says, “GO FOR A RIDE!”
Want to know more about Triumph clutch & how to tune them, we have what you need in 2 articles below:
- TRIUMPH CLUTCH TECH - THE CUSH DRIVE
- TUNE AND SERVICE GUIDE FOR VINTAGE TRIUMPH AND BSA MOTORCYCLES
Related Products


