Weld-on Fender Mounting tabs for Custom Motorcycle: Review & How to Use
The mount tab for the lower mount
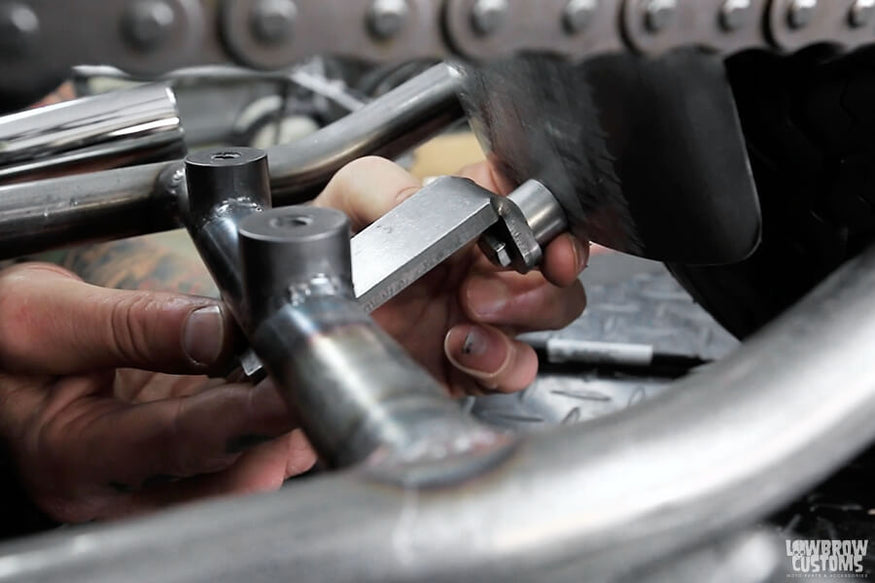
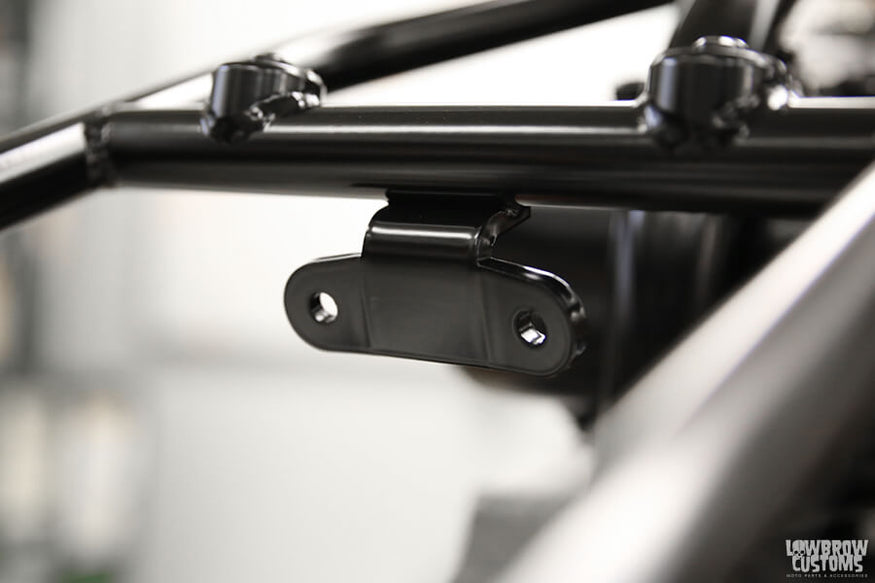
The first tab shown is for your lower mount of your motorcycle rear fender, though it can be used universally to mount anything you like. It is 1/4 inch thick mild steel and has a 90 degree bend and a 5/16 inch diameter hole in it. This will work well with most any custom rear motorcycle fender and saves a lot of time and hassle in the garage.
The mount tab as an upper mount

The Second tab shown was designed as an upper mount for your motorcycle rear fender, though it can also be used universally to mount anything you like. It is 1/4 inch thick mild steel and has a 90 degree bend and a 5/16 inch diameter hole in it. This will work well with most any flat or trailer fender custom rear motorcycle fender and saves a lot of time and hassle in the garage.
The mount tab for curved fenders

The Third weld-on tab shown is for a motorcycle rear fender mount for curved fenders that can also be used for an upper or lower fender mount on a variety of other fenders. The bends in the bracket allow the included 5/16"-18 threaded bungs to sit flat against the fender.

Another benefit of this universal fender mount is that it works with both smooth (Lowbrow Customs Manta Ray Fenders and Gasbox Spun Steel 16 Inch Fenders being two examples) and ribbed fenders (Lowbrow Customs Stingray Fenders are a perfect fit) alike. This motorcycle rear fender mounting kit includes: - Weld-on, 1/4 inch thick mild steel mounting bracket - Two 5/16"-18 x 1/2" threaded mild steel bungs - Two 5/16"-18 x 3/4" stainless steel hex head bolts.
How To Use Weld-On Lowbrow Customs Fender Mount Tabs
Fabricating sturdy fender mounts can be a bit of the hassle for the professional motorcycle builder and home-builder alike. Here at Lowbrow we decided to create a few options to help make mounting your rear fender an easier task.
Preparing to mount your fender
When preparing to mount your fender, be sure that your wheel is moved forward in the axle adjuster slots as far as it goes! This will ensure your tire can never hit your fender, regardless of how you adjust the chain tension.
To ensure you keep proper and even spacing when mounting your best chosen motorcycle fender, it is useful to tape some cardboard to your tire. Other methods include using a piece of old hose for this same method. You can really use anything so long as it is the proper thickness to give you the offset you would like the fender to have from the tire.
Keeping the fender positioned properly
With the fender in place, ensure it is sitting fully against the spacers you put on your tire. Keeping this snug will keep the fender positioned properly so it radiuses your tire properly.
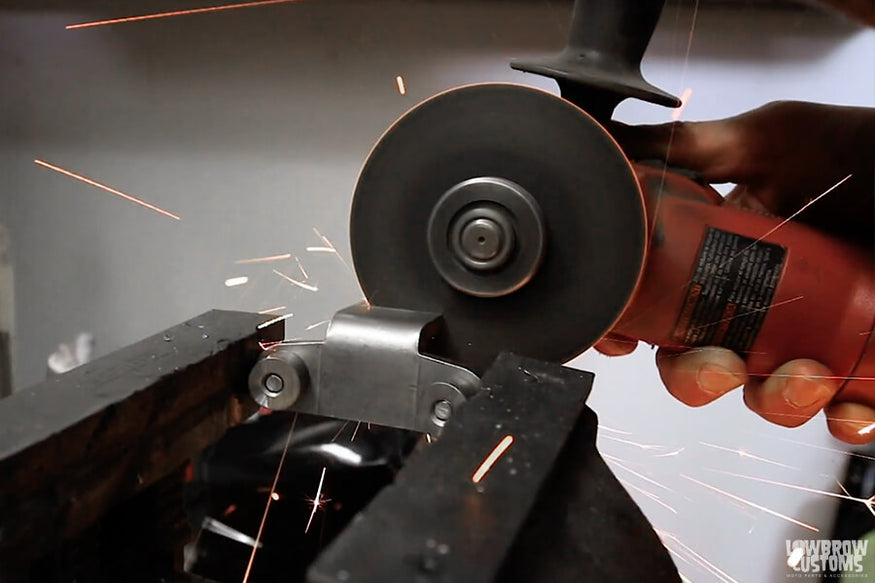
The fender mounting bracket can be welded underneath your seat cross-tube, on top of it, or butt right up against it, however works best for your particular frame, wheel size and fender combination. Andy has c Clamping the bracket in place, with the bungs firmly against the fender. He is making a cut line with a marker so he knows where to cut the fender bracket using his grinder cut off wheel.
Weld the fender mounting bracket to the motorcycle frame
The mounting bracket marked and ready to cut.
Having cut the bracket and deburred the edges, it is ready to weld the fender mounting bracket to the motorcycle frame, and tack the threaded bungs to the fender.
Here you can see that the fender mounting bracket and the threaded bungs are tacked in place. Be sure to make multiple, strong tack welds to hold everything securely. You can then unbolt the bolts from the mounting bracket and finish weld the bungs to your fender, and finish weld the mounting tab to your frame. That is one more task done, and one step closer to being on the road! To support the bottom of the fender you could use a Lowbrow weld-on lower fender mounting tab, and for the rear of the fender you could consider a DIY Fender Strut Kit, or one of the various DIY Sissy Bar Kits available from The Gasbox.
Related Products


