HARLEY DAVIDSON SPOKE WHEELS MADE EASY WITH LOWBROW CUSTOMS
Here at Lowbrow Customs we try and make your custom motorcycle dreams a reality by saving you time and money on the tedious tasks like making axle spacers. Looking for Harley Davidson spoke wheels? We've got em! This video pertains to custom Sportster wheels.
WATCH VIDEO: HOW TO INSTALL CUSTOM SPORTSTER WHEELS
We walk you through installing a Lowbrow Customs 21" Ribbed Spool Hub wheel using a Lowbrow Customs Axle Spacer Kit specifically made for 39mm Narrow Glide front ends. It just bolts together!
Not sure how to remove your the front wheel on a Harley-Davidson XL Sportster? Well fear not, we walk you through removing that old wheel and installing a new one in minutes!
Yes we know there is no tire on this new rim, we aren't running it that way. This setup is just for demonstration purposes. We do carry everything you would need to complete this job from Rim Strips, Inter-tubes and Tires.
Subscribe to the Lowbrow Customs YouTube channel to check out all of our videos. We spend a lot of time and effort creating motorcycle how-to videos and event coverage for your enjoyment.
PHOTO STEP-BY-STEP: INSTALL A 21" CHOPPER SPOOL WHEEL ON A HARLEY SPORTSTER
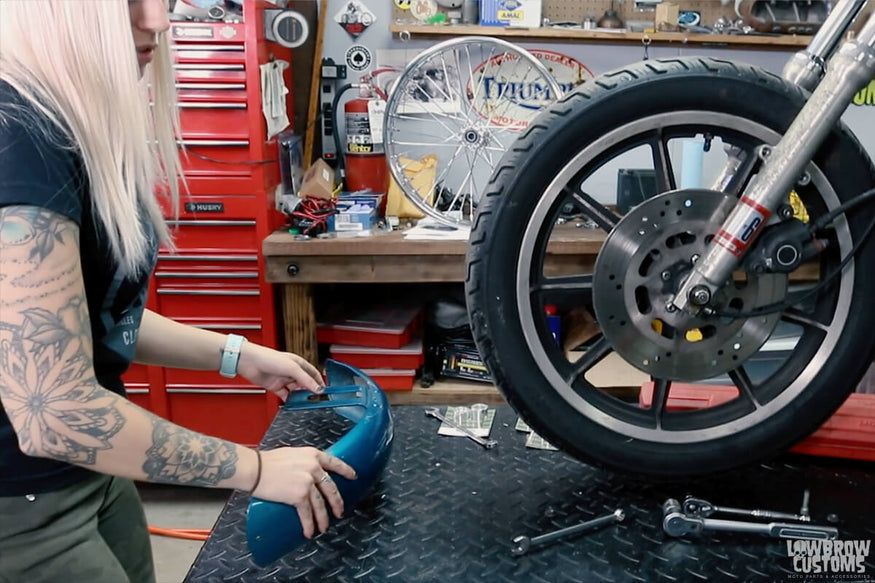 First remove the Sportster fender.
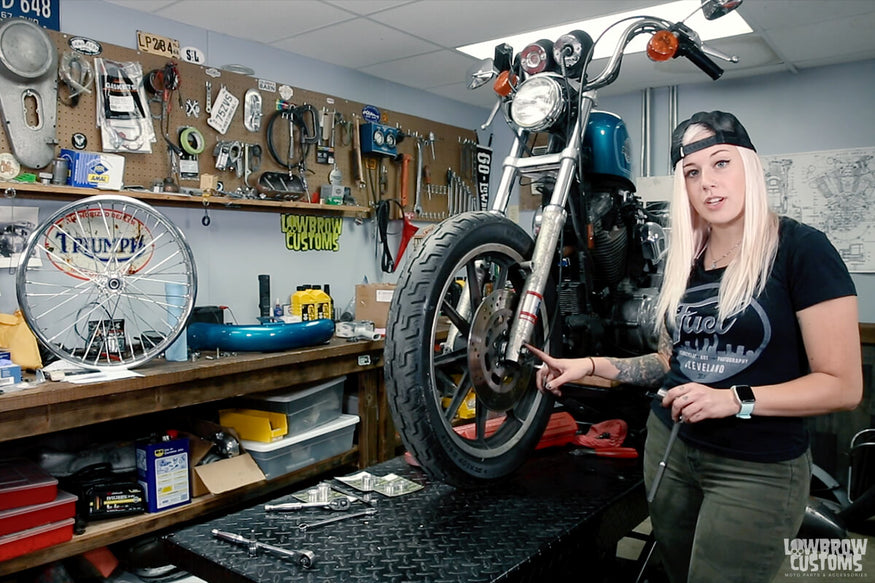 Leaving the pinch bolt tight on the right leg will allow you to break torque on the axle.
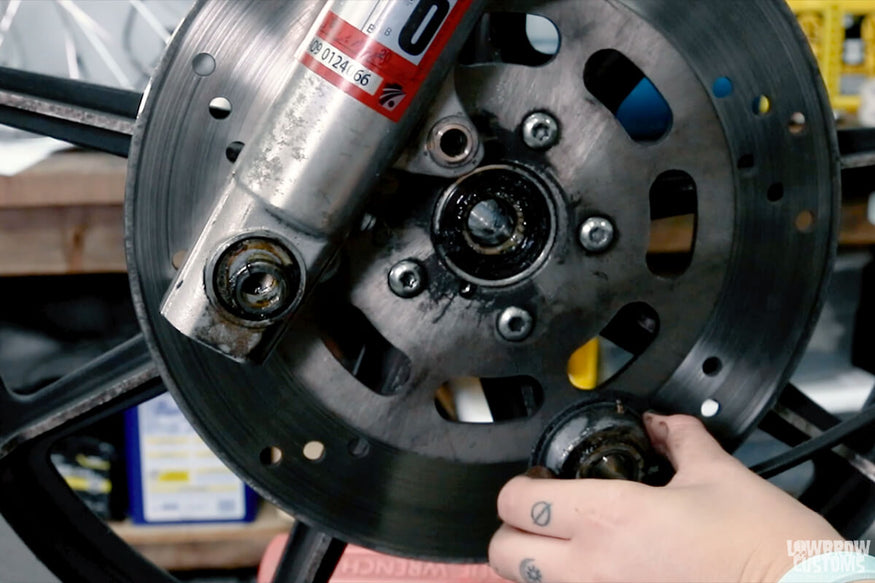 If your bike has a speedometer cable be sure to catch when removing the axle.
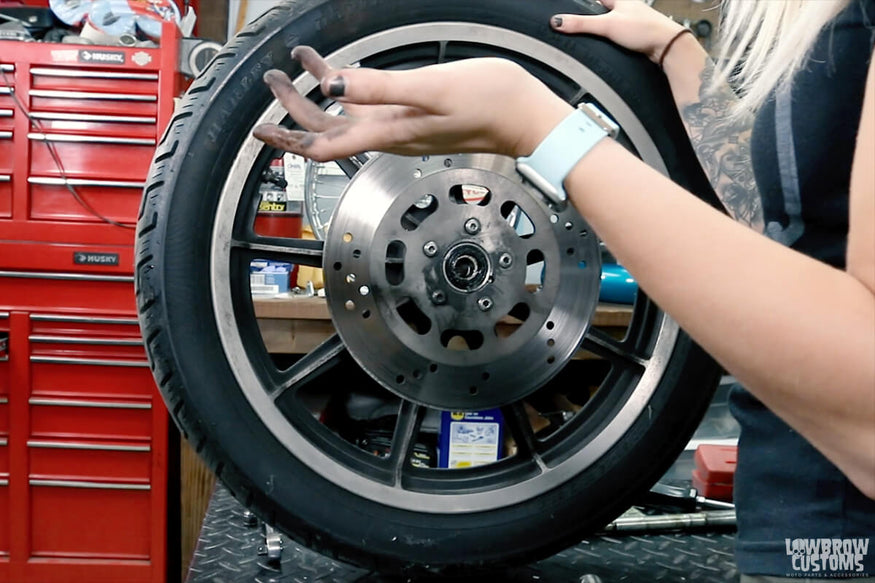 Sportster mag wheel is off!
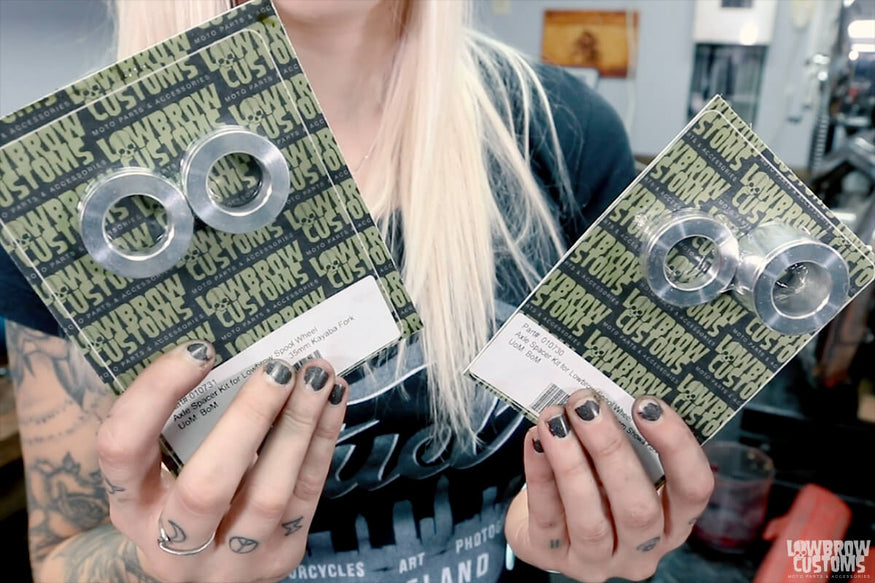 Our pre-made axle kits that work with the Lowbrow Customs 21" Ribbed Spool hub wheel are available for most 35mm and 39mm front ends.
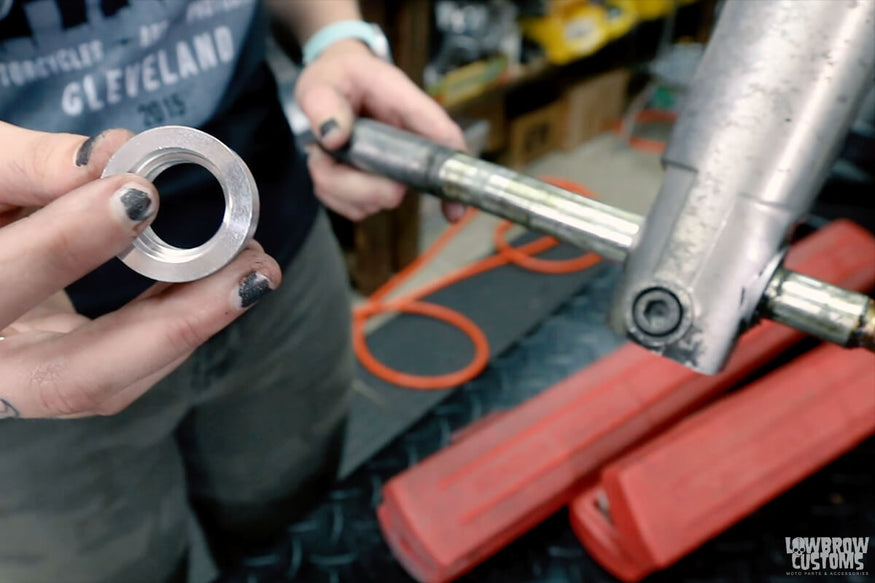 With this 39mm front end make sure the spacer with the step faces out towards the right lower leg.
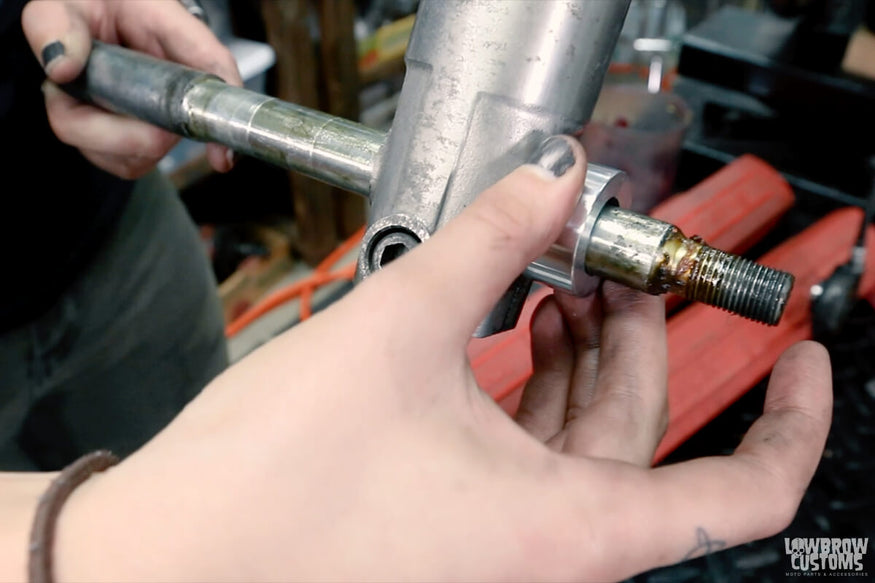 Make sure the axle slides into the step of the spacer, then back off and install new Lowbrow Customs 21" ribbed spool wheel.
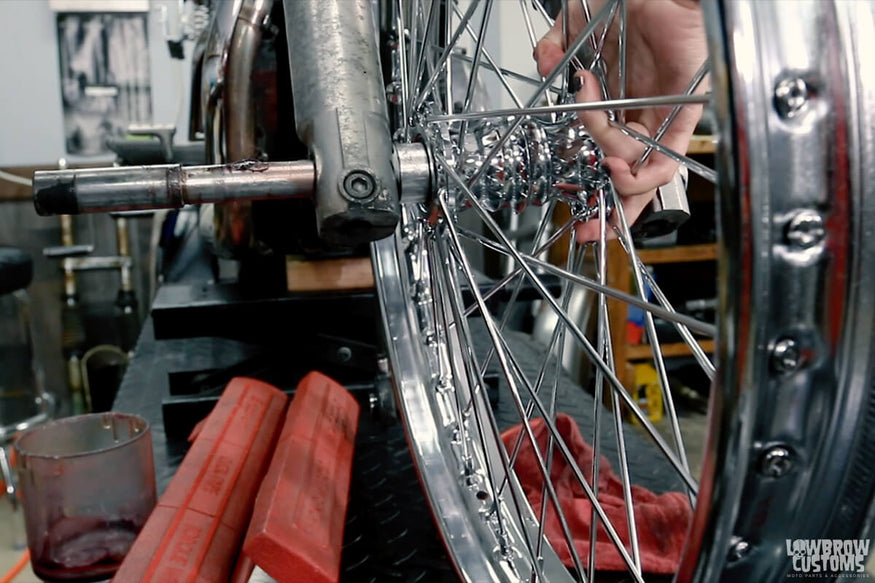 Installing the axle into the hub.
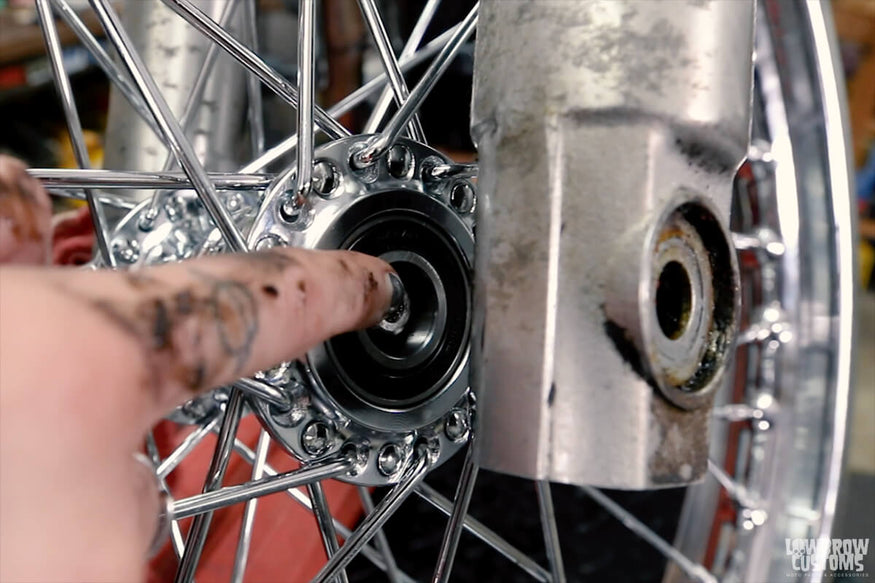 This hub doesn't allow for speedometer or front brakes. Its a chopper baby!
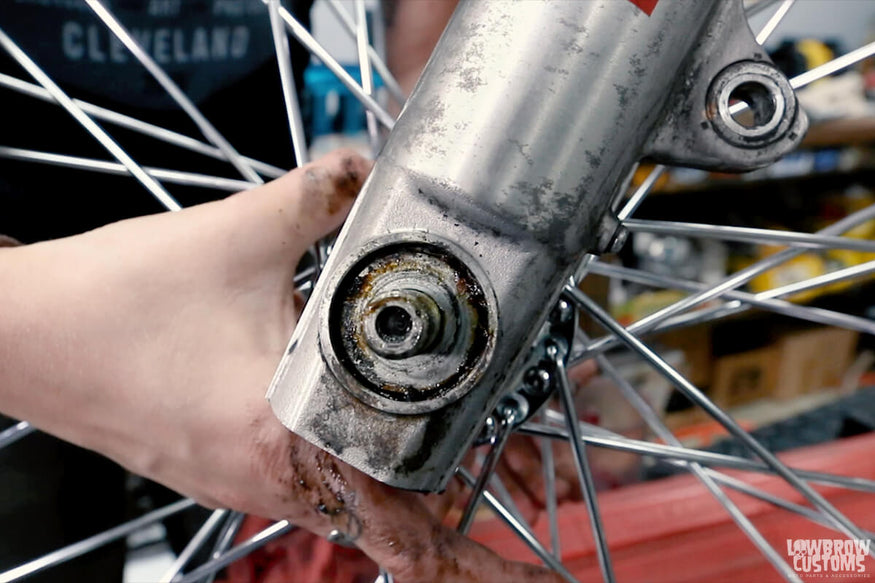 Using the other spacer on left leg, slide the axle through completely and make sure to put washer back on the outside.
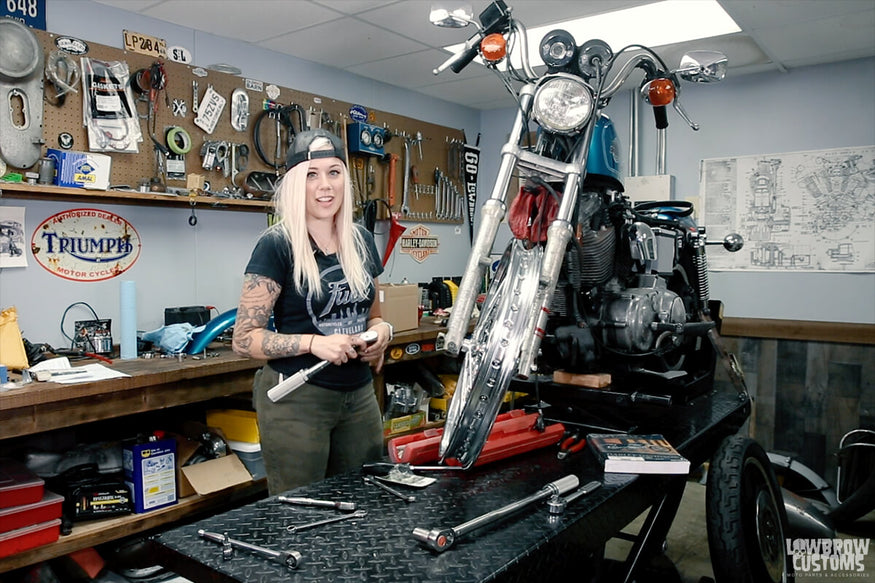 "Don't forget to torque your nuts... BUD!"
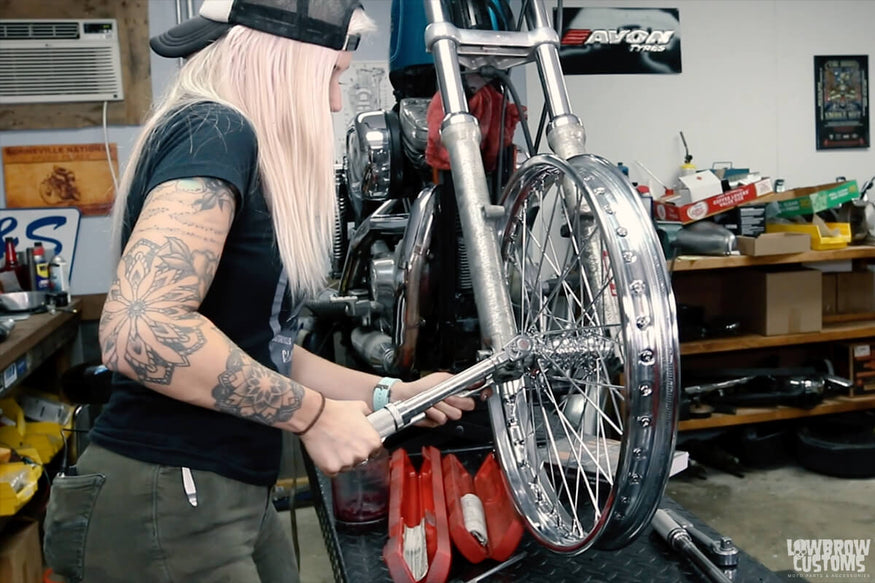 With the pinch bolt tightened down, torque your axle to factory specifications. Loosen the pinch bolt so the axle finds its happy place and then torque the pinch bolt to factory specifications.
You can read the full video transcription here:
Hey guys, what's up? It's Amanda over at Lowbrow Customs, and today I'm going to demonstrate how to put the Lowbrow Customs 21-inch ribbed spool hub front wheel onto this 1994 XL 1200.
The first thing that you'll have to do is take the fender off because the tire will actually rub against the mounting nuts. I'll do that really quick.
Once your fender is off and out of the way, the next step would be to remove your brake caliper. We'll go ahead and do that now.
Once you get your brake caliper off, this one has zip ties. We'll cut that off, and then we'll just get that out of the way. Then we'll just wrap this around here.
All right, once that brake caliper is out of our way, we are going to loosen the axle nut. Make sure that the lower front fork pinch bolt is still tight, otherwise when you go to loosen this, it's just going to keep spinning around for you. We're going to loosen this up. All right, axle nut is off. Now I'll come around to the other side and take off this lower front fork pinch bolt, 9/16 Allen.
Now it's time to take the axle out. If you're having a little bit of difficulty doing so, you could take a screwdriver, stick it right in that hole and then pull and it should come right out for you. This one's not giving me any trouble hopefully. There we go. I noticed that on this one, as I was taking that wheel off, there is a speedo on it. What you're going to do is just pop off this speedo drive, and let that dangle, and your wheel comes right off. Just like that.
Now that I have that old wheel out of the way, we can put this new one on. If you prefer, it also comes in black, if that matches your bike a little bit better. As you can see, this spool hub wheel does not support front brakes. For demonstration purposes, I got everything out of the way, the speedo cable, the caliper, and we're not going to hook it up.
This bike has a 39-millimeter front end, and we have a kit specifically machined for 39-millimeter narrow glide front forks. If you have an iron head with a 35-millimeter front end, we also have two different kits for that. If you're not sure which one to use, you can go to lowbrowcustoms.com, or we have free tech support, just give us a call or email us and we'd be happy to help you out.
The first step to getting your axle on there is you want to grease the hell out of it. Once your axle is all greased up, you're going to take one of the spacers, it actually has a little recess in it, and on the axle, there's a little raised piece, this will sit right on there.
You have to make sure it's facing the right side and it actually sits right up against the axle once you have the axle in. Go ahead and put that on. Put your axle through a little bit, and then again, make sure the recess piece is facing outward. Once that axle is all the way through, it'll sit right up against that raised piece.
Once you have the first spacer on, you're going to grab your wheel, put that on there. Once you have the axle almost all the way through the spool hub, make sure it doesn't come out farther than the spool hub. That way you can get your spacer in there, and then you'll wind that up with the other fork.
All right, once you have it through the hole, you can just wiggle it through, and have your axle through. Then you're going to want to take your washer and put that back on, and your axle nut. You can start to put that back on as well.
Once you hand tight in the axle nut, you're going to take your Allen 9/16 wrench or that lower front fork, pinch bolt. You're going to tighten everything back up. We're back on this side of the bike to torque the axle nut to the correct torque specifications. If you're not sure what those are, you can refer to your shop manual.
If you don't have a shop manual, lowbrowcustoms.com has got you covered. We've got a couple of different manuals for a couple of different bikes. Go ahead and shop for those that we will have all of your specifications, all the information you need.
Once you get this on here, you might have to just turn that just so you have the correct leverage. Torque it. Come on now. Till it clicks.
Back on this side, and what we're going to do is actually loosen the lower front fork pinch bolt, and what that'll do is actually get everything seated where it needs to be in its happy place. Now once you loosen it a little bit, you're going to tighten it back up. Again, then we're going to torque this. I'm going to torque it to its correct torque specs again. If you don't know, refer to your manual. If you don't have one, head over to lowbrowcustoms.com, we've got you covered. Till that one clicks.
Don't forget to torque your nuts, bud. That's how easy it is to put the Lowbrow Customs front wheel onto this 1994 Sportster 1200 using the Lowbrow custom spacer kit. All we need to complete this bike is a rim strip inner tube and tire. Lowbrowcustoms.com has a wide selection to get this bike done. If you like this video, hit the Like button and subscribe to our channel and we'll see you later. Now go for a ride!
You can also visit our Blog for more awesome how-to videos and guides like this! Please let us know what you think and leave a comment at the bottom of this post.
Related Products


