TABLE OF CONTENTS
- Step by Step: Install Custom Throttle By Wire Handlebars
- Take Off the Old Handlebar & Remove Old Cable
- Removing Throttle Wire From Inside The Handlebar
- A Simple Customizing Tip For Better Control Of The Bike
- Adjust Harley Throttle By Wire & Make Sure the Handlebars Are Centered
- Utility Perch Style Mirrors
- Check Throttle Operation & Enjoy
"Oh my, it's like a bowl of soup, like a bunch of noodles in here!" You would probably be saying something too if it was your first time installing motorcycle handlebars for sale from our TBW (Throttle By Wire) collection on your Harley-Davidson. The whole job (kind of like an internal Harley Davidson throttle cable installation) seems a bit overwhelming and complex when you first look at it but we figured what better way to help you out then make a video to walk you through it all!
Follow along with Todd as he tackles changing out a stock handlebar set up on a 2017 Harley-Davidson Dyna - Lowrider S with a brand new set of Biltwell Mid TBW Tracker handlebars, 8" Murdock Pullback risers, and Utility perch style mirrors. Along with using a cycle standard new TBW throttle tube and top it all off with some stying Lowbrow Customs AMF 1" grips to make it all come together perfectly.
Subscribe to the Lowbrow Customs YouTube channel to check out all of our videos. We spend a lot of time and effort creating motorcycle how-to videos, product reviews and event coverage for your enjoyment. You can also visit our Blog for more awesome how-to videos and guides like this! Please let us know what you think and leave a comment at the bottom of this post.
Changing Parts To Make Your Motorcycle More Comfortable
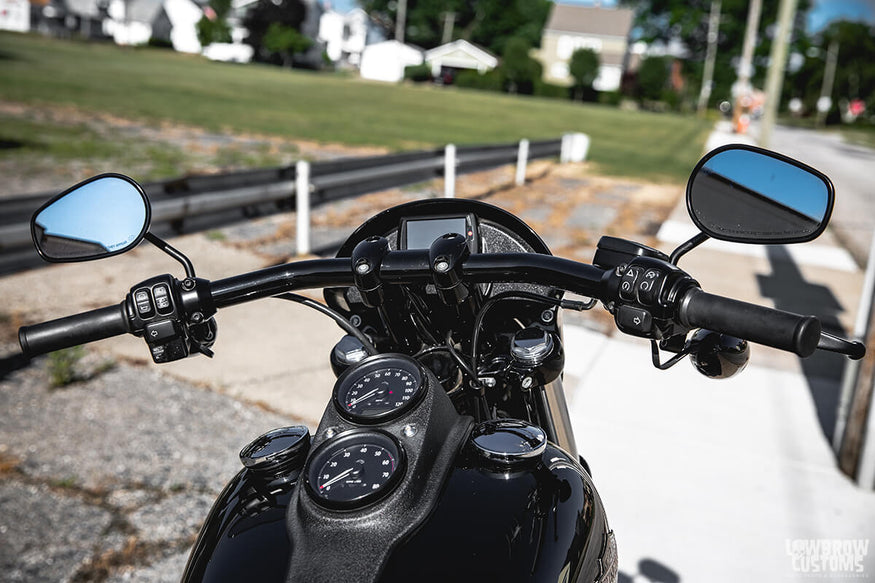 Stock handlebar set up on this 2017 Harley-Davidson Lowrider S. Pretty bulky, low profile and a bit ugly
After testing various best motorcycle handlebars for handling, we realized these stock bars were just too uncomfortable for the Dyna S. To transform your riding experience, we're swapping them out with some killer Biltwell Inc. And it could really help to show everyone the process of changing out TBW handlebars. With the change of motorcycle handlebars comes the possibility of changing brake lines and the clutch Cable as well. Todd shows you how to determine and measure for those exactly. We found that we could keep the motorcycle brake line but we would need to change out the clutch cable so we go over how to do that in this video as well.
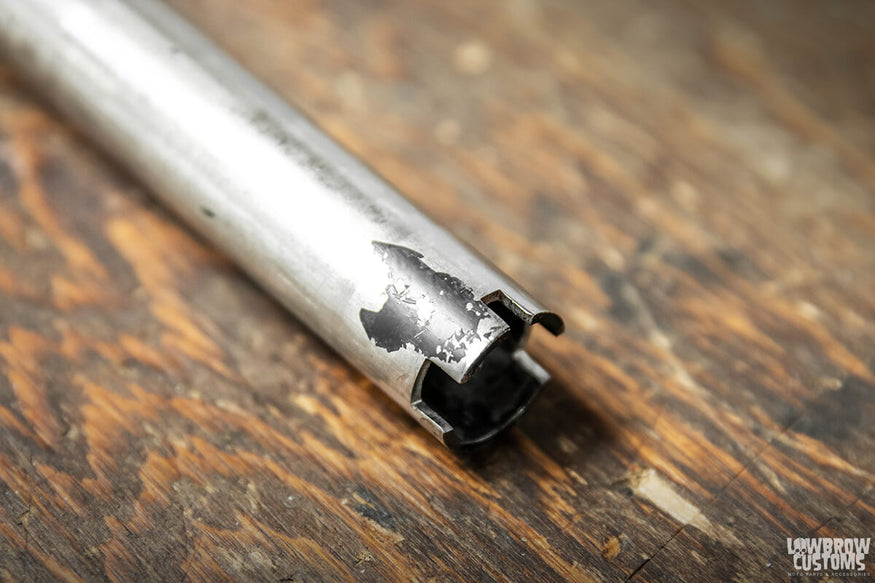 TBW end aka "the castle looking end"
What is Throttle By Wire aka Fly By Wire you ask?
Take Off the Old Handlebar & Remove Old Cable
At the end of your throttle side of certain handlebars made specifically for most 2008-up big twins, there will be a castle-looking end. This setup is a key component of modern motorcycle throttle control systems, where a tube with a gear locks into the castle part of the handlebar. This gear interacts with another gear connected to the grip, and when you turn the throttle, it sends a signal to your ECM to adjust the fuel delivery to the motor. It's like SCIENCE you guys or something... All TBW bars should have holes cut out for the wiring to go through them as well because well its gotta come out somewhere.
Step by Step: Install Custom Throttle By Wire Handlebars
Take Off the Old Handlebar & Remove Old Cable
Step 1: Take off old that handlebar setup in this order. Remember to cover your nice gas tank with an old sheet, towel, or blanket... whatever you've got.
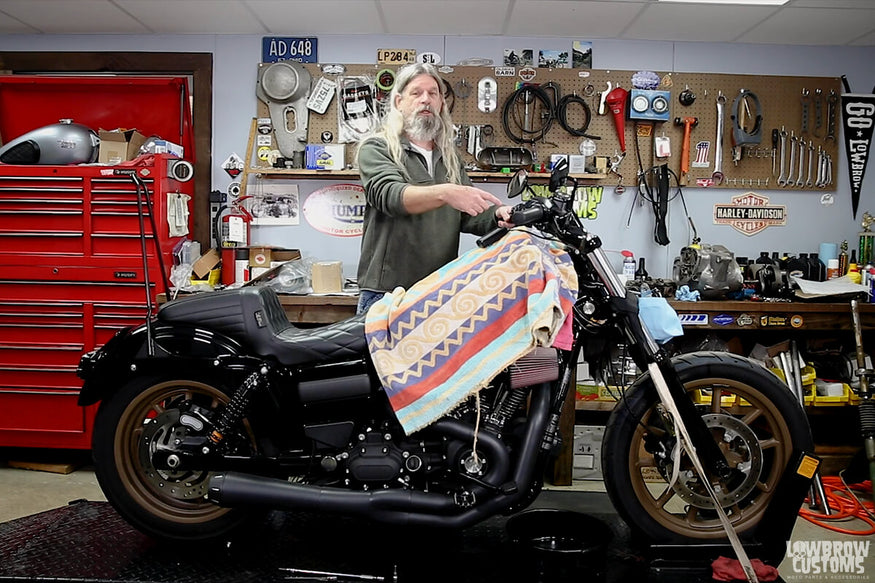
Cover that nice gas tank with a towel or something. The last thing you want is to drop something on that nice paint.
- Remove mirrors.
- De-adjust the clutch lever and remove from it from the handlebars.
- Remove the clutch lever from the clamp and cable.
- Take off the brake lever and and master cylinder, let it hang gently out of the way.
- Loosen risers
- Pull out window rubbers on both sides of the front part of the frame,
- Pull out all wires carefully and unplug the wires.
- Remove the handlebars from risers feeding wires through the triple tree carefully and put them on a work bench.
- Remove risers from the motorcycle.
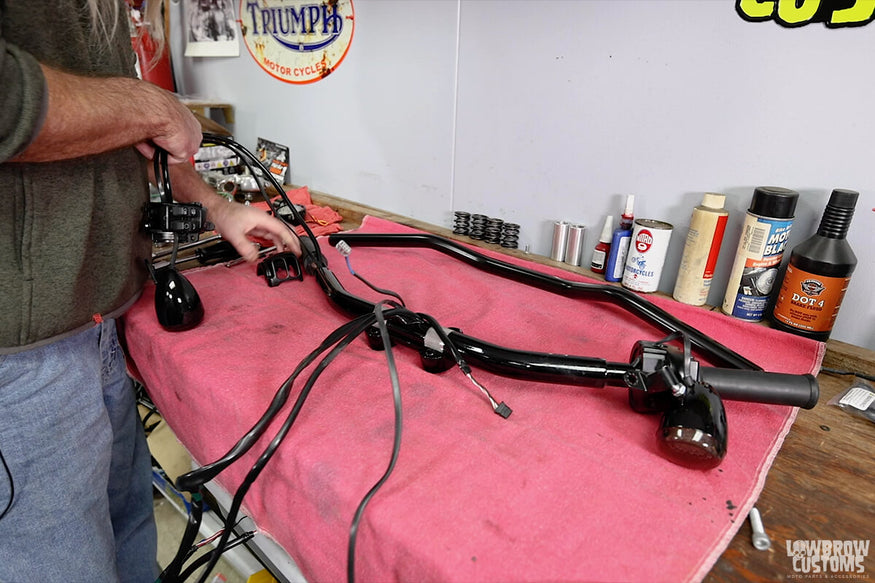
Be careful when removing the wires from the handlebars, make sure no to snag any plugs on the lips of the holes in the bars, etc.
Removing Throttle Wire From Inside The Handlebar
Step 2: Unbolt switch housing and feed wires carefully out of the old bar set up. Pull the TBW housing out of the right side bar as well. Be sure the O-ring stays with the housing.
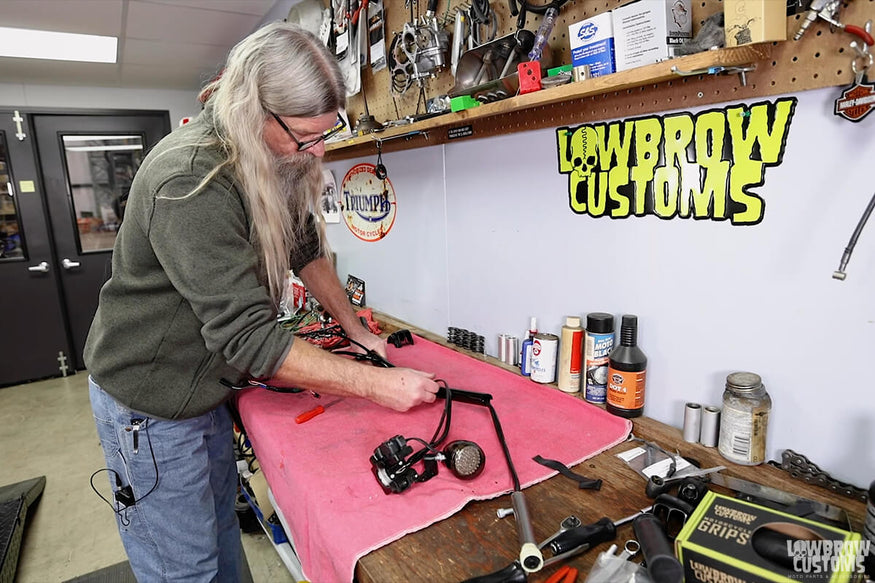
Todd pulling the TBW and right side switch housings through carefully on the right side of the handlebar.
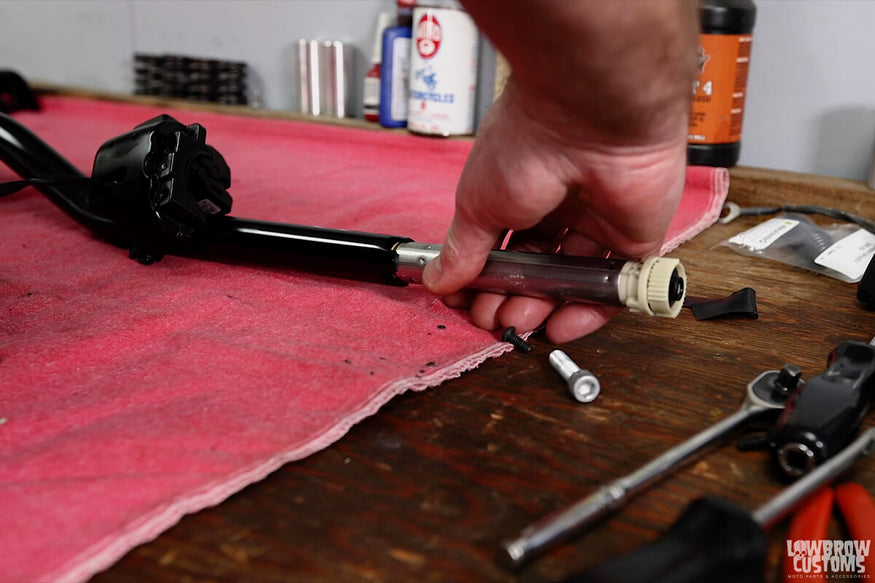
Feeding the TBW wire in it helps to use both hands and guide the tube into the end of the bar while pulling the cable on the other side.
Step 3: Route the TBW housing and right side controls / turn signal wires into the right side of the new handlebars.
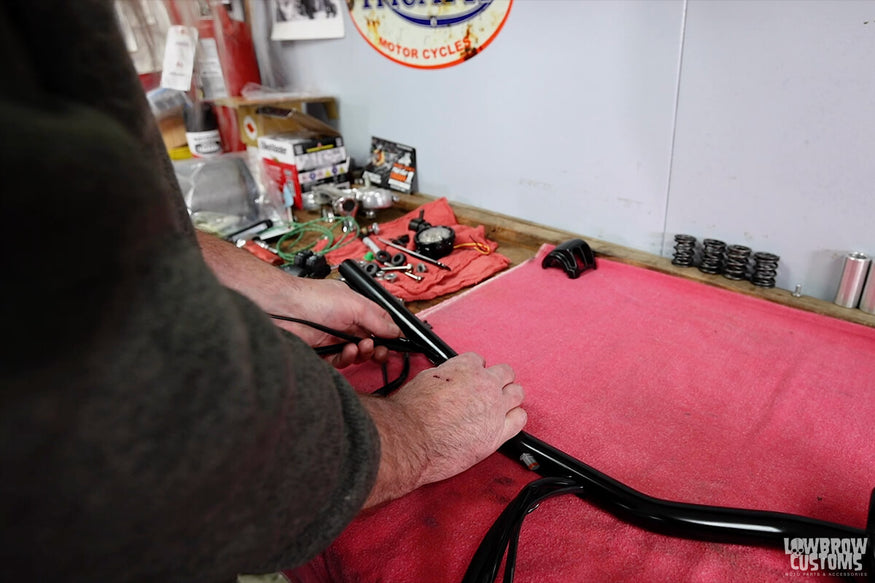
Todd feeds the left side switch housing wires through the left slot of the handlebars. If you pull the right side wires to the right-center it allows room for the left wires to come through the center hole.
Step 4: Route the left side controls and turn signal wires into the left side of the new handlebars.
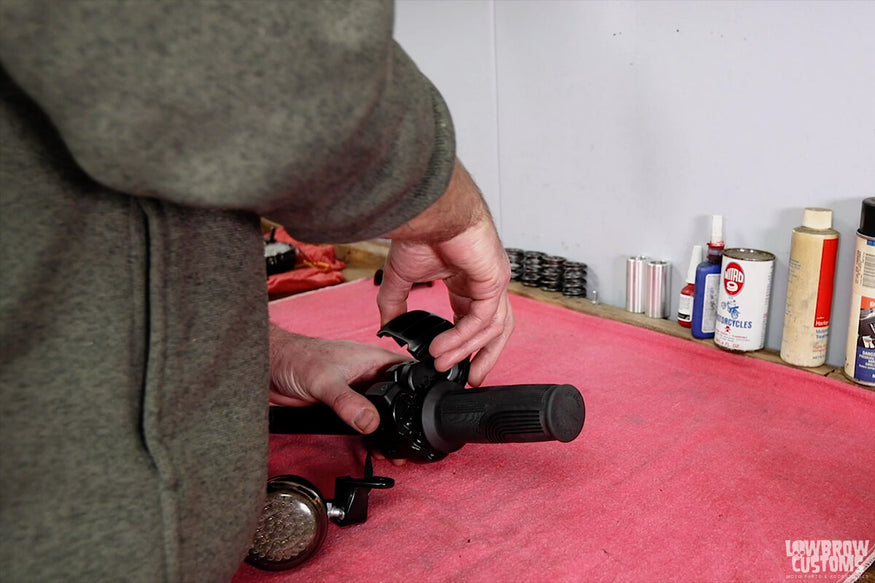
We find it easier to install the motorcycle grip onto a throttle tube and then onto the handlebars. We sell inexpensive TBW throttle tubes so you don't have to waste your time cutting off your stock grip from the stock tube thats usually really glued on.
A Simple Customizing Tip For Better Control Of The Bike
Step 5: Install grips on to TBW throttle tube and onto the bars. Secure the hand controls to the bars but don't firmly tighten down. You will want to see how they look on the bike before fully tightening the controls on the bars.
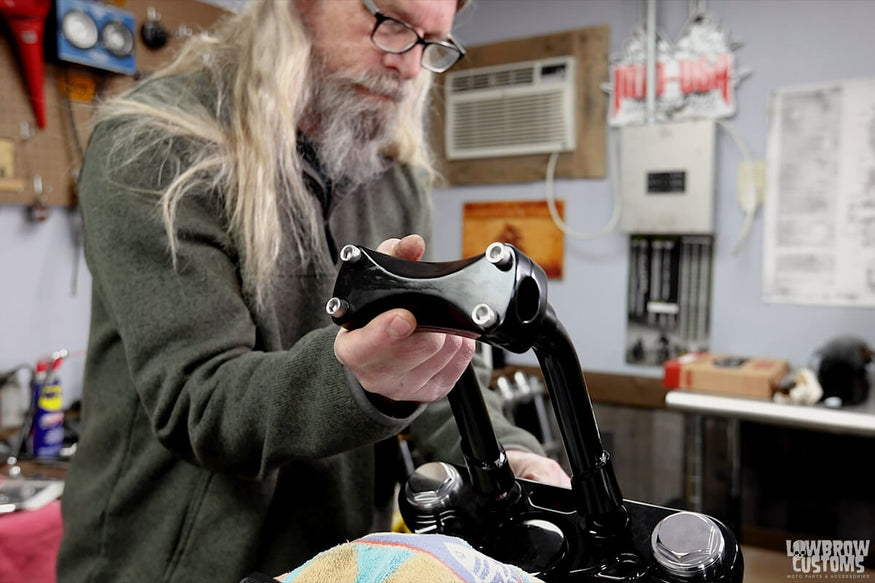
Install your new risers. We chose to use Lowbrow Customs Solid Riser Bushings to make for more firm steering and control.
Step 6: Install new motorcycle risers onto the triple tree. A simple upgrade: we highly suggest our solid riser bushings for improved handling and feel.
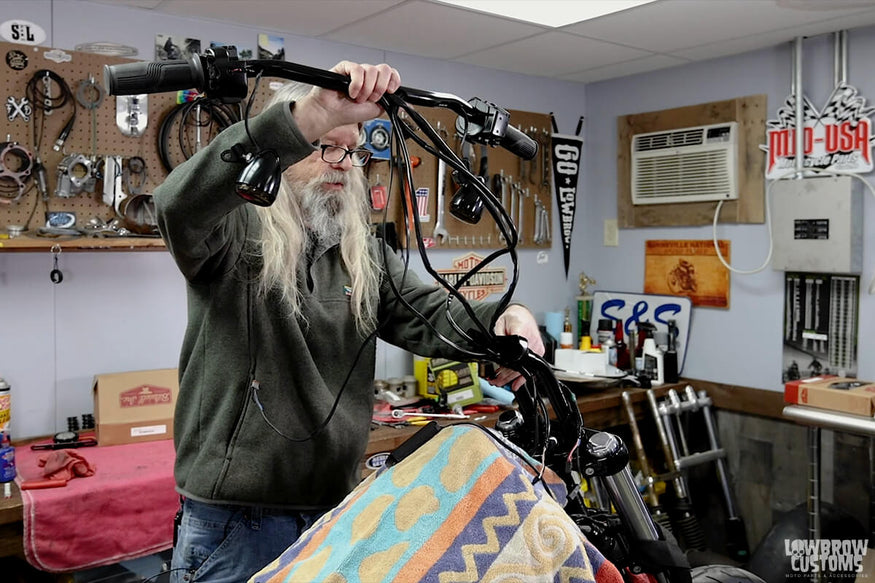
Todd feeding the wires through the center of the risers.
Adjust Harley Throttle By Wire & Make Sure the Handlebars Are Centered
Step 7: Feed all of the wiring through the risers and loosely install the handlebars onto the risers. Determine where you want them before tightening down the top clamp. It's extremely important to make sure the handlebars are centered into the riser clamp because after all this is what steers the motorcycle. After determining the center, loosen clamps and adjust the bars to where you like them, keeping them centered and securely clamp them down evenly.
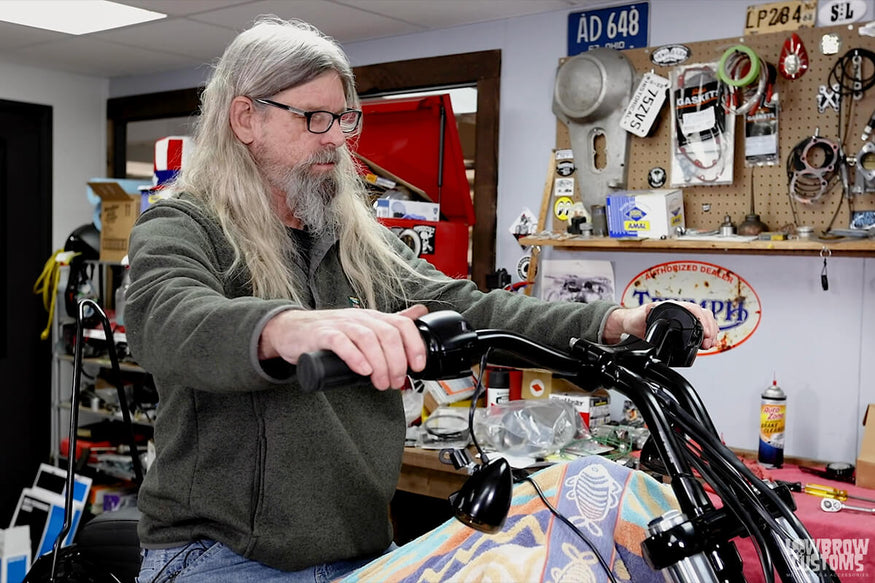
Sit on the bike and determine where the controls feel best before snugging down.
Step 8: Determine where the switch housing will be most comfortable to use by sitting on the bike. Tighten the switch housing down. Install the clutch handle and master cylinder onto the bars.
NOTE: You may have to change clutch cable and brake lines before this step. See Step 10 / Step 11 for more info.
Utility Perch Style Mirrors
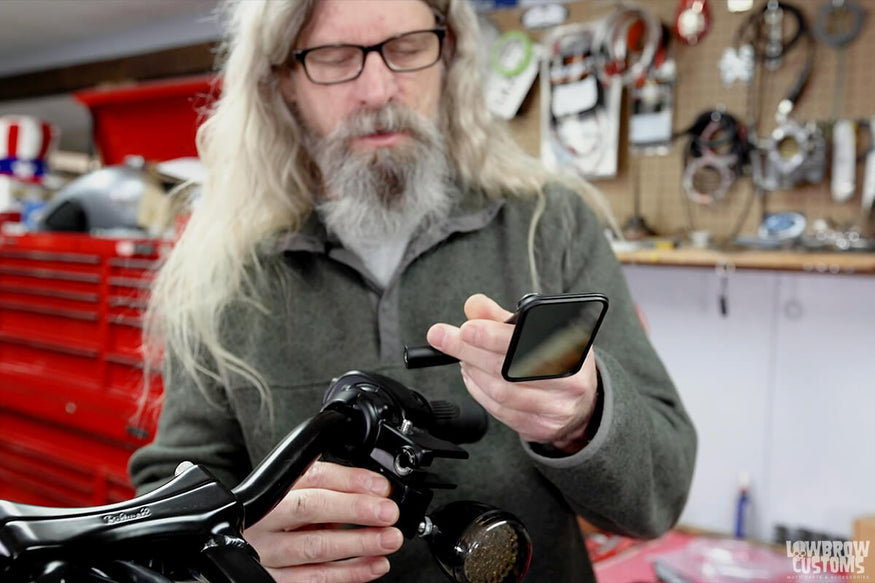
Installing the Biltwell Utility mirrors!
Step 9: Install mirrors onto the controls. We decided to go with black Biltwell Utility Mirrors. On some models you may have to get longer bolts to give yourself enough threads to secure the mirrors properly.
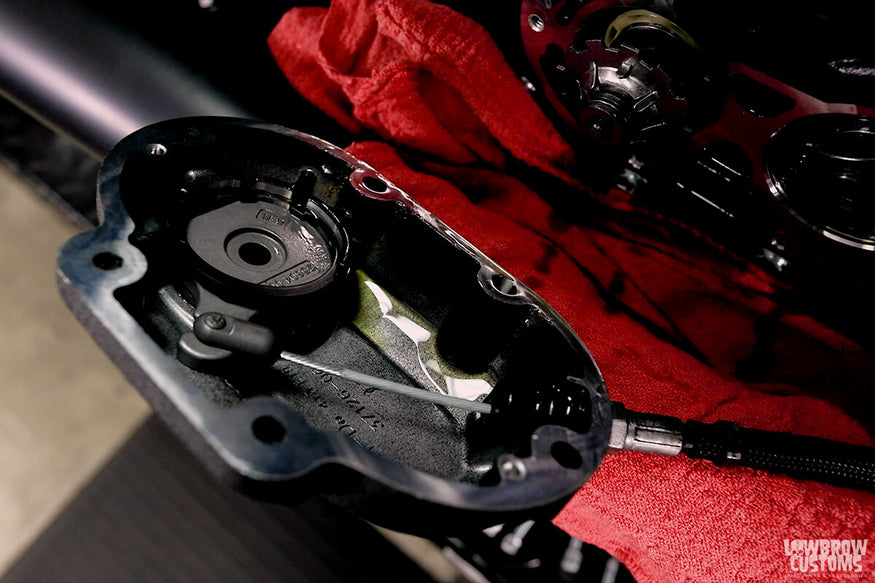
What it will look like inside your Transmission side cove.
Step 10: Change Clutch Cable (skip step if you don't need to change out your stock clutch cable for a different length)
- Drain the tranny fluid.
- Loosen the connection of the cable to the side cover.
- Remove side cover of the transmission. Depending on your exhausts you may have to remove your exhaust to get access to the bottom bolts of the side cover.
- Remove the ball and ramp / clutch release out of the inside of the cover. You will need large snap ring pliers for this job.
- Remove the cable from the clutch release.
- Spin the side cover till the cable comes out of the cover and pull the cable off of the bike.
- Install new o-ring on new clutch cable and install the new cable into side cover. Spinning the cover makes it easy to install.
- Put your ball and ramp back together, connect the cable end to the clutch release, and reinstall your snap ring to lock it all in place.
- Install cover, use a new gasket, and torque bolts to factory specs.
- Tighten the cable at the cover.
- Put the drain plug back in and fill your transmission with transmission oil specified for your model.
- Lube your cable and install other end into the clutch lever.
- Adjust your new clutch cable and be sure to leave some free play.
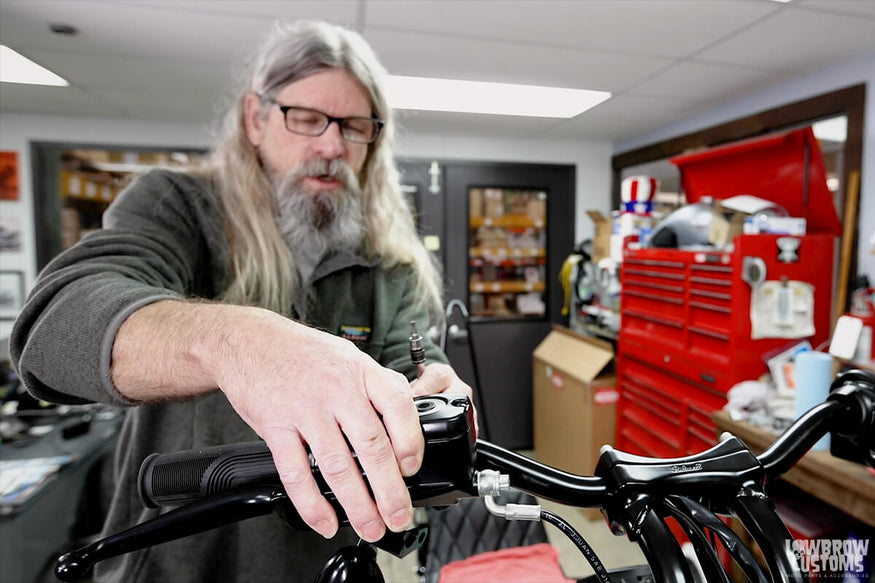
We found we didn't have to replace brakes so we just reinstalled the master cylinder to the handlebars and adjusted the cable where we needed to and the banjo bolts.
Step 11: Change Brake Line (Skip step if you don't need to change the stock brake lines for a different length)
- Remove the brake caliper from the bike and lines.
- On a work bench remove the brake line from the master cylinder and caliper on paper towels.
- Install new fittings and or new brake line onto master cylinder and caliper loosely.
- Install caliper and master cylinder onto the motorcycle. Firmly tighten lines after you determine where they need to run.
- Bleed your brake line and re-fill the master cylinder as needed.
IMPORTANT NOTE: Always thoroughly test brakes in your garage before going for a ride
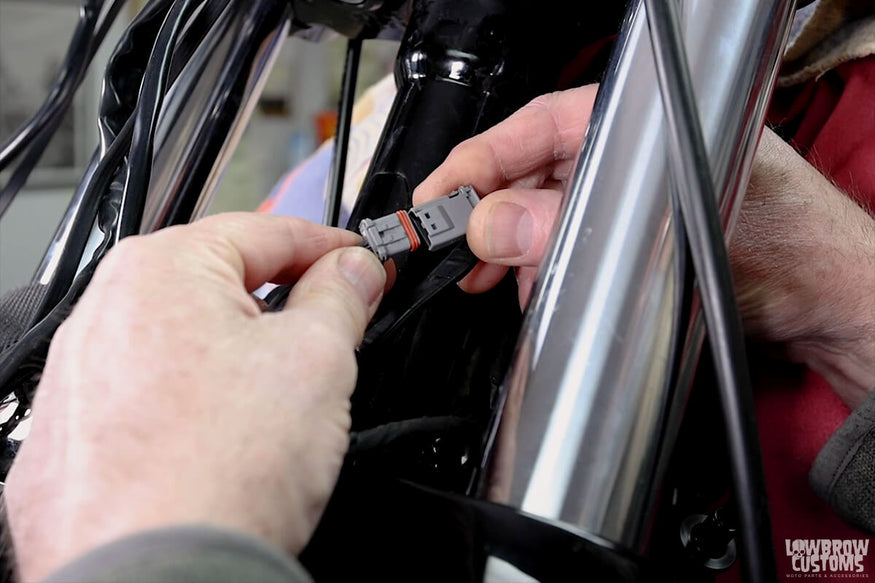
Each plug should have a matching plug, wire colors should match wire colors and most of these newer Harley plugs can only plug in one way.
Check Throttle Operation & Enjoy
Step 12: Feed your TBW and switch housing wires through the triple tree and connect all of the wires to their corresponding locations that are coming from the frame. Pull on the connections to make sure they are connected properly.
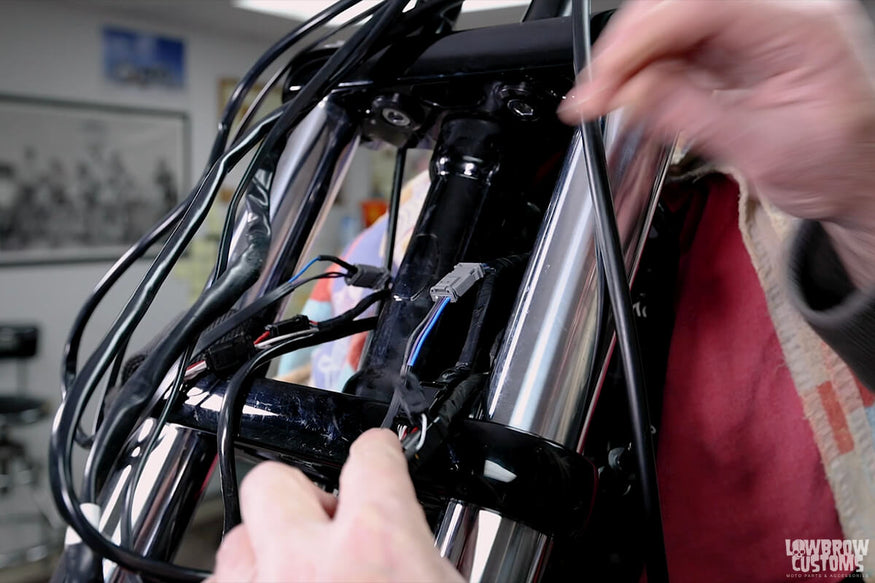
Be sure to feed all of the wires through the top triple tree before plugging them all into the corresponding plugs and stuffing them into the frame.
Step 13: Test all functions: lights, turn signals, starter, etc.
Step 14: Feed the wires back into the frame and reinstall the rubber chinga-dingas into the frame. You may have to take the gas tank off to access a trap door and or pull wires from the front of the rear fender. Different models have different ways to make it a little easier to get those wires back in your frame. Take your time and get it done.
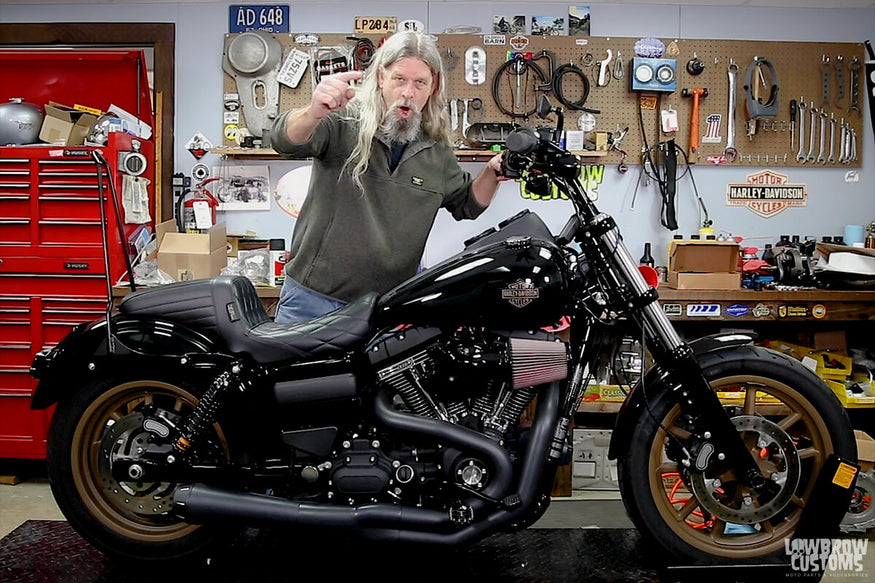
Step 15: GO FOR A RIDE!!!!
Related Products


