TABLE OF CONTENTS
- How To Install WX Split Gas Tanks
- Step 1: Bolt the Rear T-mount to Frame
- Step 2: Insert Bolt Through Top Front Tab and into Cast Lug On Frame Backbone
- Step 3: Install Hose Clamp and Fully Tighten
- Step 4: Align the Two Rear Tabs
- Step 5: Install and Fully Tighten the Bolt and Nylock Nut
- Step 6: Connect the Fuel Crossover Fittings
- Step 7: Install 22mm petcock
We spent over two years developing the WX Gas Tanks for Harley-Davidson Big Twins 1936-1984. The idea was to do a split gas tank in the WR factory race bike style. WR tanks hold gasoline on one side and engine oil on the other. We made the WX gas tanks to have that type of look, but hold only gas. The hard part was making these tanks fit stock mounting points on the frame, while keeping a tight gap between the gas tanks.
Overview WX Split Gas Tanks
Watch the video to know details about WX Split Gas Tanks
Features of WX Gas Tanks
The idea behind this came from Harley-Davidson WR factory race bikes. They were a split gas tank, narrow like this, though one side held gasoline and one side was the oil tank for the bike. WX tanks are a play on that. The adjustable gasoline gets your bike down the road and the key features that we wanted these to be a bolt on part for your Harley-Davidson big twin, meaning no having a drill and weld ones in your frame or modified in any way.
The WX tanks fit Harley-Davidson big twin frames from 1936 all the way to 1984. They work killer with custom Panheads, Shovelheads. They look great, and one of the nicest features about them is, it will give you a custom look. But if you change your mind down the line or you simply want to switch it up, you can unbolt them go back to your stock tank or any motorcycle gas tank of your choosing.
These accept a standard Harley cam-style gas cap which available in black or chrome, and in standard height as well as deep. There's lots of option there. The capacity on these is about two and a quarter gallons, that's for both halves of the tank. You can see they're quite narrow and so it reduces your fuel capacity. However, I've ridden cross country in one of my own bikes in 93 inch S&S Panhead with these tanks and I needed a little more frequent fuel stops, but they definitely get the job done.
On this side of the WX tank, you can see some of the features. You got the different mounting points.
Parts of WX Gas Tanks
Here you can see a crossover nipple that is for your air crossover between the tanks, allowing each tank to vent to the other and prevent vapor lock. This is crucial for your fuel crossover, which is located at the rear of the front of each side tank. To ensure proper functionality, you’ll need to run a piece of rubber motorcycle fuel line between the crossover to transfer the gas between both sides of the tank and a short piece between these nipples on both sides to vent the air.
You can also see the petcock bung, this accepts any standard Harley-Davidson type 22 millimeter gas tank petcock. That will end up putting the petcock just outboard of your top motor mount, keeping it nice and clean, convenient, easy to access. WX gas tanks come ready to mount up to your bike. You can pressure test them, paint on and be good to go. They are quick and easy install with the design work that went into them and we hope you enjoy them as much as we do.
How Tough Are WX Gas Tanks?
What better way to test the durability of a product then drop it from 60 feet in the air. Watch Tyler as he drops a set of our Lowbrow Customs WX Split Gas Tanks off a big boom lift to see what would happen. Do they survive the impact or do the welds come apart at the seems? You've gotta watch to find out.
Warning: Please do not try this at home and do not drop your gas tank from 60 feet because it will void your warranty and be really expensive and a dumb way to destroy a perfectly good set of gas tanks, this was performed by "professionals" and under the supervision of professionals.
How To Install WX Split Gas Tanks
Tools Needed for this job.
- 3/8 drive ratchet
- 1/2 inch socket
- Extend long flat head screwdriver
- 1/2 inch wrench
- 5/16 Allen or Allen Socket
- 9/16 wrench
- Side cutters
Step 1: Bolt the Rear T-mount to Frame
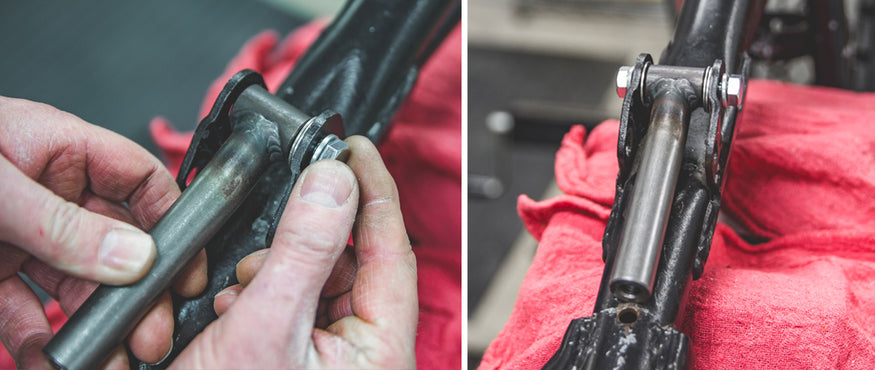
Bolt the rear T-mount to your frame using 9/16 in wrench or socket. Shim between frame tabs with washers as necessary. Do NOT fully tighten yet. (Note: Make sure the T-mount back is pointed up not down).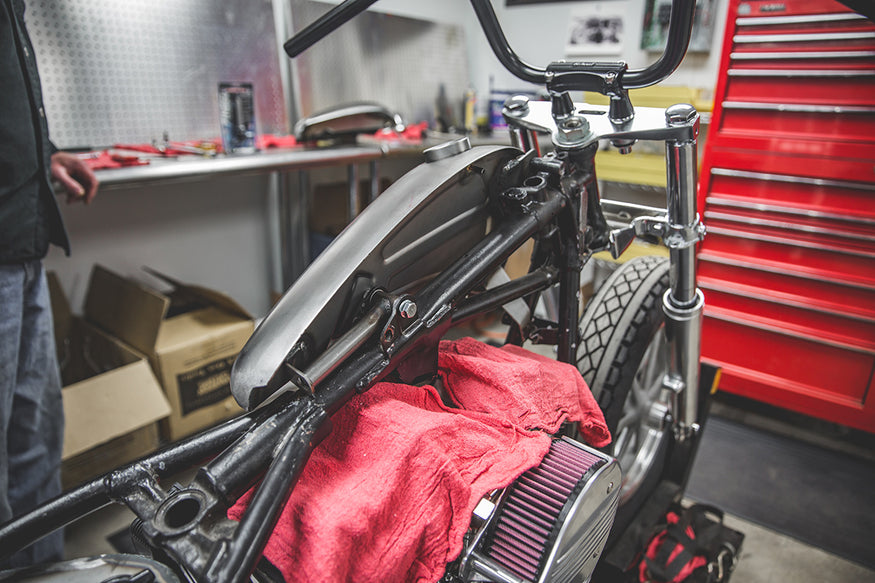
Step 2: Insert Bolt Through Top Front Tab and into Cast Lug On Frame Backbone
Insert bolt through top front tab and into cast lug on frame backbone to hold one side of WX Tank in place.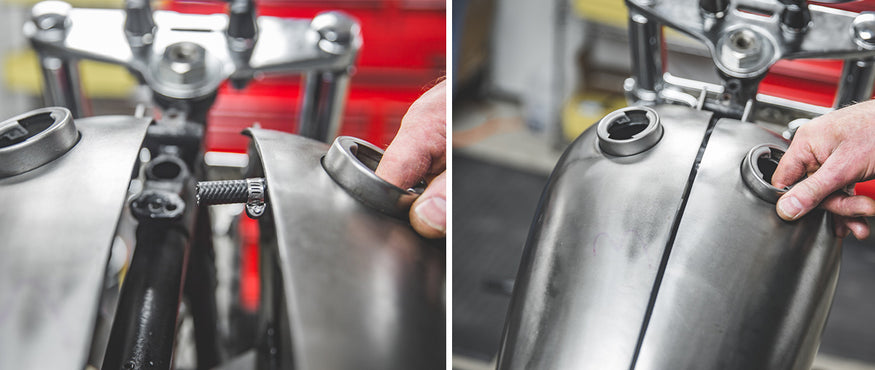
Step 3: Install Hose Clamp and Fully Tighten
Attach 1/4” inside diameter fuel line to crossover fitting on right tank, install hose clamp and fully tighten. Add an additional hose clamp loosely for the other fitting on the left tank. Push the fuel line into place on vent fitting of left tank when installing right tank. Put flat washer and nylock nut on top tank tab bolt and do not fully tighten.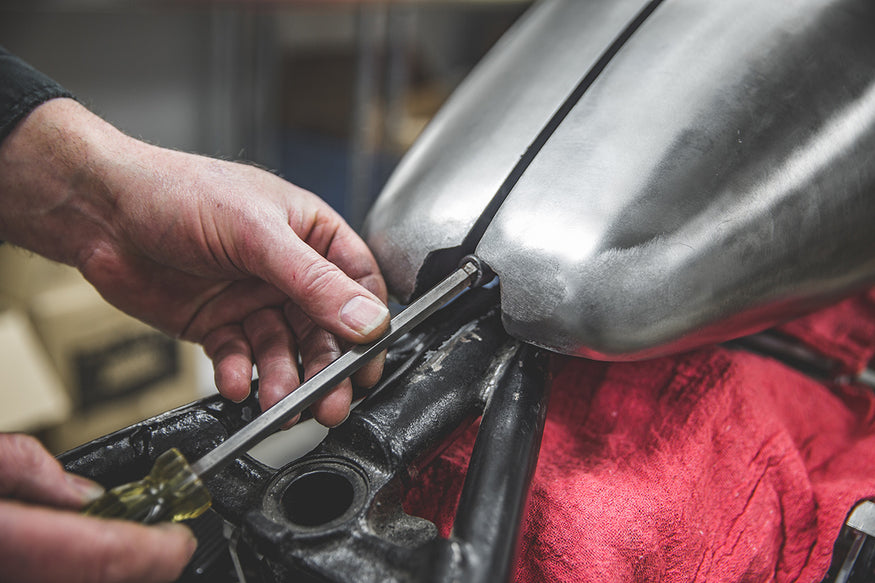
Step 4: Align the Two Rear Tabs
Align the two rear tabs. The tab on the left tank should be behind of the right tank tab. Attach the WX Tanks with the supplied allen head bolt to the rear end of the T-mount using 5/16 allen wrench or socket.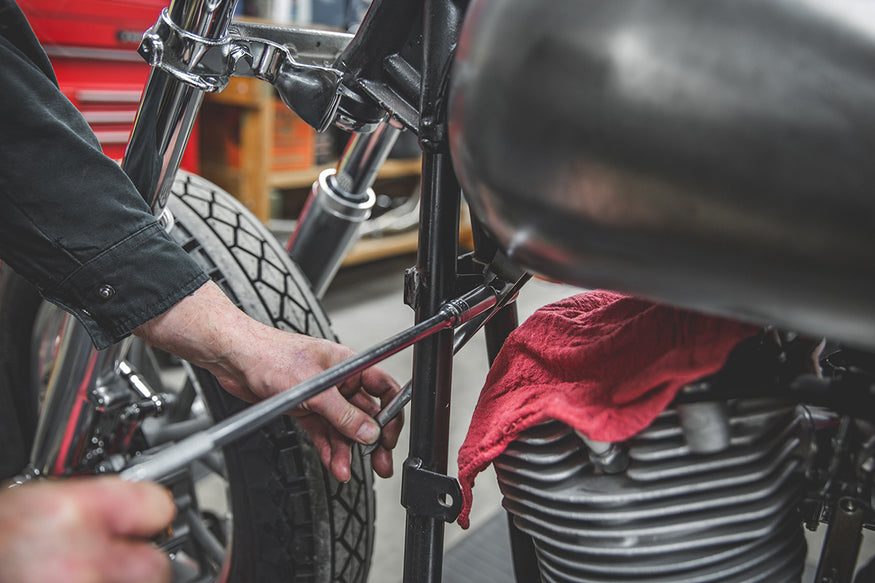
Step 5: Install and Fully Tighten the Bolt and Nylock Nut
The front lower tabs on the tanks attach to the stock frame tab on either side. Install and fully tighten the bolt and nylock nut. Fully tighten top through bolt and all bolts to rear T-mount.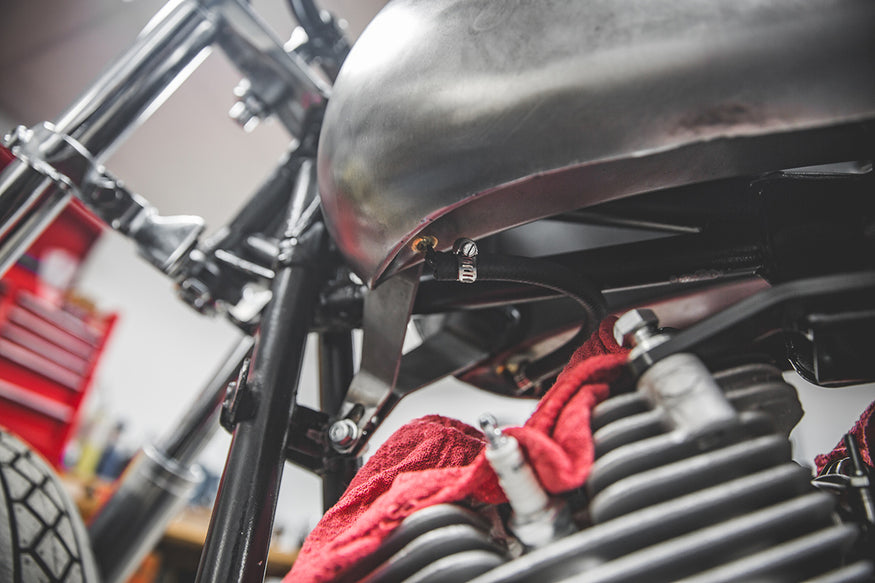
Step 6: Connect the Fuel Crossover Fittings
Use a length of 1/4” inside diameter fuel line and two hose clamps to connect the fuel crossover fittings. Tighten clamps. Also tighten left tank hose clamp on the upper vent crossover line from Step 3.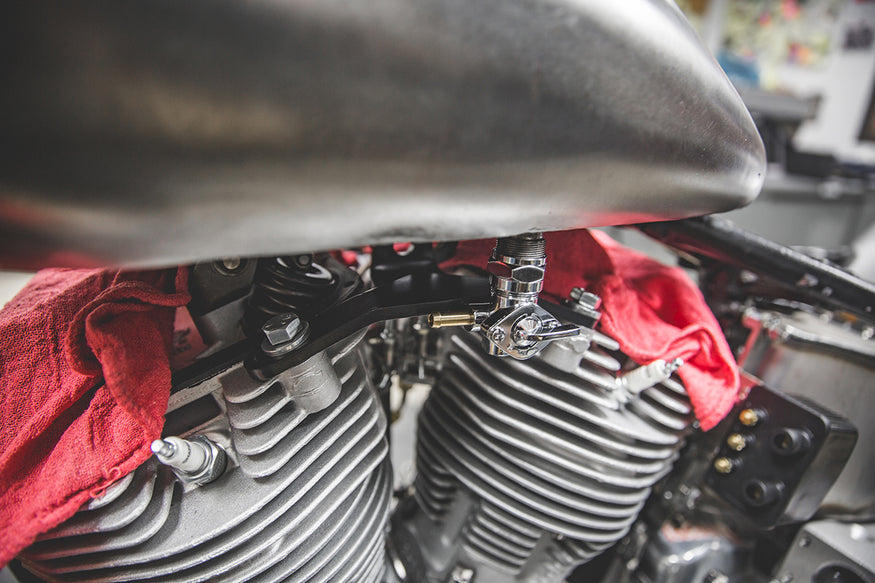
Step 7: Install 22mm petcock
Install 22mm petcock. To ensure proper clearance, use stock top motor mount or Gasbox heavy-duty Top Motor Mount.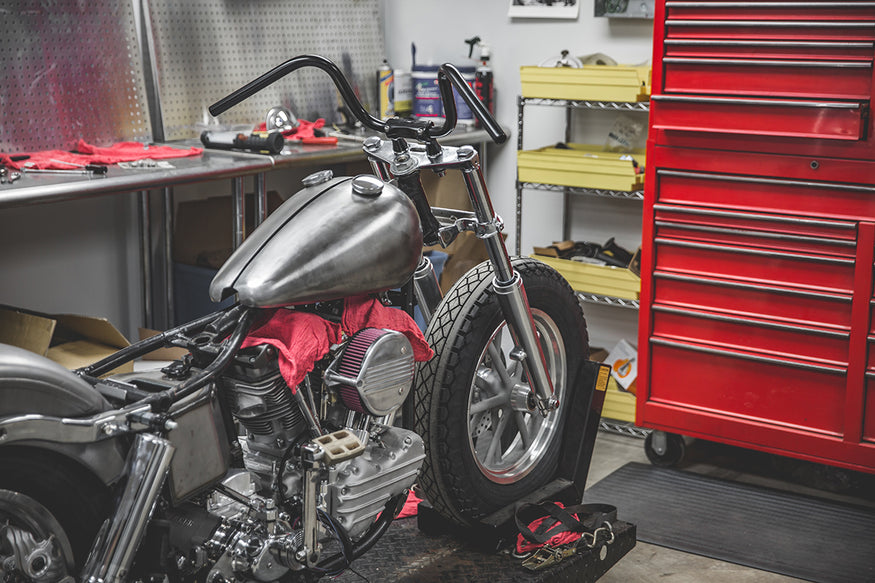
Notes: Tanks are pressure tested at the factory, but it is highly recommended you or your painter pressure test it again before painting; it's cheap insurance!
Here is pressure test a tank you can do at home:
Plug off cross over tubes with a tight fitting bolt in a hose and hose clampsPlug off fill neck(s) with rubber plumbing cap, usually 2.5", and hose clampPlug off any bungs with bolt and thread tapeGrab a bicycle pump and hose clamp a hose to it. Stuff the other end onto a cross over tube. Don't use your compressor!!Pump it about 10 times and start spraying soap water everywhere. Look for bubbles!For more help watch Todd walk you through this install.
Beside this article, we spend a lot of time and effort creating motorcycle how-to guides for your enjoyment. Thanks for reading!
Related Products


