TABLE OF CONTENTS
Installing An Internal Throttle On Your Custom Motorcycle
What's cooler than rolling down the street on your motorcycle and having zero wires or cables hanging from your new custom set of handlebars? If your answer is not much, you are correct.
Check out our selection of Internal Throttle Kits, Lowbrow has all the parts you will need to tackle this job!
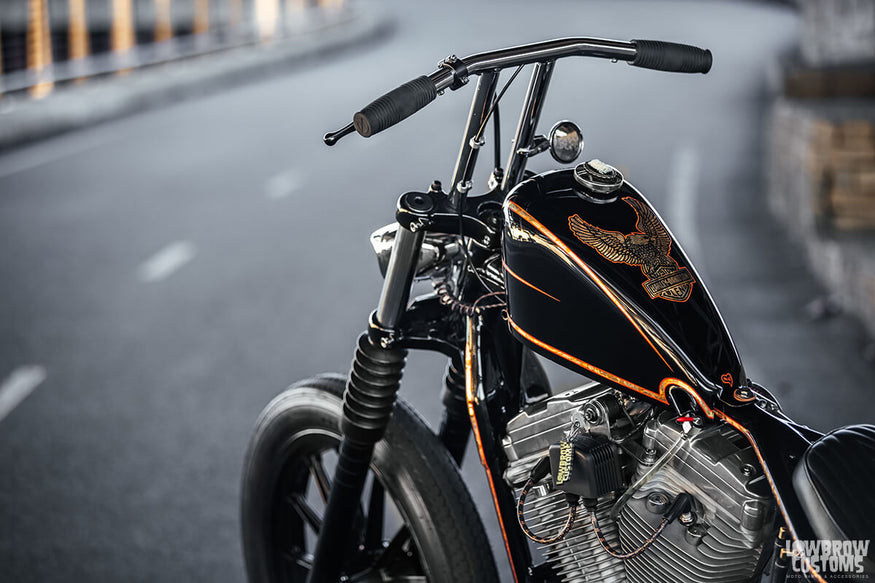
A finished look at the bike from our internal throttle install how-to video below. This is Mikey's Sportster, and it turned out top-notch!
An internal throttle is potentially one of the trickest parts you could add to your bike, but the task of setting up an internal throttle and installing a throttle cable on a motorcycle one can feel daunting to tackle by yourself.
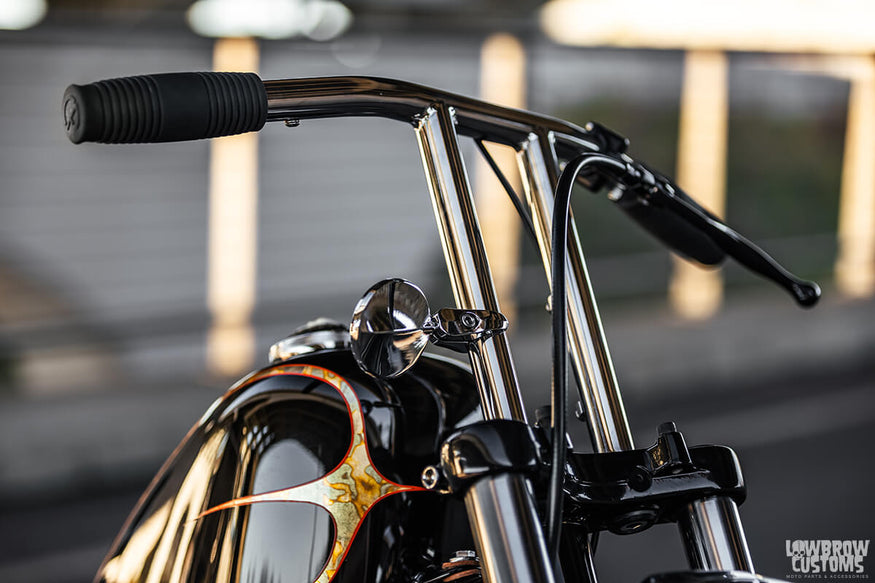
Look at that super clean setup! No visible throttle or throttle cable cluttering up the scenery...
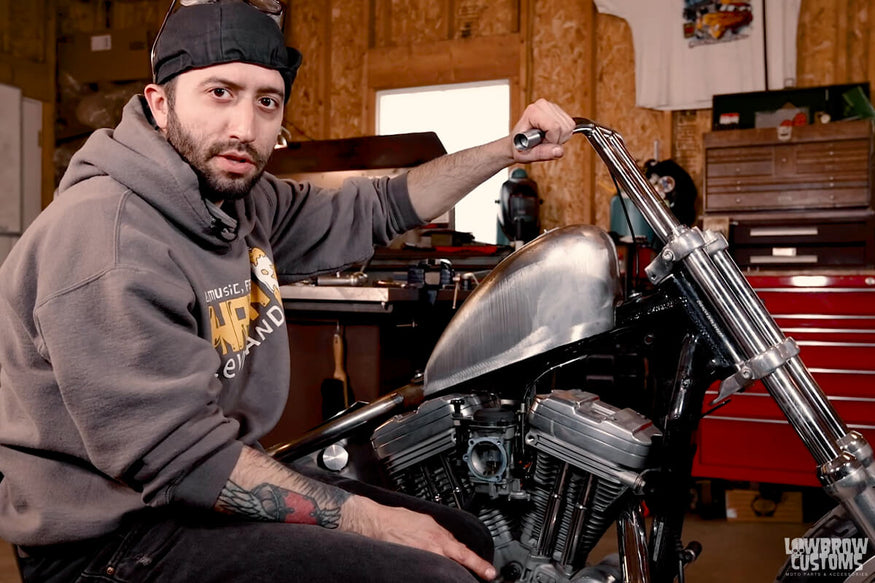
That's why we thought it would be a great idea to have our good friend Tim Fiorucci from Fiorucci Fabrications walk you through not only on how to narrow a set of Lowbrow Customs 10" T-bars but how to install a Kustom Tech Internal throttle from start to finish.
So, break out those rulers kids and let's get to cutting. Within a few short hours you are gonna end up with a bitchin' set of handlebars and take your customization skills to the next level.
WATCH OUR VIDEO ON HOW TO INSTALL A MOTORCYCLE INTERNAL THROTTLE ON CUSTOM HANDLEBARS
You can also check out the custom universal throttle cable installation process below in article format, with each step accompanied by a photo for easy reference. Enjoy!
Before Installing a Motorcycle Internal Throttle on Custom Handlebars
-
Understanding motorcycle handlebar dimensions chart is crucial before you begin. Start by gathering all your components - grips, controls, cables, and other essential parts.
- Determine the Inside Diameter (ID) of the handlebars is bigger than the Outside Diameter (OD) of the slug of the internal throttle before even doing anything.
- On this set of Lowbrow Customs T-Bars we decided to not only use an internal throttle but also narrow the handlebars a bit.
Step 1: Determine the length of cable needed
First thing you want to do is determine what length you want the bars to be. Don't assume all custom motorcycle bars are created equal and be sure to measure both sides to see if there are any discrepancies before measuring and just cutting off the ends.
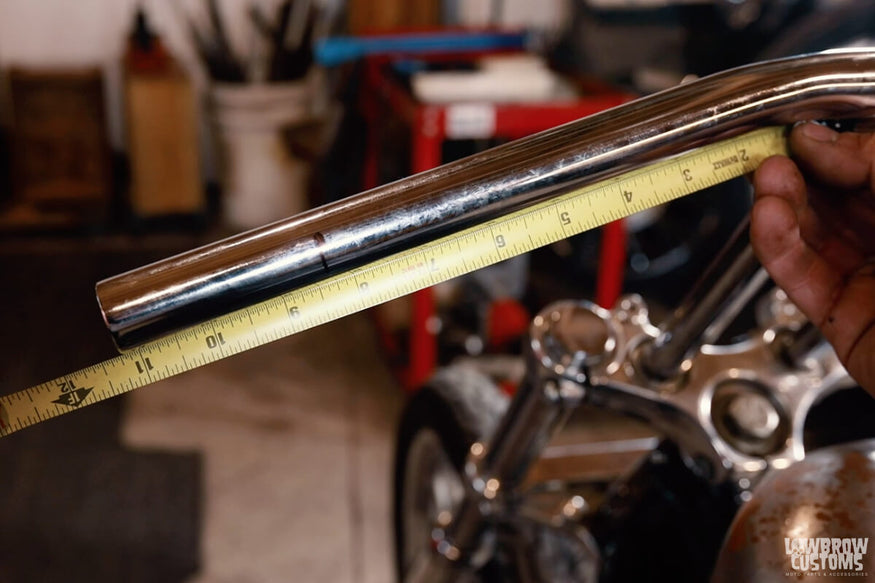 Measure from center to determine length is even on both sides of bars before measuring from the ends of the bars.
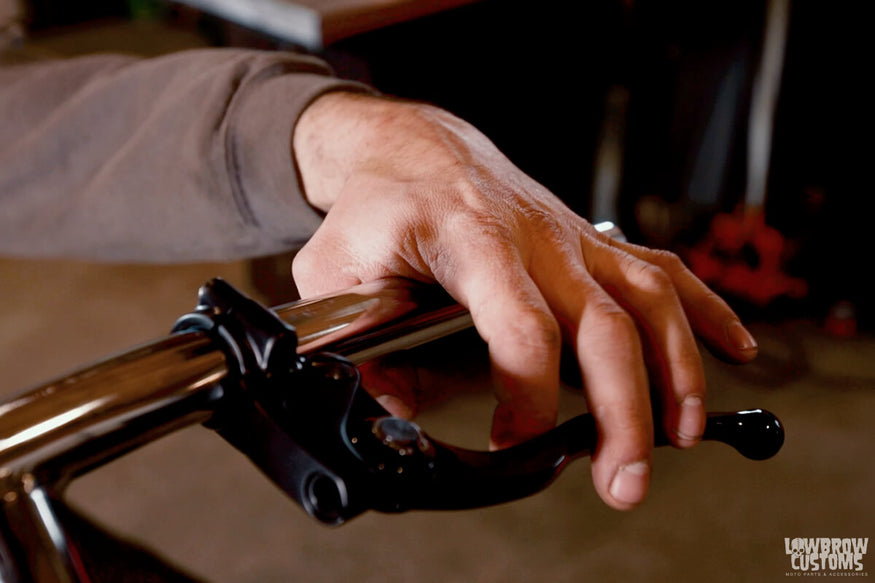 Install the clutch and brake levers where desired on the bars to see how much you can take off and still be comfortable on the motorcycle.
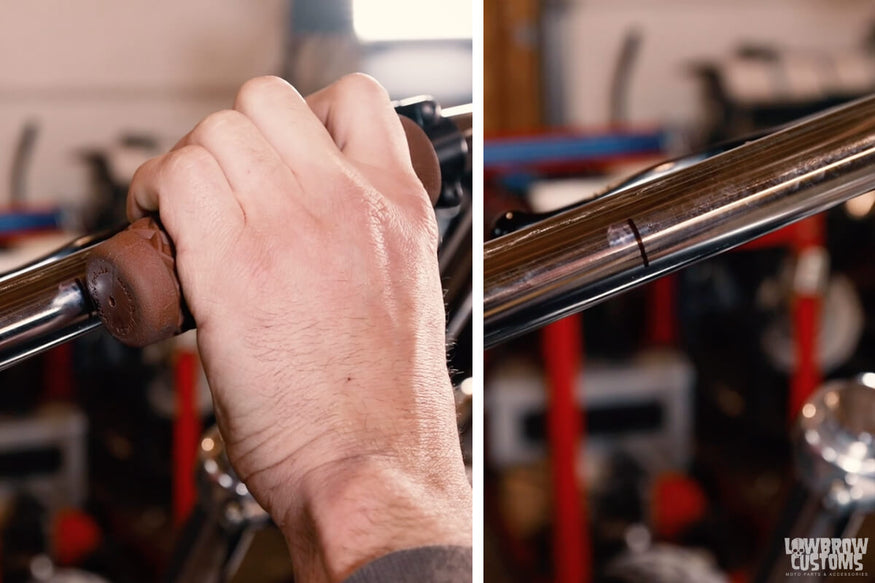 Using your grips determine how much you want to cut off the handlebars. Mark a line and the end of the grip where the new end of the handlebar will be.
Step 2: Cutting the handlebar to the proper length for installation of an internal throttle
Now that you have determined where you want the new ends of your handlebars will be, measure the left sides end to your mark. Mark the right side with the same measurement but then take your internal throttle and set its end to that new line and mark where another line to the step where the internal throttle will be inserted into the flange.
You will have to remove much more of the bar on the right side to have the end of the internal throttle to end up in equal length to the left end side. Also be sure that you have enough space in the remaining straight section of the handlebar to house the slug of the internal throttle.
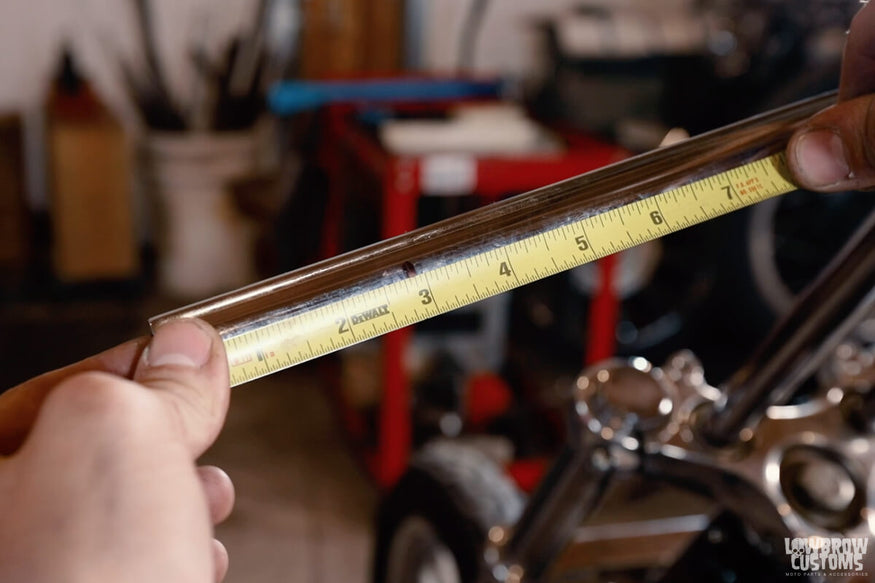 We are taking 2-7/8" off the left side of the handlebar.
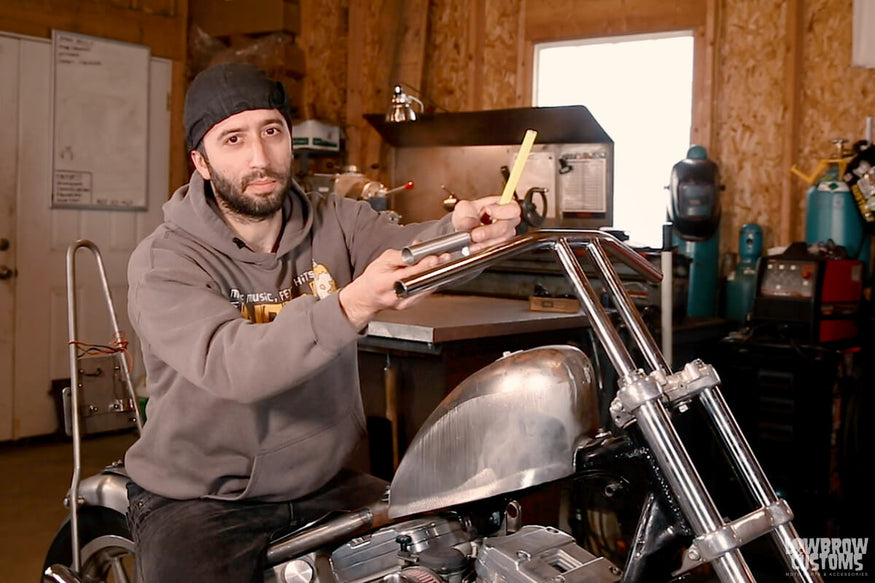 You can't just take off the same amount on the right side as more material needs removed to allow for the length of the internal throttle that we will be installing.
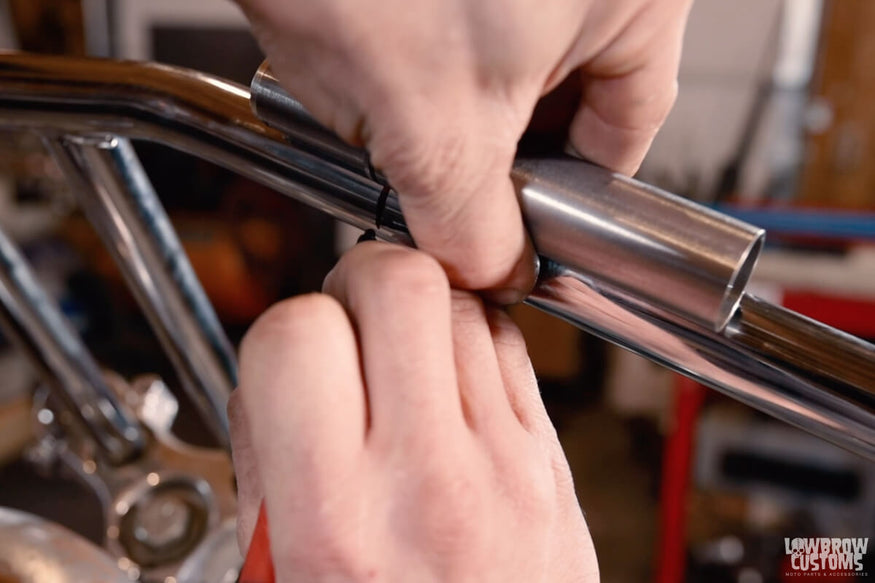
Remember the internal throttle has to be installed, so measure the 2-7/8" (or whatever amount you shortened your handlebars) from the end of the right side of the bar. Then, lay your internal throttle end to that mark and make another mark where the step ends and the slug begins. That is where you need to make the cut so the finished bars will be the same length on both sides.
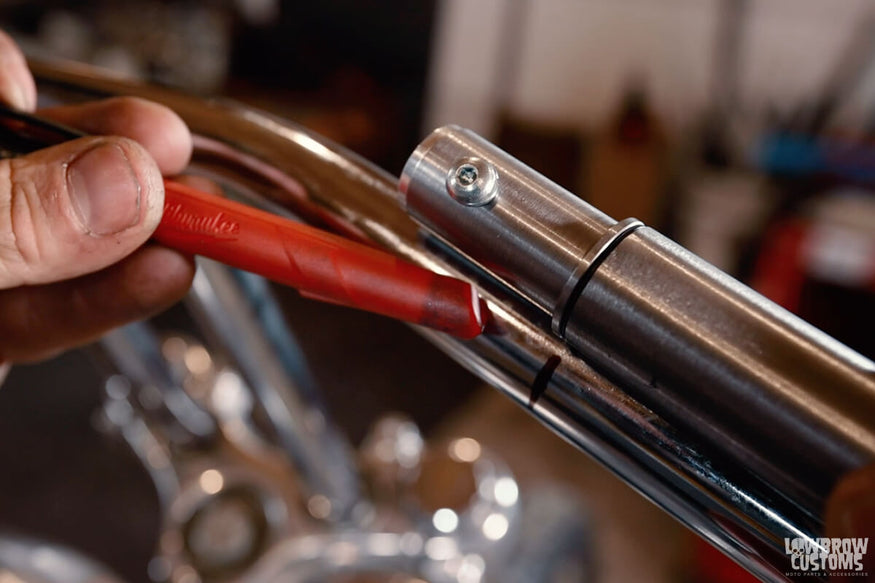 Again be sure to leave enough room for the slug to slip into the bars before it hits a bend.
Step 3: Cut them bars!
Once you determined your cut lines, cut them bars!
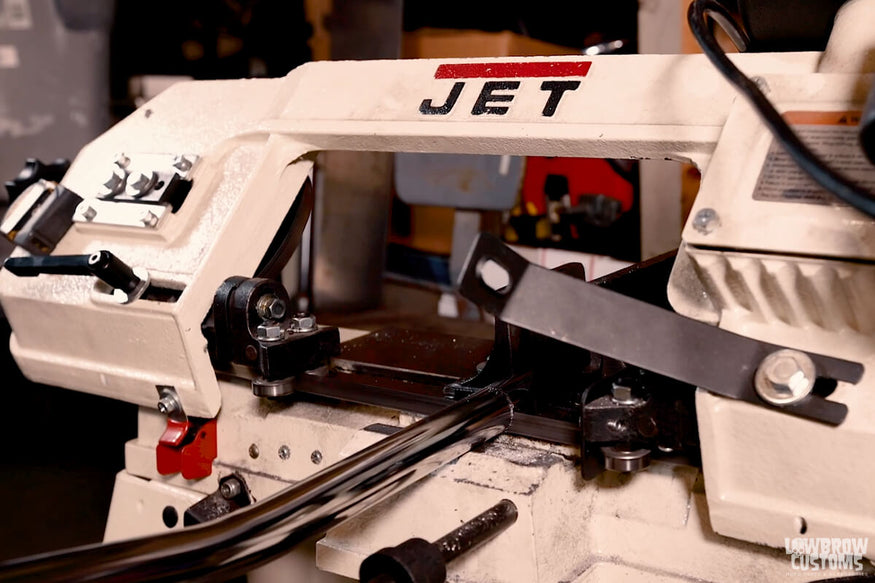 Cutting bars!
Step 4: Fit the internal throttle housing onto the handlebars
This one can take a while. Now that your bars are cut it's time to try and fit the internal throttle into the right side of the bar. Most handlebars have a weld seam from the tubing on the inside. You need to grind away and make sure there's no debris in the way so the slug can fit firmly. Take your time and check very frequently as you remove material. The last thing you want is to take out too much material and the internal throttle is all sloppy and moving around in the handlebars.
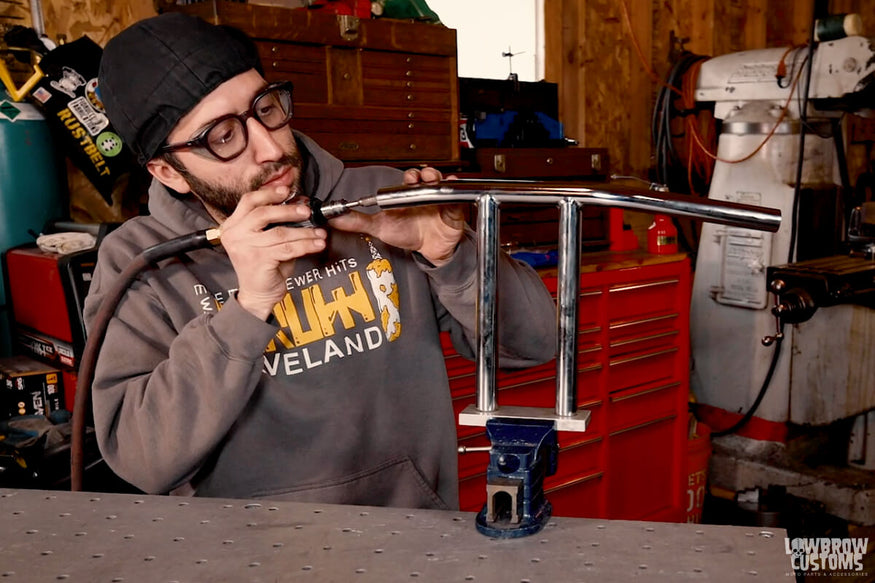 Use a grinder and a barrel sander to clean the inside of the bars so that the slug of the internal throttle housing can fit in tightly.
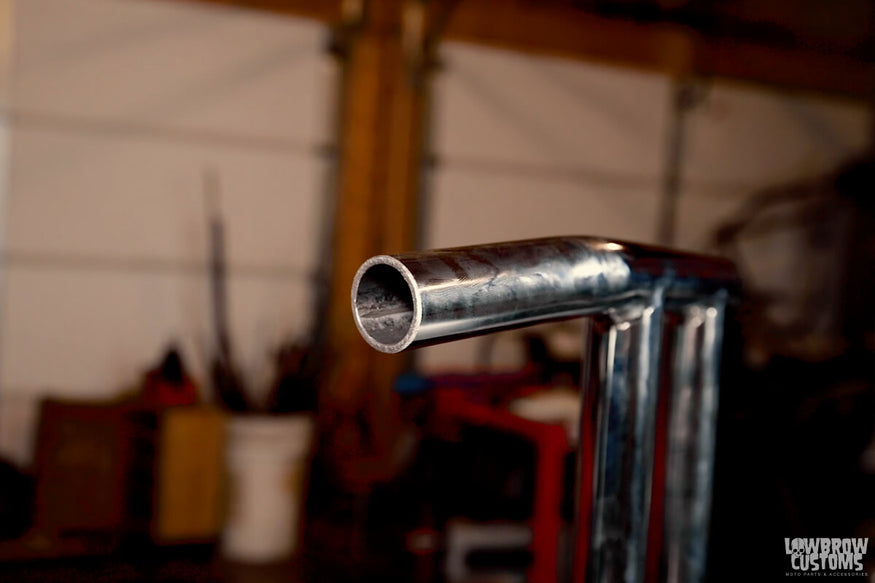 You can see the weld seam inside the tubing of this handlebar. That's what you want to grind down and then evenly smooth out.
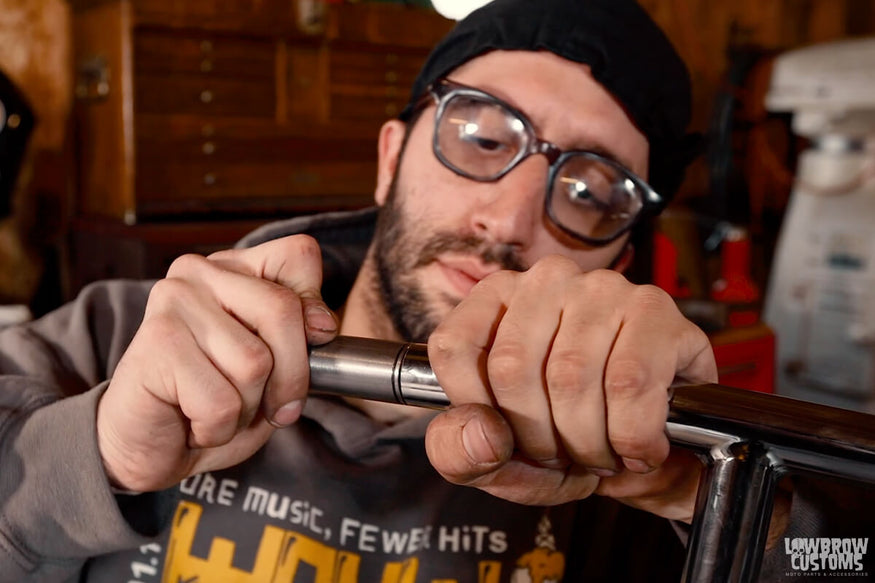 Fit the internal throttle so it's a tight fit but you can still take it out if need be.
Step 5: Make the hole for a set screw
Measure the step to the center of the set screw hole. We measured 1". Then figure out where you want the set screw to be on the right handlebar, we decided to hide it on the bottom of the bar.
Measuring our 1" we made a mark, center punched, and drilled a pilot hole. We then drilled the proper size hole needed for the set screw. Clean the inside tubing of any debris with a barrel sander again as there may be a burr where the hole was drilled. Test fit to make sure everything fits right. DO NOT force the set screw. If it doesn't go smoothly, stop, regroup and try again to line the two holes up evenly.
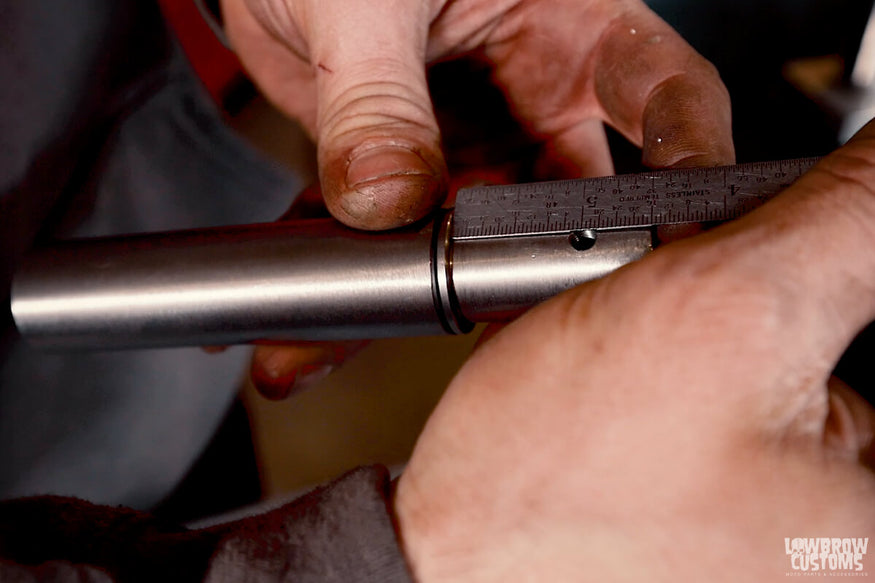 Measure the step to the center of the set screw hole.
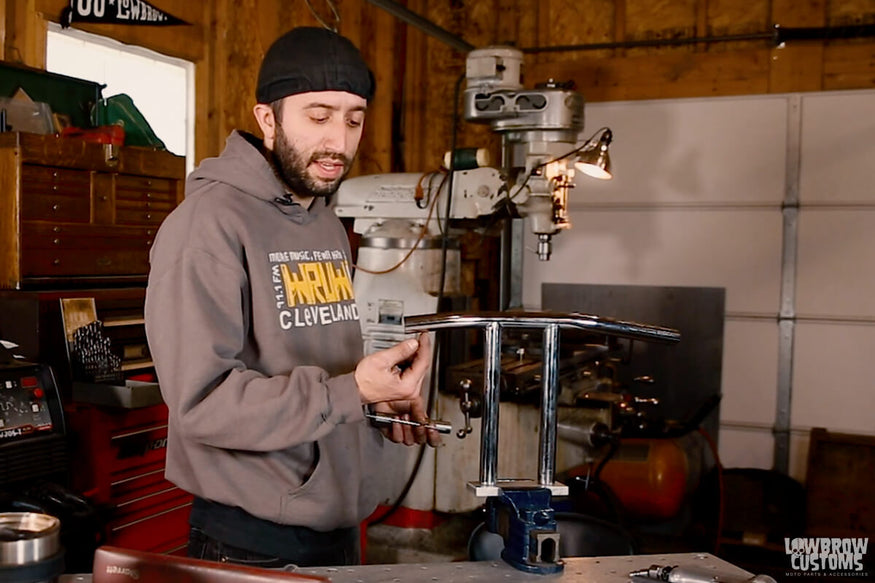 We wanted to put the set screw for the internal throttle at the bottom. "cool guy shit"
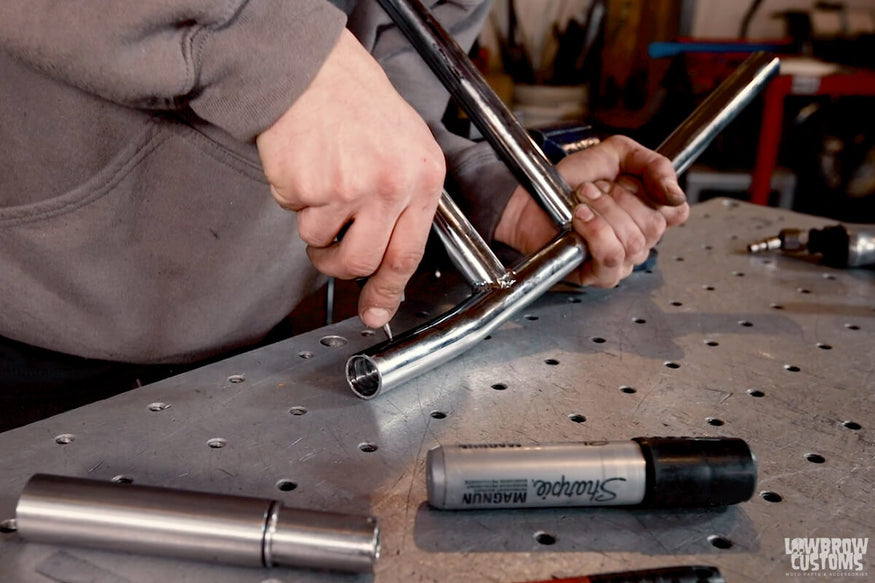 Use a center punch to help guide your drill.
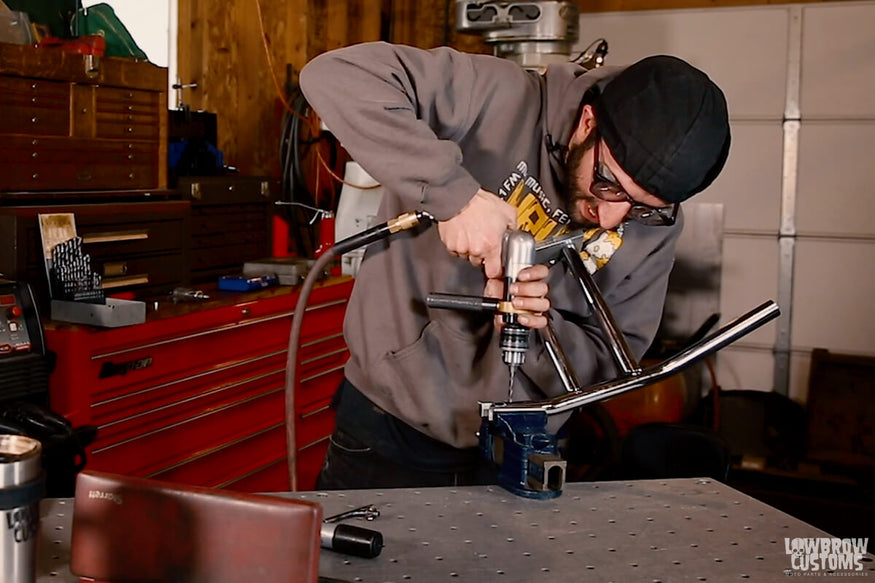 Using some Fiorucci Fabrication Soft Jaws to protect the chrome, drill into the hole with a small pilot then use the size needed for the set screw.
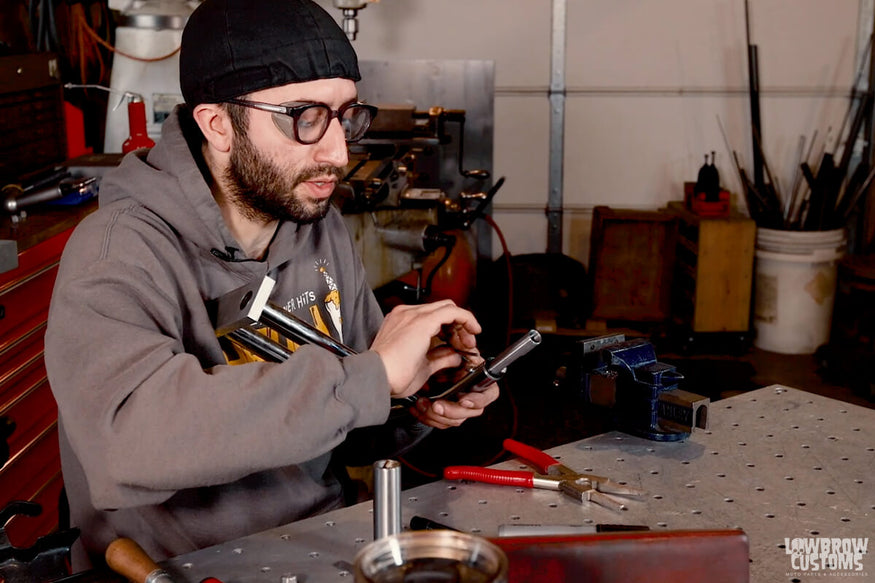 Test fit and make sure everything lines up.
Step 6: Drilling the handlebars for the internal throttle cable
Determine the Throttle Cable housing size and where you want it to come out of on your handlebars. Using a set of Lowbrow Customs Rabbit Ears you could go down the entire tube to the bottom of the tree. With these T-bars we are gonna have to have the cable come out the middle and run it down the left side riser. Center punch and drill hole to size where desired.
Pro-Tip: Use your drill and tilt the bit sideways to add a bevel and to allow for the cable to come out of the bar flat instead of perpendicular to the bar.
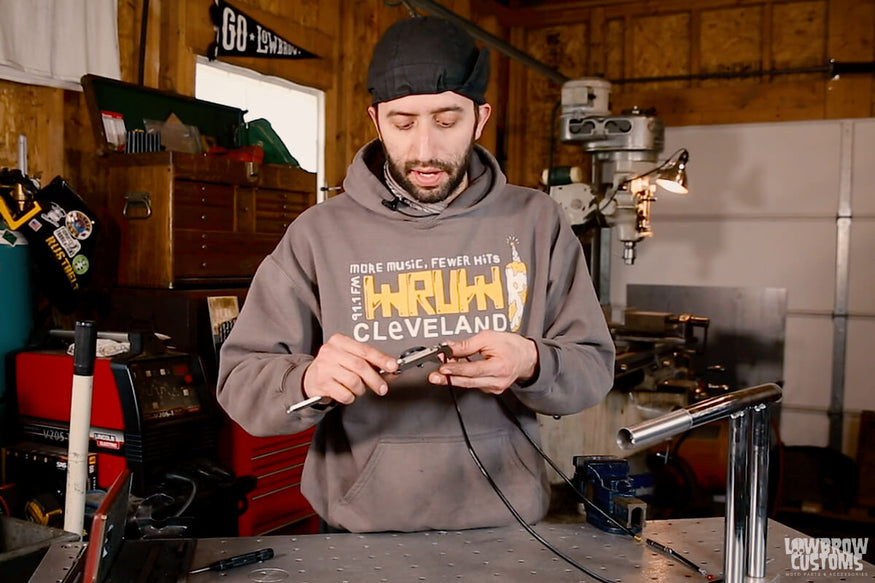 We determined we are going to need to drill a 1/4" into the handlebar to allow for the cable to pass through.
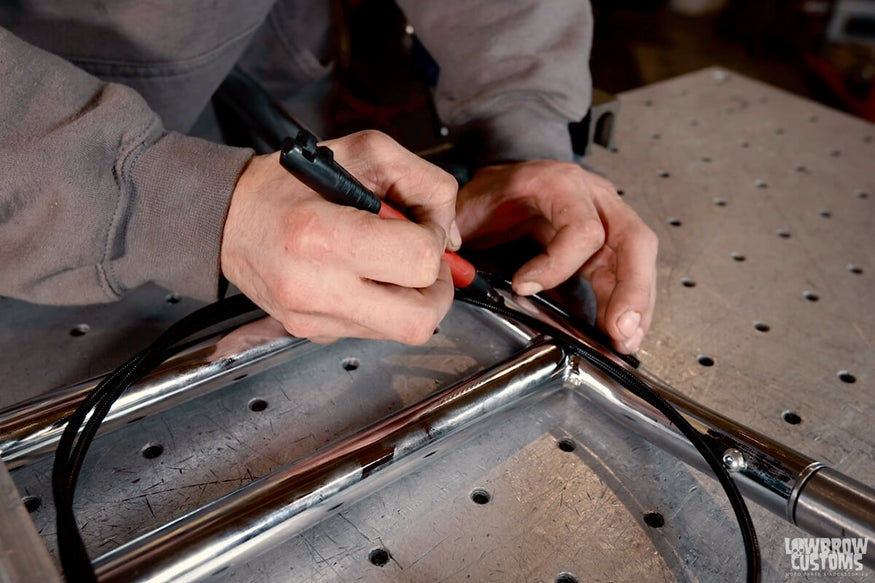 Visually looking at how the cable will lay and come out the center of the bars, we mark where we want to drill.
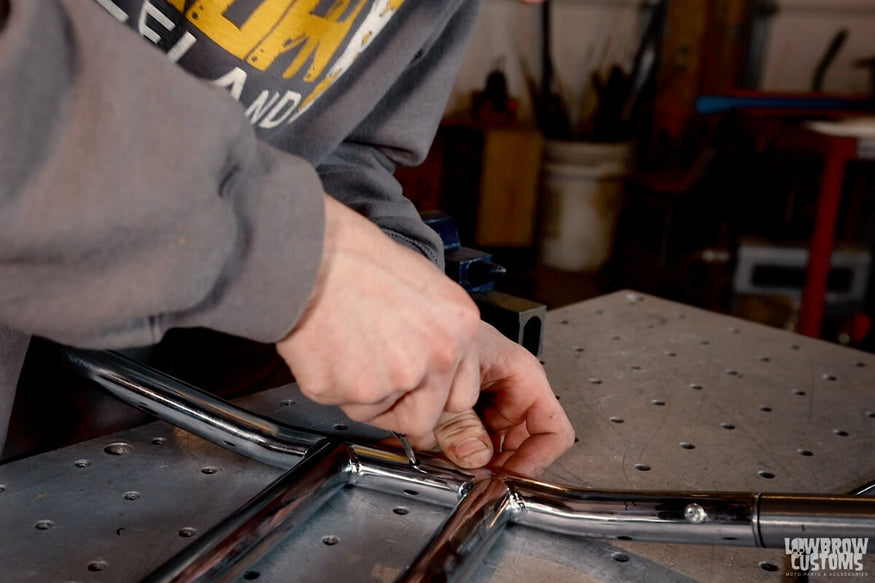 Again using a center punch will help guide your drill.
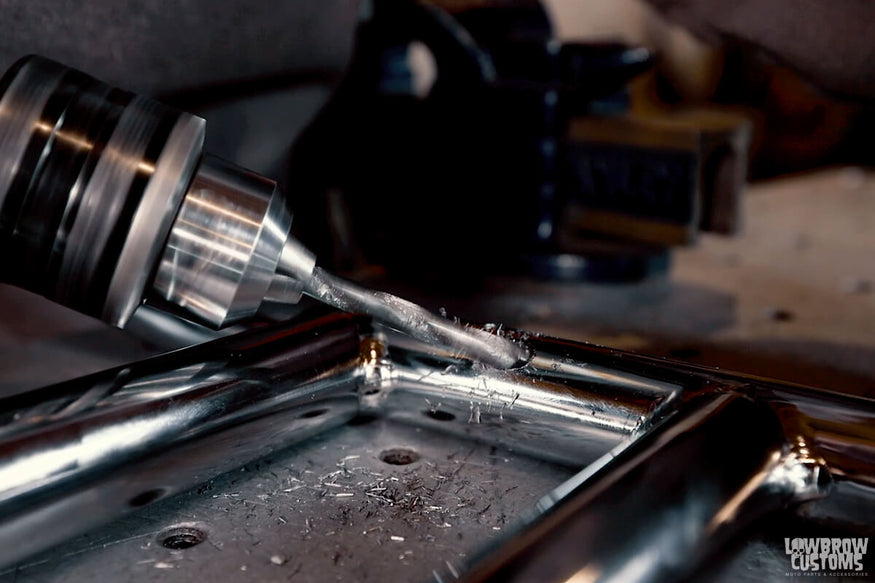 Once your hole is drilled go back in with your drill bit and drill at an angle giving the hole a nice bevel and it allows the cable to sit nicely against the bars .
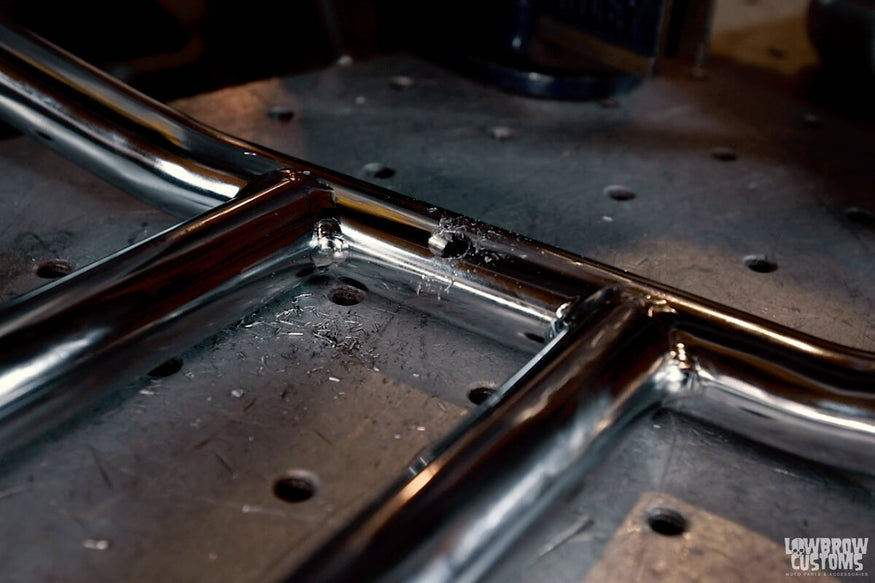 Nice bevel, ah yeah!
 See how the cable sits nicely against the bars.
Step 7: Adjust the Throttle Outer Cable
It's now time to determine how much of the housing you need to cut on your throttle cable. With the bars on the motorcycle hook up the cable to the carburetor and route it the way you are going to have it on the bike.
Make sure to leave enough slack so that when you are turning right or left it's not pulling on the cable along with not finding any pinch points in your fork stops etc. Open the adjuster on the cable all the way as well. Once you are happy with where your cable is run and through the bars. Make a mark on the cable at the end of the cut handlebar.
 Take off your air cleaner, it helps to get access to the butterfly on the carb.
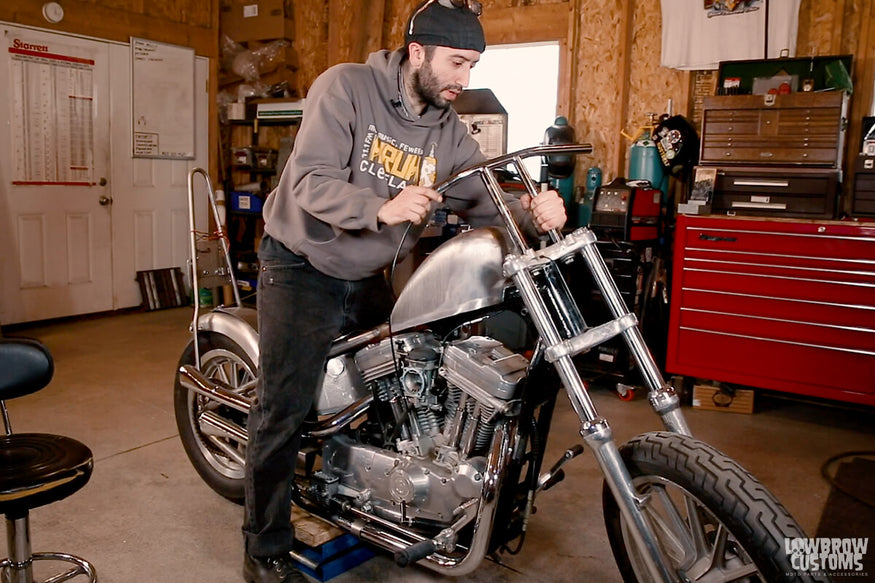 Move the bike left and right to make sure there's no pinching or pulling of the throttle cable the way you routed it.
Pull the cable back off the bike and remove the internal throttle cable from the black cable housing. Measuring from the slug of the internal throttle to the end with out the small aluminum piece where the housing snaps into. We measured 1-1/2". Now where we made our mark, we marked a new mark 1-1/2" closer to where the cable goes into the carb. (this is determined by the little brass ferrule at the end.) Using a cut off wheel not wire clippers cut the cable housing.
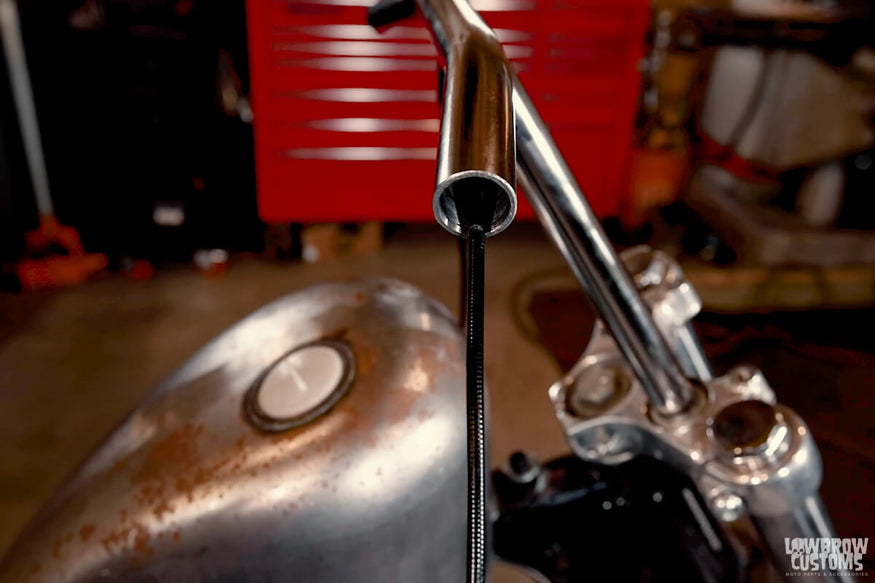 Make a mark on the cable at the end of the bar using something that won't rub off when you pull it back through the bars.
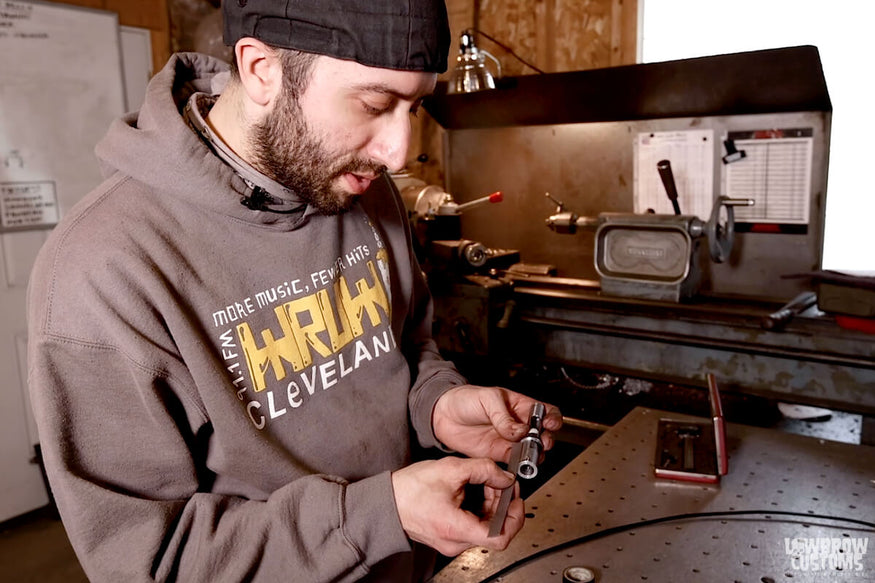 Measure the step to the face of the slug on the internal throttle minus the little aluminum cap. We measured 1-1/2"
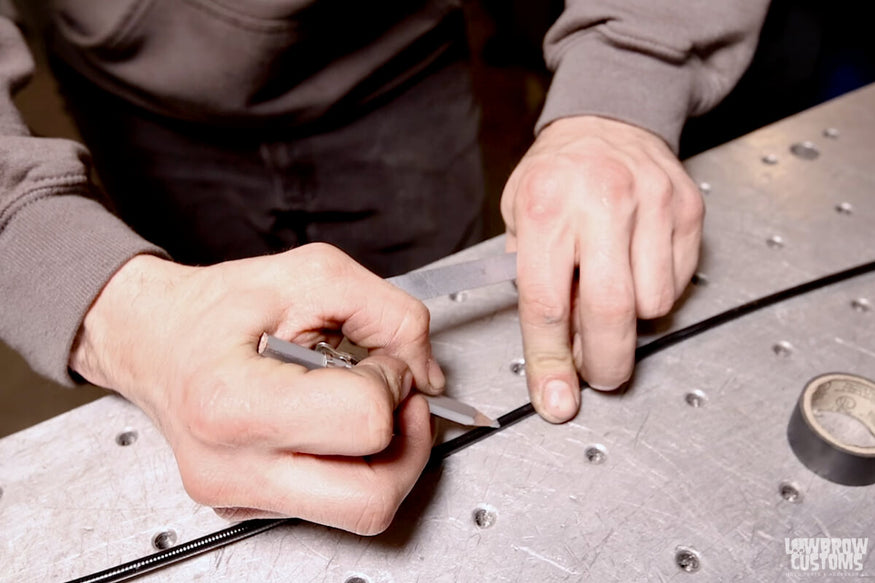 Measure 1-1/2" from previous mark towards the brass ferrule and that will be where you need to cut. Make sure you have removed the internal cable wire from the black housing before cutting.
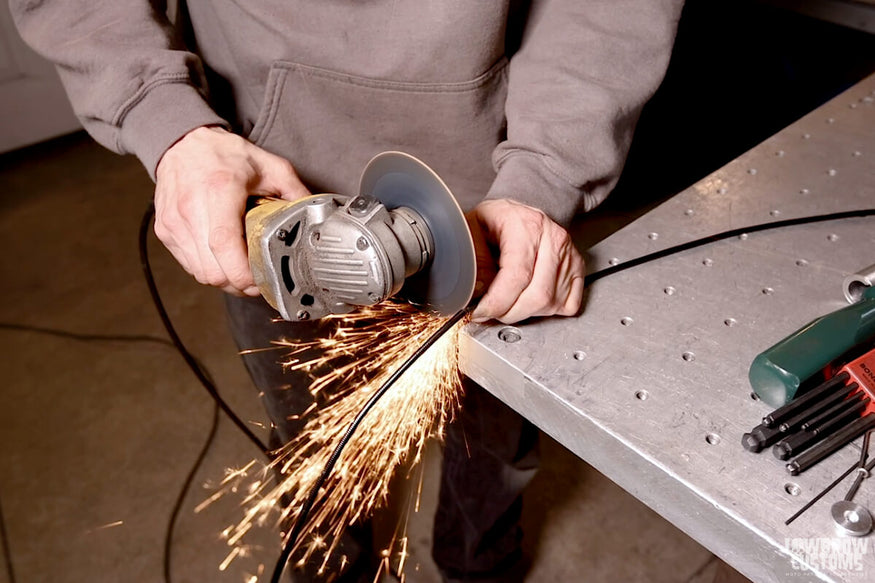 Using a cut off wheel to cut the cable and not wire cutters. Wire cutters will crimp the end and damage it, where the cut off wheel leaves the hole open.
Step 8: Figuring out the proper inner cable length
Now we have to determine where we need to cut the internal cable wire to work with the slide correctly. Taking the slide out of the internal throttle you can put something small in where the cable should go, like an allen wrench, and determine how long the inner cable should be. We measured 1/2".
Measuring the outside of the slide 1/2" lined up perfectly with the end of the white plastic giving us a great line to reference for our next measurement. Putting the slide back into the throttle housing we now can measures from the face of the bearing to the line on the plastic, which we measured at 3/16".
Pushing the slide to the end of the of the throttle towards the slug and again measuring from the face of the bearing 3/16" it ends at the end of the step of the slug. This tells us we have now the total length of the slug of internal wire cable needed which again before we had said came out to 1-1/2".
Feed the internal wire cable back into the black outer housing and run the entire cable back through the bike and bars. Now you can measure 1 1/2" away from the black outer housing end and make a mark onto the inside cable wire. Using a cut off wheel cut the inside cable wire to length.
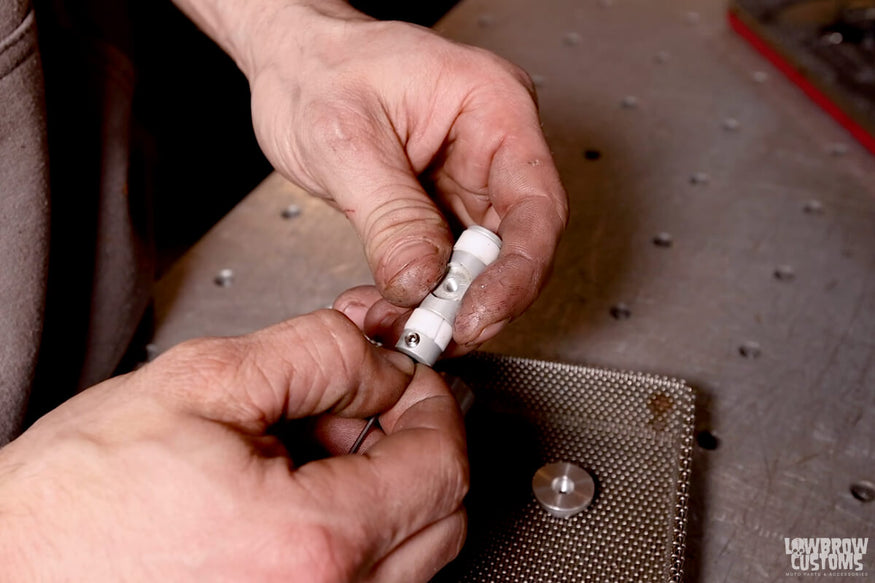 Remove the slide from the internal housing, use a small Allen wrench and stick it into where your cable would go to see how far it goes down then measure.
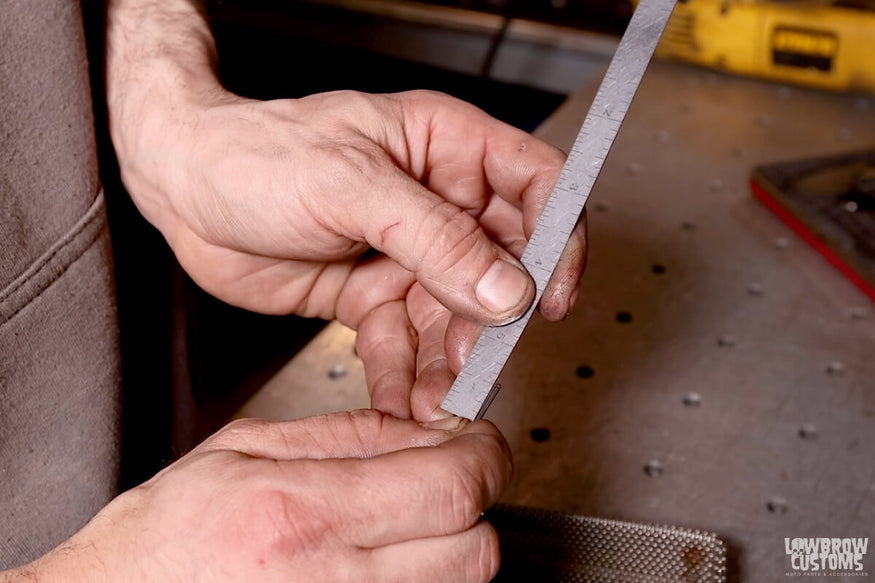 We measured 1/2"
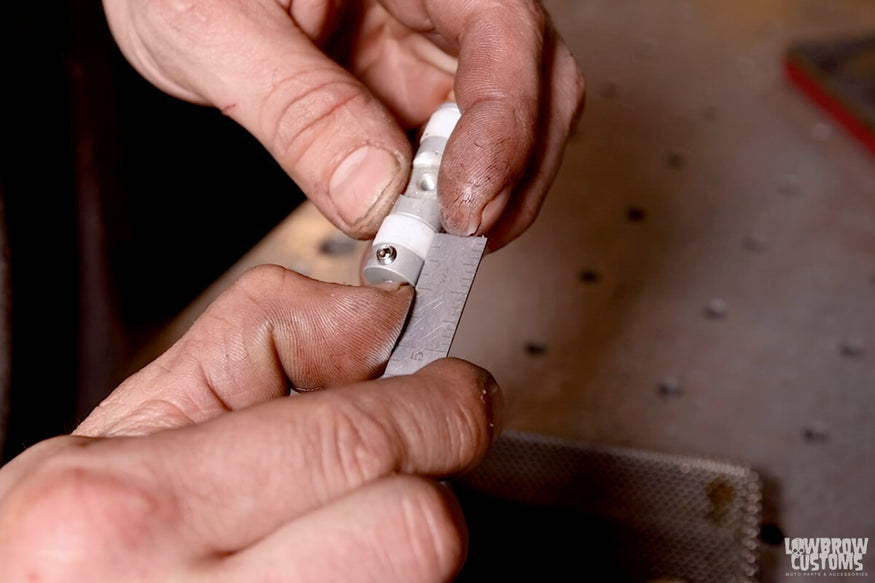 We measured 1/2" from the face of where the cable goes in on the outside and it lines perfectly up with the plastic part of the slide. This is a great reference for the next measurement needed.
 After determining the bearing to the end of where the cable would be is 3/16". We slid the slide to the end of the throttle towards the slug and measured 3/16" which told us its at the step of the slug leaving us to need to cut the wire the length of the slug which was 1-1/2".
 Once you have everything back to where you had it on the bike, measure 1-1/2" of the internal wire cable past the black cable housing. Use a cut off wheel to cut the cable.
Step 9: Install the internal throttle and throttle cable
It's now time to install the internal throttle on motorcycle for good. Insert the outer housing cap of the internal throttle then install the internal cable into the slide and lock it down. Then put the slide into the thermal cable and reinstall your screw with bearings onto the slide. Lock your outer housing and then insert the slug into the handlebars and line up your hole. Install your bolt and lastly put your spiral onto the internal throttle and you're ready to rock and roll.
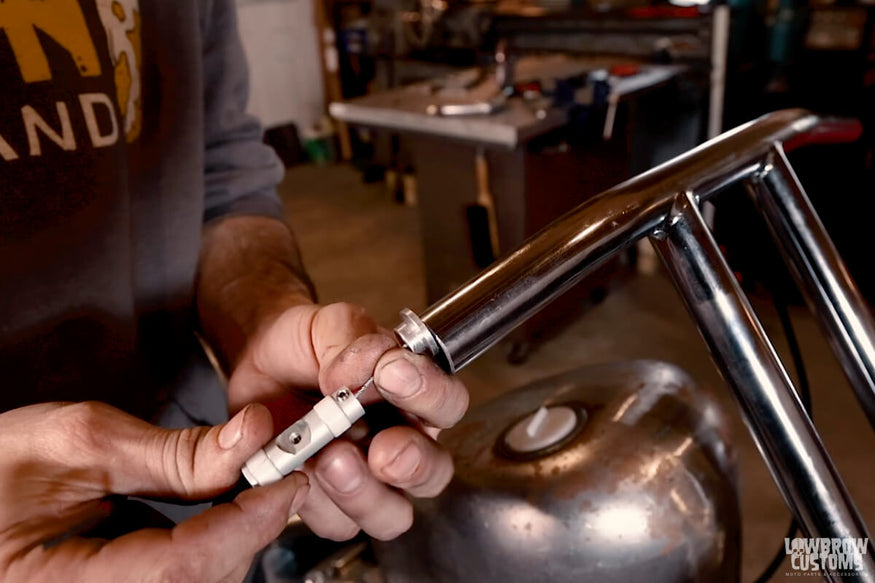 Install the cap first then insert cable into the slide and lock it down with the set screw.
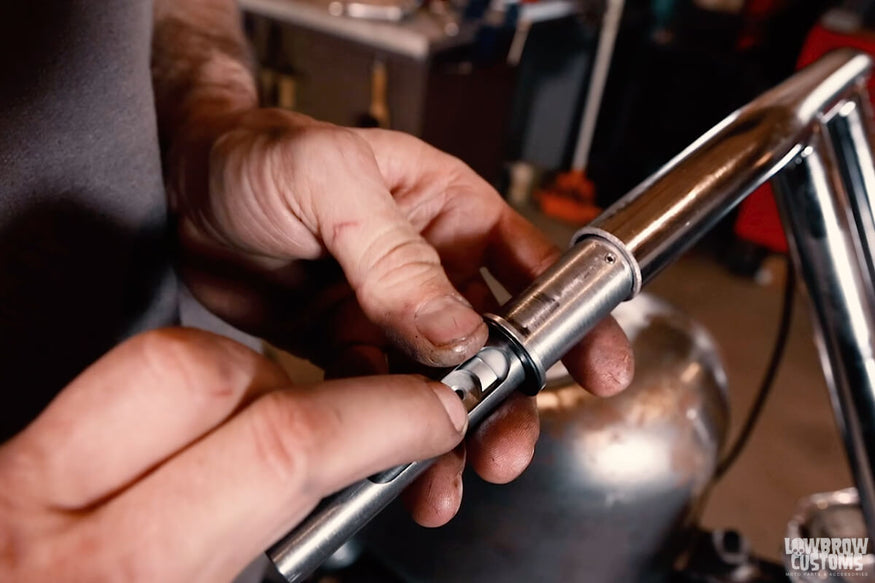 Pull the slide into the internal housing and install your screw with bearings and lock the cap down with its set screw.
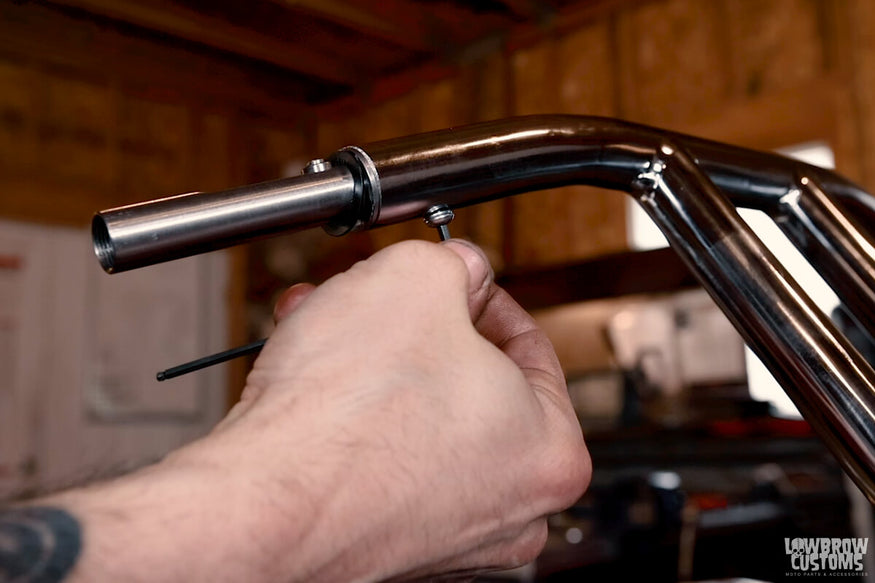 Locking down the slug with the screw. This can be hard to line up sometimes so be sure to take your time and don't force the screw in if its not lining up.
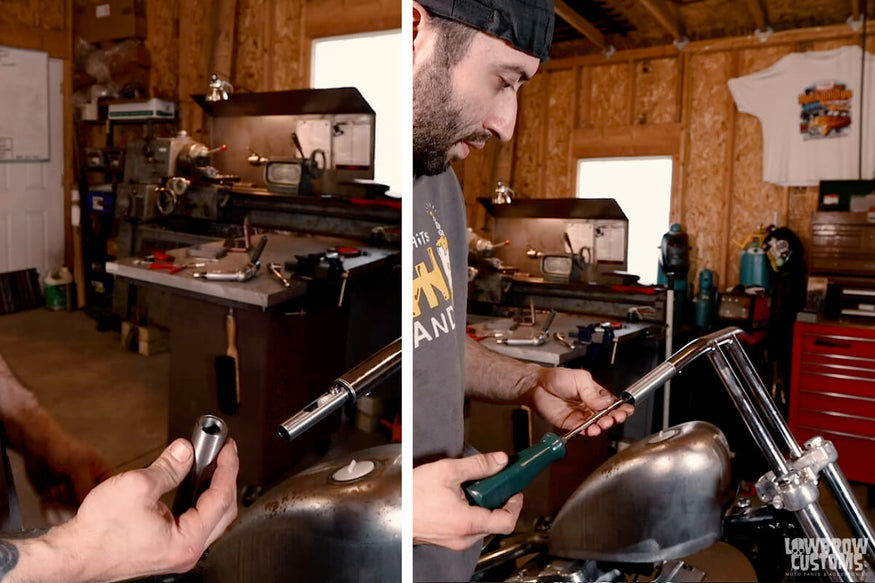 Install your spiral and screw on the end cap that locks it in place.
Step 10: Adjust the throttle cable
The last step for your internal throttle assembly is to adjust the cable at the adjuster by the carb and make sure to get rid of any cable slack. If it still feels to loose you may need to cut your internal cable a little more to tighten it up.
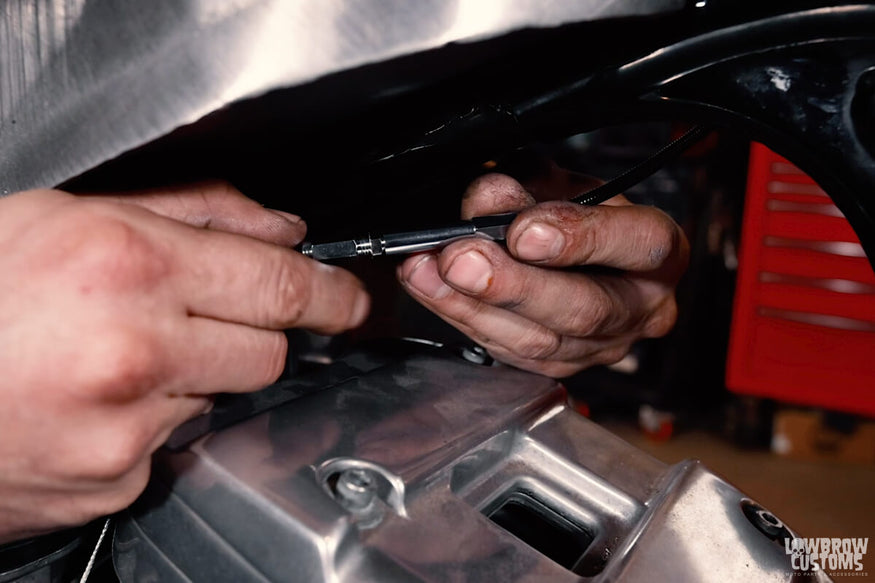 Adjusting the cable by the carb.
 That's it, you did it!!
Bam you are done! Now all you need to do is reinstall your air cleaner, put on your grips and install clutch lever, and if you have front brakes, your brake lever. It's also nice to tie your throttle cable down in some fashion to keep it from swinging in the way and getting caught on something.
Related Products


